Showing posts with label Circlet. Show all posts

Monday, June 15, 2020

Wishing You A Bright Sunny Day! by Carol Hintermeier

Happy Monday Ai friends!  Today I have another mini trifold card using the beautiful new Tropical Circlet MTF.  I love being at the beach and this sure makes me want to be there NOW!  Haha!


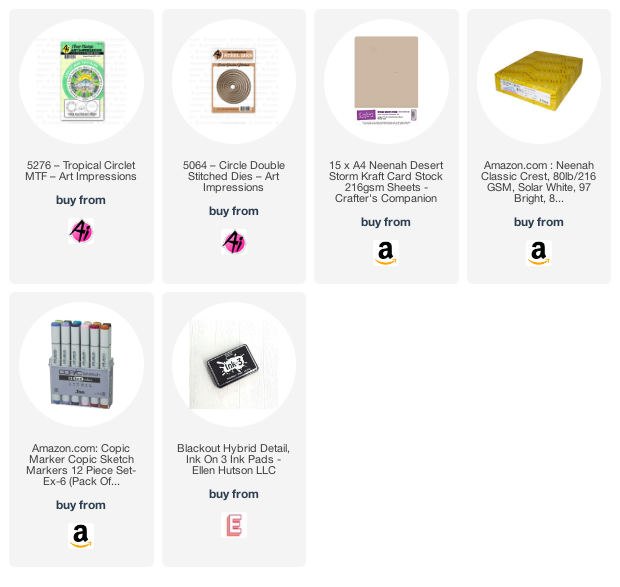
I used Neenah Desert Storm card stock for my card base.  I followed the directions on the back of the package for the size and where to score the card.  I added patterned paper layers (from my stash) to the card front and the middle layer.


Next I inked up the stamps in Copic safe ink and stamped them onto a piece of Neenah 80# card stock.  I was sure to space them out enough to have room to die cut them with a Circle Double Stitched die after I finished coloring them.  I also used a circle die to cut layers for them from Neenah Desert Storm card stock.  After I colored them, used a circle die to cut them out, and adhered them to the Desert Storm circles, I used the included dies to cut the openings in each one.  I also used the same dies to cut the openings in the top and middle card layers.


These tri-fold cards are just so fun as you open the card up!  


Thank you so much for stopping by today!  I hope you have a wonderful and fun crafting week!


Copic markers:
B26, B23, B21, C00, C1, C3,
Y19, Y18, Y13, Y11, Y00,
E35, E33, E55, E53, E51,
RV25, RV23, RV21
Leaves:
BG49, G18, G02
G28, G19, G07, G03
YG25, YG01
YG17, YG13, YG01

Thursday, May 28, 2020

Circlets Reprise + All Layered Up Challenge #283 Week 2!!!

Hello Ai Fans! 

Last week we Premiered 2 NEW Circlets MTF Sets!!!


These sets have so many possibilities when it comes to how to layer, fold, or create interactive cards.

Our Design Team sure had fun creating layered designs for this week's challenge!


Niccole kept her Tropical Circlet warm, shiny, and welcoming--just what we need as we wait for warm summer and relaxing days with friends!


Dot used our Exclusive Hydrangea Set to make some sunshine in a jar! Don't you love how she's layered the beautiful blooms?


Crystal chose a perky pink and fabulous flamingo to create her Tropical Circlet card!


Sharon went nautical and incorporated a vibrant blue for her Tropical Circlet!


Jil made our feature project last week using the Tea Circlet with a vintage twist!


Renee showed us an adorable way to use Tea Circlet with a horizontal fold!


Carol brought her pastel Tea Circlet to the Design Team Tea Party!


Jessica used our Tropical Circlet for some bright and blended beauty!


Karen used our vintage Quilters Set for a cozy card!


This week for our new challenge, we want to see how each of you play with layers!! It can be so fun to add texture, depth, and make your creations pop using height. If you're looking for some starter ideas, check out our 3D ProjectsCircletsMini Try-folds, or Windows on our Pinterest Page


We want to see how you create your best layered card! Though you can use any stamps you have, we'd love to see any Art Impressions products in your collection!
Hurry, challenge closes June 3rd at 5PM PT!


Here are the Challenge Rules...
✻ Please make a new card or creation. You can make any crafty item you wish; this is not limited to cards!
✻ Limit two submissions per person. You will receive extra votes if you use Art Impressions stamps!
✻ The Ai Challenge is open to everyone, international submissions are welcome!
✻ Include a link back to the Ai Blog or grab our button on the top right of our sidebar!
✻ Share the Ai love by clicking and commenting your fellow crafters.
✻ Make sure to get your link up by the deadline to enter your creations.
✻ Good luck and happy stamping!
You are invited to the Inlinkz link party!
Click here to enter

Watercolor Wednesday


NEW VIDEO!!!


Watch Bonnie as she demonstrates how versatile our stamp sets can be!
Using our Large Shops Set, Bonnie created an adorable two story shop! Enjoy!

BIG NEWS!!!

Starting in June, Bonnie will be introducing a new media--Wednesdays Live! This will be a great chance to get to watch Bonnie in real time, creating and answering questions! From here on out, Wednesday Live! will be the 1st and 3rd Wednesdays of the month, and we will still have our
Watercolor Wednesdays on the 2nd and 4th Wednesdays.

Wednesdays Live! will take place on Facebook Live and Instagram Live at
10 a.m. PST.

Questions? Email Claire at feedback@artimpressions.com!

We can't wait to share this with you, so make sure and tune in!

Happy Stamping!

Thursday, May 21, 2020

New Circlets Release + All Layered Up Challenge #283 + Teaser

Hello, Ai Fans!

Calling all Circlets Fans!!!


Have you taken a look at our newest Circlet Sets?

Our new Tropical Circlet has everyone yearning for warm sunshine. This set features two adirondack chairs lounging before a sunrise or sunset--depending on how you color it!

"The kettle's on, teacups are waiting, an afternoon with a friend anticipating" in our darling new Tea Circlet MTF set. This features a tea set, the adorable sentiment above, and can be used in so many ways!

You can shop these new sets at artimpressions.com!


This week Jil has a decadent design for us with her project featuring our
Tea Circlet!

Hello Ai fans!

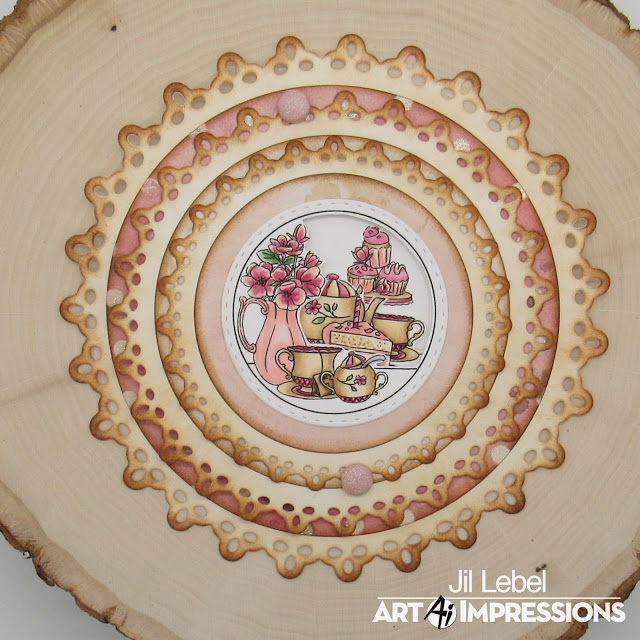
I used the New Tea Circlet stamp set. I am going to show you the steps involved in making this card.  I also have pointers for lining up the three images for all Circlets. I hope you love the two New sets as much as I do.


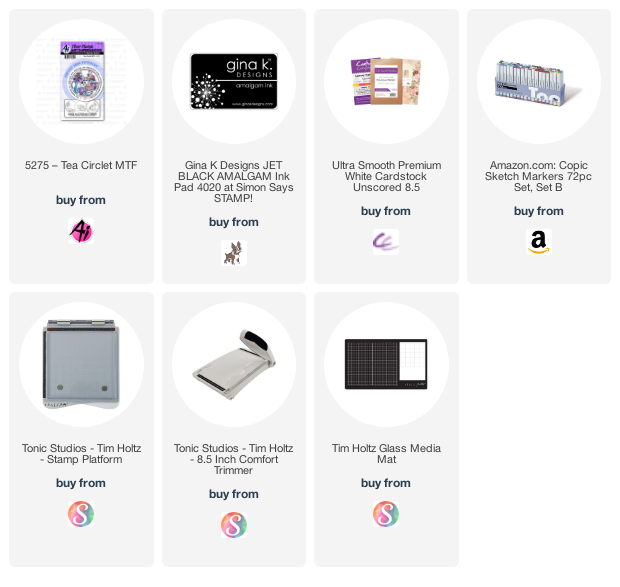
I started by stamping all three images onto Spectrum Noir Ultra Smooth Cardstock with Gina K black Amalgam ink and colored them with Copic markers.  I have the colors I used listed at the end of this post. I then cut the out with circle dies from We R Memory Keepers.


 I cut three circles from the DCWV Garden Tea Party 12" x 12" papers using the same circle dies.  I then used the We R Memory Keepers Lace Circle dies to cut out three lacy circles from cream cardstock.

I distressed all of the layers for the card with Tea Dye and Vintage Photo Distress ink.

I used the Circlet dies that come in the stamp set over two of the colored images and cut them out. 


I then placed the cut top piece over the patterned paper circle and added the die to the cut opening.  I traced the inside of the die with a pencil so I could see where I needed to place the die.  I removed the colored layer and placed the die around the pencil marks and cut out the patterned paper layer.


I then did the previous two steps to cut out the base layer of the top panel. I glued all three layers together to form the top piece of the card.


 I placed all of the middle layer where I want them and taped them together. I added the next die into the middle opening and traced around the second die.  I took all of the layers apart and cut them the same way I did for the top layer.


I lined the bottom layer up and glued it in the right place.


I added two brads to the top of the bottom layer and one at the bottom of the top layer.  You can look back at the main picture to see where they go. I didn't tighten up the brad too much.  You want the layers to swivel.


Copic Colors Used:
Flowers - E51, R81, R85
Leaves - YG61, YG63, YG67
Vase - R00, R20, R21
Tea Bag - E50, E51, E55, E57
Tea Set - E50, E51, E55
Present - R81, R83, R85
Spoons - C0, C1, C3
Thanks for stopping by and Have a Great Day!


Thank you Jil!

Now, as we get ready for another new challenge, let's congratulate the winner of our 
You're Invited Challenge!!!

Thank you all for participating and bringing joy to each of our challenges!

This week, Top Spot goes to NanaConnie who used our 
Burnadette for a darling birthday card...that might require a few safety measures!!

Congrats NanaConnie!!!


Contact Claire at feedback@artimpressions.com with your mailing address, and choice of 3 stamps. Well done!


This week for our new challenge, we want to see how each of you play with layers!! It can be so fun to add texture, depth, and make your creations pop using height. If you're looking for some starter ideas, check out our 3D ProjectsCircletsMini Try-folds, or Windows on our Pinterest Page


We want to see how you create your best layered card! Though you can use any stamps you have, we'd love to see any Art Impressions products in your collection!
Hurry, challenge closes June 3rd at 5PM PT!


Here are the Challenge Rules...
✻ Please make a new card or creation. You can make any crafty item you wish; this is not limited to cards!
✻ Limit two submissions per person. You will receive extra votes if you use Art Impressions stamps!
✻ The Ai Challenge is open to everyone, international submissions are welcome!
✻ Include a link back to the Ai Blog or grab our button on the top right of our sidebar!
✻ Share the Ai love by clicking and commenting your fellow crafters.
✻ Make sure to get your link up by the deadline to enter your creations.
✻ Good luck and happy stamping!
You are invited to the Inlinkz link party!
Click here to enter

Watercolor Wednesday

NEW VIDEO!!!


Watch Bonnie create this serene nighttime scene in our newest video!

Happy Stamping!

Wednesday, February 13, 2019

Front Porch Circlet by Niccole Kulig

Hello Ai Fans and Welcome!!

Happy Wednesday! Today I am sharing another Circlet card since it is the last day of Stripes and Circles challenge.

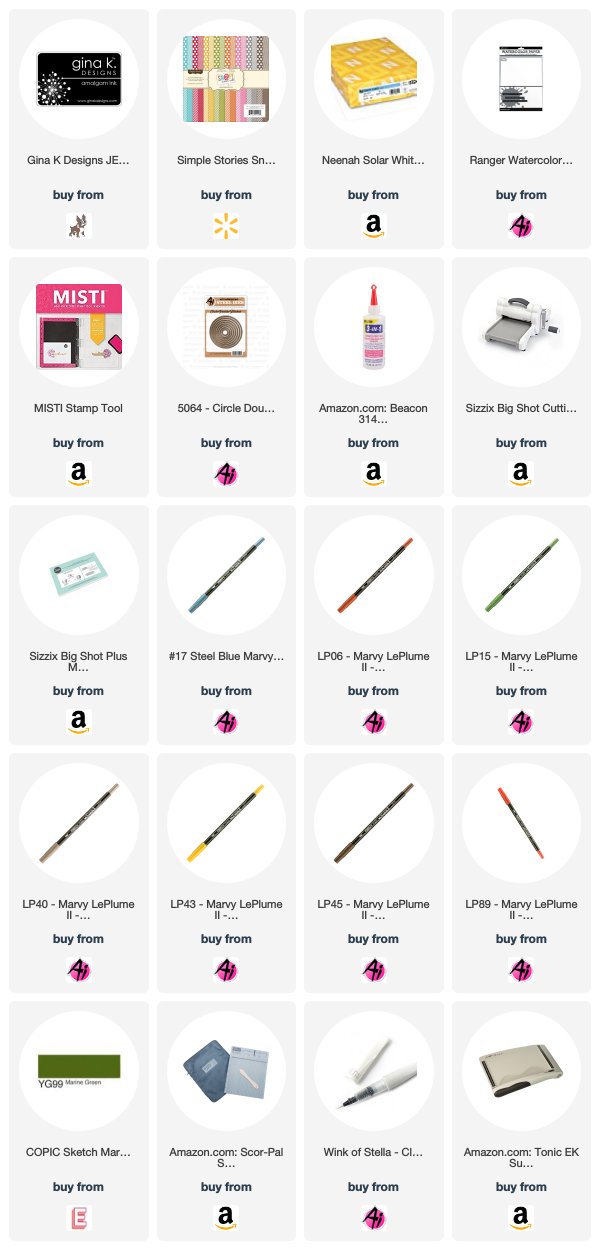
I used the Circle Double Stitch Dies for all my circles. I used a different pattern paper for each page. I also colored the middle circle of each set with my Marine Green Copic. I then die cut all of the shapes that are included with the Front Porch Circlet stamp and die set.

From here I glued all of the layers together. 

I made a flat 6x6 base to attach my card to.  All in all I used four different pattern papers for all of my layers.  In the picture above you can see the dimension to the different layers of the three circles.
I made a hinge with the three layers and glued them together so that it could open like a top folding card against the flat 6x6 card base.
I hope you  enjoy the card as much as I did making it.  They are really easy to put together with the coordinating stamp and die set.  These Circlets are very versatile and can be used in so many ways; I hope you grab yourself some.

Thank you so much for stopping by.

Markers used:
Copic YG99 - Marine Green
Marvy No. 6 - Brown
Marvy No. 15 - Olive Green
Marvy No. 17 - Steel Blue
Marvy No. 40 - Brownish Grey
Marvy No. 43 - Brilliant Yellow
Marvy No. 45 - Sepia
Marvy No. 89 - Persimmon

Until next time … Hugs & inky fingers!


Thursday, April 12, 2018

NEW Circlet MTF Line! PLUS, Challenge 230 Good Goes Around!


Hello, Ai Fans!
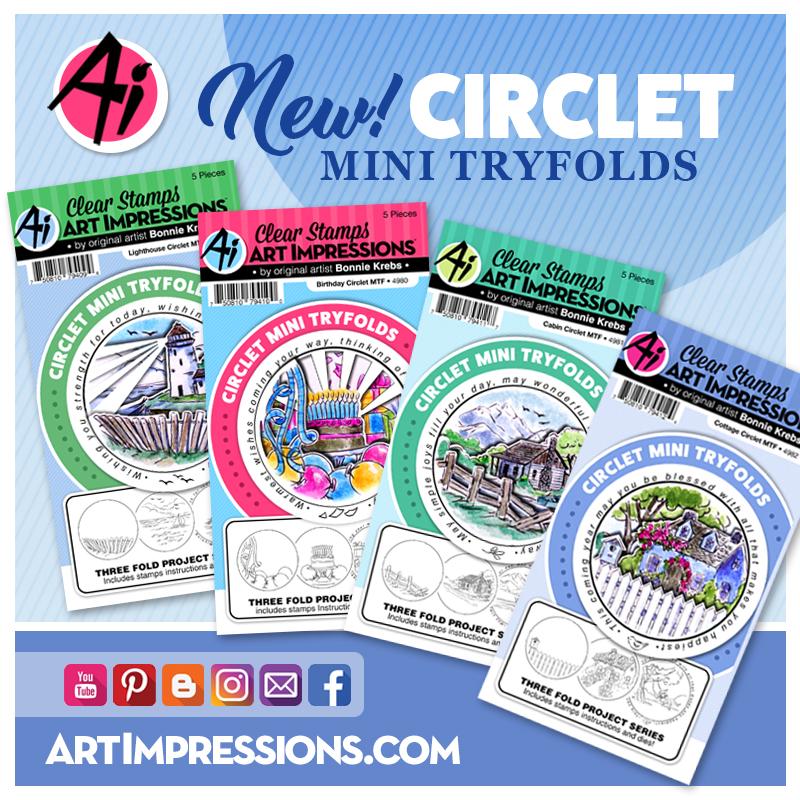
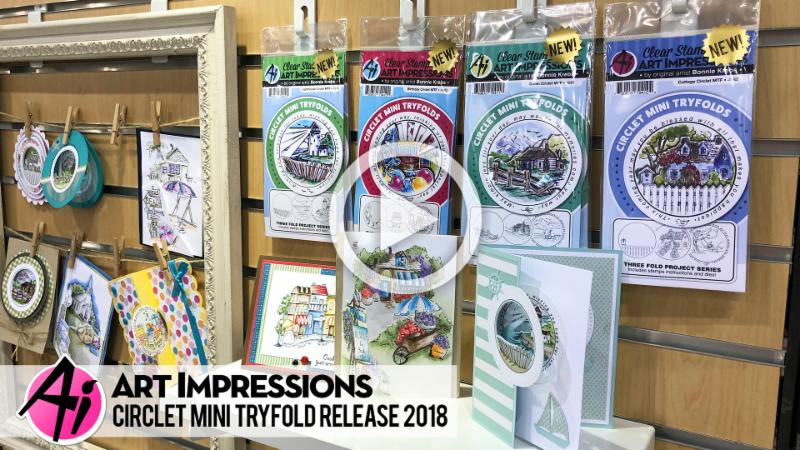
Good things go around! Today, we are introducing our new Circlet Mini TryFolds, an extension of our popular three-panel revealing line! Watch as our new circle-based scenes are great for unique interactive ideas, such as rotating circles, book folds, and flip cards! Check out our four new stamp and die sets featuring beautiful outdoor scenes such as our Lighthouse, Cabin, and Cottage sets, and a bursting Birthday set complete with cake and balloons! Expand your TryFold collection and grab all four sets at artimpressions.com!
Circlet Release Video

Today we have a fabulous tutorial by Diane for an inventive way to use these new circular stamps!

Hello friends! You are probably familiar with using the MTF sets to create fun trifold cards so when I made my Circlet cards, I created 4 different card styles to give you extra ideas. Here I used the Birthday Circlet MTF to create a flip card. Keep checking back the next few weeks to see the other 3 card styles I made!
I used the Sizzix Circle Card Flip-its #2 dies to cut my card base and layers but there are tutorials to make flip cards if you want to cut & score your own. I colored and die cut all 3 images with the matching dies included in the set. I also used some Spellbinders circle dies to cut around them. Then I layered the first two onto the front of the circle-shaped part that flips. I cut very skinny pieces of foam tape to place around the edge of the balloon image and pop it up a bit.
Normally the third image would be peeking through from behind the other two but this time I adhered it to the other side.
Here's a few close-ups.
Such a nice sentiment! (a 2 3/8" circle die is perfect to cut this out)
Now it’s your turn to break out your favorite stamps, make a card, and join us in the “Good Goes Around” Challenge! Happy stamping!
Thanks, Diane! What a fabulous card!
Time for our new challenge! This challenge plays off the idea of our Circlets, "Good Goes Around!" We love how cardmaking spreads kindness and joy, so please join us in creating uplifting cards with a "round" or "circular" theme! We can't wait to see what you make!

Here are the Challenge Rules
✻ Please make a new card or creation. You can make any crafty item you wish; this is not limited to cards!
✻ Limit two submissions per person. You will receive extra votes if you use Art Impressions stamps!
✻ The Ai Challenge is open to everyone, international submissions are welcome!
✻ Include a link back to the Ai Blog or grab our button on the top right of our sidebar!
✻ Share the Ai love by clicking and commenting your fellow crafters.
✻ Make sure to get your link up by Wednesday, April 25 at 5:00 p.m. PST to enter your creations.
✻ Good luck and happy stamping!
Let's recognize the winners of last week's Gatefold Cards winners!

Top Spot goes to...

Gail!

Congrats, Gail! We found your Cowboy Wiggle Wobble with saloon door gatefolds to be highly creative! Thanks for sharing! Email annelise@artimpressions.com with your address to claim your prize pack!

Honorable Mentions go to...

Carol!
 
Reetta!
Congrats, you two! Carol, we love your creation with our new WC 2018 Exclusive (available only with our 2018 Watercolor Workshop). It is a beautiful scene! And Reetta, we love the way you layered sentiments with your beautiful Giant Cake image! A gorgeous image like that is a wonderful surprise inside a gatefold card! Be sure to email annelise@artimpressions.com with your address and select a stamp set of your choice for a prize!

Thanks for everyone who joined - we LOVED your creations! Please join again and tell your friends about this new challenge. Happy Stamping!