Showing posts with label WC Decorative Jars Set. Show all posts

Wednesday, October 23, 2019

NEW VIDEO! Intro to Watercolor Stamping!

Hello Ai Fans!

This week, we have a back-to-basics for our Watercolor Wednesday! We get asked by new watercolor stampers all the time, "Where do I start?" and "What supplies do I need?" Bonnie will take us back to the beginning with an overview of our favorite tools to achieve beautiful, watercolor paintings with the use of our rubber stamps!

For Watercolor Stamping, there are some necessary supplies to get the desired look.

Basic Supplies
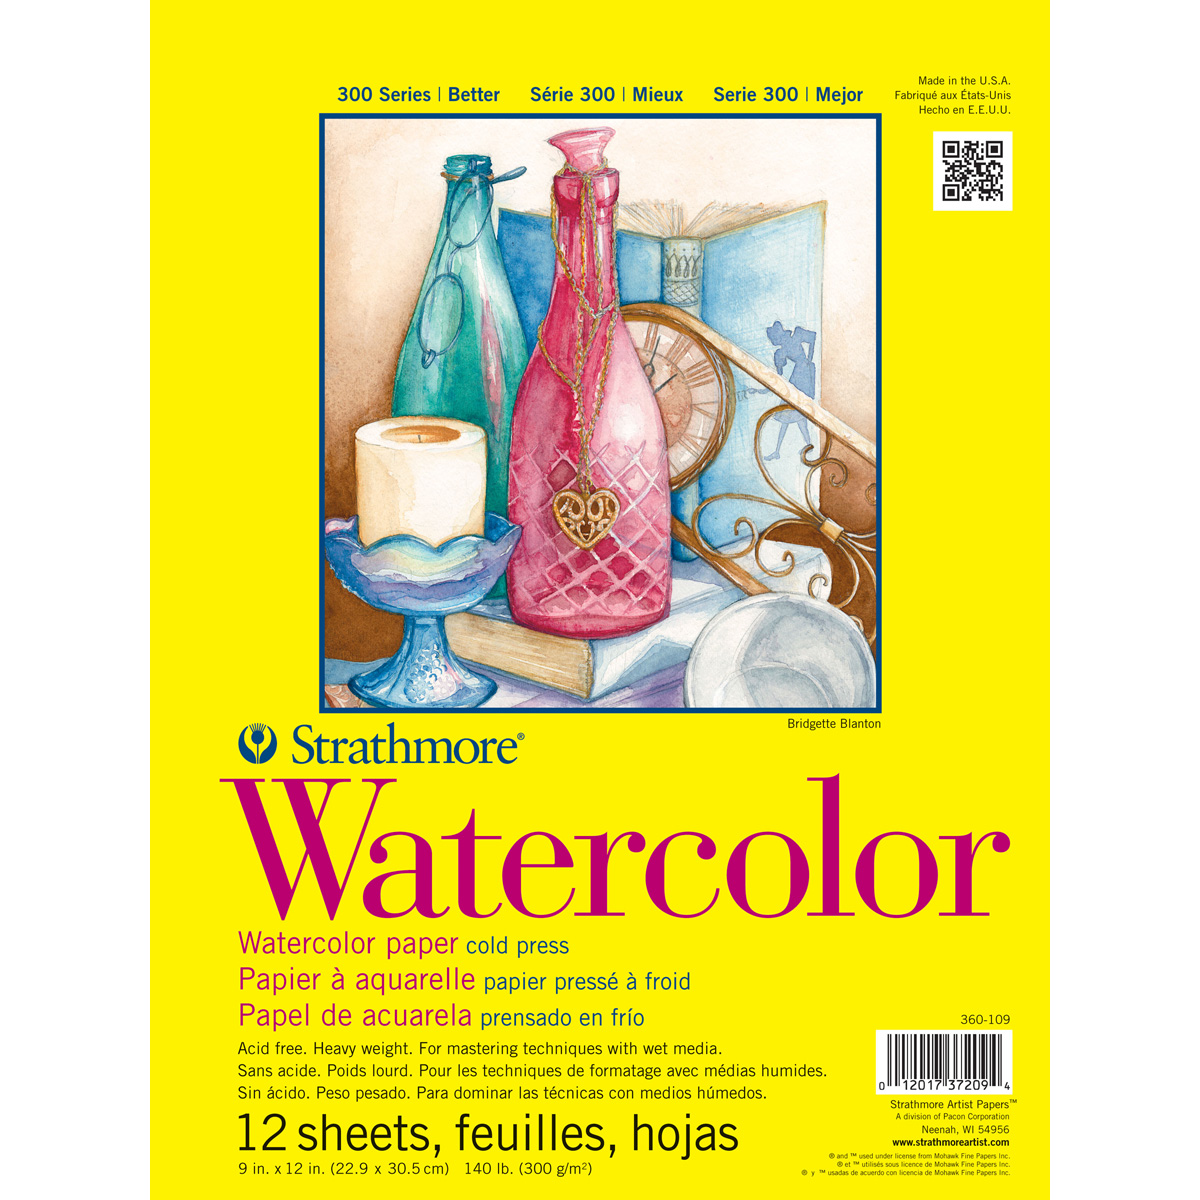
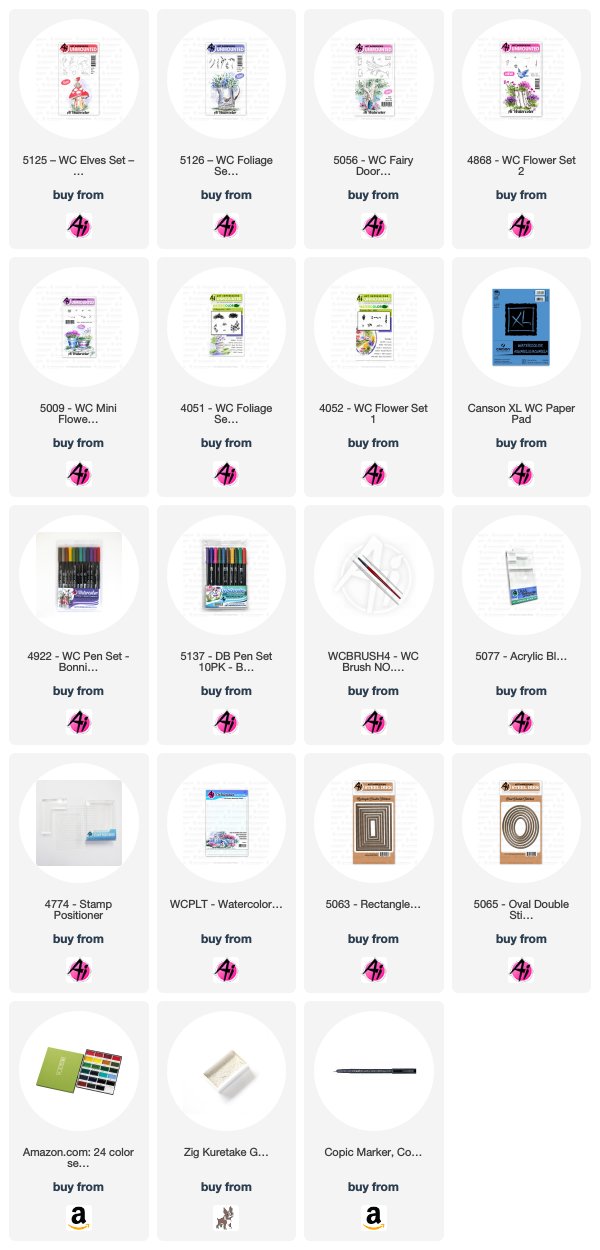
1. Watercolor Paper (Canson XL or Strathmore)
2. Synthetic, Round Watercolor Brush #4 (Connoisseur)
3. Water-Based Markers (Tombow Markers - Bonnie's Favorites)
4. WC Foliage Set 1 and WC Flower Set 1
5. A Main Image Set of your Choice
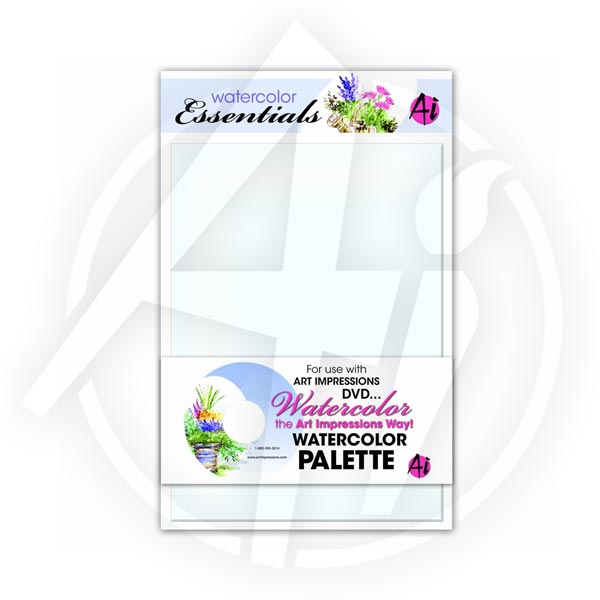
6. Watercolor Palette and Acrylic Blocks

Let's explain these more in detail!
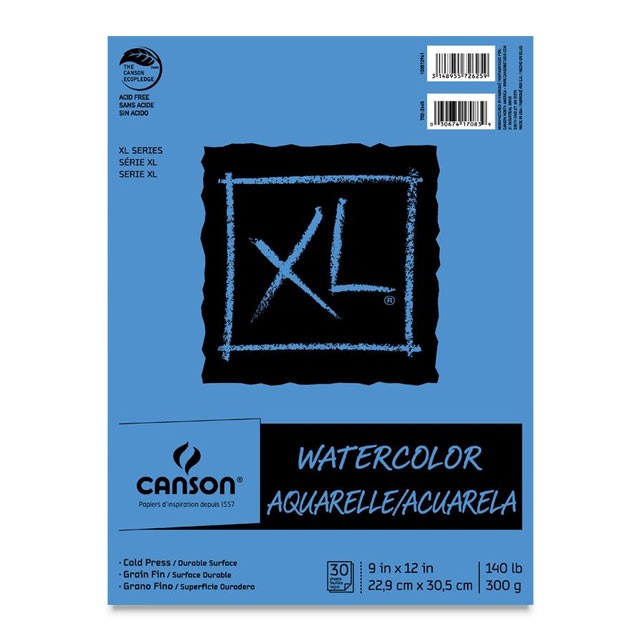

Watercolor Paper is very important for this technique, as when you stamp in water-based ink, it keeps the color on top of the paper, so you can easily move it with a damp brush. Cardstock and alcohol-based markers will not work for this project series. We prefer Canson XL or Strathmore watercolor paper and use the textured side, as it does not oversaturate the paper with color.


Our Connoisseur #4 Brush is a coveted item, as no regular brush will do! One, your brush has to be synthetic, as natural hair brushes will sag and not hold its shape with water on it. The synthetic gives us the 'bounce' we are looking for as we blend and gently tap around the image. This brush is also the perfect size to pull color from your main images and blend your flowers and foliage.


Although any water-based marker will work for this technique, we highly recommend you use Tombow Dual Brush Markers on your projects. First, we like Tombow markers the best because they are very wet, so when stamping your multiple impressions, you can get up to 10 images, where other markers you might get 3 or 4. Second, Tombow has highly pigmented colors, so when you are blending, you do not need to work as hard to blend. Third, we love the bullet tip on the other side of the Dual Brush Pens (or use our TwinTone markers for an even finer tip), which give us the ability to add darker shadows and details to the image to really make areas pop!
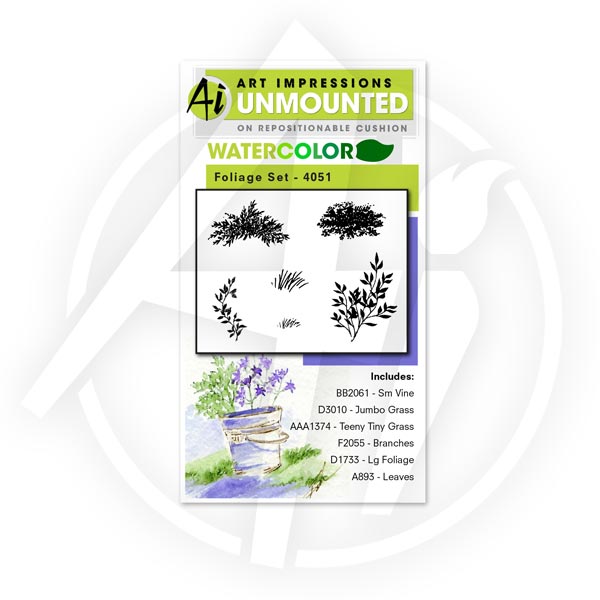
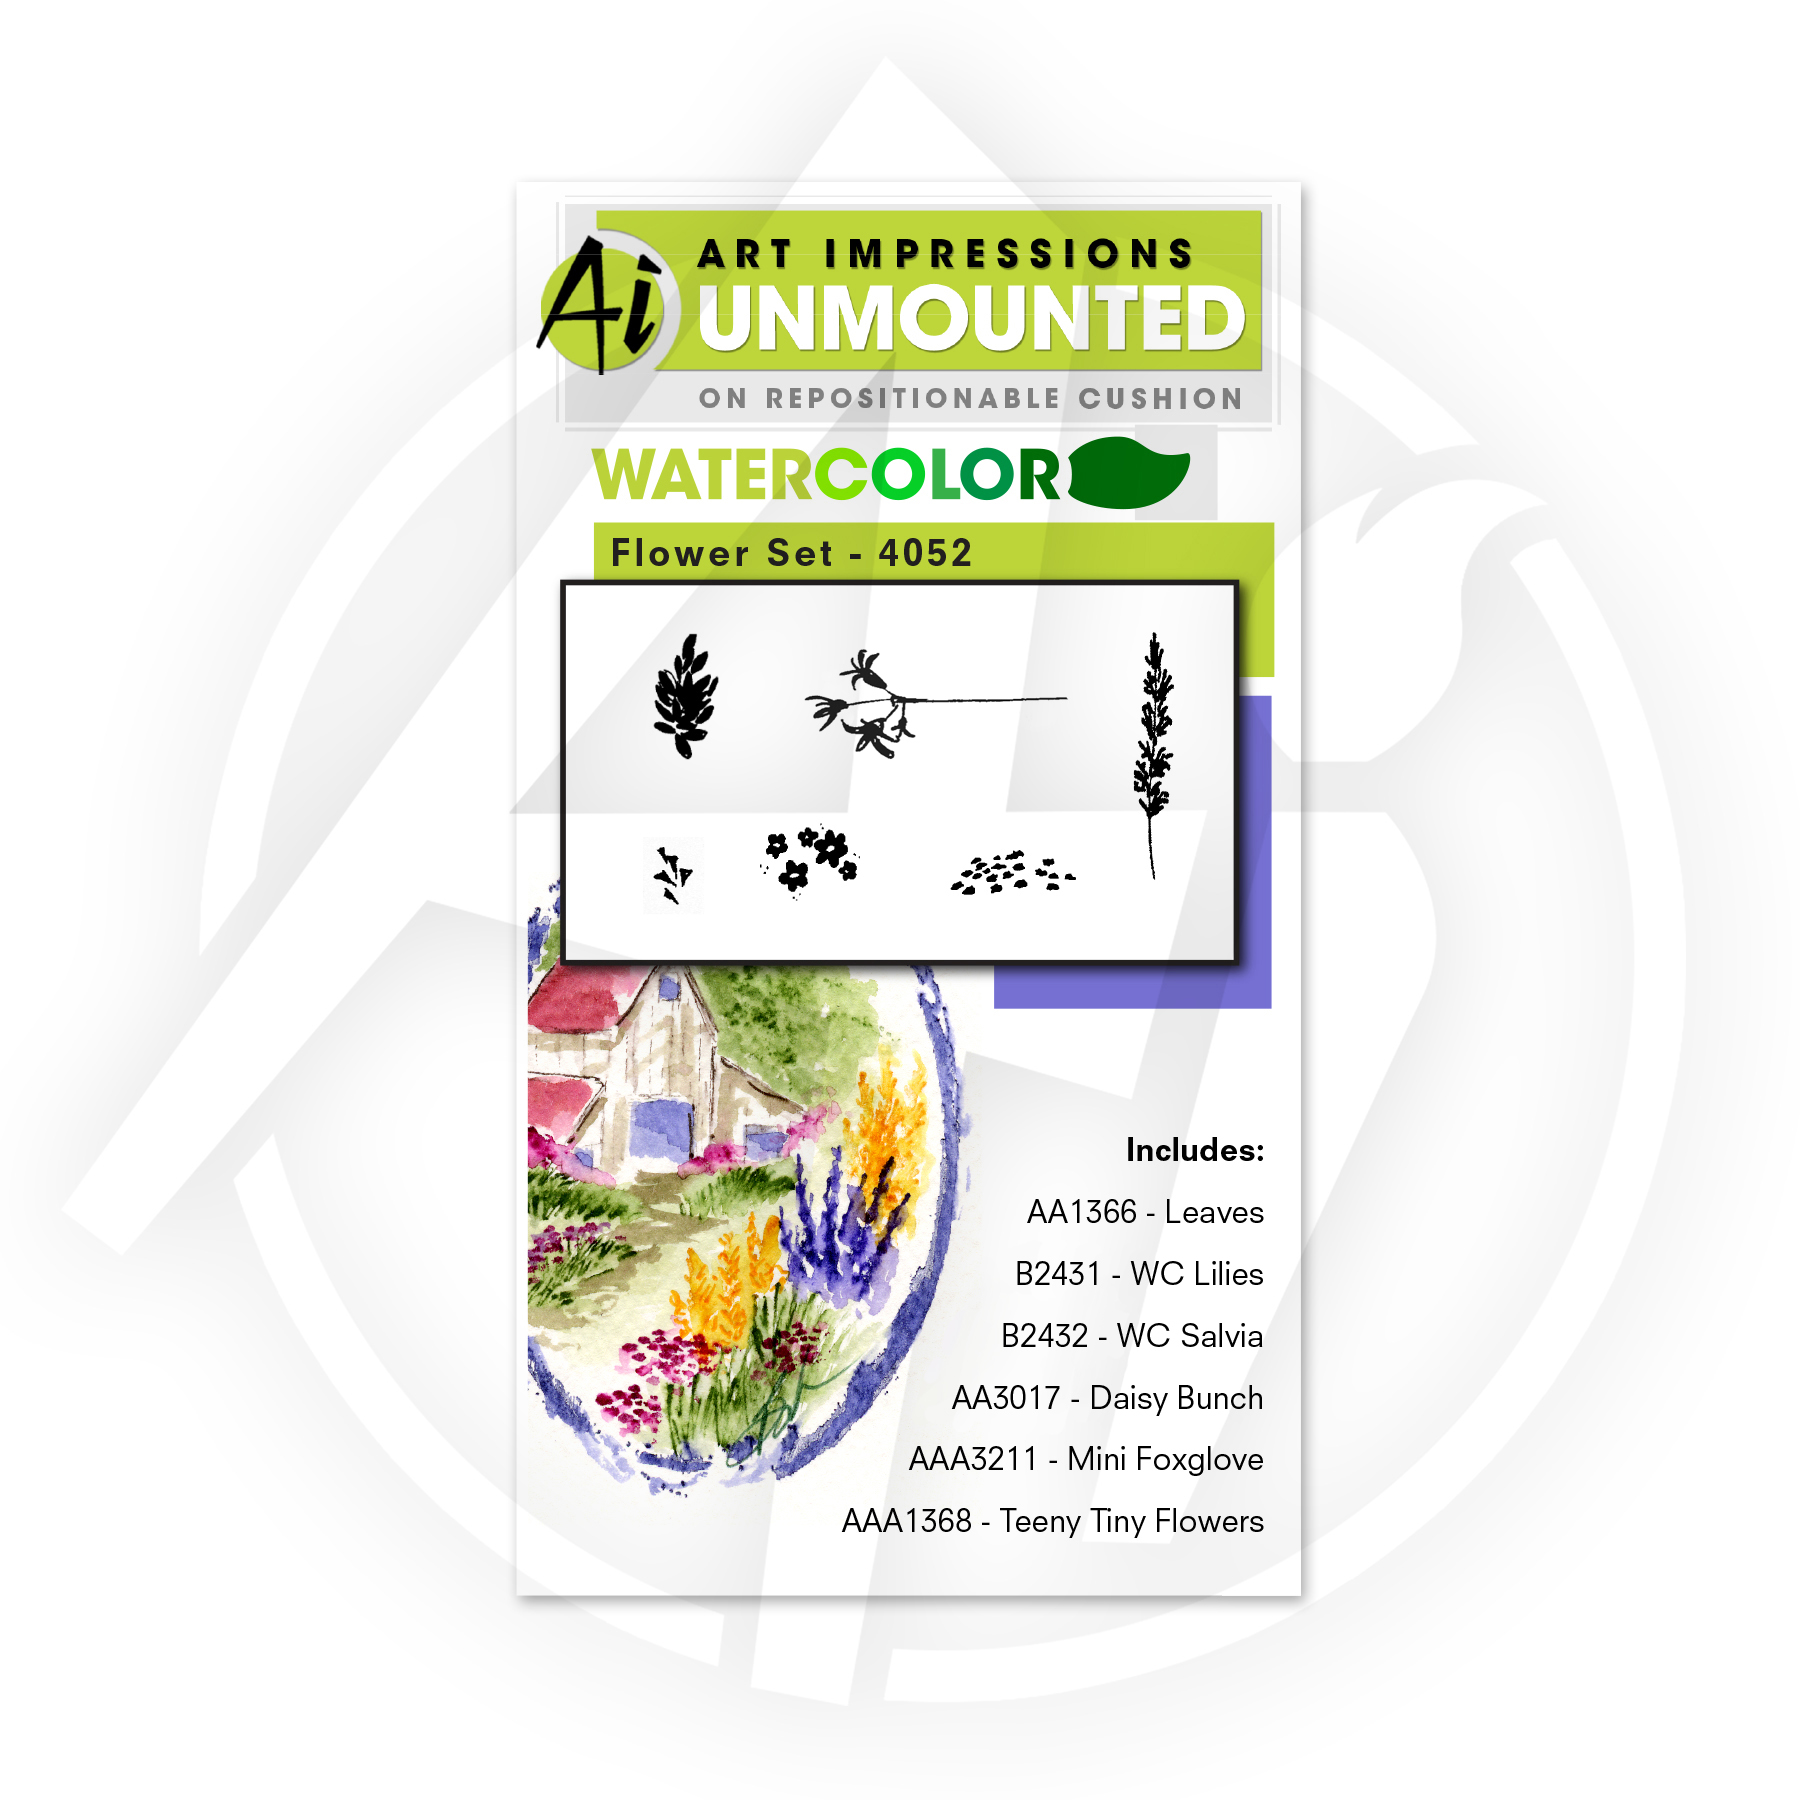
To get stamping, we suggest starting with our WC Foliage Set 1 and WC Flower Set 1. These basic sets are what you will carry through all your projects. You will see the grasses, vines, flower bunches, and long stems used in any watercolor we create. We started with these two staple sets because if we created sets with everything for one project, you would end up with a multitude of tiny grasses or flowers! Once you have these two, you can pick and choose whichever scenes you would like to create, such as gorgeous containers, stunning structures, or beautiful landscapes.

To help beginners get started, we created the Watercolor Starter Bundle, combining our original WC Foliage Set 1 and WC Flower Set 1 with our WC Decorative Jars Set at discounted price! These three sets can be mixed and matched to create a range of unique projects!


We add color to many of our images (washes of the sky, color to main images) and the easiest way to do this is by rubbing the brush tip of your marker onto our Ai Watercolor Palette and pulling the color off with your brush. This gives you great control over the amount of color going to your image, and you can easily shade by adding layers of color. Our palette is a game changer, perfectly white so you can see your color, and you can always reactivate the dried ink with your damp brush.
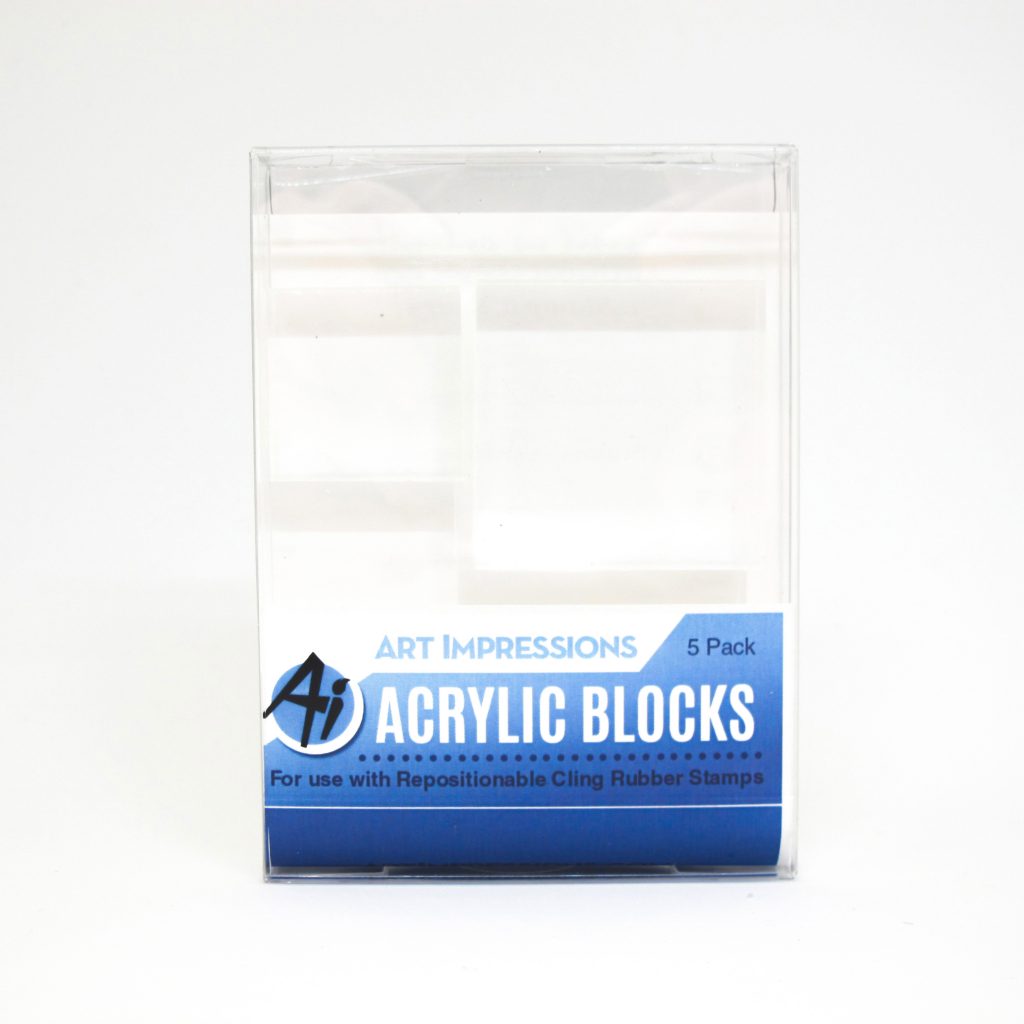

Another great option to add to your collection are our tiny Acrylic Blocks. We offer square blocks in 1"1.5", and 3" to offer smaller sizes for your little images, like the teeny tiny grass and daisy bunch. Bonnie is often suggesting to permanently adhere your tiny stamps to our 1" block with super glue so you don't lose them!

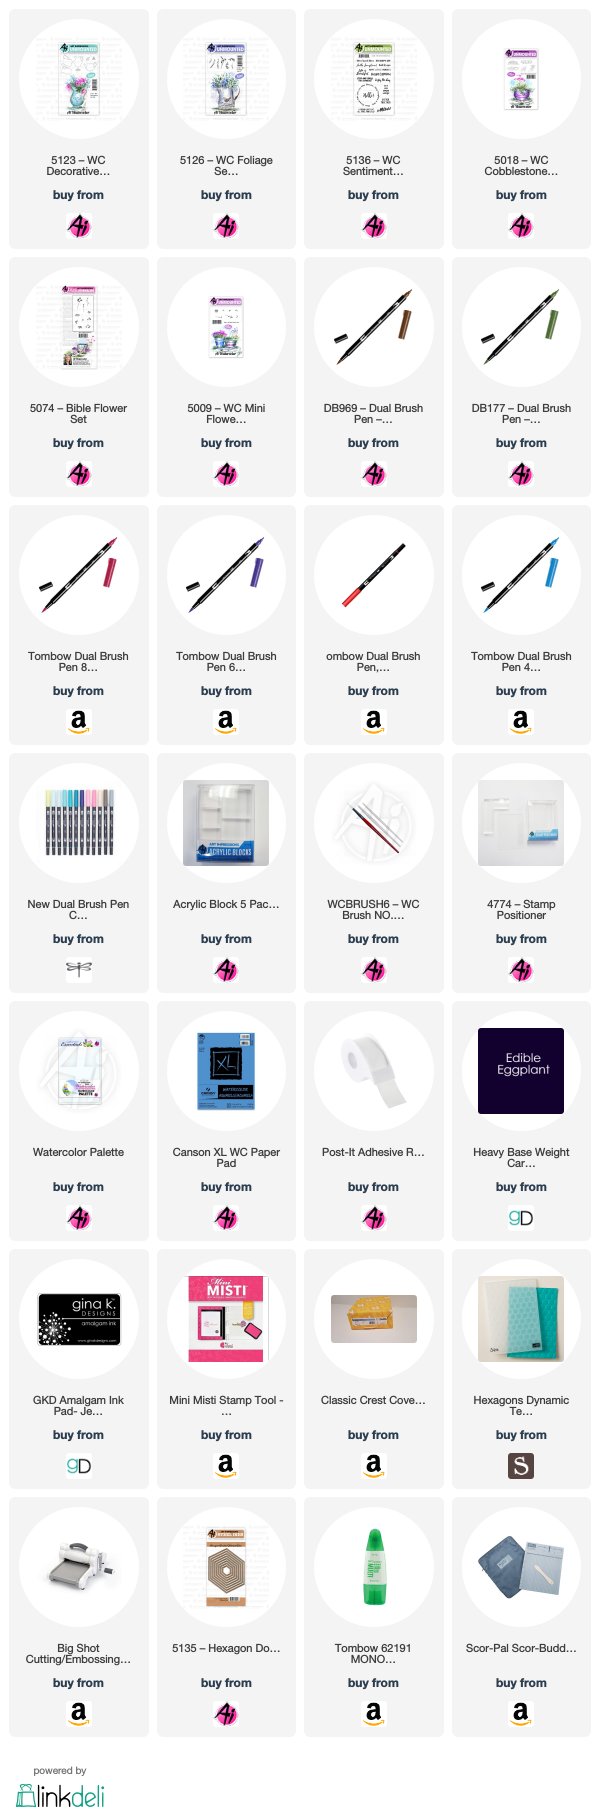
Now check out this great introduction to watercolor video with Bonnie, as she shows the step-by-step techniques in building your foliages and flowers, and how to add them together in this teapot from our WC Decorative Jar Set.

Do you have any other questions as a beginner? Maybe even intermediate or advanced questions? We are working on a Frequently Asked Questions video and would love for you to leave a comment on this video for our next project!


View on YouTube: https://youtu.be/FfoCE7naVQQ


Thursday, February 28, 2019

NEW Watercolor Release! FIVE Sets Available Now! Challenge 251 Floral Cards!

Hello, Ai Fans!

Hooray! Welcome to our first Watercolor Releases of 2019! These fabulous sets are sure to be favorites in your collection! Our WC Decorative Jars Set includes four gorgeous containers, such as pitchers and even a teapot! The set also includes three decorative designs for accents. Create a playful scene with our WC Bicycle Set, including four bikes with baskets, ready to be filled with flowers. Enjoy our whimsical WC Elves Set, featuring mushrooms and little characters for scenes with a touch of magic. Add the new WC Foliage Set 4 to your collection, because Bonnie is sure to use the small bunches of wild grass, tiny left- and right-facing vines, and other leaves in her upcoming videos! Last but not least, our WC Sentiments Set 2 features several sweet verses to pair with your projects.

Be sure to subscribe to our YouTube channel so you don't miss our Watercolor Wednesday video tutorials on these fabulous sets! These sets, along with our NEW 2019 Watercolor Catalog, are now available at artimpressions.com!


Decorative JarsWC BicyclesWC ElvesFoliage Set 4WC Sentiments 2
We have a plethora of inspiration from you today, from our Watercolor Guest Design team members, as well as our own Bonnie Krebs! Let's take a look at what these lovely ladies have in store for us today!

Bonnie Krebs - Instagram
Hear what Bonnie has to say about these new sets in her video below!


Dot Freel - Instagram - Blog - Pinterest
Hello Watercolor Friends,

There are some amazing brand new stamp sets available now from Art Impressions! I used the new 5125 - WC Elves Set to create this card for the latest challenge, "Floral Cards." I stamped the mushroom using both the brown and blue. I pulled the color out of the lines. I took Sepia from the palette

to paint in the circles on the mushroom top. I used the red 885 on the palette to color in the mushroom top. I stamped the door from the 5056 WC Fairy Doors Set (which fits perfectly) using the sepia and added lines with the fine tip of the sepia pen. I colored the door pine green, using the palette. I used the sepia fine tip to darken in the door shadows and door knob leaving that white high light in the center. I used the stamp positioner to stamp the elf on top of the mushroom house using 40 brownish grey. Then I colored him using the pine green on his pants and hat and half sleeves and I used 77 pastel peach to color in his face and hands. I colored his hair and shoes in with the sepia. I stamped a single flower in his hand from the 4868 WC Flower Set 2 using blue 565 and pine green and then stamped in the group of those same flowers above the mushroom and added water. I used pine green and stamped the leaves from the 5009 - WC Mini Flower set then used the flowers from 4052 - Flower Set 1 and stamped the flowers in using the red 885. I added water to them. I used the grass from the 4051 - WC Foliage Set 1 and stamped it in using the olive green. I used the tall stalks from the brand new 5126 - WC Foliage Set 4 and the 72 pine green and stamped them in the background. I put some olive green on the palette and dabbed it in around those leaves. I used blue 526 on the palette to color in my sky. I took actual watercolor paint - silver and white to make my sky look more cloudy. I cut out my image using the 5065 - Oval Double Stitched Dies and cut out the red background piece from the next larger oval die. I used two of the 5063 - Rectangle Double Stitched dies for the next background pieces. I glued those little green jewel flowers in the corners. Lastly, I used a Copic Multi Liner 0.03 pen to add the black centers to the flowers, draw in the elf's eyelash, draw the string on his shirt, and sign and date it.


Tricia Kennedy - Instagram
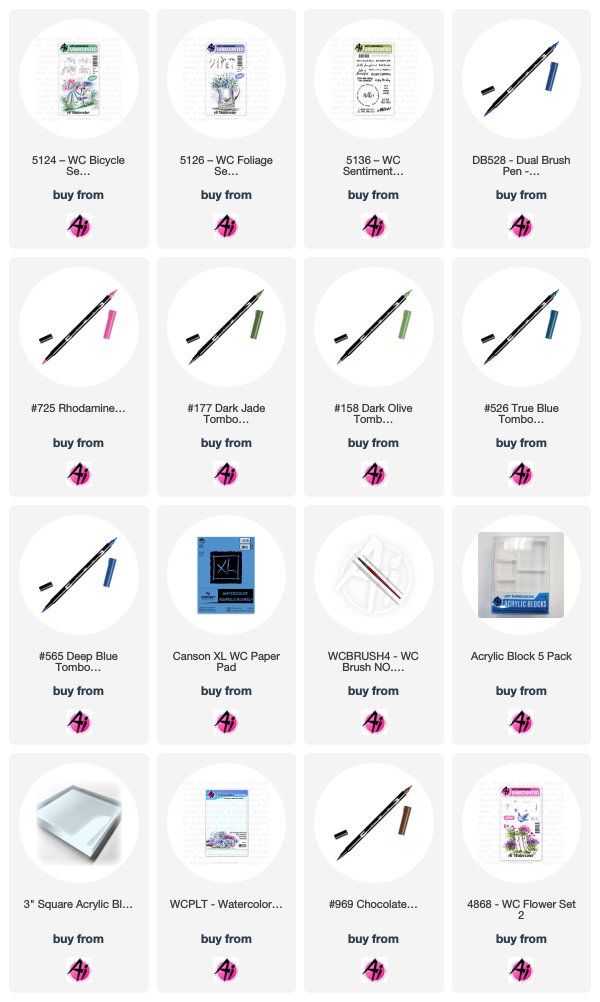
Begin by stamping the bicycle from the WC Bicycle Set in 565 Deep Blue, stamp it off onto a scrap piece of paper then add 969 Chocolate and stamp onto your watercolor paper. The combination of both colors will result in a gray tone. Watercolor the Art Impressions way with water and a paint brush. Next stamp in the foliage from the WC Foliage Set 4 in the basket and around the tires using 158 Dark Olive on some leaves and 177 Dark Jade on others. Mask off the bottom of the basket with masking paper or a post it note, then stamp the flowers from WC Flower Set 2 in 725 Rhodamine Red. Scribble a little 528 Navy Blue on your palette and brush onto the bike. Darken up the basket, seat, etc. with a bit of 969 Chocolate. Also add in tire spokes with the small tip of 969 Chocolate. Brush in the sky using 526 True Blue. Add dot detail around the flowers with 725 Rhodamine Red. Finally, stamp the sentiment from Sentiment Set 2 in your favorite black ink. I cut out the design and mounted it to the card with foam tape for added dimension.


Tricia O'Bin - Blog - Instagram - YouTube - Pinterest - Facebook
Step 1: Container
First, I inked up the container from the New Decorative Jar Set using 969-Chocolate and 569-Jet Blue. Pull the color out of the lines from the edges working your way in. In order to create the texture, add additional color in an up and down brush stroke, this creates the look of smooth metal. Make sure to leave your highlight in the middle of the container as well as along the top of the spout.

Step 2: Foliage
I inked up the leaves in the New Foliage 4 set with 177-Dark Jade. I stamped the leaves (5 times at least) along the top of the container. Make sure you leave enough space for the flowers. I added water to the foliage. 

Step 3: Flowers
I inked the flower blooms from the Bible Flower set using 905-Red and stamped three blooms. I then inked up the small flower bunch from the Mini Flowers set with 606-Violet. I added 4 additional flower bunches. I added water to the blooms starting from the lightest area. I inked the stems from the Bible Flower set using 847-Crimson and 177-Dark Jade. I added water to the blooms. To fill in the middle of the bouquet, I added some additional foliage from the New Foliage 4 set.

Step 4: Cobblestones
I used a piece of post-it tape to mask the bottom half of the container. I inked up the cobblestones from the Cobblestones set with Chocolate and Jet Blue. I stamped it off and then stamped it under the container. When pulling the color out of the lines, make sure to pull it from below the stones to make them pop. I added some 476-cyan to sides of the container to show sky.

Step 5: The Card
Make sure you sign your work. I placed the watercolor piece in my MISTI stamping tool and inked up the “Blessed & Grateful” with Gina K Designs amalgam ink and stamped it along the bottom of the container. 

Next, I cut the watercolor piece out with the new Hexagon double stitched die. I also cut a mat from peach cardstock using one size larger Hexagon die. I popped up the watercolor piece using foam tape. I adhered this to a piece of white cardstock cut to 3.75 x 5 that I ran through my big shot using a hexagon embossing folder.

I adhered this onto a Edible Eggplant card stock mat. I adhered this to a side folded card base.

Just LOVE these cards! They are the perfect inspiration for our new Floral Cards challenge! It may still be wintery in many parts of the country (even at Ai headquarters in Oregon!), but that doesn't stop us from dreaming about spring! Join us by making a flower-inspired creation for our challenge for a chance to win Ai stamps!


 Here are the Challenge Rules:

✻ Please make a new card or creation. You can make any crafty item you wish; this is not limited to cards!
✻ Limit two submissions per person. You will receive extra votes if you use Art Impressions stamps!
✻ The Ai Challenge is open to everyone, international submissions are welcome!
✻ Include a link back to the Ai Blog or grab our button on the top right of our sidebar!
✻ Share the Ai love by clicking and commenting your fellow crafters.
✻ Make sure to get your link up by Wednesday, March 13 at 5:00 p.m. PST to enter your creations.
✻ Good luck and happy stamping!

Inlinkz Link Party
Before we go, let's take a look at the winners of last week's House or Cottage Challenge!

Top spot goes to...

Helen F!

Congrats, Helen! We adore how you used two of our Windows to the World stamps (Cottage Window and Greatest Gift Window) and transformed them into polaroid snapshots! Email annelise@artimpressions.com with your address to claim your prize pack!

Honorable mentions go to...

Janet K!

Heidi!
 Congrats, you two! Janet, we love your Cottage Circlet card with the gate that actually hinges open! Super clever! And Heidi, your watercolor cottage card with whimsical large florals is so pretty with those bright colors! Email annelise@artimpressions.com with your address, and select a stamp set of your choice for a prize!

Thanks to everyone who joined the challenge, we had awesome entries! Be sure to join us again for our Floral Cards challenge!

Happy Stamping!