Showing posts with label 5797 Little Things Sentiments. Show all posts

Monday, January 19, 2026

Sending a little hello by Sharon Caudle

 Hello AI Fans!

I have a simple little card for you today that fits in with the new challenge Pocket Full of Sunshine! Now if you know me, you know my favorite color is yellow, so I was super stoked to be able to create a card for this challenge! I love shaped cards, and while flipping through my die sets, I saw #5768 Decorative Journal Page 1 and I just loved the decorative edge on it. So I grabbed it to make a card. It's super simple to do this, all you have to do is create your folded card base, but when you go to place your die on it to cut, make sure you put the cutting edge of the die off of the fold of your card base. Make Sense? I then cut two more pieces, one out of my pattern paper and another layer of just white cardstock. I trimmed down all the sides of the pattern paper so the card base would be a mat for it. Then I tore the white piece (tearing towards myself) to make the layer that looks like a snowy hill. I grabbed a tree die and sun die from my stash to finish off the card. A cute sentiment from #5797 Little Things Sentiment Set finished it off. 


So that's it for me today! Thanks so much for stopping by for a visit and until next time - stay crafty!!


Copic markers used:
Y13, 15, and 18
E33, 35, 95, 97, and 98
C4, 5, and 6
YR04, 07, 61, and 65
G82 and 85


Monday, June 9, 2025

Hi Friend by Sharon Caudle

 Hello AI Fans!!

I have a card for you today that goes along with the current challenge Blossoms & Blooms. If you haven't checked out Dori's amazing creation for her feature for this challenge, please do yourself a favor and click HERE to see it. It's jaw dropping gorgeous and so creative!

I don't know if you've noticed I've really been using a lot of Girlfriends images for the past several challenges! And here I am again, LOL! This time, I used 5798 Gardening Girlfriends Set. I stamped the image onto a Copic friendly paper, and then again on a piece of masking paper. After carefully placing the mask over my Girlfriends, I inked up 56361 WC Gazebo Set, and stamped it offsetting it a little behind the ladies. I love this technique cause it never fails to amaze me how it looks when I remove the mask. After I colored up the image, I chose a couple flower bunches from the Front Door Line of stamps and colored them. After fussy cutting them out, I placed them on the image so it looked like they were in the pots the Girlfriends are holding. I also placed an extra pot in the lower corner of the image. 


So that's it for me today! Thanks so much for stopping by for a visit today and until next time - stay crafty!! 
Copics used:
E000, 00, 04, 11, 19, 33, 35, 37, 40, 41, 42, 43, 44, 97, and 99
R02, 81, 83, and 85
G24, 28, 43, and 46
V20, 22, and 25
BG45 and 49
Y26, 32, 35, and 38
B00
W2, 4, and 6
C1 and 2


Saturday, January 18, 2025

Take It One Day at a Time by Janet


 Hello Ai fans! After making some more complicated cards the past few weeks, I opted to go with a clean and simple card design that's mostly white with pops of pink and lavender. This card also fits the current challenge, Monochromatic.

I first stamped the jar using the 5921 - Glass Containers Set. I masked the top of the jar and stamped the flower bouquet from 5918 - Floral Long Stem Bouquet Set. Masking the edge of the jar allows the two images to appear as one cohesive image. I really love the stamps Ai has offered recently with full bouquets like the three in this stamp set. For those of us who use markers and pencils, it allows us to add a bunch of flowers that make a clean image. Yet, the set works nicely for watercolor too. It's the best of both worlds. I colored the jar and flowers with Copic Markers and fussy cut it out. 

Next I worked on the white panel. I embossed the bottom section and placed a skinny strip of light lavender glitter washi tape at the top. I cut a small piece of kraft cardstock to make a surface for the jar to sit on. I glued the kraft piece in place and decided where I would put the heat embossed sentiment from 5797 - Little Things Sentiment Set. After heat embossing the sentiment in black, I mounted the jar and flowers with foam tape. The last step was to add three pink pearls for accents. I'm thinking this would make a great get well card or as encouragement for someone going through a rough patch. 

Thanks so much for joining me here at the blog today. As always, please visit the Ai store for the products I used and all the things you need for your card, journal, and tag making projects. Happy creating!

Janet YouTube - Blog - Facebook - Instagram - Pinterest

Friday, May 3, 2024

Thinking of You Card by Tasha!

 Happy Friday Ai Friends!

Tasha here sharing a new card inspired by the current "Birds of a Feather" Challenge. My card features the swans from the new KH5820-My Favorite Birds Set. This set includes several different bird stamps, but I love swans and could not wait to use it on a project.

I started by stamping the swan couple on to white card stock and used masking paper to cover the images before creating the background. To make sure I had a crisp line, I used purple tape across the card so I wouldn't get any ink on the bottom. 

For the water, I used two shades of blue Distress Oxide Ink and a white gel pen to add a water-like detail around the birds; I love gel pens! After the color for the water was done, I used two shades of ink to make a colorful sky. The glow around the swans is so pretty!

Lastly, I stamped the "Thinking of You" greeting from the 5797 - Little Things Sentiment Set and added some white splatter to the sky. I also attached layers of black paper, gold glitter paper, heart pattern paper, and a pink enamel heart to complete the card.

I hope you enjoyed todays card and are having a great day!


Friday, April 19, 2024

April Showers Card by Tasha!

 Happy Friday Ai Friends!

Tasha here sharing a new card inspired by the "It's Raining Cats and Dogs" Challenge. Art Impressions has so many cute cat and dog themed stamps and I thought it would be fun to have a little doggie playing in a puddle. 

The sweet dog is from the 5101 - Dog House Cubbies Set and I used the coordinating included die set to cut him out. I love all the Ai cubbies sets and like to use the little characters with and without the main cubbies main image. The little dog looks so happy!

To complete this card, I stamped "Just a little note" from the 5797 - Little Things Sentiment Set. This sentiment set has so many greetings perfect for year-round cards and projects. I like to have some extra general cards in my card stash just in case I need a quick note. I also enjoy sending people cards randomly to let them know I'm thinking of them.

I hope you enjoyed today's project and are having a wonderful day!


Monday, March 4, 2024

Brand new Easter Bunny Puppet Set on a Wobble!

 Hello AI Fans!!


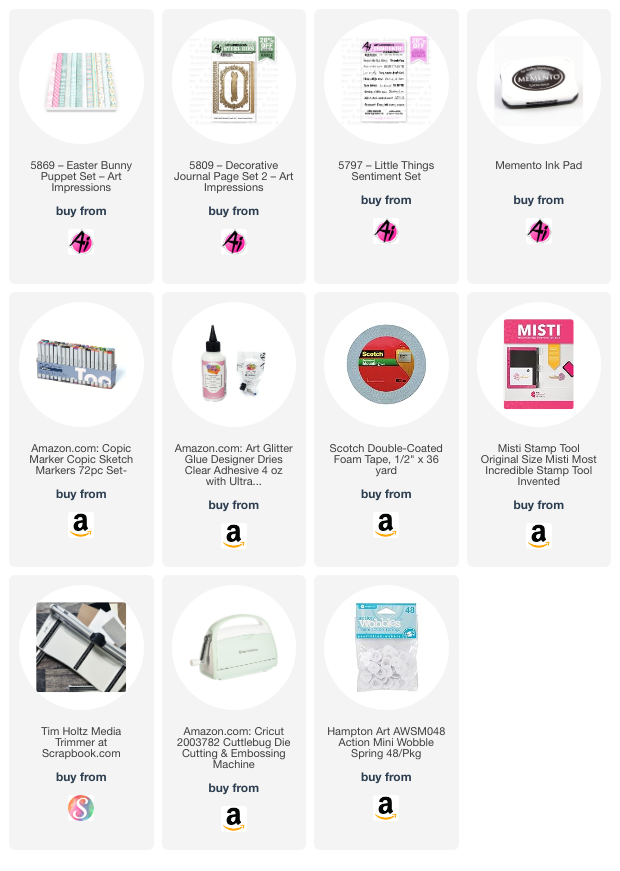
Oh my gosh, have you seen the new Easter Bunny Puppet Set from Art Impressions! Oh these are just too cute for words! If you loved the Snowman Puppet Set, you're going to be over the moon for the Bunny set too! I don't know about you and I'm definitely going to be showing my age here, but I really loved playing with paper dolls when I was a young girl. Dressing up those dolls was always so much fun! And these Puppet Sets brings that joy right back to me now!! My card fits the current AI challenge to SHAKE IT UP cause I put this adorable bunny on a Wobble. I stamped her onto Cryogen White paper and colored her up with Copic markers which are listed below. 


Thanks so much for stopping by for a visit today and until next time - stay crafty!!


Copics used:

E50, 51, and 53

V12 and 15

BG45 and 49

R11 and 12


Sunday, February 18, 2024

Swan Easel Card and Red-crowned Crane Card by Diane Mason

 Hello and welcome, Watercolor Weekend Fans!

Kim Hein has recently launched a new watercolor stamp set named My Favorite Birds Set (KH5820). This amazing set includes a pelican, two sizes of owls, baby ducks, swans, a heron, and water foliage. Kim and her daughter love birds, and so do I! As soon as I saw the facing swans stamp, I just knew I had to make a card. For my second card, I modified the heron stamp to resemble a Red-crowned Crane, also known as a Japanese Crane. Let's begin!

Swan Easel Card

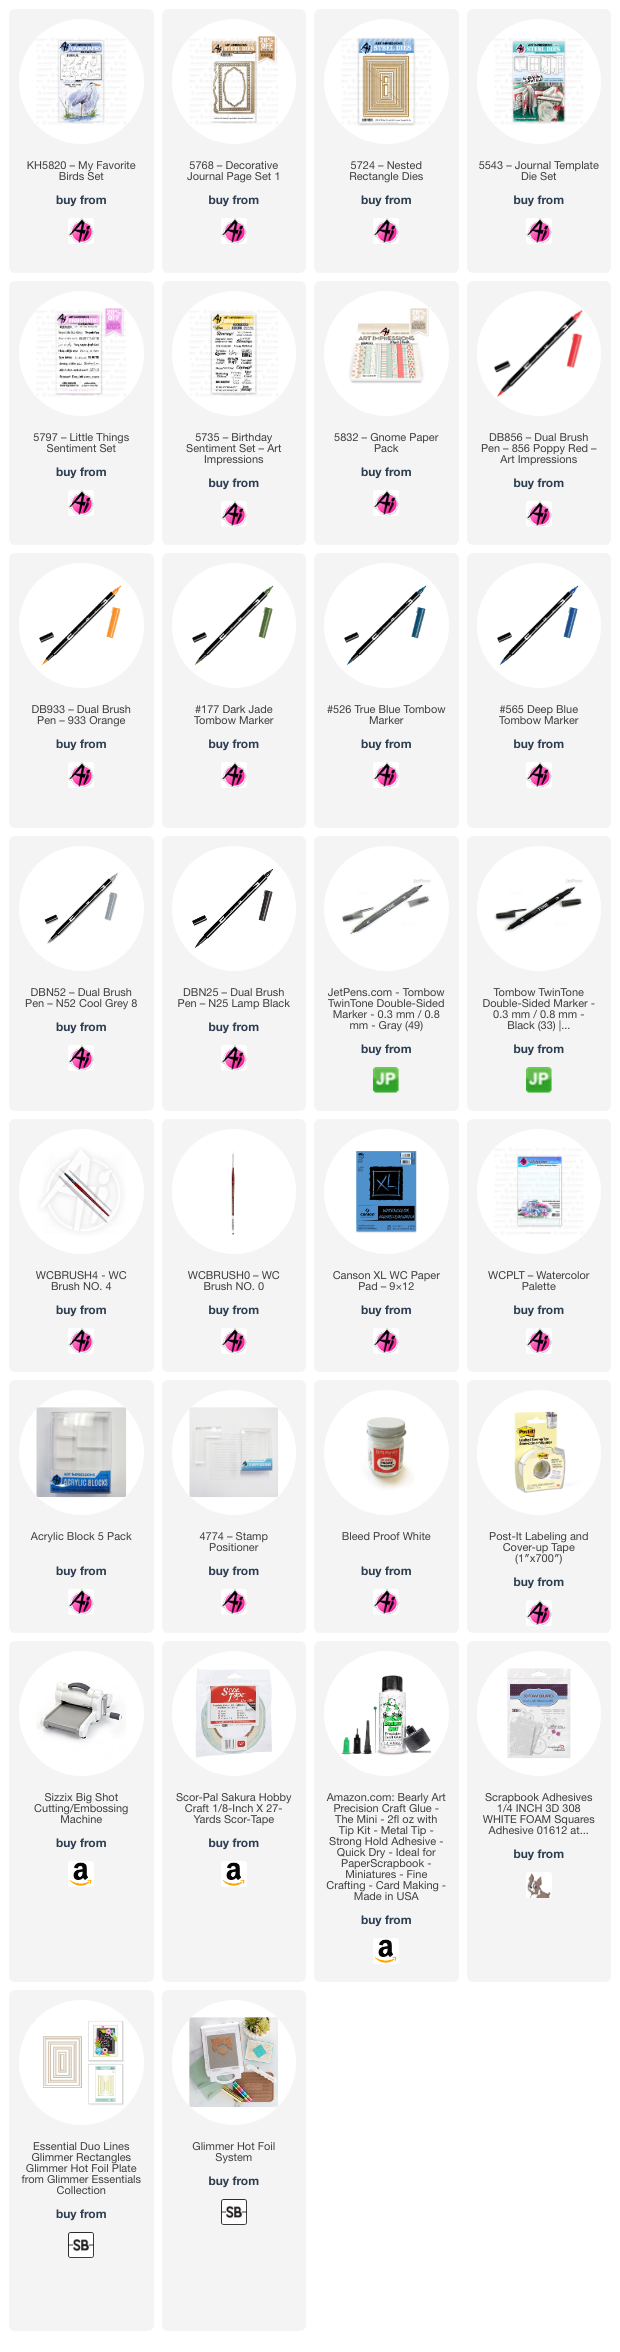
The beautiful new bird stamps are fairly quick and easy to paint. I die-cut two pieces of Canson XL watercolor paper using the decorative oval shapes from 5768 – Decorative Journal Page Set 1 and 5543 – Journal Template Die Set. I created some colored cardstock mats for my die-cuts. However, this step is optional. Next, I inked the swan stamp in N52 and stamped it onto the die-cut. I shaded the swans using N52 and added a touch of 565. For the beaks, I used 933. Then, I stamped the lily pads in front of and around the swans in 177. To create the water and sky, I used 526. Lastly, for the water grasses, I masked the swans and stamped the grasses in 177. Any missing details were added back with a gray TwinTone marker. I used the smaller die-cut decorative oval to stamp the sentiment from the Birthday Sentiment Set (5735).

To create the card base, I cut a piece of colored cardstock to 8 ½ x 5 ½ inches, then scored and folded it at 2 ⅛ and 4 ¼ inches. Next, I selected a patterned paper from the 5832 – Gnome Paper Pack and cut it to 4 x 5 ¼ inches. If your chosen paper has a directional pattern, make sure to cut it accordingly. I then cut the patterned paper in half to create two pieces measuring 2 x 5 ¼ inches each. These pieces were glued to the front of the card base, aligning them with the 2 ⅛ score line. I placed them next to each other, matching the patterns as closely as possible. To create the interior, I took a strip of patterned paper measuring 5 ¼ x ½ inches and attached it to the bottom edge of a piece of white cardstock that was 4 x 5 ¼ inches. Next, I applied double-sided tape to only the bottom half of the swan die-cut and attached it to the front of the card. This way, when the card is folded into an easel shape, the top portion of the die cut is free to stand up. Using foam squares, I popped up the sentiment die-cut on the interior. This will help to keep the easel in place when displayed. I think this would make a lovely birthday card, as well as an engagement, wedding, or anniversary card.

Red-crowned Crane Card

For my second card, I decided to paint a Red-crowned Crane (also known as the Japanese Crane) instead of the heron that Kim suggested. With a slight bit of modification and using a reference photo, I think I was able to achieve the desired result. I used a beautiful gold embossed origami paper with cranes for the background and a hot foil plate with gold foil for the frame on my watercolor paper. I stamped the crane with N52 and shaded it with layers of N52. I used 856 for the red crown, N25 for the neck, legs, and dark feathers, and added two small bumps on the legs for the knees. I sketched some hills and a mountain inspired by Mount Fuji with a pencil and painted the water with 526. I created a subtle misty backdrop for the hills and mount with a very watery mix of 526 and a touch of N52. Once dry, I erased the pencil lines and brushed in the sky with 526. I stamped the water grasses in 177 and added additional water ripples with 526. I used a small amount of Dr. Ph. Martin’s Bleed Proof White for highlights and added any missing details with a gray or black TwinTone marker. I popped up the painting on the card front with foam squares and used a sentiment from the 5797 – Little Things Sentiment Set for the interior.

Thank you, Kim, for sharing your love of birds with us and creating these awesome stamps. I enjoyed creating beautiful nature scenes with the new bird stamps and I look forward to painting the additional birds as well! Be sure to tag Art Impressions on social media if you create something with these beautiful new stamps. We love to see your work!

In addition, I want to thank my Ai Watercolor Fans for joining me for another Watercolor Weekend. Until next time, Happy Painting!

For the Swan Easel Card and The Red-crowned Crane Card:

Saturday, February 3, 2024

Treasure the Little Things

It's February and I'm already dreaming about warm spring days. What's more spring than a cute little gnome taking a nap under a pot of beautiful geraniums? That was my thought as I created my card.

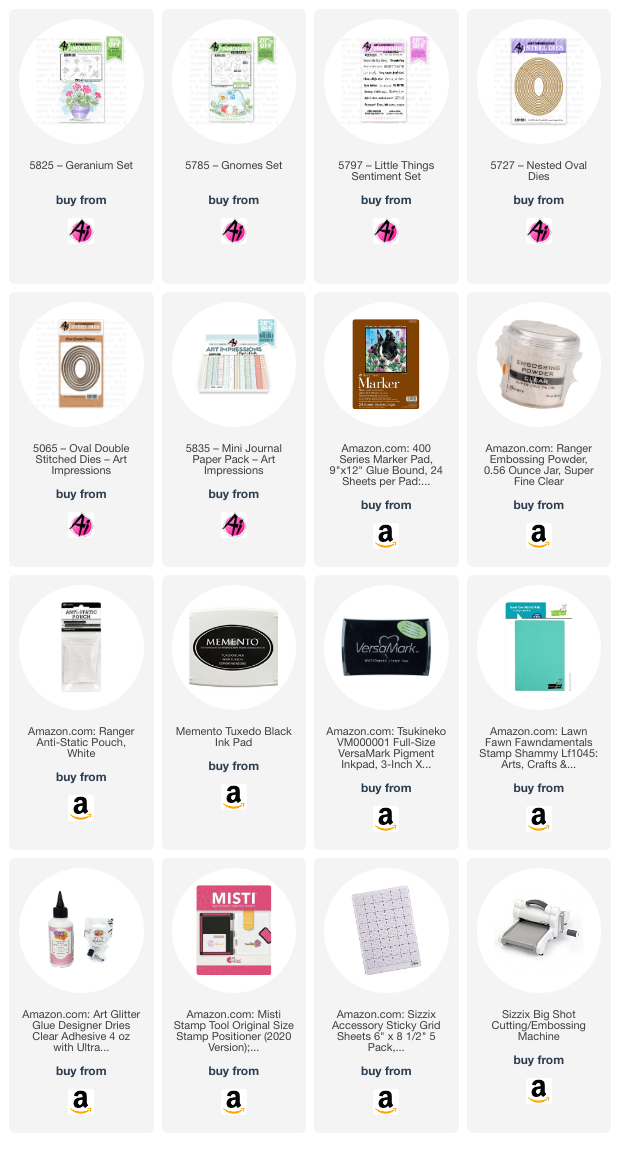
I started by stamping the pot and gnome from the 5785 - Gnomes Set. I did not ink the very top of the pot or the tip of the gnomes hat. I wanted to leave that area blank so that I could stamp the leaves at the top of the pot using the new 5825 - Geranium Set. This is intended to be more of a watercolor set but I found I could get a nice look with the stamp using a loose Copic coloring technique. I stamped the leaves with green ink and the flowers with dark pink ink before coloring. 

The next thing I did was color the pot and the gnome. I added stripes to the pot and the gnome's hat. Then I shaded the ground below them and added some sprigs of grass. I also added a very light blue halo around the image. 

I cut the main image out with an oval from the 5065 - Oval Double Stitched Dies. Then I used the 5727 - Nested Oval Dies to cut out two more ovals to use as mats. Next, I made a gate folded, A2 sized card base using dark navy cardstock. I cut mats out of 5835 - Mini PP and added a strip of grass washi tape at the bottom of each panel. Then I glued the panels in place. I added the oval piece but glued only the left side of it so the card flaps can open. Then I stamped the sentiment from 5797 - Little Things Sentiment Set on a piece of matching cardstock and heat embossed it. I fussy cut a banner around the sentiment. To finish this card I added two pink pearls and a jewel. 

Isn't it so true that we need to appreciate the little things to appreciate the bigger things? I so believe this and I can't wait to share this card with a friend who has had a bad week. I know this will give her a little lift!

Thank you for joining me here today. You'll find several new 2024 releases in the store already so check them out to see what you can't live without! Happy weekend!

Janet YouTube - Blog - Facebook - Instagram - Pinterest 

Saturday, January 27, 2024

Mini Birthday Journal & Gift Box by Janet


 Oh my goodness! Just when you thought the mini journals couldn't get better, out comes this adorable gift box! It fits the mini-journals perfectly and I love that the box protects the journal and makes it easy to wrap and give as a gift. It's the perfect touch!

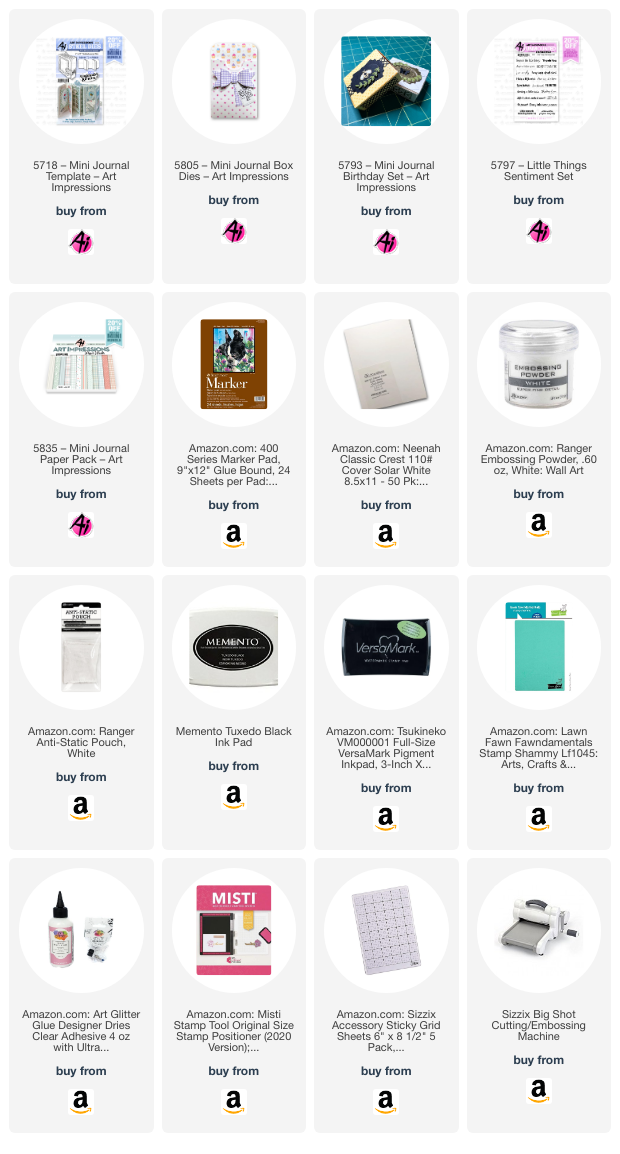
The box is created with the new 5805 - Mini Journal Box Dies. This set has everything you need to make and decorate your box. It even comes with the cutest little butterfly and bee dies. There are frames and borders, a little heart pocket and more! In my box, I used a frame die to cut a window in the cover. I used a lattice die from the set to create a bridge from one side of the window to the other. I cut two butterflies and layered them for more dimension and added a few small gems to the body. I also put two corners on the cover. The die for the corners come from the 5718 - Mini-Journal Template Set. This set is also what is used to create the journal itself. 


To make the journal, I used the die set to cut out the cover and clasp with 5835 - Mini PP. The cute cake, present and balloon are from the new 5793 - Mini Journal Birthday Set. Here you can see just how nicely the journal fits in the box. I used the back side of the lattice that shows in the front to heat emboss the birthday sentiment using a phrase from the 5797 - Little Things Sentiment Set.

I love this little box and precious mini journal that fits inside. I have not yet made the pages but look forward to doing that soon!

Thank you for joining me here today. You'll find several new 2024 releases in the store already so check them out to see what you can't live without! Happy weekend!

Janet YouTube - Blog - Facebook - Instagram - Pinterest  


Thursday, January 18, 2024

Ballooning through the Mountains by Reneé Matarese

Hello and happy Thursday everyone!

Yesterday there was a new release on the Art Impressions website.

I've used the new 5789 – Hot Air Balloon Set.


This set is very special to me because I grew up in a ballooning community.
My neighbor was the first pilot in my area and we host a Hot Air Balloon festival every year.
I've been up twice for full flights and when I was a child he used to let us help set up the 
balloon and would "hop" us through his pastures on tethered rides for fun.


Though we don't quite have mountains like these in my area, I couldn't resist using the 5198 – WC Mountain Set with the balloons.  The matte was cut with a frame from 5768 – Decorative Journal Page Set 1. The striped paper is from 5835 – Mini Journal Paper Pack and the sentiment is from 5797 – Little Things Sentiment Set.


Be sure to check out our two challenges for your chance to win free stamps!


I can't share the second one just yet because it's set to go live at noon.
I hope you enjoy them!


Thursday, December 7, 2023

Clean and Simple Snowflake cards by Reneé Matarese

Are you as busy as I am this time of year?
I still love to create though so a quick card is sometimes called for.

I created two simple cards for the Clean and Simple challenge going on right now,
here on the Art Impressions blog.


Including the planning, I had these two cards done in just over 30 minutes.  That's
probably a record for me.


I love rustic Christmas cards and in some cases I feel like Kraft paper looks a little like leather.
When you add the twine it gives a nice look.


After die cutting the snowflakes I simply left them in place and glued them
to the designer paper.


Metal also says rustic Christmas to me so I added a metal dot
on a smaller snowflake in the center.


All Ai products used are linked below.  Enjoy this holiday season!