Showing posts with label Butterfly Set. Show all posts

Tuesday, May 5, 2026

Focus on Faith Bright Butterflies! by Sara Furr

 Blessings, my dear AI friends!

Welcome to the first edition of "Focus on Faith", for the month of May. 


Today, I have a bright and colorful creation using an alcohol ink background that I created like 2 years ago and never used, so I pulled it out and decided to have a play with it.
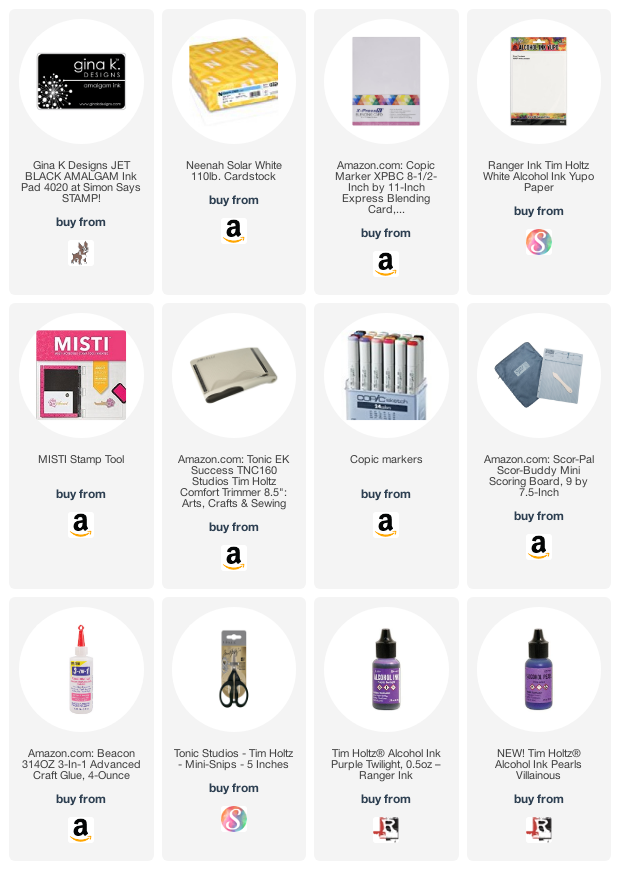
 I can't tell you what exact colors I used here, because it was so long ago, but I can tell you that I used Tim Holtz Alcohol inks in a Blue, yellow, and blue, and blending solution on Yupo paper. You just apply some blending solution to the Yupo paper here and there,  and then add drops of alcohol ink here and there,  and let it spread on its own, or you can use a blower tool to push the ink around,  or just keep turning your cardstock side to side to keep the ink moving until it dries. So much fun!

Once my alcohol ink blending was all dried, I applied alcohol lift ink through a stencil, and then wiped off the ink with a paper towel, and it lifts off the alcohol ink and leaves behind the stenciled image.


 I took that background, and I strategically placed the butterflies from the "Butterfly set" on the lighter areas of my background and then stamped out the butterflies and greeting with black Archival ink. I thought these butterflies were perfect for this because they are bold images.


I distressed the edges of the Yupo paper and then I die cut the pretty eyelet border rectangle from the Decorative Journal Page 1 die set and I cut it in half and used it on either side of my stamped panel to add a decorative border. I added some sequins to the panel and added foam tape to the back. I created a 6x6 card base from black cardstock and a matting frame also. I used the black to mat my piece of neutral dsp from the Father's Day Paper pack, and distressed the edges of both and adhered them together and popped them up on my card base with foam tape. To create my decorative strip, I used a piece of white scalloped edge lace and machine stitched a strip of the mint green stripe dsp, also from the Father's Day Paper pack to it, and adhered it to my matted dsp and then popped up my focal panel over top.


Have you ever played with alcohol inks? They are so much fun to play with, and they create something totally unique! If you don't have alcohol inks, you could try something similar with watercolors or dye inks on watercolor paper. You would just have to use bright or strong colors as your base, and make sure it is completely dry before trying to lift the ink through a stencil with a damp paper towel.

Please let me know if you like this technique. Thank you so much for stopping by and I hope you got inspired to have a play with your alcohol inks or if you don't, to try them.
Many blessings my dears, 
Sara Furr- The Crafty Farm Chick

These are all the supplies I used: Links to Ai products are below.

Art Impressions products:
#5200- Butterfly Set
#6072- Father's Day Paper pack
#5768- Decorative Journal Page 1 Die
4774-Stamp positioner
Archival black ink

Other products used:
-Alcohol inks in pink, blue, and yellow.
-blending solution 
-air blower
-Yupo paper
-stencil
-alcohol lift ink
-Paper towel
-scissors to Distress cardstock edges
-white scalloped lace
-sewing machine
-sequins
-die cutting machine
-foam tape, adhesive
Sunday, April 30, 2023

Butterfly Thank You card by Reneé Matarese

 Hello Ai fans and happy Sunday!

I needed a thank you card for a friend that gave me a handmade piece of art she found at a craft show. She said it reminded her of me and when she prayed for me when I was sick.

She's a very spiritual person so I know she'll love this set. 
I used 5200 – Butterfly Set.


On the inside I used 5590 – Journal Butterfly Clasp.


Since the butterfly is split in half, I used some little gems to cover the seem.


I used two different patterns of paper from 5742 – Easter Journal Paper Pack.

The matte was made using 5063 – Rectangle A2 Double Stitched Dies and the sentiment was stamped and then cut out with 5727 – Nested Oval Dies.


I only glued down the butterfly's body on each one.
Then, I bent and popped up the wings to give the card some dimension.


Thursday, April 28, 2022

Up, Up & Away! #326 New challenge plus Fun with Flowers Challenge winners!

Hello Ai fans!

We have a new challenge beginning today and you will LOVE it!!

Before we introduce our new challenge, let's announce the winners from our last challenge, Fun with Flowers.

For our Top Spot we've chosen #6 Sue K. 
She made 4 cards using 5401 – Easter Chicks Set.

Please contact Leah at Feedback@artimpressions.com
to claim a free stamp set of your choice!
Also, be sure to grab your badge to display on your blog, Facebook or Instagram!


Our lucky, random winner for our Fun with Flowers challenge is:
#22 Leeanne D.


Please contact Leah at Feedback@artimpressions.com
to claim a free stamp set of your choice!


Now that we've wrapped up our previous challenge, let's announce our new challenge!


We're looking for creations that feature anything the floats, flies, etc.  Balloons, birds, butterflies, airplanes, insects...anything up in the sky!

Lynn has an amazing, beautiful, butterfly card for your inspiration. We love her colors and her pops of gold. 
Check out her wonderful video tutorial too!

-------------------------------------------------------------------------------------------------------------------------------------------

Hello Ai Fans and welcome to our new Blog Challenge!!!

Todays feature card was inspired by the current Ai Blog Challenge which is to create a project that features something that flies or floats....think birds, butterflies, airplanes, balloons, kites or anything else you can think up! Just have fun!

Watch video tutorial here!!!

We will be creating an elegant square butterfly card! Let's start with the beautiful butterflies from the Ai Butterfly Set (5200). We will be stamping and embossing these butterflies using a super fine detail white embossing powder. This will give our butterflies and elegant look! In todays video I will be showing you a simple and fun watercolor technique to color these butterflies by using our Distress Oxide Inks. Today we will be using the brand new Distress Oxide Ink in Saltwater Taffy along with some Picked Raspberry. These two colors will combine beautifully!

Next, with those two Distress Oxide ink colors we will do our background. To start, we will use some clear embossing ink with a gorgeous floral stencil and then apply that same super fine detail white embossing powder. Once the stenciling and embossing is done, we will then do some ink blending with our blending brushes.

For a bit more elegance we will add some pretty gold metallic layers and some delicate two-tone pearl gems!

I'll show you how to create a matching square envelope using an envelope punch board! I love coordinating a beautiful envelope to go with my card creation...and your friends and family will love it too! Just keep in mind that these square cards do cost a bit more for postage...but I plan on hand delivering mine to a special friend!

Please join us in our new Blog Challenge....we would love to see your creations!!!

Thank you so much for joining me today! Have a fun and crafty day!!!


Besides our newest challenge there was also a wonderful new Watercolor release at Art Impressions yesterday. You can see all of the new Spring 2022 releases here and check out Bonnie's WC Wednesdays for a sneak preview of the new releases a day ahead of time!


Happy Stamping everyone!


You are invited to the Inlinkz link party!

Click here to enter

Sunday, February 14, 2021

A Beautiful Birthday Lily by Reneé Matarese

Hello Ai fans!

Today I'm sharing the card that I made for my Mother-in-law's birthday.


and


Both sets are from the Ai Bible Journaling series.
I made a second version in slightly different colors just to have on hand.


I stamped the butterfly twice so that I could pop the wings up on the top copy to give the illusion of fluttering.


Copics used:
Coral Card:
V0000, V04, V06, R12,
R22, G21, G40, G85, G94

Peach Card:
Y21, YR0000, YR02, YR21, RV000,
RV02, RV55, G21, G40, G94

Marvy markers:
No. 55 Iris Purple
No. 102 Jade Green

Sunday, August 23, 2020

Butterfly Wreath by Reneé Matarese

Hello Ai fans!

Today I'm sharing my first attempt at using the new 5266 – Greenery Invites and 5200 – Butterfly Set.


I also used the 5064 – Circle Double Stitched Dies.  I offset the center circle a bit because I wanted more gold at the bottom.


I fussy cut all of the pieces and arranged them until I was happy.
They're partially water colored and partially colored with Copic markers.  I like the look that it created.


Marvy No. 17, 32, 56, 73, 100
Copics used: BG0000, BG02, BG72, G12

Tuesday, June 2, 2020

Greenery Invites Thank You cards by Jil Lebel

Hello Ai fans!


I used the Greenery Invite stamp set along with the Butterfly Set to make two very similar cards.  I added the butterflies to one card and left the other plain.  I used two different watercolor paper on the wreaths to see if there was much of a difference in how they absorb the water. 
The first wreath is on Strathmore 140 Lb. watercolor paper.  I placed my wreath stamp on the door of my stamp platform so I could ink and stamp parts of the image with my Tombow Dual Brush markers in stages. I added some 296 Green marker to random parts of the wreath and stamped it onto my paper.  I then added some 493 Reflex Blue marker to the other parts of the wreath and stamped it again.  I used my brush to pull the color out from the lines.  I scribbled my markers onto the Watercolor Palette and added more color to the wreath.  I then cut around the outside with my scissors.  I colored the butterflies the same way using  493 Reflex Blue, 636 Imperial Purple and 725 Rhodamine Red.
I did the second wreath on Cansol XL 140 Lb. Watercolor paper.  It created a similar look.  It's hard to see in the pictures, but the Strathmore paper leaves a brighter, crisper image.  I think that's because the Canson XL paper has more cotton in it.  So it absorbs the color into the paper more.  Either way, I think both wreaths are beautiful.

Thanks for stopping by and Have a Great Day!

Wednesday, May 13, 2020

Butterfly Kisses by Niccole

Hello Ai fans!!

I am stopping by today to share a card I made using the Butterfly stamp set from Art Impressions.  


I started by using a scrap piece of paper to make my purple background paper.  I wanted it to match perfectly to my butterflies so I used my V17 Copic Marker to make the bottom layer.  Did you notice from the picture that I used a previously die cut piece of paper?  Since it is behind my top layer no one is the wiser.  Use up those scraps!!
On my Yupo paper I used my Ranger Alcohol Inks to create this whispy background.  I love how it makes the butterflies look like they are dancing across the paper.  This might be one of my favorite cards I have made in a long time. 
I added the butterflies to the front with glue.  Some of them I glued flat and some I only glued the bodies so I could bend the butterfly wings to make them look like they are flying. And that is it ... no sentiment needed.  It is a wonderful all occasion card (well in my opinion) LOL
Here is one more look at the finished card.

Thank you so much for stopping by and spending a little time with me.  Make sure you come back soon to the Ai blog and see what the team has been up to.  

Copics used:
V0000, V000, V01
V04, V09, V17
Alcohol Pearls - Villainous
Alcohol Ink - Purple Twilight

Until next time ... Hugs & inky fingers!