Showing posts with label 6008 - Bunny Hugs Set. Show all posts

Sunday, April 13, 2025

An Easter Hello by Gennette Houghton


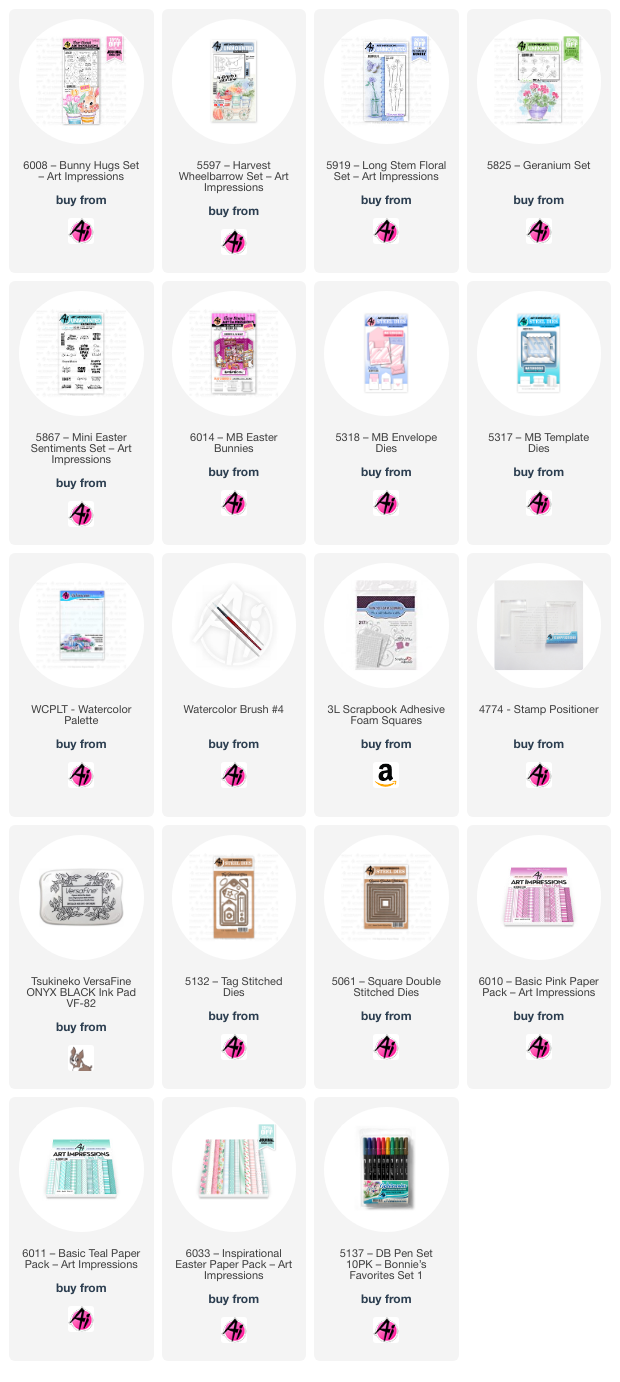
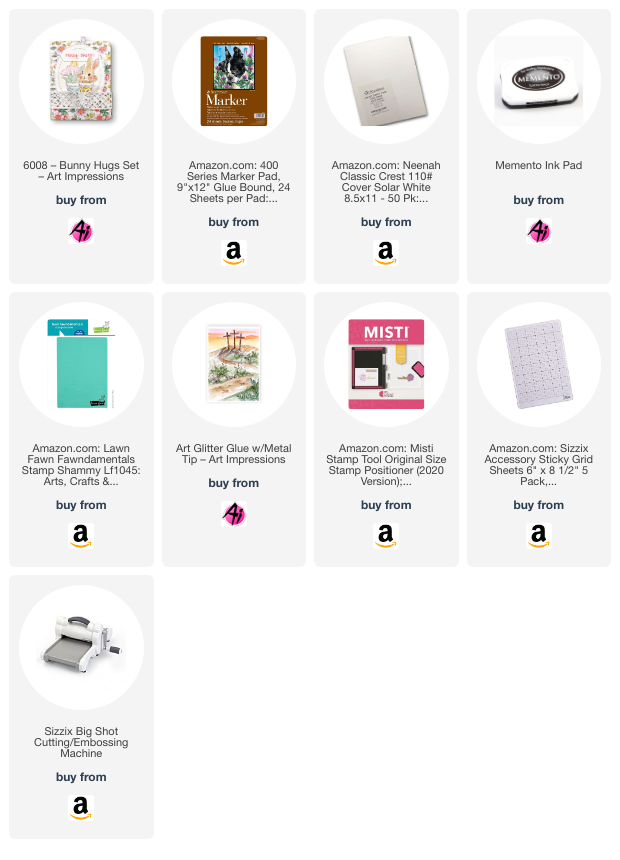
Hello and Welcome to Watercolor Weekend. The new 6008 Bunny Hugs Set is just so adorable that I couldn’t choose between the images, so….. I used ALL of them! I created a card base out of a 5 ½ by 11 inch paper, scoring at 3 5/8 and flipping the paper around and scoring at 3 5/8 on the back side to create a Z fold.  I have never made a Z fold card before, but it allowed me to use all the images, creating a scene on each panel.  Truth be told, that little bunny sitting in the pot is a big favorite.  I then used the 6012 Basic Yellow Paper Pack to mat each panel, cutting them down to 3 ½ by 5 3/8.  I used some light green paper to create the grass line and white for the clouds for the sentiments. This set comes with several different sentiments to choose from.

I used a permanent black ink for all of the images and sentiments. For the first panel, the 2 chicks, were colored in 062, 055, and 025.  For the beaks and legs I used, 026, 993. I also used 947 for the shading, with a touch of the black Twintone to darken the eyes.  For the bunny I used 947, 969, 565, and 772 for the ears and nose, plus the black Twintone to darken her eyes.  For her outfit I used 173 with 126 for the lines on the pocket.  The flower pot I colored with 526, the tulips with 025, 885, and 249, and the daisy like flowers with 676, 025, and 177.  The larger butterfly was colored with 725, N15, and 947 for the shadows.

The 2nd panel, for the eggs in the pot, I used 947 on the pot. For the eggs, from the top down, I used 565 first to shade the edges on the eggs, 025, 725, 133, 526, 676, 055, 173, 725, and 373, and again using 565 to add more shading details.  For the single egg I first shaded it with 565 and then created a “splash” with 676.  For the paintbrush, I used 947, N52, 565, and 676.  The egg that the bunny is holding I used 725, then I shaded the bunny with 565, and 772 on the ears, nose and cheeks. I also used the black Twintone on the eyes. 

On the 3rd panel, for the basket of carrots I used 969 on the basket with 565 for shading.  All of the carrots were colored with 993, 933. The stems were done with 133, and 177, the bow on the single carrot I used 055, 025, and 026.  The small butterfly I used 493, N15, and 565 for the shadows.  For the pot with the tulips, on the pot I used 133 and 565.  The tulips were done with 703, 725, 177, and 969 for the shading.  For the pot that the bunny is in I used 565 to shade it first and then added 676.  For the cutest bunny ever, I used 990, 879, and 772 on the ears, cheeks, nose, and those cute little toe beans. The black Twintone was used on the eyes.  This set also comes with coordinating dies to cut all of the images out.  I then finished assembling my card. Isn’t this set adorable?!


Hello Gnomie! I love Gnomes, like really love Gnomes! Using the newly released 5910 Letter Dies, I die cut the word HELLO. Then I used 4052 Floral Set 1 daisy bunch with Hero Arts Unicorn White stamp pad, to create a floral design on the letters.

I then stamped out 5 gnomes from 5785 Gnome Set with 565/969, pulling the color out in the shaded areas. Starting from left to right, the following colors were used for each gnome.

Gnome 1: 676, 026, 947, 969

Gnome 2: 177, 026, 249, 947, 969

Gnome 3: 947, 249, 969, 026

Gnome 4: 969, 177, 947

Gnome 5: 026, 676, 249, 947, 969

Skin: 850, 910, 969

Beards: 565

Shadows: 565 or 969


I then die cut all of the gnomes out with the included dies. Matting my card base with paper from 5873 Mini Birthday PP, I then positioned the letters where I wanted them. Adding the gnomes on top of each of the letters, creating my finished card. Thank you for joining me, and I hope you enjoyed my cards! Until next time….Create….Share….Inspire!


Sunday, April 6, 2025

Bunny Hugs & an Easter Matchbook by Karen Day

 Hello Ai Watercolour fans!


I have a couple of bunny-themed projects today, incorporating several of the newest releases.  First up is the 6008 - Bunny Hugs Set.


I started by stamping the bunny, basket and carrot on some smooth watercolour paper, using Versamark Onyx Black ink.  *This was different for me, as I usually stamp with Tombows, but I thought I'd give the black outline a try.  I also wanted to create a background scene, so stamped the wagon from 5597 - Harvest Wheelbarrow Set, then added flowers and foliage from 5825 - Geranium Set and 5919 - Long Stem Floral Set with a little masking.


I painted everything using Tombow markers picked up off of my palette, using layers of colour to achieve the darker shades.  I created a wash of #126 to create the grass, and a wash of #526 for the sky.  After painting the flowers, there was still a lot of white space between the leaves, so I painted in some yellow flowers and darker foliage, then used a black fineline marker to outline my daisy-like shapes.  I also used the marker on the grass to add a few lines of definition. I die cut the Bunny Hugs pieces using the coordinating dies, and adhered them to my scene with varying thicknesses of 3D foam adhesives.  The sentiment is from 5867 - Mini Easter Sentiment Set stamped with Versamark Onyx Black.  I used the 5061 - Square Double Stitched Dies, and the 5132 - Tag Stitched Dies to cut out the scene and sentiment, narrowly matting both with periwinkle cardstock.


My card is 5 1/2" square, and I used the new 6033 - Inspirational Easter PP for the background papers, with the scalloped edge die from the 5543 - Journal Template Die Set on one of them.  I popped up the image after tying a white organdy ribbon into a bow underneath it.  A few irridescent jewels finished things off.


My second project is the sweet new 6014 - MB Easter Bunnies Matchbook set!  I adore making the Matchbooks as they're so wonderfully tiny!


I stamped the five images and sentiment onto some smooth watercolour paper, and painted everything in an Easter colour theme using Tombow markers picked up off of my palette, then cut them out with the coordinating dies.  To create the base, I cut the 5317 - MB Template die from the new 6011 - Basic Teal PP, and cut out the tiny windows on either side.  The Ai papers are so perfect for Matchbooks, as they are two sided, coordinating prints.  I cut the small rug die from the 6010 - Basic Pink PP and glued it onto the floor, then glued all of the pieces in position as shown.  


The 5318 - MB Envelope Die was also cut from the 6010 papers to make a cute little matching envelope.


**Bonus Third Project!**  I'm adding this one at the last minute... I had several extra pieces from the 6008 - Bunny Hugs Set that I had already cut out and painted up...


I had the idea to use the new 5910 - Large Letter Die Set, so I cut it out of some pretty paper from the 5939 - Fairy Garden PP.  After cutting out the letters, I cut them out again from plain white cardstock, which I glued underneath, before gluing the patterned paper letters back in place.  It provides just a subtle texture to the letters, and keeps the focus on the bunny.


The colours that I'd painted on the egg clashed a little with my project, so I just went over the stripes with Copic markers to slightly change from pink & yellow, to be purple and green.  You could easily make this a personalized card by spelling out a family member's name, or just use the word Easter - so many possibilities!


Saturday, March 29, 2025

Easter Bunny Greetings

Today I have made a card made with the new 6008 - Bunny Hugs Set. This set was one of several new items added to the store this past week. It's oozing cuteness with bunnies, flowers, and Easter accessories. This is one of those have-to-have sets if you celebrate the Easter season.

To start the card, I worked on the background, coloring it with Copic markers. Then I colored the bunny and tulip images, along with the basket of carrots, and two butterflies. I also stamped the Easter Greetings sentiment and drew a border around it with a Navy Twintone marker. 

After coloring, I cut the images out with the included dies. I arranged the bunnies, pots and baskets by attaching them at different heights using foam pads to make some images higher than others. The sentiment was also attached with foam pads. I cut the panel down to 4" x 5 1/4" and mounted it on white cardstock sized 4 1/8" x 5 3/8". This was mounted on a pre-printed pink and white A2 card base. Finally three clay carrots and two clay tulip embellishments were glued on the card. This bunny is ready to share with someone special for the Easter holiday!


Janet YouTube - Blog - Facebook - Instagram - Pinterest