Showing posts with label 5597 - Harvest Wheelbarrow Set. Show all posts

Sunday, August 31, 2025

Bonus Watercolor Weekend with Simone Carr

 Hello Ai fans!

We're so lucky that August has 5 Sundays!

That means a bonus Watercolor Weekend which means even more inspiration for you.


Let's welcome Guest Designer Simone Carr and see what pretty things she's created.

--------------------------------------------------------------------------------------------------------------------------

Hello fellow crafters!

I’m excited to be back on the blog to share my latest cards with you. Since fall is right around the corner, I thought it would be the perfect time to create a project that could work as either a Welcome Fall card or even a Thanksgiving card.

For this design, I reached for one of my favorite sets from last year—the Woodland Critters Set. I knew right away that the sweet little hedgehog needed to take center stage!

I started by inking the wheelbarrow (from the Harvest Wheelbarrow Set) with Tombow 565 and 969. I stamped it first onto masking paper, then onto Canson watercolor paper. To make room for the hedgehog, I left off the second handle when stamping the wheelbarrow. After cutting the wheelbarrow mask, I placed it over the stamped image.

Next, I used the stamp positioner to tuck the hedgehog perfectly into place and inked him with the same 565 and 969. Then I added in the small pumpkin, creating another mask so I could easily layer over it. Using the stamp positioner again, I built up the scene with pumpkins and apples, inking them with 565 and 969 (stamped off) for a softer look.

Once the stamping was complete, I removed the masks and began adding color to bring the entire image to life.

Materials Used

Tombow Dual Brush Pens:

856, 905, 925, 946, 933, 055, 098, 026, 312, 879, 947, 027, 992, 526, 177, 969, 565

Stamp Sets:

5597 Harvest Wheelbarrow

5059 Harvest Set (Apples + Grass)

4051 Foliage Set

5487 Front Porch Halloween Set (Small Pumpkin)

5953 Woodland Critters Set

5063 Rectangle A2 Die Set

5838 Fall Patterned Paper

For my second card, I went with a more wintery theme—not necessarily Christmas, but something versatile that could work as a birthday card, a thank you card, or really just a cheerful design for the colder months. It’s also a fun way to use up those paper scraps we all have on hand!

I began by stamping the sleigh image on Canson watercolor paper using Memento Toffee Crunch ink. For coloring, I used:

Sleigh: 026, 947, N55

Mouse: a mix of 969 + 565, plus 725, 025, 296

Hedgehog: 992, 947, 555

Present: 493, 195 + white gel pen for highlights

The finished card measures 5 1/2" x 4 1/4". To build the background, I ran a piece of white cardstock through a snowflake embossing folder, then trimmed it down to 3" x 4 1/4".

Next, I dug into my scrap pile and pulled out a few pieces from the Winter Woodland patterned paper pack. I cut them into flags and arranged them over the embossed panel to decide on their placement. Once I was happy with the layout, I glued them down, then added a thin strip cut from the leftover embossed paper on top for a clean finish.

The top panel is 2 1/2" x 4 1/4", and I popped the die-cut critters up with foam tape for extra dimension. To finish the card, I cut a small tag, stamped my sentiment (masking part of the stamp so it would fit), and tied a bit of string to it. I tucked the string under the present so it looks like part of the image, which adds a fun little detail.

Materials Used

Dies & Stamps

5133 Flag Double Stitched Dies

5953 Woodland Critters Set

5566 Christmas Sentiments

5543 Journal Template Set

5963 Winter Woodland Patterned Paper

Markers & Paper

Tombow Dual Brush Pens: 026, 947, 992, N55, 555, 493, 296, 195, 725, 025, 969, 565

Canson Watercolor Paper

Bonus Card

I wanted to share a little extra inspiration to show another way of creating this second card using the same methods. For this version, I used the 5191 Feast Mode set. Instead of patterned paper, I stamped my image on Bristol Smooth cardstock and simply adhered the flags underneath.

It’s a quick variation that gives the design a fresh look—and a great reminder that you can easily adapt these techniques with the supplies you already have on hand.

I hope I’ve inspired you to give it a try!

-----------------------------------------------------------------------------------------------------------------------------

Thank you so much Simone for these darling cards.

We hope you're inspired to try something like these. While you're here, be sure to enter our Bi-Weekly Challenge. The theme this time is "When One Door Closes." Make something with a door on it, whether it's stamped or die cut.

Monday, July 7, 2025

Rusty bucket of daisies by Sharon Caudle

 Hello AI Fans!!

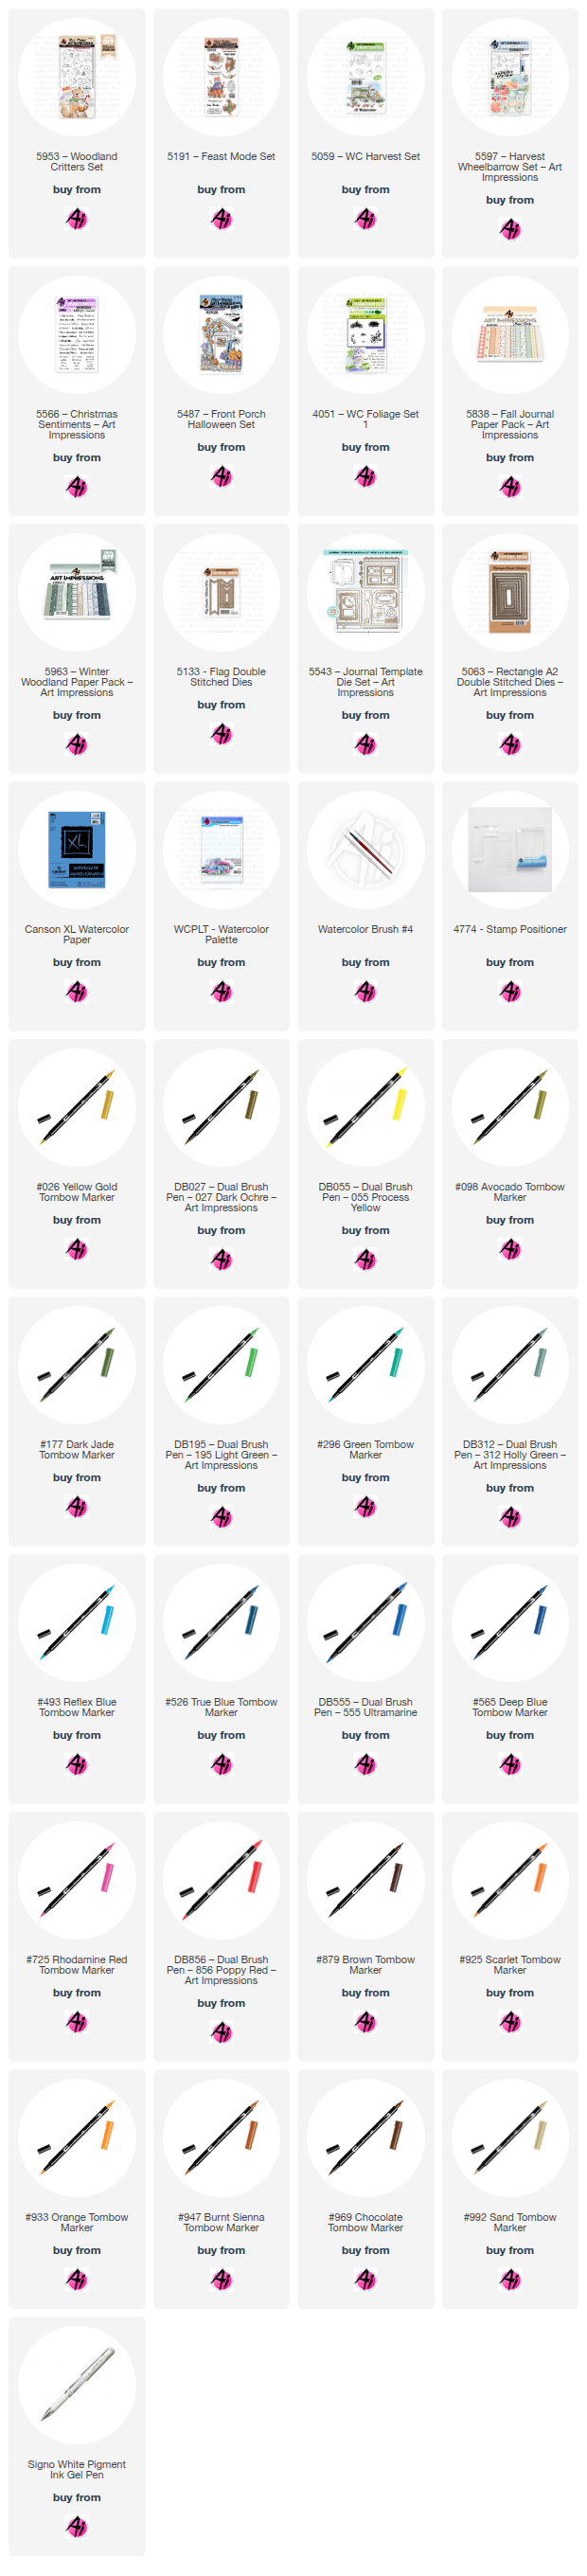
I hope you've had a wonderful weekend and a safe and happy 4th of July if you celebrate! So, who doesn't love old rusty buckets, daisies, and gnomes?! LOL! I created a cute summer scene for you today using several different sets from Art Impressions. I started out using the bucket from 5597 Harvest Wheelbarrow Set. When I stamped it onto my Copic friendly paper, I also stamped another one onto masking paper. After applying the mask, I stamped one set of the daisies from 5918 Floral Long Stem Bouquet Set and also created a mask for that stamp.  That allowed me to stamp another set of them on the other side of the bucket to fill it up. Have you seen the new Winsor & Newton Gold Paint that Art Impressions is carrying now? Gorgeous and so easy to use! I grabbed it and a butterfly from 5981 My Joy Set. I messed one of them up (sad face), but I still love the way they look! I also added the paint to the centers of the flowers, the leaves, and the belt and button on one of the gnomes! I love the glimmer it added to the card! 


So that's it for me today! Thanks so much for stopping by for a visit and until next time - stay crafty!!


Sunday, April 6, 2025

Bunny Hugs & an Easter Matchbook by Karen Day

 Hello Ai Watercolour fans!


I have a couple of bunny-themed projects today, incorporating several of the newest releases.  First up is the 6008 - Bunny Hugs Set.


I started by stamping the bunny, basket and carrot on some smooth watercolour paper, using Versamark Onyx Black ink.  *This was different for me, as I usually stamp with Tombows, but I thought I'd give the black outline a try.  I also wanted to create a background scene, so stamped the wagon from 5597 - Harvest Wheelbarrow Set, then added flowers and foliage from 5825 - Geranium Set and 5919 - Long Stem Floral Set with a little masking.


I painted everything using Tombow markers picked up off of my palette, using layers of colour to achieve the darker shades.  I created a wash of #126 to create the grass, and a wash of #526 for the sky.  After painting the flowers, there was still a lot of white space between the leaves, so I painted in some yellow flowers and darker foliage, then used a black fineline marker to outline my daisy-like shapes.  I also used the marker on the grass to add a few lines of definition. I die cut the Bunny Hugs pieces using the coordinating dies, and adhered them to my scene with varying thicknesses of 3D foam adhesives.  The sentiment is from 5867 - Mini Easter Sentiment Set stamped with Versamark Onyx Black.  I used the 5061 - Square Double Stitched Dies, and the 5132 - Tag Stitched Dies to cut out the scene and sentiment, narrowly matting both with periwinkle cardstock.


My card is 5 1/2" square, and I used the new 6033 - Inspirational Easter PP for the background papers, with the scalloped edge die from the 5543 - Journal Template Die Set on one of them.  I popped up the image after tying a white organdy ribbon into a bow underneath it.  A few irridescent jewels finished things off.


My second project is the sweet new 6014 - MB Easter Bunnies Matchbook set!  I adore making the Matchbooks as they're so wonderfully tiny!


I stamped the five images and sentiment onto some smooth watercolour paper, and painted everything in an Easter colour theme using Tombow markers picked up off of my palette, then cut them out with the coordinating dies.  To create the base, I cut the 5317 - MB Template die from the new 6011 - Basic Teal PP, and cut out the tiny windows on either side.  The Ai papers are so perfect for Matchbooks, as they are two sided, coordinating prints.  I cut the small rug die from the 6010 - Basic Pink PP and glued it onto the floor, then glued all of the pieces in position as shown.  


The 5318 - MB Envelope Die was also cut from the 6010 papers to make a cute little matching envelope.


**Bonus Third Project!**  I'm adding this one at the last minute... I had several extra pieces from the 6008 - Bunny Hugs Set that I had already cut out and painted up...


I had the idea to use the new 5910 - Large Letter Die Set, so I cut it out of some pretty paper from the 5939 - Fairy Garden PP.  After cutting out the letters, I cut them out again from plain white cardstock, which I glued underneath, before gluing the patterned paper letters back in place.  It provides just a subtle texture to the letters, and keeps the focus on the bunny.


The colours that I'd painted on the egg clashed a little with my project, so I just went over the stripes with Copic markers to slightly change from pink & yellow, to be purple and green.  You could easily make this a personalized card by spelling out a family member's name, or just use the word Easter - so many possibilities!