Showing posts with label 5785 Gnomes Set. Show all posts

Saturday, July 18, 2026

Flower Power by Gennette Houghton


Hello and Welcome to Watercolor Weekend!  Bonnie has been outdoing herself with the newest releases, because these are so beautiful!  You can go simple and create little notecards to have on hand or you can add them to full scenes.  They also come with sentiments that you can use, or mix and match.

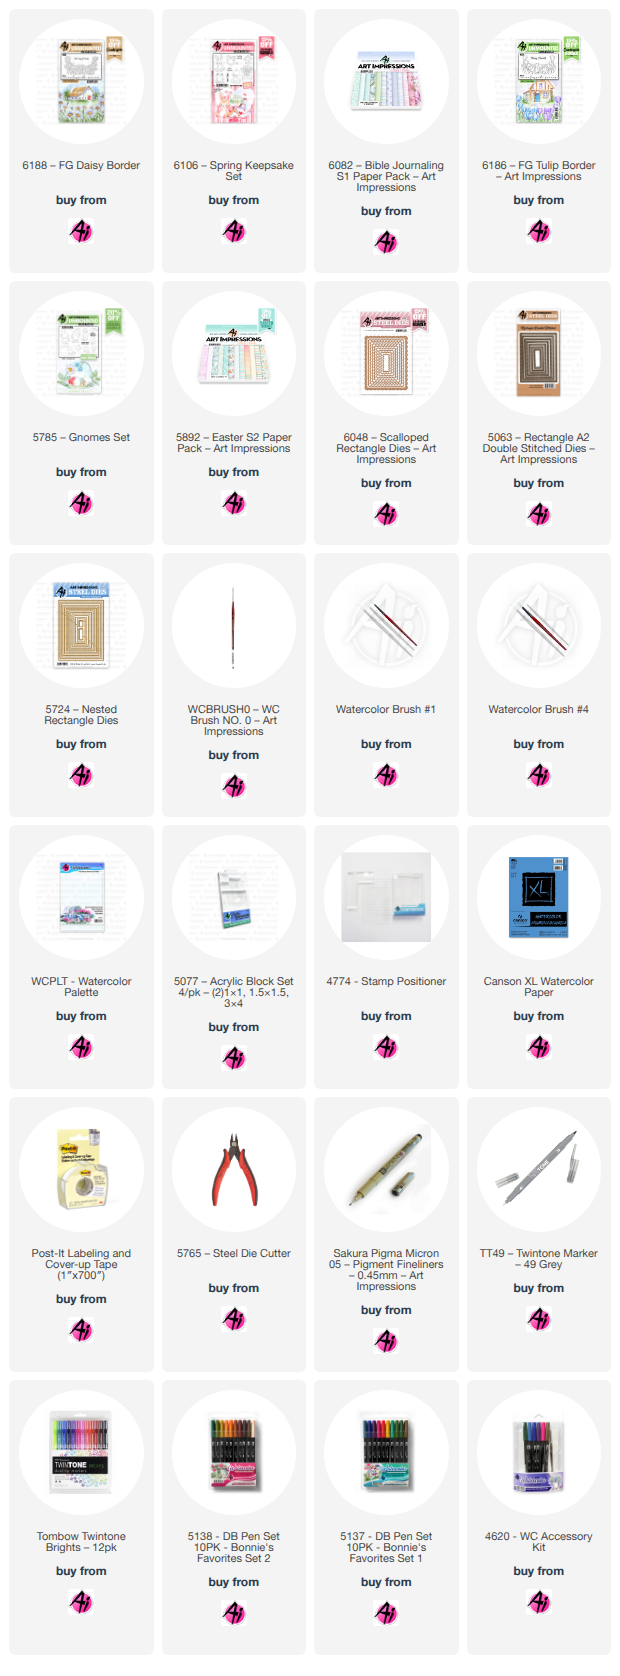
I used 6188 FG Daisy Border for this card and added the frog from 6106 Spring Keepsake Set.  The frog is absolutely a favorite!!  I started off with stamping the daisies onto my watercolor paper with Distress Ink Pumice Stone, after stamping off once.  My original plan was to do white daisies, but I really love black eyed susans, so that is what I went with.  I started with the stems and leaves with 126 as the base, and then 177 to add shading and dimension. I really like this combo and use it often.  For the petals, 055 for the base and then adding in some 025 for the contours, with some 026 for shading.  026 can be a strong color so I use it sparingly. The centers I started with 947 and shaded those with 969.  I decided at this point to choose what die I was going to use, and I went with 5724 Nested Rectangle Die Set and used the 6th from the largest.  Using a pencil to trace a guide, I then added 403, heavily watered down for the sky, adding a few extra layers in areas and allowing it to dry in between.  I then cut my scene out with the same die I used as my guide.  I had room on the left over watercolor paper to stamp the frog with Pumice Stone, also stamping this off once.  126 was used as the base layer, and darkening the sides and shadowed areas with 177.  I then went over the center of the face, belly and the very top over the eyes with 055 to brighten these areas just a bit more.  I then took some 346 in small amounts into the darkest areas.  For the eyes I used N15 on the pupils and a light touch of 565 on the outer sections of the eyes to give them a bit more dimension.  I also went over the nose and mouth with pencil.  I picked a piece of paper from 6082 Bible Journaling S1 Paper Pack and matted my card base.  I matted my main scene with the daisies using the 5063 Rectangle A2 Double Stitched Dies, 3rd from the largest.  After adhering these together, I then matted this with 6048 Scalloped Rectangle Dies, 2nd from the largest.  Once these were glued together I then centered them onto my card base, and used the included die to cut out the frog and attached him in the bottom corner with foam tape.  I chose the banner die from the 5543 Journal Template Die for the sentiment and attached that up in the corner, with glue on the ends and foam tape under the raised center, completing my card.  I really love how this turned out, that little frog is just so cute!!


For my 2nd card I used 6186 FG Tulip Border and 5785 Gnomes Set.  Both were stamped in Distress Ink Pumice Stone and stamped off once, on watercolor paper.  I created a mask for the tulips with post-it tape before using a positioner to place the gnome.  I started with the stems and leaves using 126 as the base color and then 177 to contour and shade, darkening areas that overlap and below the flower heads.  Before working on the flowers I decided to work on the gnome first. You can just see a hint of his boot and pants so I colored the boot in 969 and the pants in 565.  I added a bit of cross hatching in the pants for a little extra texture using the same color.  For his shirt I used 026, adding extra layers to any area that would be shadowed.  For the skin tone, I start with a base layer of 850, and then I contour with 910.  912 was used for the more shadowed areas.  Instead of 565, I decided to use N52 to contour and shadow his beard and to darken under his cap and around his nose.  I used a combo of 403, and 407 on his hat.  For the petals I started with 725, adding extra layers in the darker zones, and then added a bit of 676 to deepen the darker areas.  I then added a wash of 526 for the sky.  I cut out my image with 5724 Nested Rectangle Dies, 6th from the largest and matted it with dark purple cardstock using the 5063 Rectangle A2 Double Stitched Dies, 3rd from the largest.  I then matted this with some silver cardstock.  5892 Easter S2 Paper Pack was used to mat the card base.  Before placing my image, I put the card base in my stamp platform and stamped in the sentiment with Versafine Clair Nocturne.  I then assemble the card together.  I am really loving these sets, I need to try one with a circle die!  Thank you for joining me today, and I hope you enjoyed my cards!  Until next time!  Create….Share….Inspire!


Monday, July 13, 2026

Christmas in July tiered wiper card by Sharon Caudle

 Hello AI Fans!

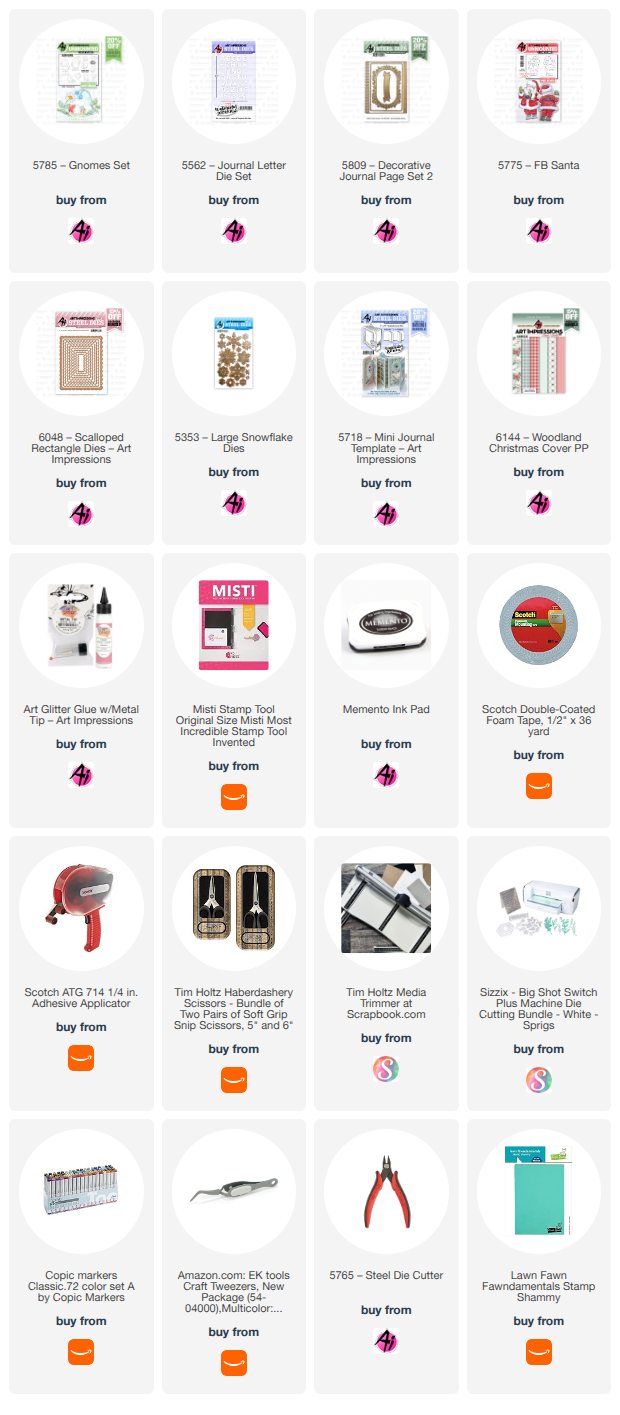
Our current challenge right now is Christmas in July! It's such a great chance to get a jump start on your holiday cards. Whether it's designing it if you make the same card for everyone, or just adding to your stash if you create different cards for everyone, it's a great way to get started! I just recently saw a video by Sam Calcott on how to create a tiered wiper card, and I immediately thought of how cute it would be for a Christmas card! You don't need any specialty dies and once you get the mechanism down, it's rather easy to put it together! I would suggest making one from scrap paper first, just to get the idea of how to put it all together. I took a video of it to try and show it in action, but I'm just having a heck of a time trying to post my videos lately. I'll keep working on that, but in the meantime, I guess pictures will have to suffice. Plus you'll be able to see it in action on Sam's video. :)  I started by stamping off three of the large gnomes from #578/5 Gnomes Set. I didn't want them to be the same so I used different colors and tried to make their beards look different as well. For the front, I used the adorable Santa from #5775 FB Santa, coloring and using only the front facing stamp. After coloring him and die cutting him out, I mounted him on a mat created using #6048 Scalloped rectangle dies. This card comes to life when you pull the top section of the card to the right, so I created a pull tab by grabbing the one from #5718 Mini Journal Template. I have a little stamp set in my stash that has a variation of action words, so I used the stamp "pull" on the tab. For the sentiment, I used the banner from #5809 Decorative Journal Page 2 ( I used this banner a LOT) and grabbed an old sentiment that I've cut apart from #SC0803, an old retired Santa Pop Up set. I just used two of them to create the sentiment on the front of the card. 


When you pull the top card layer to the right, a gnome pops out from behind the top panel to surprise you! I took a word bubble from my stash and die cut three H's and three O's from #5562 Journal Letter Die Set using red cardstock.  After gluing the HO letters onto the word bubble, I used a small piece of acetate to attach the word bubble to the back of each gnome. 


Keep pulling to the right and the next gnome pops out...


And finally the third. I finished the card by die cutting a variety of snowflakes out of glitter paper using #5353 Large Snowflake Dies. 


This was such a fun card to make, and I hope you're joining our challenge for a chance to win a free set of your choice from Art Impressions! Thanks so much for stopping by for a visit today, and until next time - stay crafty!!

Copic markers used:
E000, 00, 11, 33, and 35
R20, 22, 24, and 27
C0, 1, 3, 4, 5, and 6
T1
G82 and 85
Y32, 35, and 38


Thursday, May 14, 2026

Mix & Match Challenge #427 Week #2 plus Design Team Call

 Hello Ai fans and welcome to week #2 of our Mix & Match challenge.

Before we get to our DT cards we'd like to let you know that we are on the hunt for someone new!
We’re looking for a new member for our design team. Think you have what it takes? We need team members who are dedicated, creative, organized and self-motivated! If you have a passion for Art Impressions stamps, dies and paper and love cardmaking and paper crafting, we want to see your work!

Applications will be accepted May 16th-May 22nd 2026.

Please check our DT CALL post HERE if you're interested in applying.

Now, back to our challenge. Since it's week #2 we get to share the rest of our DT projects.


Last week Janet was our Featured Artist and she made this striking birthday card.


Lynn's trio of card can be found HERE.


Sharon's whimsical card can be found HERE.


My card can be found HERE.


Dori's card can be found HERE.


Simone used:


Tasha's card is HERE.
And, last but not least, Gennette used:


 ✻ Please make a new card or handmade crafty creation using either stamps, dies and or designer paper from Art Impressions. You can make any item you wish; this is not limited to cards! (unless specified)

✻ Limit two submissions per person.
✻Top Spot Winner and Lucky Random Winner each receive a free stamp set from Art Impressions
 ✻Please include your first name and last initial on your submission. You may include your entire last name, but it's not necessary.
✻We love to comment on your entries, but keep in mind if you use a private group or a platform that you need to sign up for, we probably won't be able to.
✻ The Ai Challenge is open to everyone, international submissions are welcome!
✻ Include a link back to the Ai Blog or grab our button on the top right of our sidebar!
✻ Share the Ai love if you can, by clicking and commenting on your fellow crafters.
✻ Make sure to get your link up by the deadline to enter your creations.
✻ Good luck and happy stamping! 

You are invited to the Inlinkz link party!

Click here to enter

Monday, February 16, 2026

Happy Spring Train by Sharon Caudle

 Hello AI Fans!

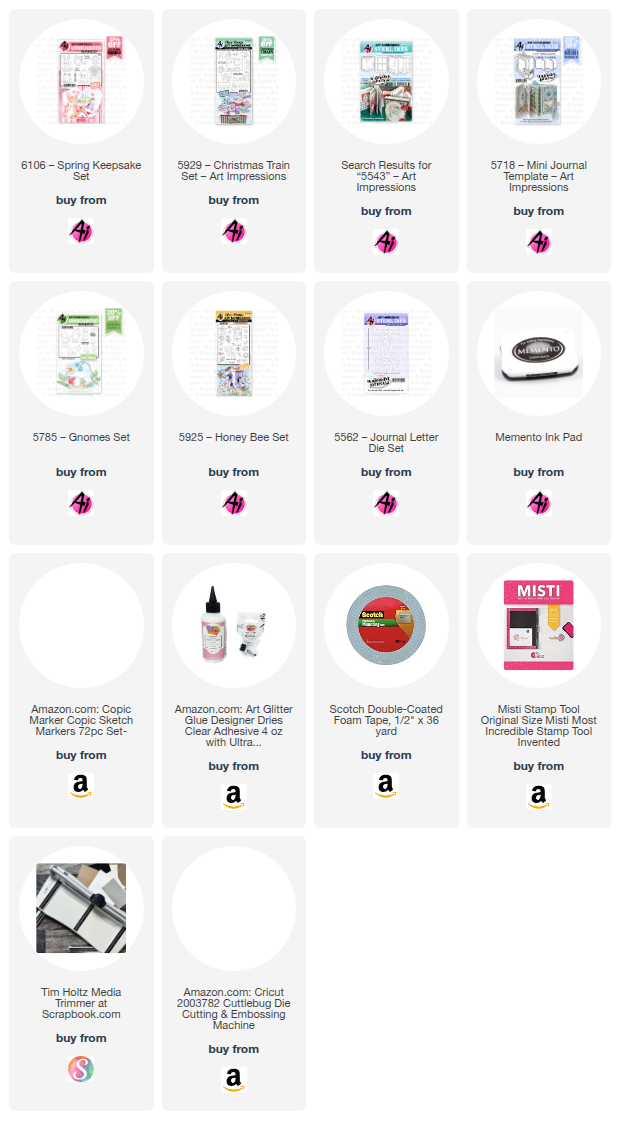
No...it's not spring yet, but it will be here soon! I hope that helps you feel a little better if you're suffering terrible winter weather right now. We are supposed to get a bunch of snow over the next day or two. UGH! I've been wanting to use #5929 Christmas Train Set for something other than Christmas for a long time, and I finally got my chance! With the release of the adorable new #6106 Bloom and Grow set, I wanted to create a train that could be used for either Spring or Easter. So this was the result of my thought. Since Bonnie didn't put any specific decorations on the train cars, you can decorate them any which way you wish! I love that!! I simply colored them in more spring like colors and then added a die cut star. The letters I used on a slimline banner die from my stash are from #5562 Journal Letter Die Set. 


Sorry, I didn't realize this was blurry until I no longer had the card. 


So that's it for me today! Thanks so much for stopping by for a visit and until next time - stay crafty!!

Copic markers used:
E000, 00, 11, and 35
B41 and 45
YR02, 04, and 07
C1, 2, 3, 4, and 5
R00, 11, and 12
YG01, 03, and 05
Y13, 32, 35, and 38
BV00, 01, and 02


Sunday, April 13, 2025

An Easter Hello by Gennette Houghton


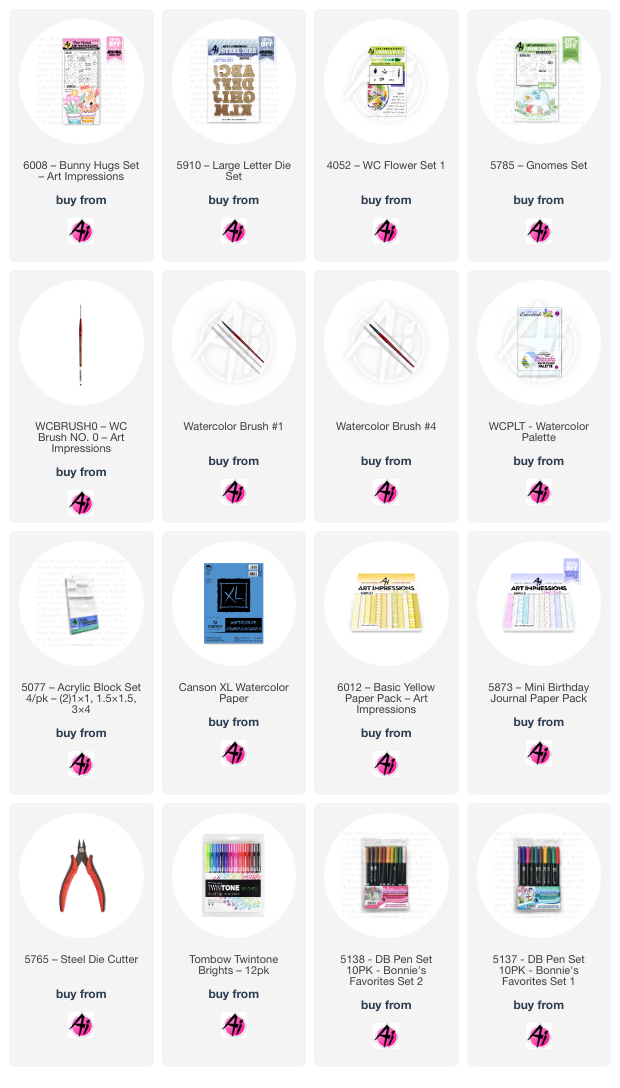
Hello and Welcome to Watercolor Weekend. The new 6008 Bunny Hugs Set is just so adorable that I couldn’t choose between the images, so….. I used ALL of them! I created a card base out of a 5 ½ by 11 inch paper, scoring at 3 5/8 and flipping the paper around and scoring at 3 5/8 on the back side to create a Z fold.  I have never made a Z fold card before, but it allowed me to use all the images, creating a scene on each panel.  Truth be told, that little bunny sitting in the pot is a big favorite.  I then used the 6012 Basic Yellow Paper Pack to mat each panel, cutting them down to 3 ½ by 5 3/8.  I used some light green paper to create the grass line and white for the clouds for the sentiments. This set comes with several different sentiments to choose from.

I used a permanent black ink for all of the images and sentiments. For the first panel, the 2 chicks, were colored in 062, 055, and 025.  For the beaks and legs I used, 026, 993. I also used 947 for the shading, with a touch of the black Twintone to darken the eyes.  For the bunny I used 947, 969, 565, and 772 for the ears and nose, plus the black Twintone to darken her eyes.  For her outfit I used 173 with 126 for the lines on the pocket.  The flower pot I colored with 526, the tulips with 025, 885, and 249, and the daisy like flowers with 676, 025, and 177.  The larger butterfly was colored with 725, N15, and 947 for the shadows.

The 2nd panel, for the eggs in the pot, I used 947 on the pot. For the eggs, from the top down, I used 565 first to shade the edges on the eggs, 025, 725, 133, 526, 676, 055, 173, 725, and 373, and again using 565 to add more shading details.  For the single egg I first shaded it with 565 and then created a “splash” with 676.  For the paintbrush, I used 947, N52, 565, and 676.  The egg that the bunny is holding I used 725, then I shaded the bunny with 565, and 772 on the ears, nose and cheeks. I also used the black Twintone on the eyes. 

On the 3rd panel, for the basket of carrots I used 969 on the basket with 565 for shading.  All of the carrots were colored with 993, 933. The stems were done with 133, and 177, the bow on the single carrot I used 055, 025, and 026.  The small butterfly I used 493, N15, and 565 for the shadows.  For the pot with the tulips, on the pot I used 133 and 565.  The tulips were done with 703, 725, 177, and 969 for the shading.  For the pot that the bunny is in I used 565 to shade it first and then added 676.  For the cutest bunny ever, I used 990, 879, and 772 on the ears, cheeks, nose, and those cute little toe beans. The black Twintone was used on the eyes.  This set also comes with coordinating dies to cut all of the images out.  I then finished assembling my card. Isn’t this set adorable?!


Hello Gnomie! I love Gnomes, like really love Gnomes! Using the newly released 5910 Letter Dies, I die cut the word HELLO. Then I used 4052 Floral Set 1 daisy bunch with Hero Arts Unicorn White stamp pad, to create a floral design on the letters.

I then stamped out 5 gnomes from 5785 Gnome Set with 565/969, pulling the color out in the shaded areas. Starting from left to right, the following colors were used for each gnome.

Gnome 1: 676, 026, 947, 969

Gnome 2: 177, 026, 249, 947, 969

Gnome 3: 947, 249, 969, 026

Gnome 4: 969, 177, 947

Gnome 5: 026, 676, 249, 947, 969

Skin: 850, 910, 969

Beards: 565

Shadows: 565 or 969


I then die cut all of the gnomes out with the included dies. Matting my card base with paper from 5873 Mini Birthday PP, I then positioned the letters where I wanted them. Adding the gnomes on top of each of the letters, creating my finished card. Thank you for joining me, and I hope you enjoyed my cards! Until next time….Create….Share….Inspire!


Sunday, October 6, 2024

Sunflowers, a Grateful Slimline & a Giveaway! by Karen Day

 Hello Ai Watercolour fans!


Scroll down to the end of my post to enter my Giveaway!
*Edited on Oct 14/24 to announce that Donna Rudy has won the prize!  Congratulations, Donna!  I will be contacting you to get you your prize.  Thank you to everyone who left a comment to win.


October crafting - it's a balance between fall & Christmas projects for me, so these will be the last of my fall Ai paintings for a while!  My first card features the tub from the recently released 5923 - Farmhouse Container Set, filled with different flowers and foliage.


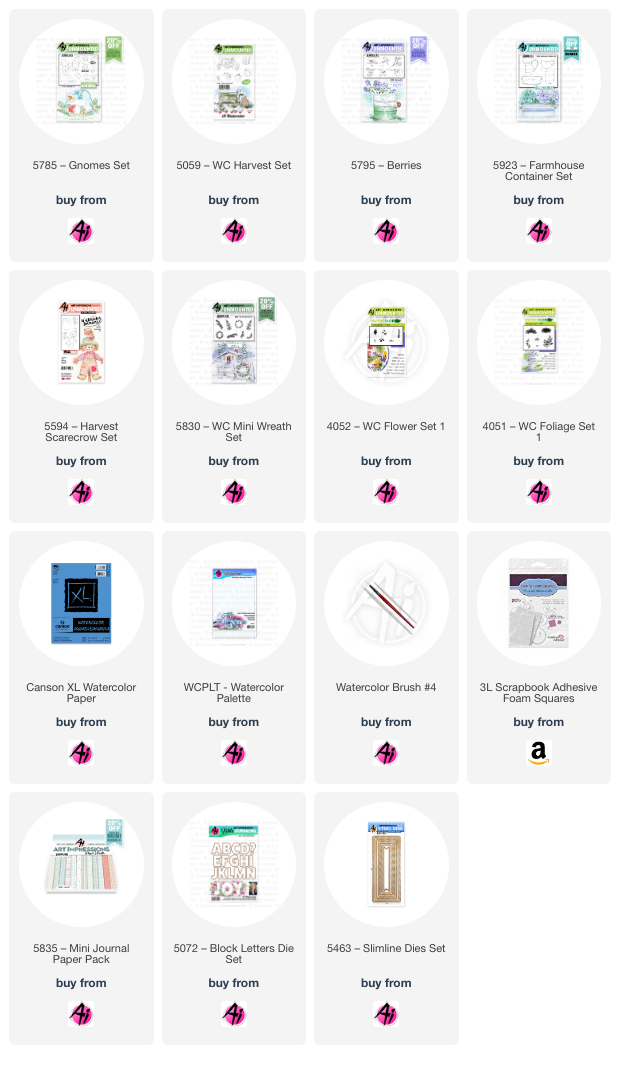
I stamped the tub in N55 on my Canson XL Watercolour Paper, then masked the top edge of it and added the two sunflowers from 5594 - Harvest Scarecrow Set in #993/177/969.  The ferns from 5830 - WC Mini Wreath Set were added in #126, and the foxglove from 4052 - WC Flower Set 1 was stamped repeatedly in #565, angled in different directions.  Everything was touched with a damp brush, and layers of colour were painted on the flowers.  The small grass from 4051 - WC Foliage Set 1 was added in #158, and painted as a wash below the tub.  #496 was added as the sky.


The background paper is from 5835 Mini PP.


My second card is a slimline (8 1/2" x 3 1/2"), and I have cased this card by Marie Nicole, as I loved how she used a gnome for the A, and I knew how great this would look with the 5785 - Gnomes Set.  I die cut the letters from the 5072 - Block Letters Die Set in kraft paper to spell out Grateful, omitting the A.  I blended some Walnut Stain Distress Oxide ink onto the bottom of each letter to create a soft gradient effect.


All of my images are stamped in N55 on Canson XL Watercolour paper.  I used a mix of #565/249 to create the teal colour that I painted on his hat and pants, using several layers to create the darker tones.  N55 and N75 were painted on his boots and mits, and light tones of N55 were painted on the edge of his beard.  A little #850 coloured up his nose.  Some #947 is painted on his tunic, as I wanted it to match some of the shades on the pumpkins.


The two pumpkins from 5059 - WC Harvest Set are always my favourite pumpkins to use on projects!  They were painted in tones of #993/933/947/969 and #249/565 respectively, with #126/158 added to their stems.  I wanted a few leaves scattered around my project, so I used the two clusters from 5795 - Berries Set, colouring them with dabs of #993/126/905/933158.  After fussy cutting everything out, they were mounted to my project with some thin 3D foam tape, to add a little dimension.

I used the 5463 - Slimline Dies Set to cut out my background paper, which I matted with some teal cardstock, and then adhered it to my kraft cardstock base.

Giveaway time!

I have two of the recently released flower sets (5917 & 5918) to give to someone who leaves a comment here on the Watercolour Weekend blog post. **Please note** - the giveaway is open to Canadian residents only! - I'm afraid that's where I'm mailing from, and to keep mailing costs down, avoid duty etc... we're going to give our Canadian fans a chance this time.

Just leave a comment on this post before midnight ET, Sunday, October 13th - and I will update this post with the winner's name on Thanksgiving Monday, October 14th.


Monday, June 3, 2024

Gnome Home Matchbook Set by Sharon Caudle

 Hello AI Fans!

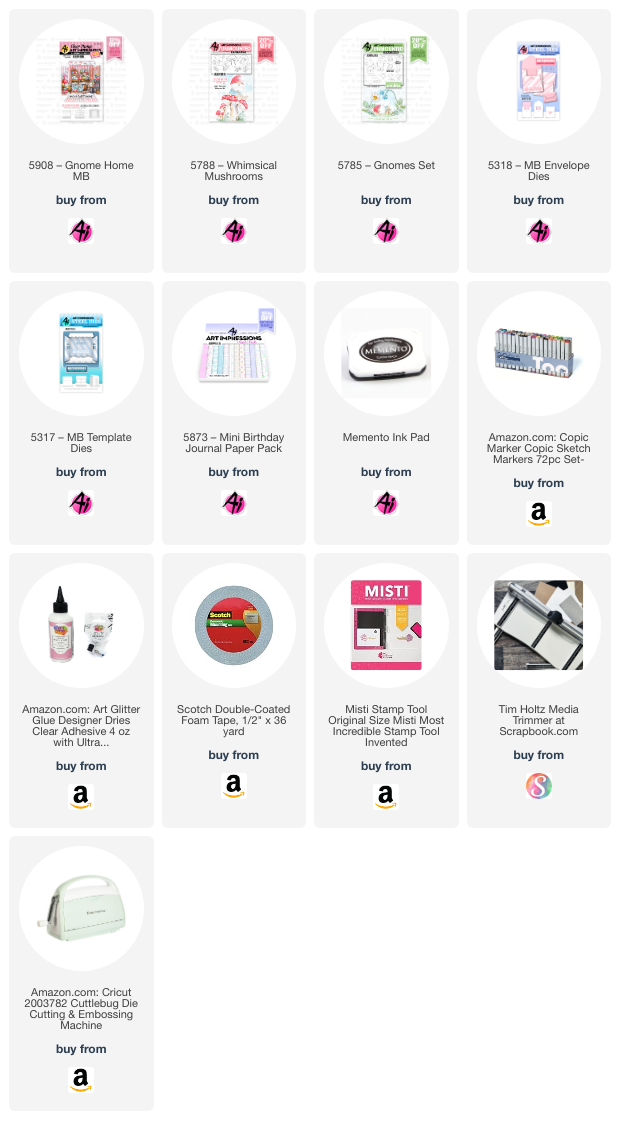
There's no place like gnome, right?  Who else besides me is in love with Gnomes and Mushrooms?! If you are like me, you're going to be bonkers over the new 5908 Gnome Home Matchbook Set!! This is soooo cute! Bonnie is such a genius!! He's snoozing in his chair and the little mushroom table is so adorable!! I love every single detail, and believe me, there are sooooo many details!!  I stamped the images onto Copic friendly paper using Memento Tuxedo Black ink and then colored them with Copic markers listed below. 


Thanks so much for stopping by for a visit. Until next time - stay crafty!


Copics used:
C0, 1, 3, and 6
G21 and 24
R11 and 12
Y04, 08, 11, 17, 35, and 38
YR61 and 65
W1
T2
B21 and 23
R35
E00, 11, 30, 33, 35, 37, 41, 42, 43, 81, and 84