Showing posts with label 5910 Large Letter Die Set. Show all posts

Sunday, July 26, 2026

A Masculine Watercolor Birthday Card and a Card for a Friend.


Hello Crafty Fiends and Happy Watercolor Weekend!

Today, I want to share two projects that are completely different in purpose.

For the first project, a friend asked me to create a masculine watercolor birthday card for her husband. Knowing he loves the ocean and owns a boat, I designed the card with that theme in mind.


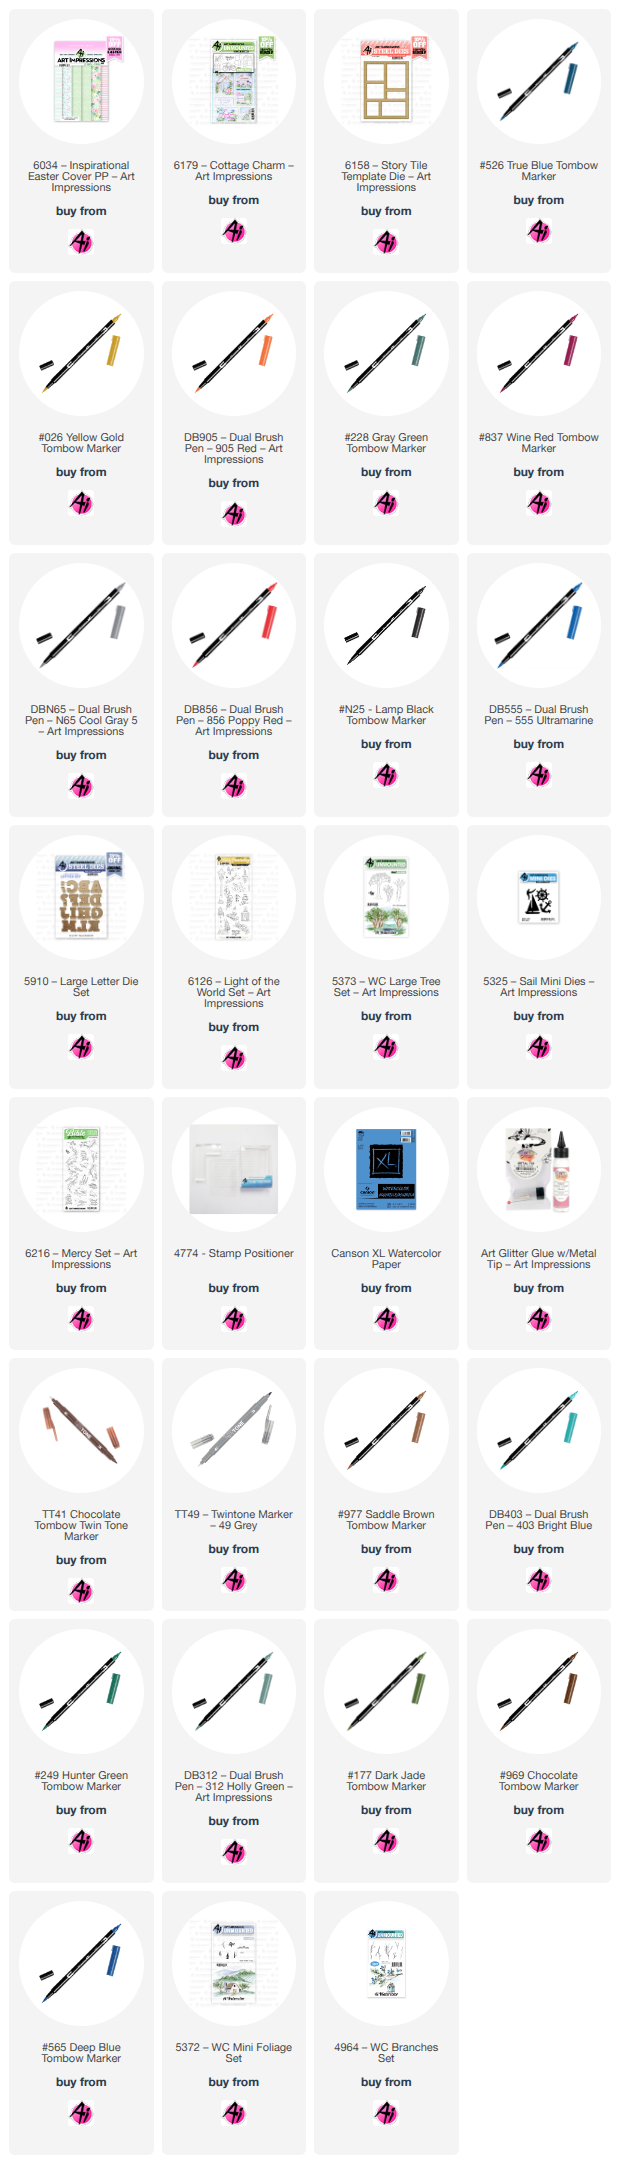
To start, I used the lighthouse and cliff stamps from the Light of the World set (6126). I inked everything except the tree using Tombow markers 969 and 565, and stamped the tree using Tombow marker 177. I then pulled the colors from the stamp and painted the lighthouse and the cliff.


Next, I painted the tree and some background foliage using branches from the Branches Set (4964) and the Large Tree Set (5373). I also added the sky.


To add the ocean, I drew a line and masked the sky to create a straight horizon. I built up the ocean using different shades of blue, and then added a few wave lines using bleed-proof white. I kept it looking like a calm ocean without too much foam or waves.


For the sentiment, I used the Large Letter Die Set (5910) to cut the letters "HPPY" three times—twice in white and once in blue. I layered and glued them together with the blue letters on top. For the letter "A", I used the sailboat from the Sail Mini Dies set (5325). I added a few lines to one of the sails using a red marker (856) and a little gray for shadow. Finally, I added a "Birthday" stamp and cut a coordinating blue mat to be glued around the card.


I am really happy with how this card turned out, and I hope you like it, too!


                                              My second card:  Thinking of You card


I want to share the details of the second card I made. I am making this card for a friend who is going through a difficult time, and I hope it brings a smile to her face and lets her know that I am thinking of and praying for her.

Since she loves birds, I designed this card specifically with her in mind:


  - Background & Stamping: I started by sketching the paper using the die from Story Tile Die Set (#6158) and then stamped the birds from the Mercy Set (#6216). I left one space open for a sentiment from the Cottage Charm Set (#6179). 


- Painting: To give the birds a realistic look, I researched different sparrow species online for reference. Once the painting was dry, I applied a thin layer of Distress Glaze to seal it.    


 - Assembly: I cut the frame twice—once in black and once in kraft paper for the top layer. Finally, I glued the frame and mat together onto a matching kraft-colored card base.


Thank you for taking the time to read my blog. I hope these cards inspire your own creations. Please feel free to reach out if you have any questions.

Happy crafting and watercolor painting!


Thursday, June 18, 2026

OUCH - Doggy Cone by Dori Mendiola

 Happy Thursday AI Friends!

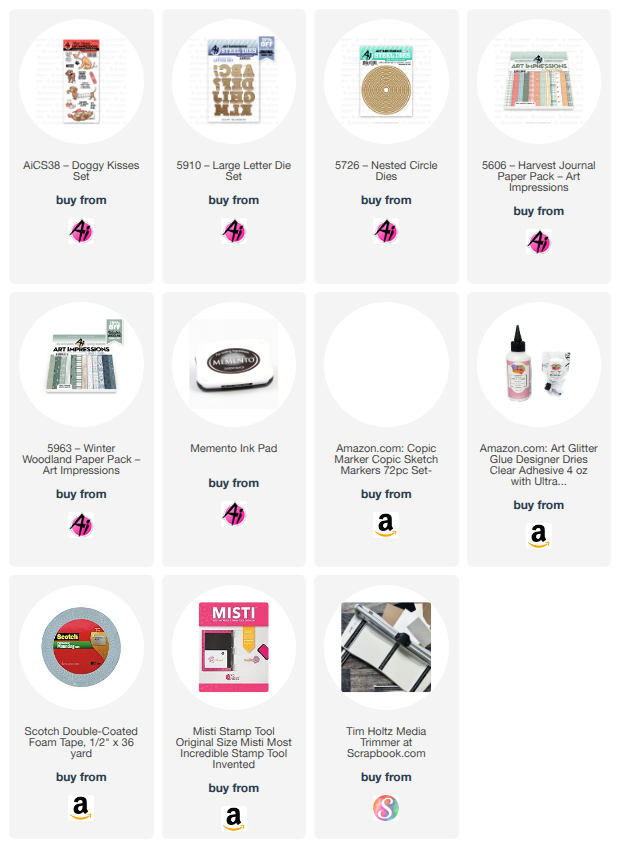
Today I have a fun fold wellness card with this cute little injured dog from the #AiCS38 - Doggy Kisses set.  This set has the most adorable little pups with the funnest little "get well" sentiments.  Definitely a cute, fun set!  Who wouldn't find this little guy to be uplifting and a fast "cure" for any illness?

I started by stamping the images onto copic friendly paper with Memento black ink and colored with my copic markers listed below.  I die cut the letters out with the #5910 - Large Alphabet set and colored around the edges with my copic marker (E53) to add that extra pop from the pattern paper.  I also popped up the letters with foam tape.


I cut the image panel with a circle die.  I adhered pattern paper to the card base and then die cut a circle into the top panel, using a larger circle die than the image panel.  I cut a narrow circle frame to give a nice finish to the opening.  For the pop through panel, I cut a strip 4 3/4" x 2" in white cardstock and scored along the long side at 1/2".  I adhered the 1/2" tab to the inside back of the card base, making sure that the strip will be centered when shutting the card.  I adhered a piece of pattern paper to the inside back underneath the strip piece and covered up the tab.  I then die cut a decorative edge to one side of a piece of pattern paper and cut to fit on top of the strip.  Placing the strip panel through the front circle, adhere the image panel onto the strip so that it fits nicely.  

I used a magnetic closure to keep the card closed, but this is optional.  I placed one under the bandaid on the front cover and the other under the paw heart inside.  


Video below shows how the card opens and closes.


Hope you enjoyed my card today.  Thanks for joining me!

Have a wonderful day and keep creating!

Copics used:  N0, N1
R20,    B000
E50, E51, E53, E55

Monday, March 16, 2026

Stadium Wave Pop up card by Sharon Caudle

 Hello AI Fans!

We have a new challenge that started last Thursday and it's to make a 3D card or project. I love anything popped up or 3D, so I definitely had fun with this one! I had seen a fancy fold card called a stadium wave pop up card and knew I was going to use it for this challenge. If you do a search on You Tube, you will find several free videos on how to create this, and I also added a link in my post below. I did my own size as I didn't want a huge card, so I will give you the measurements of what I did. They really are not difficult to make at all, but boy what a presentation it gives! So real quick, let me show you a video of the card, then I'll explain how I made it. 


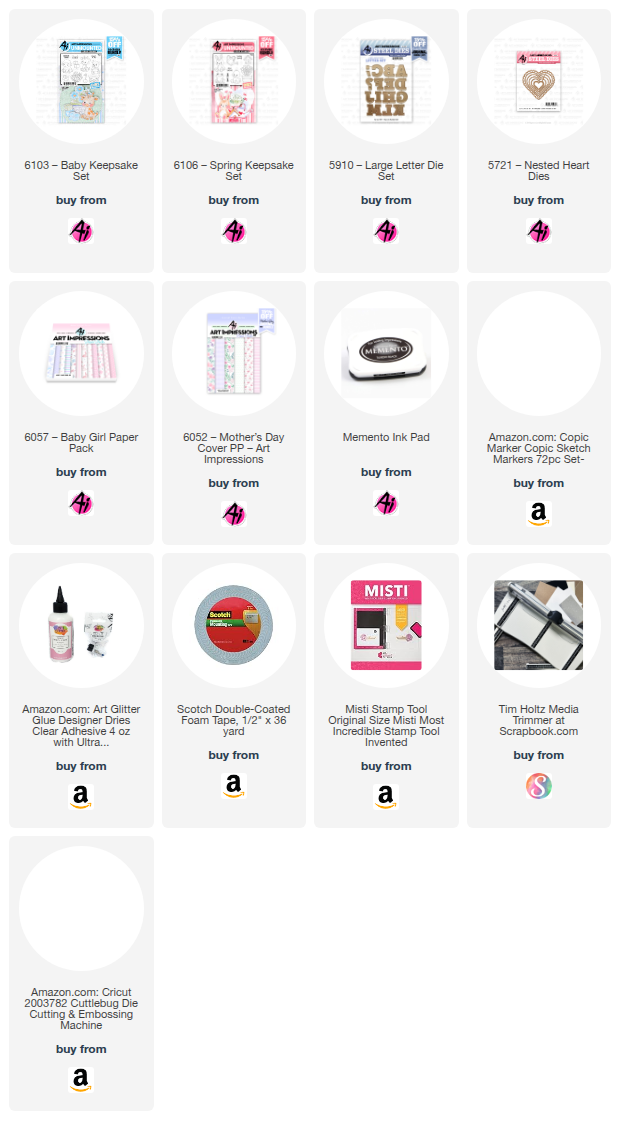
So to begin with, I cut my card base to create a 5 1/2" square card and added my layered mats to it including the front and inside. The pattern paper used is from #6052 Mother's Day Cover PP and #6057 Baby Girl PP. I then created the strips for the inside. You need a total of eight of these strips. so I needed two pieces of the paper from the cover pack. I cut one full piece to measure 6" x 8", then took another piece and cut it to  measure 2" x 8". With the 8" side along the top of your score board,

score at 3", 6", 6 3/4", and 7 1/2". 

Do this to both the 6" piece and the 2". You will then turn the paper and cut it in one inch strips which will give you a total of eight 1" x 8" strips that are scored at the measurements above. Fold and burnish your strips, then add glue to the 1/2" edge of the strip and attach it to the other end so that the strip ends up looking similar to a long heart. Here is a link to an instructional video. Just remember that mine is a different size. 

https://youtu.be/Lj7C2RltYB0

I really wanted to make a baby card with it, so I used #6106 Spring Keepsake Set and #6103 Baby Keepsake Set for the adorable little animals they both have. To spell out the word BABY, I then used #5910 Large Letter Die Set and cut them each out with pattern paper and then the lavender cardstock so I could offset the letters a smidge to help them stand out better. I stamped, colored, and cut a LOT of beautiful daisies from Baby Keepsake Set. And now that I am typing this post, I don't know why I didn't think of adding some adorable pieces using #5338 Baby Mini Dies!  DOH!!!  Maybe if you make one of these, you will use them to help decorate! For the card front, I added a large heart from #5721 Nested Heart Dies along with that adorable frog, then scattered some open hearts from the same die set. After adding a sweet bow, the front was finished. 


Making my strips shorter than what is stated on the instructional video gave me more room to add a sentiment panel for your message and signature. But it did not take away from the "wow" factor when the card is opened. 


So that's it for me today! I sure hope I was able to inspire you a little with creating a 3D project for our new challenge. You never know when you might win a free set of your choice! Thank you so much for stopping by for a visit and until next time - stay crafty!!


Copic markers used:
E00, 30, 31, 33, 35, 40, 41, 42, 43, 44, 51, 53, 95, 97, and 99
C00, 0, 1, 2, and 3
YG01, 03, and 05
B00 and 01
R11, 12, 20, 22, 81, and 83
YR20 and 21
Y00, 11, 21, 23, 32, 35, and 38


Sunday, February 1, 2026

Spring Keepsake and a New Home card by Karen Day

 Hello Ai Watercolour fans!

I have started all of my posts of the past (almost) 13 years with that phrase.  It is a bittersweet day for me that this will be my last post as part of the Art Impressions design team.  I started on the main team in 2013 after falling in love with Bonnie's amazing Girlfriends, and Old People stamps - still my favourites to this day!  I took a short break 4 1/2 years later, then returned on the Watercolour team where I've remained until today.  Life changes, and it's time for me to allow someone else to be part of this amazing team, using Bonnie's wonderful creations.  Thanks for being along for the ride with me!


My first card is using the newly released 6106 - Spring Keepsake set.


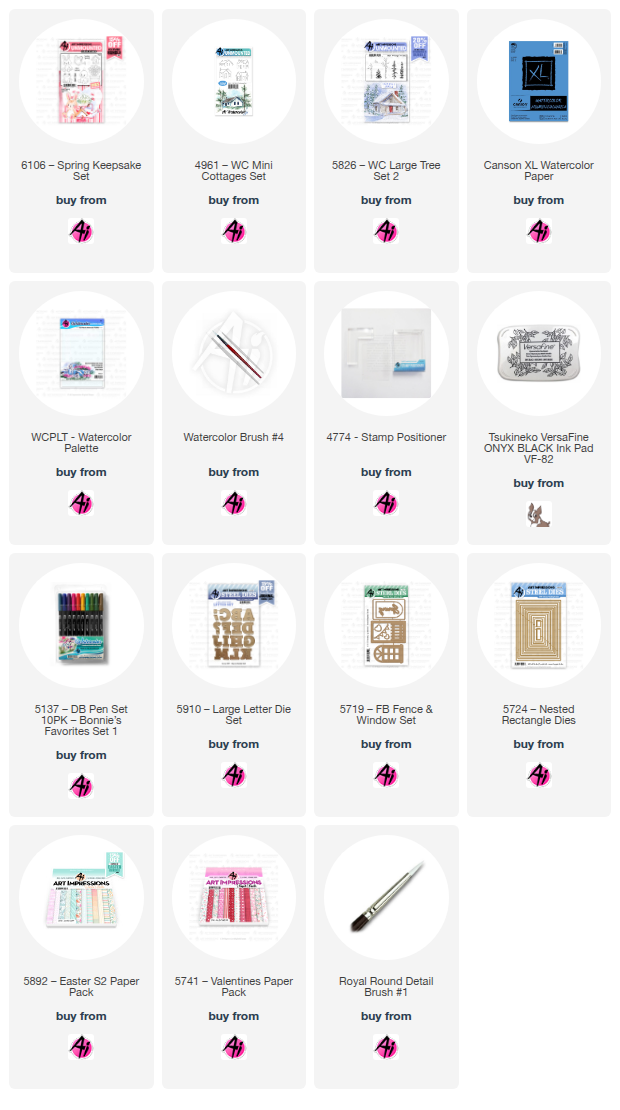
I positioned the frog and watering can on the same block, and stamped them both using Tombow #N45 onto my Canson XL Watercolour paper.  After masking, I stamped the pot behind them, and then added the flower bouquet.


I was painting this in the middle of a snowstorm!  So I was reaching for bright, spring colours (helped brighten my mood, but the snow kept coming!).  I wanted a lot of contrast on the frog, so used #126/055/245/373, using the same on the greenery, but with some darker #177 added in.  #515 was painted in layers on the pot, and N45 watered down on the watering can.  #991/933 were used for the daffodils, and shades of #847 for the tulips.  A wash of #565 was painted as the sky, and used to add shadows around the images, and amongst the flowers.  When I'm painting something metallic or shiny, I like to add hints of the other colours in my painting, so you'll see touches of pink, blue and green on the watering can - as though it's catching their reflection.
The Spring die is from the 5719 - FB Fence & Window Set, cut twice and glued together to be a little sturdier.  The scene and blue mat are die cut using the 5724 - Nested Rectangle dies.  I mounted my scene onto some bold paper from the 5741 - Valentines paper pack.


My second card was a bit of a departure for me... and the jury's still out on this one!  I was inspired by a card from Alli Frazier, whose card was very CAS using diecuts.  I thought a watercolour version would be fun to try:


I really love the Ai alphabet dies... so I pulled out the 5910 - Large Letter Die set, then went searching for a house that was the right scale, facing forward.  But first, I had to make a template to plan out my card.  I traced a 4 1/4 x 5 1/2" rectangle on my Canson XL Watercolour paper, and drew a line across it diagonally in pencil.  I placed the letter dies along the line, and this allowed me to figure out my placement for the house from 4961 - WC Mini Cottages Set, which I inked in Tombow #N45, and stamped.  I picked the three trees from 5826 -WC Large Tree Set 2, and after masking the bottom portion along my line and the house, I inked them all in #312 and stamped them across the page at varying heights, stamping some a second time without reinking.


There was still a lot of sky on my card, so I decided to add the larger mountains from 5198 - WC Mountain Set, inked in #533.  I pulled out the colour of both the mountains and trees with a damp brush.  The house was painted with #N45 on the roof, #703 on the house, and #847 on the chimney.  I used #565 as a wash in the sky, and to add shadows to the house & windows. I used my Gray Twintone marker to darken the lines of the house and to outline the smoke.


This is the point where a lot of debate ensued!  The mountains and trees were way darker than I'd envisioned - I had wanted them to be more of a hazy background.  I used some of the white paint to soften the lines/colour of the mountains, and painted in the smoke from the chimney.  I added a strip of green cardstock under the line - and had planned to use the same green for the letters, but they were too similar of a colour to the trees.  The pink letters were much bolder than I intended, but gave a better contrast with the background.  My daughter described this as a girly card!!  Which I'm okay with.  So the pink won.


I found this pale green striped paper in the 5892 - Easter S2 paper pack, and cut it to contrast with the angle on the card.  I thought the word 'home' was a little lonely on it's own, so pulled the sentiments out of my craft stash to finish the card off.  The sparkles are just clear silver, and look great in person, but appear black in the photos.  It was a lot of fun doing something out of my normal style.


On a parting note - a huge thank you to Bonnie, Phil, Joel, Kim & Kendra for everything.  It's been such a joy to work with you & your amazing products.  


Monday, January 26, 2026

A cute Valentine by Sharon Caudle

 Hello AI Fans!

It's getting close to Valentine's Day, do you know where your hearts are? LOL! I have a cute little Valentine card today to show you. I love using the reds and pinks after the Christmas season. Do you make Valentine cards for the loves of your life? 

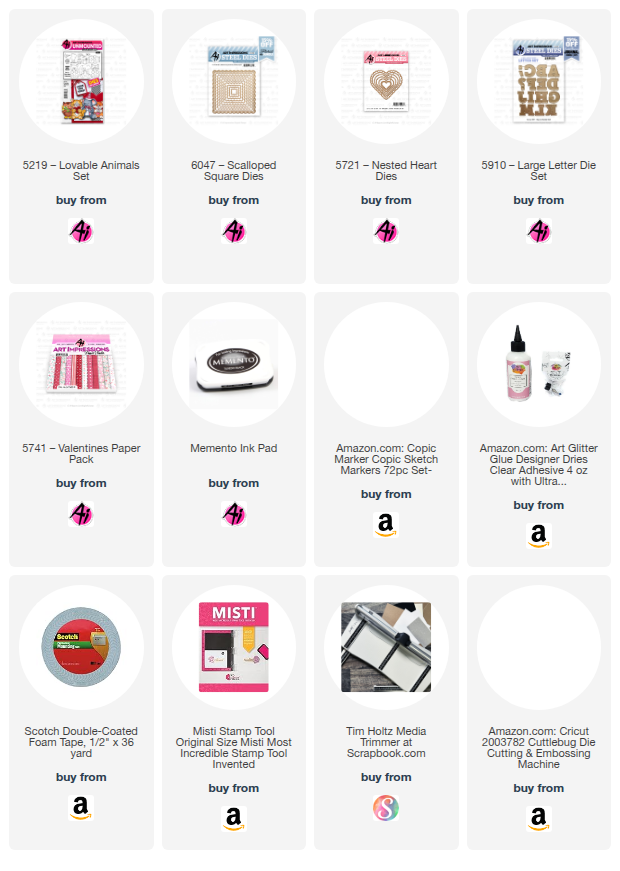
I started by grabbing the cute elephant from 5219 Loveable Animals Set. I'm sure you've heard of pink elephants on parade (LOL). I told you I love the pinks and reds!! I colored it with Copic markers which are listed below. The dies are included with the stamp sets, so it made it super easy to die cut it. It also cuts around the paws so it can hold whatever you want to put there. I added a couple of balloons that were from dies in my stash. I wrapped the balloon strings around his arm too. The mat was created using #6047 Scalloped Square Dies and placed on the diagonal. I then grabbed #5721 Nested Heart Dies to cut several sizes of hearts. There's lots of dimension as I popped up just about everything from the layer underneath it. I placed a die cut heart into the hands of the pink ellie and tied the balloon strings to one of the arms. Finally, I used #5910 to cut out four X's and four O's (two each in red and then pink) and used them to finish the card. 


So that's it for me today. Thanks so much for stopping by for a visit and until next time - stay crafty!!


Copic markers used:

R24, 81, 83, and 85
YG13 and 17
C1 and 2


Tuesday, July 15, 2025

Happy Graduation! by Reneé Matarese

 Hello Ai fans!

I'm sure lots of you attended some sort of graduation or moving up ceremony or party this season.

For me, it was my youngest niece's high school graduation.

I made her a portfolio type card in her school colors.

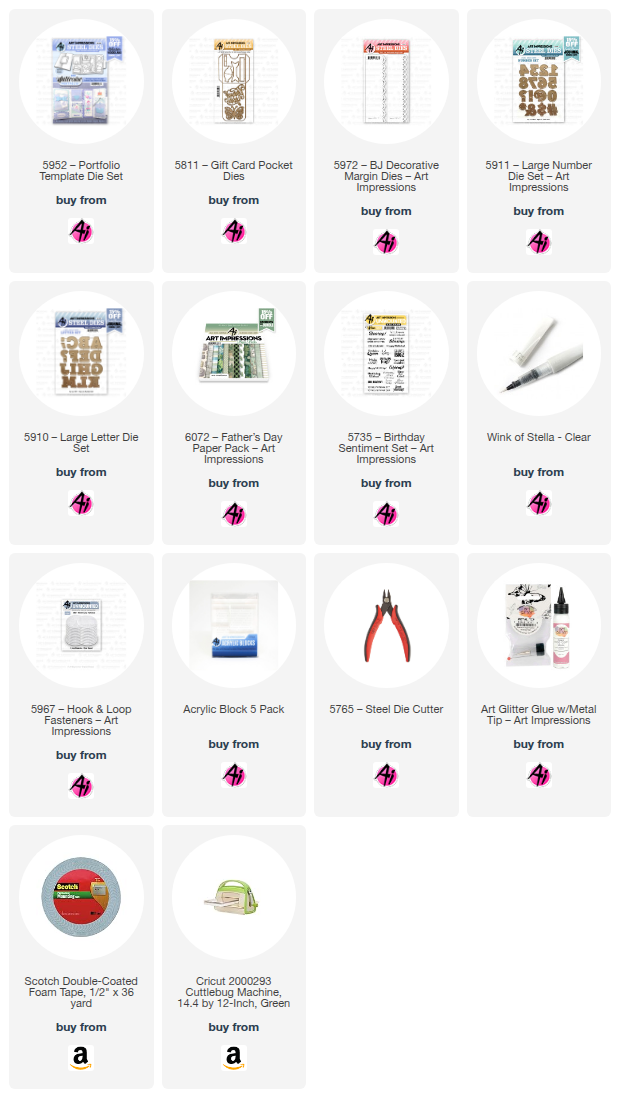
On the front I used a die from the 5952 – Portfolio Template Die Set that I stamped IT'S YOUR DAY! onto which is from the 5735 – Birthday Sentiment Set. The border was made using the new 5972 – BJ Decorative Margin Dies. The cute bow is from 5811 – Gift Card Pocket Dies. I secured it shut with a 5967 – Hook & Loop Fasteners.


Next, we open it up to find HAPPY and 2025 cut from 5911 – Large Number Die Set and 5910 – Large Letter Die Set. They were all cut from a piece of paper from 6072 – Father’s Day Paper Pack. The little pocket that we put her check in and the stars are all from Portfolio set as well. The stars are covered in Wink of Stella.


Now onto the back of the card where I personalized it.
I used another birthday sentiment and a few more dies from the Portfolio to matte and frame it. I wrote my note to her underneath that.


Happy Graduation beautiful Brynn!


Saturday, July 12, 2025

I'm Your Love Bug by Janet

Hello everyone! I hope your weekend is off to a great start. This week, I dove headfirst into the "Spritz, Splatter AND PAINT!" challenge on the Ai Blog, and let me tell you, I was thrilled! There's nothing I love more than making a creative mess, especially when it's for a good cause – like winning free stamps!

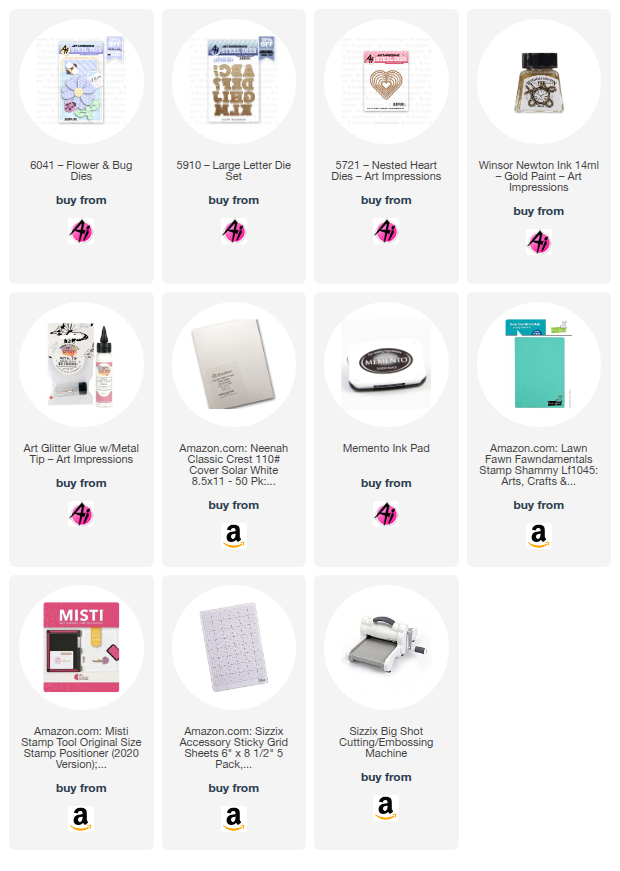
My card is a vibrant message of love, centered around an adorable ladybug from the 6041 - Flower and Bug set. She's perched on a beautifully stacked and layered heart, crafted from seven layers of pink and navy cardstock using the 5721 - Nested Heart Dies. Building it up with foam tape really makes this heart pop right off the card, creating a bold statement. In the four corners, I spelled out "LOVE" using gold cardstock letters from the 5910 - Large Letter Die Set, placing them strategically above and below the prominent heart.

Before adding these elements, I had some serious fun creating the background. The colorful mat started with a three-layer stencil, blending cheerful blue and pink Oxide inks. For the dazzling third layer, I painted it with Winsor Newton Gold paint from Art Impressions – pure metallic magic! Once that was done, I watered down some blue watercolor paint and generously splattered it across the panel. Then, I followed up with simple water droplets. Because the bright pink and blue inks are water-reactive, these drops created a fantastic bleached-out, textured effect where they landed. To push the texture even further, I ran the whole panel through an embossing folder.

After arranging and gluing all the pieces, I felt it needed one final touch. A sweet pink and white polka dot bow, complete with a heart gem in the middle, was the perfect complement to the main heart and ladybug.

I truly hope you'll join in on the "Spritz, Splatter AND PAINT!" challenge! It's a fantastic excuse to play and create, and you'll get a chance to win free stamps just by uploading your creation to the challenge post on the blog. I can't wait to see what amazing things you create!

Thanks so much for stopping by today! Don't forget to find your favorite stamps, dies, and accessories at the Ai Store! Make a visit today.

Happy crafting!

Janet YouTube - Blog - Facebook - Instagram - Pinterest