Showing posts with label Christmas 2018. Show all posts

Tuesday, December 11, 2018

Meowy Christmas by Jil Lebel

Hello Ai fans!

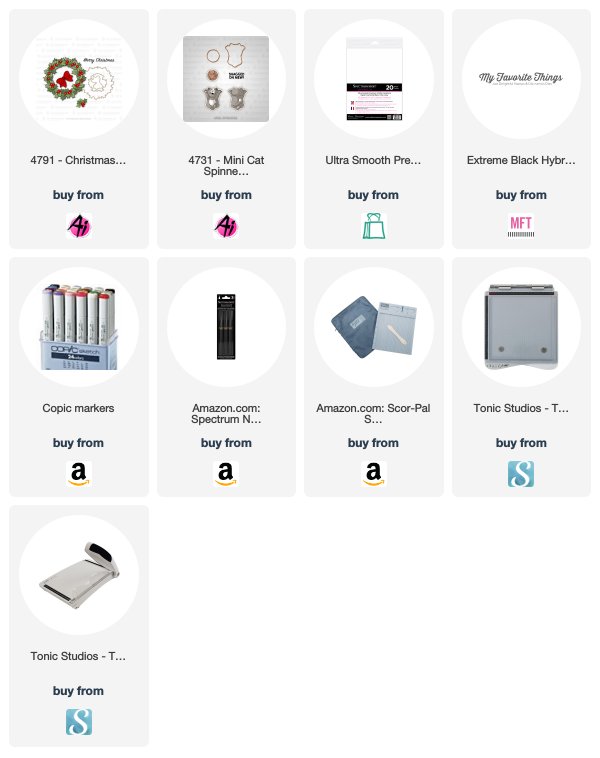
We're getting down to the wire for Christmas cards.  I've been trying to come up with some faster cards that I can make up in batches.  I sat down and made a few of these the other night.  I combined the Christmas Wreath Set with the Mini Cat Spinner Set.  Both stamp sets came with matching dies. The only thing I had to do was color them while watching a movie and die cut them before I added them to the card.  I found the perfect paper 6x6 paper pad at Michael's a few weeks ago called Christmas Pets and it had both dog and cat images in it.  It even had the perfect sayings for me to cut out and add to my cards.  
The images were stamped onto Spetrum Noir Ultra Smooth paper with My Favorite Things Extreme Black Ink and colored with Copic markers.  The colors used are listed at the end of this post. The cat and wreath were cut out using their matching dies. Several layers of the patterned paper were cut and edged with a Pilot Medium Tip Gold Marker.  The center panel, cat and wreath were attached with foam tape.  The sentiment and the bow were added with another layer of foam tape.  The bow and berries were covered with a layer of the Spectrum Noir Crystal Glitter Marker. 
Copic Colors Used:
Cat - Coo, C1, C3, C5, RV10
Wreath - YG61, YG63, YG67
Bow/Balls - R81, R83, R85
Thanks for stopping by and Have a Great Day!

Tuesday, December 4, 2018

Dachshund Through the Snow by Jil Lebel

Hello Ai fans!

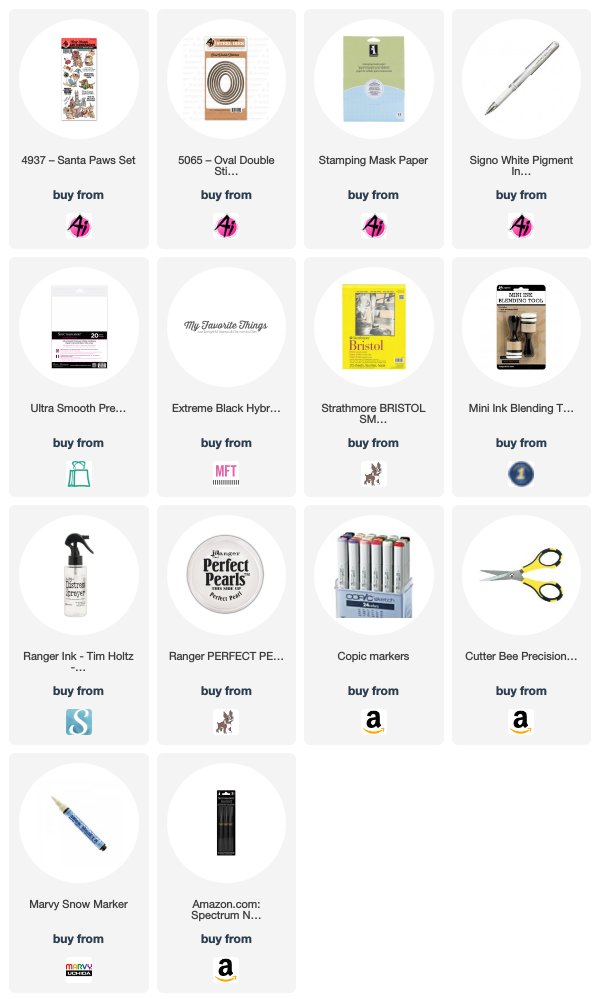
Last year Ai came out with the Santa Paws Set and it has to be one of my favorite Christmas sets of all time.  The dogs in it are dressed for Christmas.  Whats not to love?  I picked three of the dogs and made a fun scene. I combined it with the Recollections Christmas Pets 6x6 paper pad that I found at Michael's for a super fun card. 
The images were stamped onto Spetrum Noir Ultra Smooth paper with My Favorite Things Extreme Black Ink and colored with Copic markers.  The colors used are listed at the end of this post. They were fussy cut with EK success Cutter Bee scissors.  You can't tell from the picture, but a Marvy Snow Marker was added to the white areas of the Santa jacket.  The marker goes on wet and is heated until it puffs up.  A Spectrum Noir Clear glitter pen was added over the yellow areas on the other two dogs. The dachshund was added with foam tape.
The background was made with Distress Oxide inks onto an oval of Bristol paper. Two masks were cut from masking paper using the Lawn Fawn Stitched Hillside Borders Dies.  The masks were applied to the paper before any inking was done.  A soft layer of Stormy Sky Distress ink was applied toward the center of the top portion of the oval and then the Blueprint Sketch Distress Oxide ink was blended around it.  A very thin layer of Black soot Distress Oxide ink was applied around the edges. The top mask was removed and a very light layer of Shaded Lilac Distress Oxide was applied. The bottom mask was removed and a heavier layer of Shaded Lilac ink was applied. All of the blending was done with the distress mini blending tool and blending foams.  Water droplets were added to the entire background with a Distress sprayer. After about a minute, the water was picked up with a paper towel.  A mix of Perfect Pearl colored Perfect Pearls and water was spattered onto the background to give it some shine.  It was attached to the card front with foam tape.

Copic Colors Used:
Dachshund - E31, E33, E35, E37, E29
YG61, YG63, YG67, Y11, Y15, Y15, Y26 R22, R24, R29, R39
Santa Dog - E30, E31, E33
B21, B24, B28, R24, R29
Chihuahua - E31,E41,RV10, E00
RV20, Coo, C1, C3, YG61, YG63, YG67, Y11, Y15, Y26, 100, R24, R39

Thanks for stopping by and Have a Great Day!

Tuesday, November 20, 2018

Santa Pop Out Rectangle Card by Jil Lebel

Hello Ai fans!

As I told you last week, I was eagerly awaiting the Ai Christmas clear stamp release, so you shouldn't be surprised to see me using the Sleight Bells Ring Set again. This week I went with a more traditional approach and used the Santa image.  I just love how versatile the stamp set is!

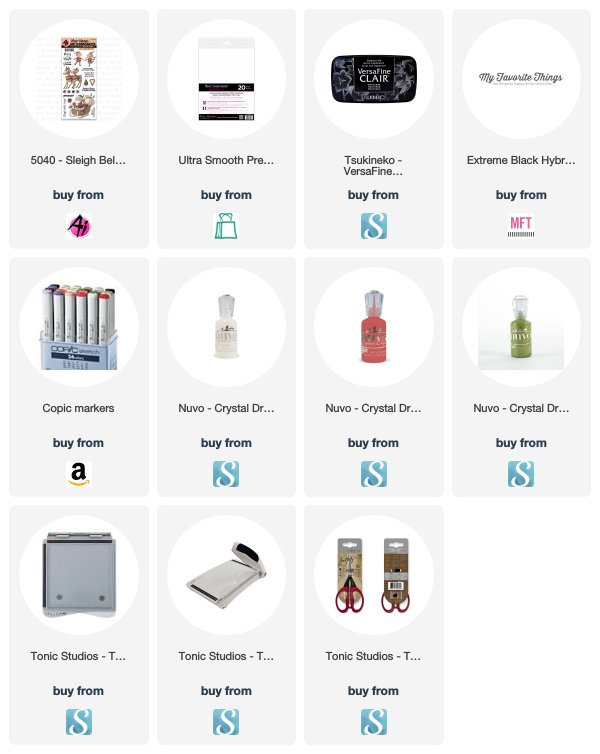
The images were stamped onto Spetrum Noir Ultra Smooth paper with My Favorite Things Extreme Black Ink and colored with Copic markers.  The colors used are listed at the end of this post. The image was cut out leaving a small white border.

The card base is the pop out rectangle card die from Ellison.  My friend Tere cut me a bunch of them.  It even cuts the inner pieces.  She just cut me those out of chipboard so I had templates. They were cut from the BoBunny Father Time 6x6 paper collection and gold edged with a medium tip Pilot Gold marker. The greeting was stamped with the Versafine Clair Nocturne ink and cut with a flag banner die.  The greeting and the Santa image were attached to the card with foam tape.  Nuvo Crystal Drops in Gloss - Simply White, Gloss - Red Berry and Bottle Green were added around the front panel. 
Copic Marker Colors Used:
Face - E000, E00, E11, R20
Beard - C3
Suit - R08, R29, YG07, E07, R24
Trim - C1, C00
Belt - C00, C3, C5, C7, C9
Bag - G40, YG61, YG63, YG97
Gold - Y11, Y15, Y26, (E27)
Sled - E50, E51, E53
Gloves/Bench/Rails - E30, E31, E33


Thanks for stopping by and Have a Great Day!

Tuesday, November 13, 2018

Elf Fun Shaker Card by Jil Lebel

Hello Ai fans!

I could hardly wait for the Ai Christmas clear stamps to be released.  They had so many fun images in them.  I decided to use the elves from the Sleigh Bells Set to make a shaker card. They looked like they were having so much fun.  I was going to color them the traditional Christmas red and green but decided to go with something I wouldn't normally use for Christmas.  I hope you enjoy the way it came out. 
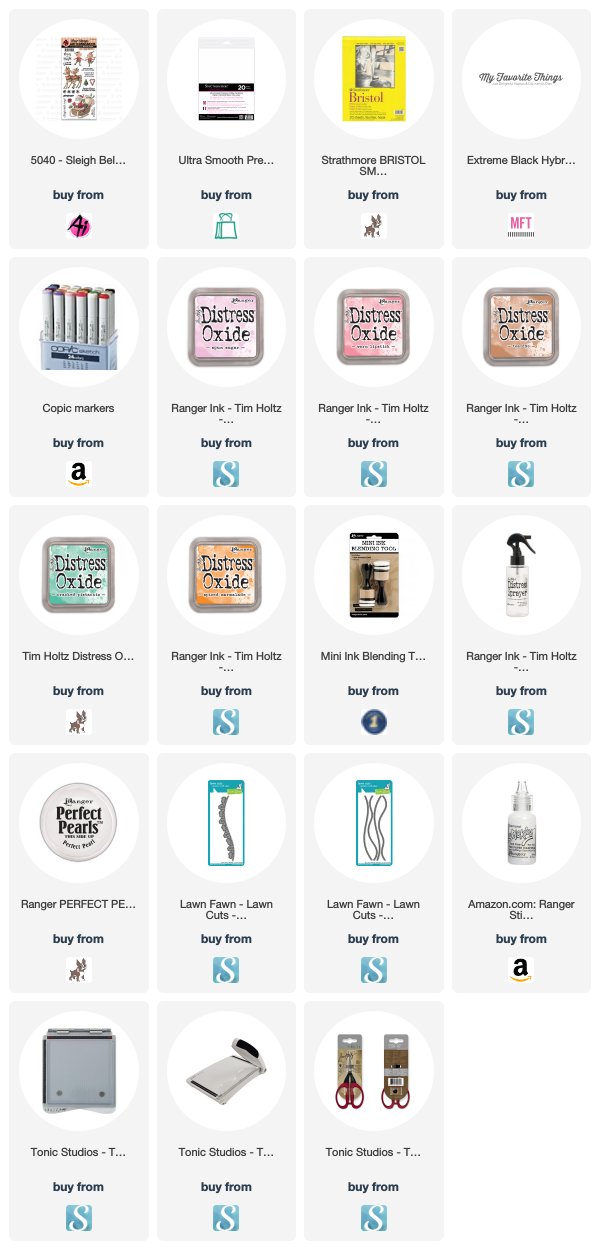
The images were stamped onto Spetrum Noir Ultra Smooth paper with My Favorite Things Extreme Black Ink and colored with Copic markers.  The colors used are listed at the end of this post. 
The background was colored with Spun Sugar and Worn Lipstick Distress Oxide Ink before it was spritzed with the Distress sprayer to create white droplets.  After the water was picked up with a paper towel, then it was spritzed with Perfect Pearl spray.  The hills were die cut from the Lawn Fawn Stitched Hillside Border dies and colored with Cracked Pistachio Distress Oxide ink.  The houses were cut from the Lawn Fawn Little Town Border and colored with Tea Dye, Shaded Lilac,and Spiced Marmalade Distress Oxide inks.  Diamond Stickles were added to the tops of all of them. 
The Mama Elephant Park Avenue die was cut from white card stock and attached to a piece of acetate.  Two layers of foam tape were added around the back of the entire frame.  The sequins and snowflake confetti were added inside the frame and it was attached to the scene.  
The second version of the card contains Perler beads that were melted in the oven.  Some of the melted beads are all white while some of them look like candy.  
Copic Marker Colors Used:
Faces - E000, E00, E11, R20
Hair - E21, E23
Clother - RV10, RV13, BG10, BG11

Thanks for stopping by and Have a Great Day!

Thursday, November 1, 2018

Challenge 244 Lots of Layers WEEK 2! Plus, Journaling Bible Now Available!


Hello, Ai Fans! We are back with more Christmas inspiration for you on this lovely November Thursday! Last week we released our NEW Christmas clear stamps: Christmas Bee SetSleigh Bells and Snow Friend. Each of these sets are PACKED with images and sentiments, with 15 pieces each giving you great value and versatility for your holiday crafting! If you haven't nabbed them already, visit artimpressions.com to grab your stamps for this year's holiday cards!
  Christmas Bee Snow Friend Sleigh Bells
Our designers are here with their projects showcasing these three sets. Let's take a look! Don't forget, you can always visit the designer's blog with more details and photos! Leave a little comment love while you're at it!

Carol with Sleigh Bells and Oval Double Stitched Dies


Thanks, team! Your holiday cards are "snow" much fun!
Join our challenge! We apologize our link-up wasn't showing up right away last week, but it's now up and ready for your entries, so be sure to enter! There is still one week left! What are ways you like to make "lots of layers"? It could be layering papers, inks, stamped images or embellishments... and even folded and layered card layouts! The possibilities are endless! Join our challenge, not only do we love seeing what you create, but we also love sending stamp prizes to Top Spot and Honorable Mentions!

Here are the Challenge Rules:
✻ Please make a new card or creation. You can make any crafty item you wish; this is not limited to cards!
✻ Limit two submissions per person. You will receive extra votes if you use Art Impressions stamps!
✻ The Ai Challenge is open to everyone, international submissions are welcome!
✻ Include a link back to the Ai Blog or grab our button on the top right of our sidebar!
✻ Share the Ai love by clicking and commenting your fellow crafters.
✻ Make sure to get your link up by Wednesday, November 7 at 5:00 p.m. PST to enter your creations.
✻ Good luck and happy stamping!
Before we go, we have an announcement!

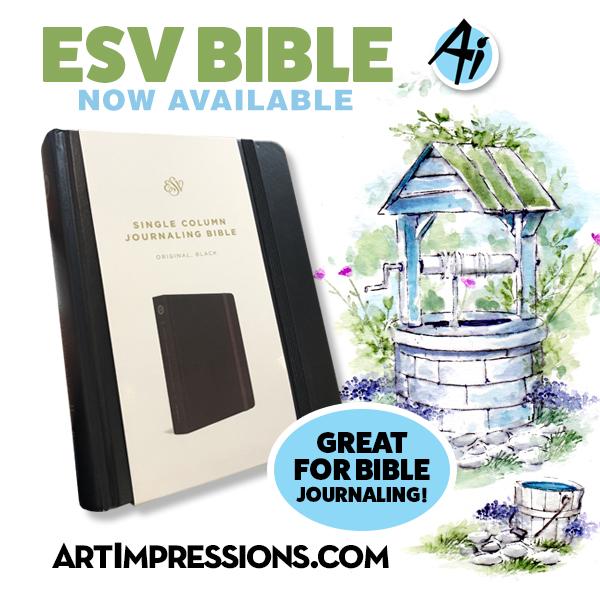
ESV Bible Now Available
We are excited to announce the addition of Crossway's ESV Journaling Bible to the Ai shop! With two-inch margins for creating artwork and writing notes, this is the same text Bonnie uses in her Bible Journaling videos. We recommend preparing your page with a watercolor ground (such as Golden Absorbent Ground), a one-inch flat brush, and our Bible Protector sheet for best results and to protect the ink from bleeding. You can find our entire Bible Journaling collection at artimpressions.com!

Follow Bonnie's new Instagram account @bonniekrebs.biblejournaling and subscribe to our YouTube Channel for inspiration and tutorials! Also, if you are able to visit our Warehouse Sale in Keizer, OR, be sure to sign up for Bonnie's Bible Journaling Introduction class for hands-on instruction!

  Journaling Bible Flat Brush Bible Protector Sheet
Bible Journaling Information Bible Journaling Introduction

Thursday, October 25, 2018

BUZZING With BEE-UTIFUL Christmas Stamps! PLUS Challenge 244 Lots of Layers


Have you noticed the growing holiday buzz? It could be our NEW Christmas clear stamps! Create some quirky holiday cards with our Christmas Bee Set, complete with adorable images and unique sentiments! Joining in our lineup are two more traditional sets, Sleigh Bells and Snow Friend. Each of these sets are PACKED with images and sentiments, with 15 pieces each giving you great value and versatility for your holiday crafting! Fly, prance or skate over to artimpressions.com to grab your stamps for this year's holiday cards!

  Christmas Bee Snow Friend Sleigh Bells

Today we have Crystal with us to share her un-BEE-lieveable project!

Hi AI fans!! 

Time to get moving on those Christmas cards! I had so much fun playing with this Christmas Bee set 5042!


I started with Stamping multiples of every image from the stamp set in Memento black so I could sit and relax and then fussy cut them out.  I started with  a 4 1/4"X 5 1/5" card base. 


For my first layer I cut a piece of water cardstock down to 4"X 5 1/4". 
I wanted a layer to match the colors I planned on the card so I took my harmony inkpad in  Honey Pot and inked the edges of the watercolor cardstock. I was not careful to blend at all I just wanted the edges to be dark so it looked like I had matching cardstock. I adhered that cardstock directly to the cardbase. 

For my next layer I trimmed another piece of watercolor cardstock down to 3 7/8" X 5/8" and adhered it to my inked cardstock using fun foam to add a little dimension. 


For my third layer I wanted to add texture and the look of honey combs to tie in the bees to the card. I took the same Honey Pot ink as I used for the edges of the first piece of cardstock and stenciled on to a piece of water color cardstock which was just a little bit smaller then the last layer. I then adhered that layer to the white watercolor cardstock. 


I fussy cut both the tree and the singing bees as close to the black line as I could. After I cut them out I went around the edges with  a black pen so I could not see any white peaking out. Before I adhered the bees to the card I inked up the bottom of the stamp and stamped the feet directly onto the card base. 


As a extra layer for more dimension I stamped the bee hive up on the left corner but also stamped a couple trees directly onto the background with black ink and layered the tree over them. 


I stamped the sentiment onto watercolor cardstock and inked the edges with the same yellow ink as everything else and adhered it with some foam tape. 


To finish the card off I added a few drops of clear glitter Nuvo Drops. 


Spectrum Noir Markers:

CT1, CT4, IG5, IG10, DR1, DR7, AB1, AB4, MB1, MB3, MB5, GG1, GG2, GG3, AG1, AG2, AG3, Blender 

Happy Stamping! 
Hope you are inspired and I look forward to seeing what you create for the challenge. 


Thanks, Crystal! Your card is as sweet as honey!

It's time for a new challenge! This two-week challenge is about "lots of layers" - what does that mean to you? It could be layering papers, inks, stamped images or embellishments... possibilities are endless! Join our challenge, not only do we love seeing what you create, but we also love sending stamp prizes to Top Spot and Honorable Mentions!

Here are the Challenge Rules:
✻ Please make a new card or creation. You can make any crafty item you wish; this is not limited to cards!
✻ Limit two submissions per person. You will receive extra votes if you use Art Impressions stamps!
✻ The Ai Challenge is open to everyone, international submissions are welcome!
✻ Include a link back to the Ai Blog or grab our button on the top right of our sidebar!
✻ Share the Ai love by clicking and commenting your fellow crafters.
✻ Make sure to get your link up by Wednesday, November 7 at 5:00 p.m. PST to enter your creations.
✻ Good luck and happy stamping!
Before we go, let's recognize the winners of last weeks' challenge!

Top spot goes to...


Wow! We are so impressed with all the details you added, from the Window Die to the elements from our Kitten Vanity PopCard. The lace curtains, string, and even wall art inside this cat house really made us smile! Email annelise@artimpressions.com with your address to claim your prize pack!

Honorable Mentions go to...

June!

Kara Lynne!
Congrats, you two! June, we love the scrapbook page you used to commemorate your time helping us at Scrapbook Expo! The way you incorporated the Dog Twist Ties and Cabin Circlet into the design is so cute, and those star embellishments are on point! And Kara Lynne, not only is your coloring fantastic, but your burlap and enamel dots perfectly complement our Spring Chickens! Email annelise@artimpressions.com with your address and select a stamp of your choice for a prize!

We hope y'all will join us again for our Lots of Layers challenge! It will be a fun one!

Happy Stamping!