Showing posts with label Cottage By The Beach. Show all posts

Tuesday, August 7, 2018

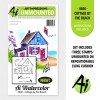
Watercolor Cottage by the Sea by Jil Lebel

Hello Ai fans!

I haven't used my Ai watercolor stamps in a while.  I wanted to do a simpler scene that didn't require me to use tons of stamp sets.  I was really happy with the weathered beach cottage that I ended up with.  


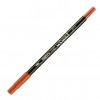
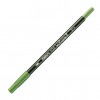
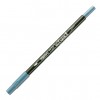
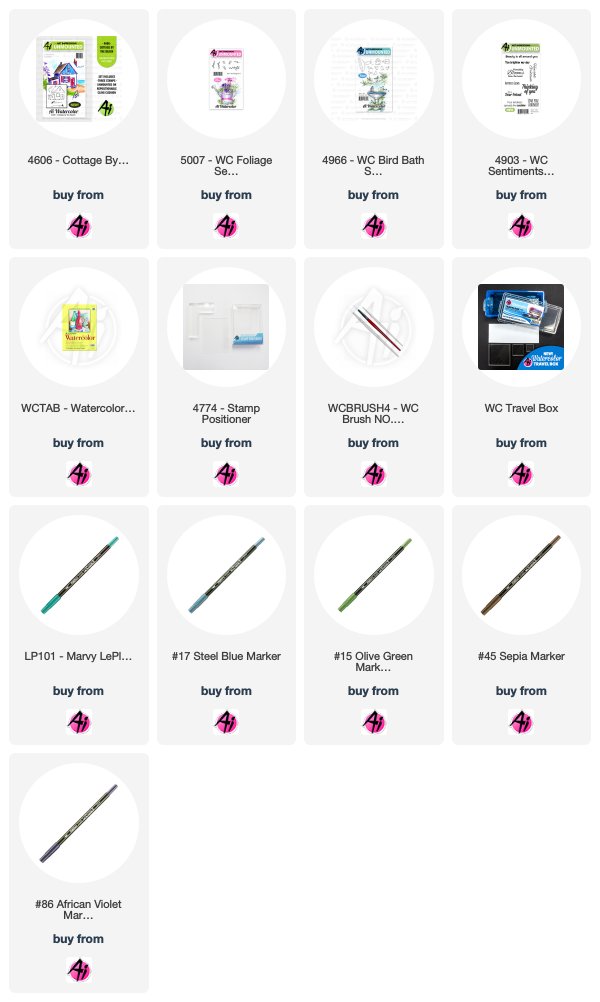
 The main image is from the Cottage By the Beach Set along with the Foliage Set 3, the Bird Bath Set and the WC Sentiments Set. I used the Marvy LePlume II markers in Sepia 43, Rosewood 30, Tropical 101, Olive Green 15, Steel Blue 17, African Violet 86 using the methods that Bonnie teaches. My supplies are listed below. 


Thanks for stopping by and Have a Great Day!


Saturday, August 4, 2018

Watercolor Weekend Roundup - Summer Fun

Happy Saturday, Ai fans! We're here with another round of summery inspiration for your watercolor creations! Let's see what our WC Guest Design Team has in store for us today!

Dot Freel - Instagram - Blog - Pinterest
Hello Watercolor Friends,

I am still dreaming of being on the ocean so I created this card using the cottage from 4606 - Cottage by the Beach for the bi-monthly Art Impressions Watercolor Weekend Roundup. I added little flower boxes under the windows and made the tiny flowers by using the fine tips of the Marvy LePlume II pens and then adding a tiny bit of water. I used the small grass stamp from the 4051 - WC Foliage Set and the tiny dot flowers from 5009 - WC Mini Flower Set for the flowers in front. I spread some liquid glue and then added real sand to make the beach. 

Other Supplies: Ranger Watercolor paper.

Tricia Kennedy - Instagram
My project for today’s Watercolor Weekend, “On the Ledge”, is a beautiful summer floral card.

Stamp the siding from the WC Wall Texture Set in Sepia using your Stamp Positioner, flip everything and stamp again, now you have long siding which becomes the ledge. Watercolor the Art Impressions way by pulling the color from the lines. Scribble a little Sepia onto your palette and brush onto the siding to create wood. Use the Sepia fine tip to darken up any lines especially the top. Stamp the four containers from Small Container Set and Wishing Well Mini Set, two in Sepia and two using a combination of Sepia and African Violet for a steel grey color. Add Sepia and African Violet onto your palette and brush onto the watering can and pail. Scribble Olive Brown and Eggplant onto your palette adding Olive Brown to the second pot and Eggplant to the fourth pot. Draw line details onto the fourth pot with the fine tip of Eggplant. Mask off the containers using a post-it note. Add foliage and flowers to the containers from Foliage Set 3, Foliage Set 2, Mini Flower SetFlower Set 2, and Foliage Set 1 using Olive GreenBrilliant Yellow, Iris Purple, Pine Green, and African Violet. Add dot detail to the yellow flowers with Brilliant Yellow and the pink flowers using Iris Purple
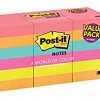
Other Products: Post-It Notes, Carta Bella Spring Market 6x6 Paper Pad

Tricia O'Bin - Blog - Instagram - YouTube - Pinterest - Facebook
I wanted to create watercolor that resembled our garage (I use that term lightly lol) at our property in Vermont. It’s a small garage that is set in the woods.

I first started with the small structure. I removed the windows and chimney. I hand drew in the doors in the front. Using my watercolor palette, I colored it with Sepia, Mocha and a small amount of Steel Blue for a rustic look. I added a small amount of English Red to the door (because it is red in real life, LOL). I masked it off and stamped the branches in the background. I added a small amount of water to extend the bottom to make it look more like a tree. I then used the leaves and vine from the original Foliage set inked in Olive Green. I softened them with water.

Next I used the cobblestones inked in Sepia and African Violet. I used my stamp positioner to get them where I wanted them. I used my brush and water to soften the lines around the cobblestones. I added small grass around the front of the structure, below the trees and around the cobblestones. I softened the lines with water. I added some more Sepia and African Violet for some additional color around the cobblestones. I used the tree to the right with the Fir tree top inked in Pine Green. I added some Steel Blue from my palette to the sky.

I cut the piece down and adhered it to a card base made from Gina K Design Asparagus cardstock.

This was such a fun and easy project. I would love to see what you come up with. Thanks for joining us for another Watercolor Weekend!!


Thanks, team! Love the variety of projects you have created for summer scenes! Thanks for hanging out with us for another Weekend Roundup, we'll see you next time! Happy Stamping!
Saturday, July 21, 2018

Watercolor Weekend Roundup - Blue Skies!

Hello, Ai Watecolor fans! Today we're celebrating blue skies with two beautiful projects! Take a look and be inspired by what our designers have in store for you!

Dot Freel - Instagram - Blog - Pinterest
Hello Watercolor Friends,

I always dream of being near a sandy beach and the ocean during the summer time. I wonder if others feel that way, too? So I made a scene by an ocean using a cabin from the 4962 - WC Rustic Cabins Set. I just sort of penciled in the rocky wall, trail and shore line then watercolored them using my palette. I used the Molotow 2.0mm masking liquid to leave some white space where my flowers would be. After it dried, I used the foliage from 5009 - WC Mini Flower Set to add the leaves, wiped off the masking liquid then painted in the little flowers. I used part of the fence from the 5011 - WC Truck Mini Set. I used the kite from the 4606 - Cottage by the Beach Set to add that whimsical touch it needed.

Art Impressions Products: 4962 - WC Rustic Cabins Set, 4606 - Cottage by the Beach, 5009 - WC Mini Flower Set, 5011 - WC Truck Mini Set, 4774 - Stamp positioner, 4773 - Acrylic Blocks, WC Brush No. 4, Watercolor Palette
Marvy LePlume II Markers: 45 sepia, 15 olive green, 86 African violet, 101 tropical, 17 steel blue, 44 lt. brown, 30 rosewood, 46 crimson lake, 43 brilliant yellow
Other Supplies: Molotow 2.0mm masking liquid, Tim Holtz Distress Watercolor Paper

Tricia Kennedy - Instagram
My project for today’s Watercolor Weekend incorporates a Watercolor Resist technique to create a Silhouette Scene. It’s a quick, easy, fun and totally different way to use your Art Impressions Watercolor Stamps. 

Stamp the pail, bird, flowers and grass onto the watercolor paper in embossing ink. Add embossing powder and set with a heat gun. Scribble a little Olive Green and Salvia Blue onto your palette. Brush Olive Green in for the ground and Salvia Blue for the sky. Add several layers of color for depth and dimension. Be sure to take the color all the way up to, over and around the stamped/embossed image (I kept the pail completely white by not adding any color inside those lines). Use a paper towel to buff off the stamped/embossed lines once the color has dried.


Marvy Le Plume II Markers: 15 Olive Green, 60 Salvia Blue
Other Products: VersaMark Embossing Stamp Pad, Ranger Super Fine Detail White Embossing Powder

Tricia O'Bin - Blog - Instagram - YouTube - Pinterest - Facebook
After a recent visit to Foxwoods in CT, with my Mother In Law, I was inspired by some of the beautiful flower arrangements they had. 

I drew the large square vase with a ruler and my 45 Sepia marker. I softened the lines and added some additional 45 Sepia from my Watercolor Palette. I covered the bottom of the vase and stamped the cobblestone from the 5018 – WC Cobblestone Set below it inked in 45 Sepia. Next I added a couple of leaves from the 4867 – WC Foliage Set 2 on each side inked in 72 Pine Green. I inked up the top of the larger vine from the 5007 – WC Foliage Set 3 in 15 Olive Green and stamped it in front of the vase. To create the sticks at the top, I inked up one of the trees from the birch trees in the 4808 – Covered Bridge Mini Set in 45 Sepia. I repeated that process with another birch tree. I inked up one of the branches from the in 45 Sepia. To add a bit of color, I used the daisy bunch from the 4052 – WC Flower Set 1 inked up with 20 Magenta. I added them sporadically around the vase. I added some additional greens with 15 Olive Green using one of the vines from 5007 – WC Foliage Set 3. To add a background I used my Watercolor Palette and 3 Blue.

I hope you will join me and the other guest designers for Watercolor Weekend! We can’t wait to see your projects. Tag us and use the #AIWatercolor so we can see what you have come up with. Have a great weekend!!!

Marvy Le Plume II Markers: 45 Sepia72 Pine Green15 Olive Green3 Blue20 Magenta

Thanks, team! From crafting a large scene to spotlighting a main image with embossing and creating new shapes of containers, there is so much you can do with our watercolor stamps! We love hearing what you have to say, so be sure to comment to tell us what inspires you to create today! Happy Stamping!

Wednesday, May 31, 2017

NEW VIDEO - Beach Row Houses Watercolor

Hello Ai Fans!

Welcome to a new and unique Watercolor Wednesday! This week, Bonnie shows us this beautiful coastal neighborhood with only our Cottage by the Beach set! She starts by stamping the three houses in Sepia, masking with a sticky note and using our Stamp Positioner to align them side-by-side. She then uses a wide array of Marvy Markers to style the beach houses and create sky, sea and shore for the background. Bonnie shows how easy it is to add unique details, such as a beach ball and pennant flags. 

We hope you grab your markers this week and create something colorful! If you enjoyed this video, hop over to YouTube and give us a thumbs up or leave a comment! Plus, subscribers will see our video uploads first! We also enjoy seeing your creations on Instagram using the hashtag #AiWatercolor! Thanks for watching!


View on YouTube: https://youtu.be/2x4-LULOUr0


Wednesday, August 10, 2016

NEW VIDEO - Bunny in Flower Pot Watercolor

Hello Ai Fans!
Welcome to another Watercolor Wednesday! In today's video, Bonnie combines four different stamp sets to create a sweet Bunny resting on a flower pot. This sweet bunny from WC Series 7 Set 1 fits perfectly in our WC Series 9 Set 1 flower pot and it is always so fun to add different flowers and foliages, like the long stems from our Cottage by the Beach.

We hope you enjoy this new video! If you like this and our other videos, hop over to our YouTube to subscribe and give it a "thumbs up." See you next week!

Happy Stamping!