Showing posts with label Elf Puppet 6119. Show all posts

Thursday, December 11, 2025

Dancing Elf on a Gift Bag by Dori Mendiola

 Happy Thursday AI Friends!

Today I have a fun gift bag for you featuring the new #6119 - Elf Puppet set.  These puppet sets are so fun to make and so dang adorable!  I did my usual and stretched his legs to make him dance.


I made one of these boxes last year decorated with a gnome.  You can find the dimensions and instructions on how to make the box here.  
To stretch the Elf legs:  partial cut the bottom of the legs with the die and then hand cut an additional 1/2" or so for the top of the legs.  Punch a hole towards the top for a foam dot to fit.  Place the foam dot on the back of the shirt and slip the legs over the foam dot.  Die cut an extra shirt out of cardstock and adhere that to the other sticky side of the foam dot (the legs should be in between the shirts).  The legs will swing back and forth.

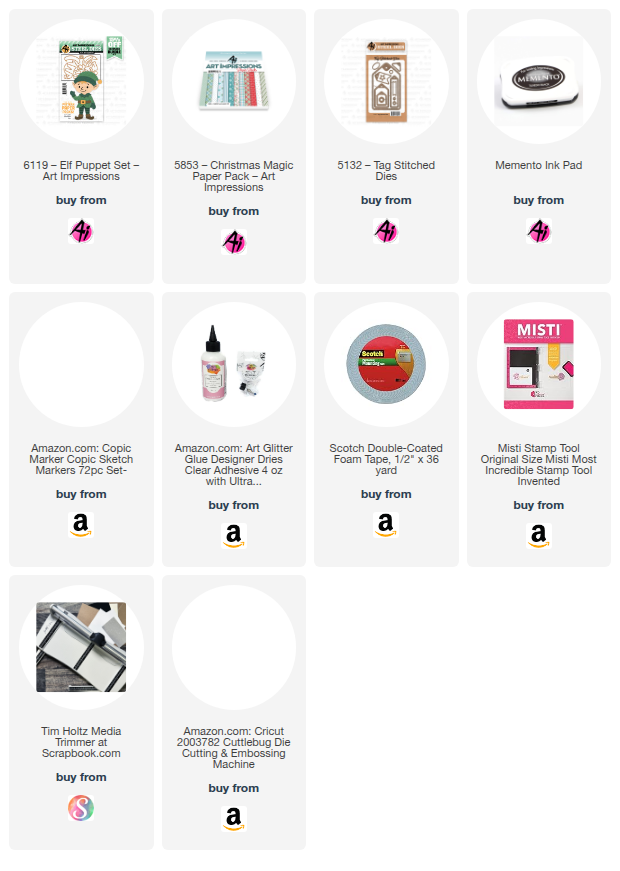
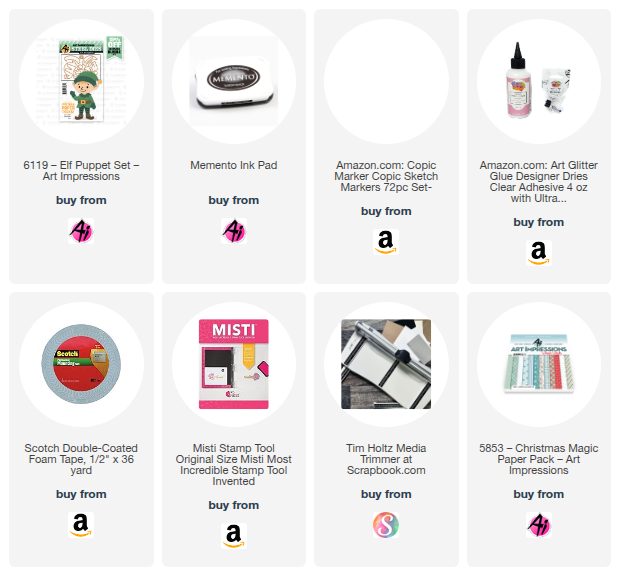
I die cut all of the other pattern pieces out of #5853 - Christmas Magic PP.  For the face of the Elf, I die cut it from a copic friendly paper and colored it with copic markers listed below.  I stamped the eyes from a set in my stash and I drew the nose and mouth.  

I finished decorating the box with bells and baker's twine and closed it with a red clothes pin.

That's it for me today.  Hope you find yourself creating some of these boxes and filling with little treats for Christmas.

Have a wonderful day and keep creating!

Copics used:  R20, E11, E01, E000
Black Zig pen for drawing face features.
Monday, November 17, 2025

Christmas tag with Elf Puppet Set by Sharon Caudle

 Hello AI Fans,

Have you seen # 6119 Elf Puppet Set from Art Impressions? Oh my gosh, it is just so dang cute! I just love the size of him as he's perfect for cards, tags, or gift toppers! He's just so much fun to put together!! I decided to make a gift tag with him, so that's what I'm showing you today.  I was going to draw in a face, but then remembered I had some rub on faces from years ago and used them instead. I also have various sized facial stamps that would be super cute on it as well! So any way you want to create the face would be perfect! I cut his head out in white and colored it with Copic markers. You could also use colored cardstock of your choice and create the face on that without having to do any coloring. No matter what you do, it's going to be so adorable!! I simply used #5132 Tag Stitched Dies to create a gray background. I cut a second tag out with white cardstock and used a cloud die to add the top, and then cut out some snowy hills for the bottom. It was super easy and quick! I then popped up the elf and added to and from tags to it, and voila! Do you make homemade tags for Christmas gifts? 


So that's it for me today! Thanks so much for stopping by for a visit and until next time, stay crafty!!


Saturday, November 1, 2025

Elf Stocking Card by Janet

Sometimes when I see something, I get a flash of inspiration. Such was the case with the new 6119 - Elf Puppet Set! I immediately used the dies to construct a cute, cheery elf. I could have drawn a simple face on his face but I remembered that I had an old face stamp in my stash so I tried that with success. His pink cheeks and the shading on his clothes were achieved with another old standby, chalk. Every once in a while I still find ways to use the chalk palette I purchased years ago. Once I had him made, I added some bling to his collar and his hat. 

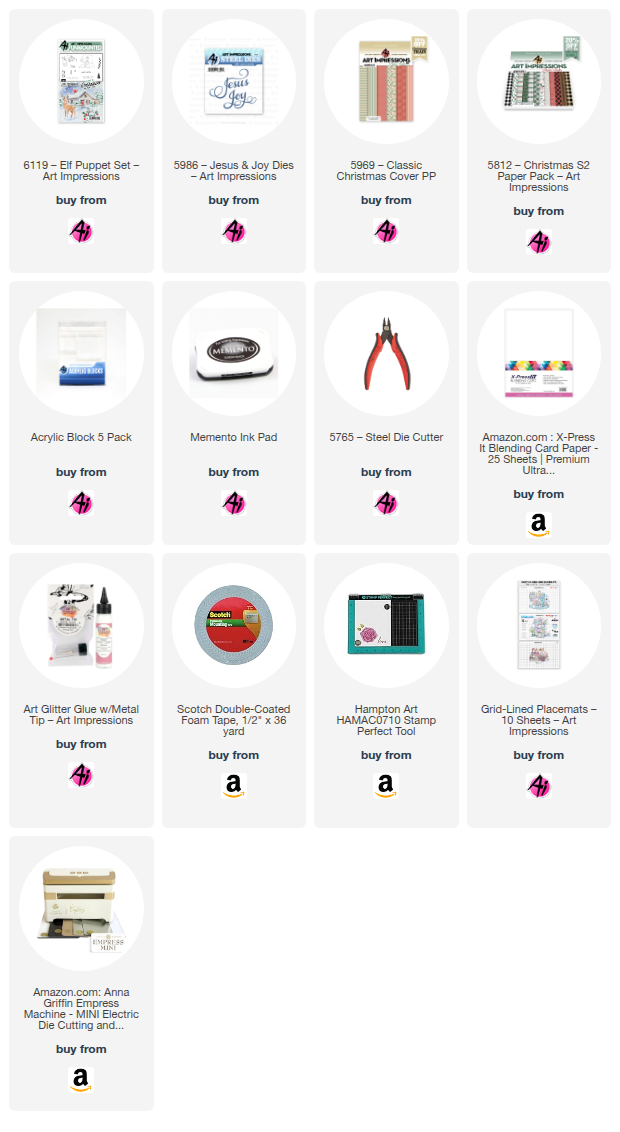
Then I set to work on the stocking shaped card. For this I used a stocking pattern in Cricut Design Space. I sized it so it would fit the elf and I added the toe patch by manipulating the existing pattern. Then I cut it out and a matching front shape and the toe patch from 5969 - Classic Christmas Cover Paper Pack and 5812 - Christmas S2 PP. I cut the Joy word from the 5986 - Jesus & Joy Dies.

I folded the stocking to form the card and added the white stocking trim and the toe patch. I decorated it more by gluing cotton lace on the trim and and the patch. Then I glued the Joy die cut on the toe patch. For the finish, I made a bow out of red satin and I glued it to the top of the stocking.

Thanks for joining me on the blog today. As always, don't forget to find your favorite stamps, dies, papers, and accessories at the Ai Store! You'll always find something that calls to you. 

Happy Crafting!

Janet YouTube - Blog - Facebook - Instagram - Pinterest  

Thursday, October 30, 2025

Along Came a Spider Challenge #415 Week #2

  Hello Ai fans!

Welcome to week #2 of our Along Came a Spider challenge.

We want to see your projects that have a spider or a spider web on them.
These can be stamped, die cut, embossed, paper, embellishments...anything
you can think of. We know that not everyone celebrates Halloween so as long
as you have a spider or web on your project it counts. Maybe you'll make a
pretty little vase full of flowers and a spider snuck in with them.
We can't wait to see what you create.

Last week we had quite the treat from our Featured Designer Janet.


Let's see what our other designers created to inspire you.
We all went with a Halloween theme (and mine fall) but you don't need to.
As long as you have a spider on your project it can be entered into our challenge.

First up we have Tasha.
Next is Lynn.


Sharon's card has loads of layers.


Dori created a shadowbox and a gift tag.


In case you missed it, here are the latest releases from Art Impressions.
Which of these cuties is YOUR favorite?

    
Keepsake Series
These stamps can be purchased as a bundle to save you 15%!


You can also purchase each set separately.


Have you entered our challenge yet?
Remember that you get 2 entries.
Get yours in now and you might be our next winner.

You are invited to the Inlinkz link party!

Click here to enter