Showing posts with label Christmas Keepsake Set 6104. Show all posts

Monday, January 12, 2026

Snow much fun in 2026 by Sharon Caudle

 Hello AI Fans!!

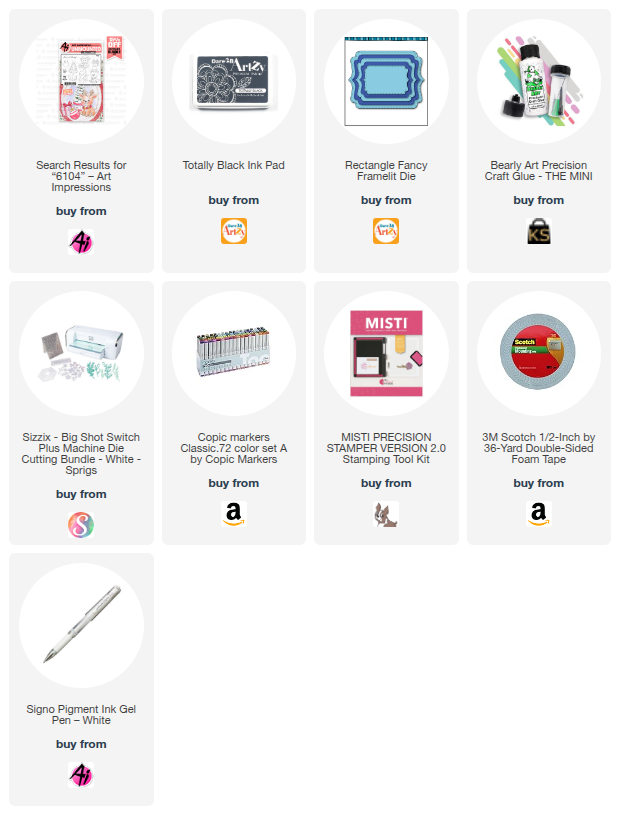
I was inspired by a card posted by Kathy in the Art Impressions Way Facebook group that was a Valentine's Day card from a few years ago. I just loved it, and it had a heart as a hot air balloon. I thought it was so clever and adorable that I just had to make one for myself. I wanted to make this one where it could be used for anything during a winter month. So I grabbed the new #6104 Christmas Keepsake Set and #5721 Nested Heart Die Set and went to work. It really went together very easily. I think the hardest part was trying to get the rope attached to both the balloon and the bushel basket that the snowman is in where it didn't droop. So that took a little finagling, but I think it worked out well. I just inked a background panel using a cloud stenck abd the balloon and snowman are popped up off that panel. I just scattered a few clouds around the image and added a button right in the middle of the balloon with a cute little bow. So it fits right in with the Button Up Challenge that is going on right now! I hope you're entering for a chance to win a free set of your choice!! 


So that's it for met today! Thanks so much for stopping by for a visit and until next time - stay crafty!!!


Friday, December 12, 2025

Holiday Cheer with a Tiny Deer! Card by Tasha

Hi Art Impressions friends. 

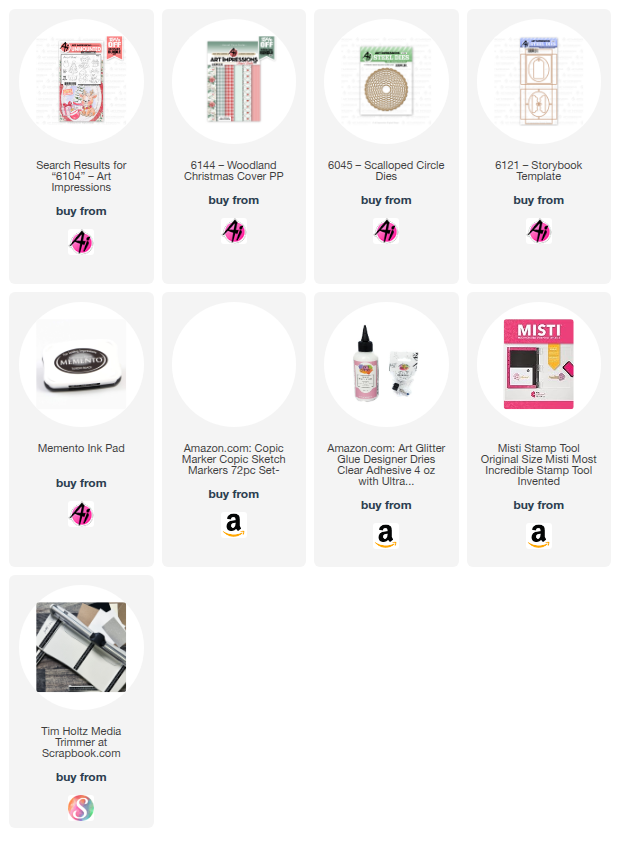
Tasha here sharing a holiday card created with the new 6104-Christmas Keepsake Set.

This sweet little reindeer stamp is just too cute and he looks adorable against the falling snow pattern paper. To build the scene, I added a white snowy ground and placed a gift and tree in the center of the card before framing everything with a metallic gold frame. The dark blue snowy sky and golden color pair beautifully with the pops of green and red.

To finish the design, I added a holiday plaid pattern paper with red and white card stock layers. A simple greeting completes the card and ties the whole look together. 

I hope you enjoyed today's card and are having a wonderful day!


Thursday, December 4, 2025

Reindeer Box by Dori Mendiola

 Happy Thursday AI Friends!

I hope you all had a wonderful Thanksgiving week celebrated with friends and family!  

December is here and that means holiday creating!  Clearly, I'm one of those that doesn't get started until now.  Yikes!  Guess I love the pressure of the holiday season.  😏 

I've got a fun project for you today and you'll find yourself wanting to make lots of these.  I used the new #6104 Christmas Keepsake set for this cute little box.  I found a short video on Pinterest by SammyDemmy displaying this box, but it is in a foreign language.  I was able to improvise and create a version for you with English instructions.  I want to give credit to Sharon for helping me perfect the nose mechanism.  Thanks, bestie!
Cutest little box EVER!  

To open the box, you pull the reindeer's nose.


The finished box size is 3 1/2" tall x 2 3/4" wide x 1/2" deep.  This will fit a gift card nicely or you can place money or a small gift inside.

To make the box:  Cut a piece of 100 lb cardstock at 5 1/2" x 4 3/4".  Score along the 5 1/2" side at 
1/2", 1", 3 1/4" and 4 1/4".  Turn and score at 1/2", 1", 3 3/4" and 4 1/4".  On each of the corners, cut off the 3 small outer squares and snip up to the fold on the remaining small square (see below).


Fold and burnish all score lines remaining.  Tuck in each of the small tab squares and glue to the inside lower fold creating the box shape.  Before glueing the top 1/2" flap, check to see if you need to snip off a little so that it fits just to the bottom of the box when tucked inside.  Place glue on the top 1/2" flap and fold into the box to give the box stability (see below).  Do this for all four sides.  Your inside box is ready.


For the box cover:  Cut a piece of pattern paper at 7 1/4" x 3 5/8".  
Score along longest side at 1/2", 1 1/8", 3 7/8" and 4 1/2".  Fold and burnish.

To create the nose pull:  Color your reindeer and adhere it on a red circle base.  Punch a 1/8" circle into his nose.  Place the reindeer over your pattern paper box cover and mark where you want the nose.  Note:  I found that the lower you place the reindeer on the box, the farther the box will open.  
Punch a hole into the pattern paper for the nose.  If you have a crop a dile that will reach, you can adhere the reindeer onto the pattern paper and then punch the hole through all three layers at one time vs. marking it.  
Once the hole is punched onto the pattern paper, line up the hole with the reindeer and adhere the circle in place.  Thread the ribbon or embroidery thread through the bell.  Tie the thread so bell stays in place.  Place the two ends of the thread through the hole to the inside.  Hold the inside box into place and bring the thread up the front of the box and over the top.  Glue the thread on the top and again on the back of the box (towards the top).  After the glue has dried completely, snip off the loose thread from the back and glue the box cover together.  Make sure the cover does not adhere to the box.  


If you want the box to hang from the tree or a gift, place a tag topper to the back side of the box cover.  Tie some ribbon or string and a To/From tag to the topper and it's ready for your gift or tree.


Once you make one of these, you will find yourself making so many more!  Have fun pulling his nose!

Thanks for joining me today!  Keep creating!

Copics used:  E50, E51, E53, E55, E57, E59
R20, R22, R24, R27
Y28, Y32, Y35
Thursday, October 30, 2025

Along Came a Spider Challenge #415 Week #2

  Hello Ai fans!

Welcome to week #2 of our Along Came a Spider challenge.

We want to see your projects that have a spider or a spider web on them.
These can be stamped, die cut, embossed, paper, embellishments...anything
you can think of. We know that not everyone celebrates Halloween so as long
as you have a spider or web on your project it counts. Maybe you'll make a
pretty little vase full of flowers and a spider snuck in with them.
We can't wait to see what you create.

Last week we had quite the treat from our Featured Designer Janet.


Let's see what our other designers created to inspire you.
We all went with a Halloween theme (and mine fall) but you don't need to.
As long as you have a spider on your project it can be entered into our challenge.

First up we have Tasha.
Next is Lynn.


Sharon's card has loads of layers.


Dori created a shadowbox and a gift tag.


In case you missed it, here are the latest releases from Art Impressions.
Which of these cuties is YOUR favorite?

    
Keepsake Series
These stamps can be purchased as a bundle to save you 15%!


You can also purchase each set separately.


Have you entered our challenge yet?
Remember that you get 2 entries.
Get yours in now and you might be our next winner.

You are invited to the Inlinkz link party!

Click here to enter