Showing posts with label Fall Keepsake Set 6105. Show all posts

Friday, February 13, 2026

Happy Valentine's Day!

Happy Friday Art Impressions friends! 

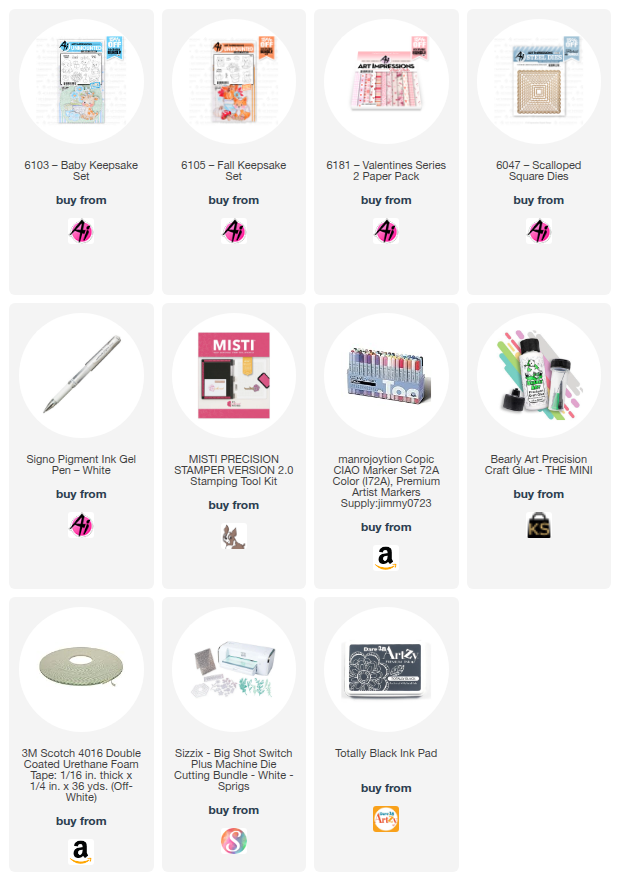
Tasha here, with a little dose of crafty Valentine joy! Today I’m sharing a sweet and cozy Valentine’s Day card featuring the adorable kitty from the 6105-Fall Keepsake Set. I absolutely love mixing and matching my stamp sets, and this little cat was just meant to be paired with a basket full of hearts; instant cuteness overload! 


To create this love-filled scene, I layered patterned paper for a sweet “room” effect; wood print for the floor and plaid prints for the walls. Then I attached a variety of paper hearts to add to the Valentine theme.

The charming little basket and the sentiment “Sweet as Can Be” come from the 6103-Baby Keepsake Set, and honestly… can you ever have too many hearts? I think not! 


Lastly, I used the 6047-Scalloped Square Dies to cut the center card and two layers. I also added a piece of heart pattern paper from the new 6181-Valentines Series 2 Paper Pack to complete the design. 

I hope you enjoyed this project and wish you all a Happy Valentine's Day!


Thursday, November 13, 2025

Fall Placecards by Dori Mendiola

Happy Thurday AI Friends! 

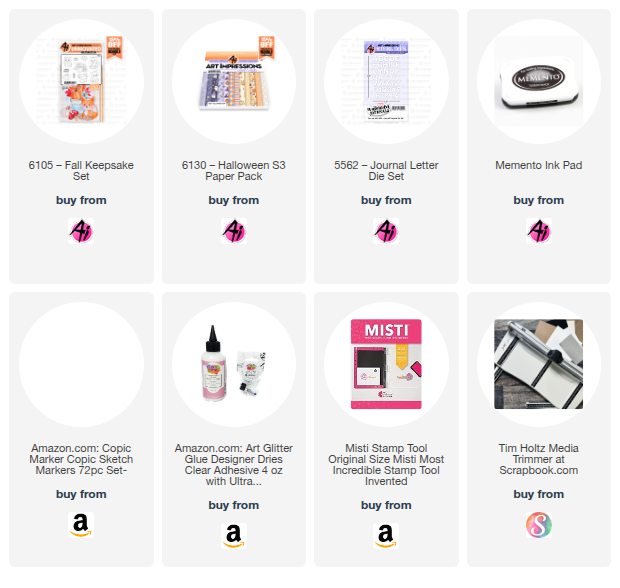
Have you checked out the newest challenge called "Gobble Gobble" on the AI blog?  Super fun and simple to play.  Just anything fall or thanksgiving themed.  I thought placecards would be fun for this challenge especially using the newly released stamp set #6105 - Fall Keepsake set.  Perfect for your thanksgiving table!


I began by stamping the images with Memento black ink onto copic friendly paper and colored with my copic markers listed below.  I then die cut each with the coordinating dies (yep, they're included with this stamp set).  I also cut an extra set of all images with scrap cardstock.  I like to adhere to the back of the colored image for stability plus dimension instead of foam tape.  

The placecard is made by cutting a 5 1/2" x 3 1/2" piece of cardstock.  Score at 2", 4" and 4 3/4" along the 5 1/2" side.  Fold and burnish as mountain, valley, mountain.  Place your images as desired and die cut the letters for each name with the #5562 - Journal Letter die set.  

And there you go, easy peasy, you're ready for your table setting!

Thanks for joining me and I hope you join along with the blog challenge for a chance to win a free stamp set.   We love to see your creations!

Have a wonderful day and keep crafting!
Copics used:  E50, E51, E53, E55, E57, E95, E97
R20    YR02, YR04, YR07, YR20, YR21, YR23

Thursday, November 6, 2025

You're a Hoot by Dori Mendiola

 Happy Thursday AI Friends!

I have a gate-fold card for you today with a decorative closure.  
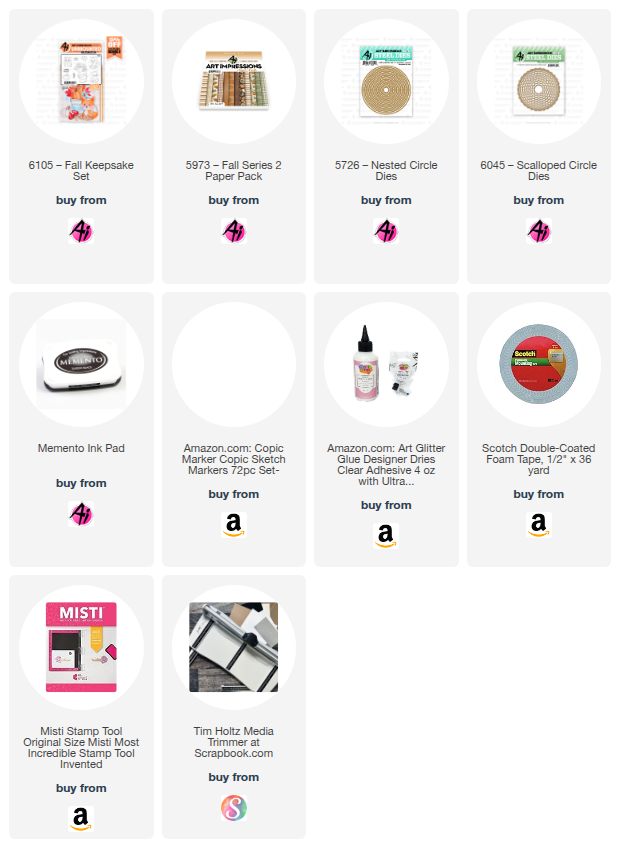
I used the newly released #6105 - Fall Keepsake set along with the #5973 - Fall S2 PP.  
I love all of the little critters and accessories that come in this set as well as the coordinating dies.
I began by stamping all of the images with Memento black ink onto copic friendly paper and colored with my copic markers listed below.  I cut each of them using the coordinating dies.  I cut two panels with the leaf paper from the Fall S2 PP using a die from my stash, but any die will do.  I placed one of the panels behind the critters and the other popped up to tuck some of the images behind.  

For the gate-fold closure, I cut two pieces of scrap cardstock approx. 1" x 1/2" and scored both at 3/8" and 5/8".  I folded the scored lines the same direction.  I butted up the scored pieces together and adhered them behind the owl, making sure to place the scored line horizontally behind the owl.  The flap openings should be to the top and bottom on the back of the owl.  I then adhered a circle to the other side.  See picture below.  Sorry that it isn't clearer, but hopefully you can see it well enough.


When you've added the owl and the circle to either side of the scored pieces, it will slide over the opening of the gate-fold to keep it closed.

Thanks for joining me.  I hope you have a wonderful day.  Keep creating!

Copics used:  N0, N1, N2, N4
E00, E11, E50, E51, E53, E55, E95, E97, E99
R20, R24, R27
Y11, Y13, Y15, Y19
YR12, YR14, YR16, YR18
G21, G24

Sunday, November 2, 2025

Fall Keepsake and Cozy Christmas Ornament by Karen Day

 Hello Ai Watercolour fans!


I have a couple of projects featuring some of the newly released sets today!  First is a card using the 6105 - Fall Keepsake Set:


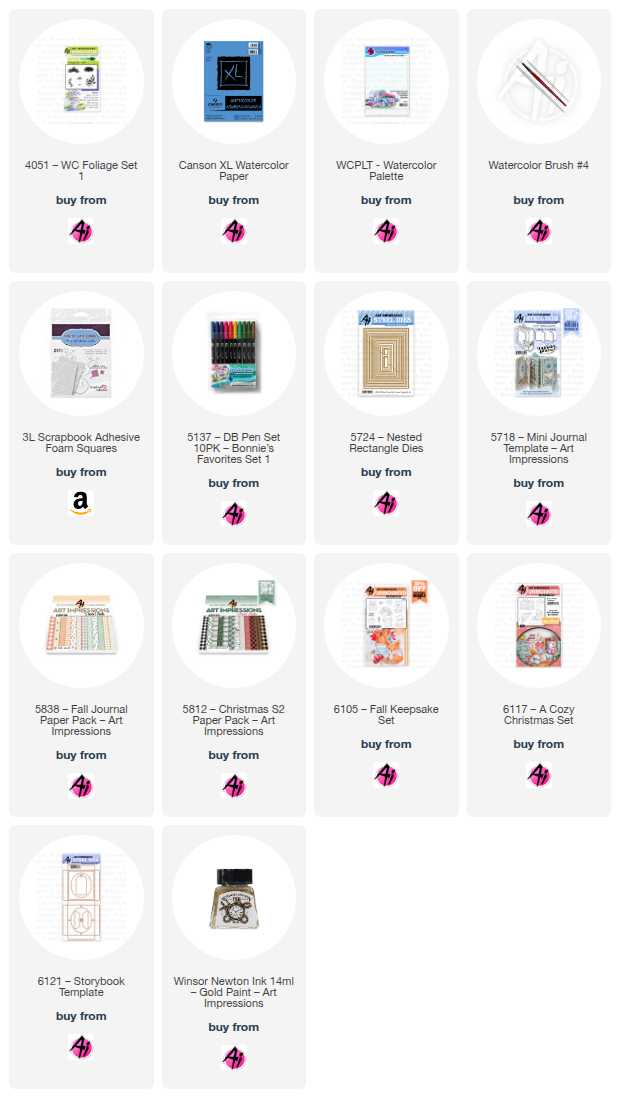
I coloured the images with my N45 Tombow Dual Brush Marker, and stamped them on my Canson XL Watercolour Paper.  I started with the fox, then the toadstool, and added masks to both of them.  The pumpkin and pail followed, and finally the fall bouquet was added to the pail.  After pulling the colour out of the lines with a damp brush, I added a pale coat of #993 to the pumpkins and fox, followed by several layers of #947, and finally a mix of #947/977 to create the really dark areas.  Shades of #N55 were painted on his paws and to the bucket, layering to keep the sides of the bucket and bottom of his paws darker.


I wanted the leaves to be multicoloured, so did sections of #993/947/856/126/346/977, blending them together.  I added #346/126/977 to the stems of the pumpkins, and the stem of the toadstool, and painted shades of #856 on the top of it, touching the dots with a little 346.  I used the N55 to add shadows to the fox's white areas, and finally painted a wash of #126/346 for the grass, and stamped the small grass from 4051 - Foliage Set 1 in #126, and then I used the fine point of the 346 marker directly on the paper to add a few darker lines of grass.  A wash of #493 was painted in as the sky.  I used my Grey Twintone marker to colour in the eyes/features and redefine any areas that needed it.


My scene was die cut using the 5724 - Nested Rectangle Dies, and adhered to a brown mat with 3D foam adhesive.  The word 'hello' is from the 5718 - Mini Journal Template set, cut twice in brown and stacked to be a more stable die cut.  Both pieces of background paper are from the 5838 - Fall paper pack.

My second project is featuring the new 6117 - A Cozy Christmas Set, that creates a sweet little ornament!


I have a lot of photos for you today!  I tried to capture a few steps in the assembly process, but I highly recommend that you watch the Ai video by Kim to see how to assemble it.


In addition to the stamp set, you need to purchase the 6121 - Storybook Template die.  The die cuts out the box (at the top) and you cut three of the inner frame piece.  The images were stamped on Mixed Media paper with #N55, and painted in with #349/993/493/837/N55, and a few touches of gold ink.  Images were cut out using the coordinating dies that are included with the stamps.


I cut a piece of patterned paper from the 5838 - Fall Paper Pack at 3 1/8" x 2 5/8" to act as the background, and glued it to the back of the box.  I fussy cut the fireplace out, and glued it down so that it would appear behind all the other pieces.  Each of the stamped images is drawn along the curve of the oval opening, so each piece was die cut and glued under one of the frames (there is a tab where you can add the glue, see the photo below from the backside).


Each of the frames got pieces of 3D foam adhesive attached to the corners and in a few other spots, and then each of them is layered on top of each other starting with the tree.


After the tree comes the Mama bunny, and finally the baby bunny on the top layer.  *I used 2mm thick adhesive, but there is plenty of room to use a thicker adhesive if you prefer.  I'm happy with how this looks, though.  When you adhere the layers, you want to make sure that the openings are stacked directly over each other.


The Storybook die includes a tab piece which I cut out of some woodgrain paper from the 5812 - Christmas S2 Paper Pack.  I wanted the woodgrain on the outside of the box, so I used the inner frame piece to cut it out, then attached it to the front of the box.  I added pieces to cover the sides, top and bottom also.  The tab is adhered to the top back of the box after it's assembled.  Glue was added behind each of the tabs, the box was folded and attached to the other side, enclosing the scene.


Thursday, October 30, 2025

Along Came a Spider Challenge #415 Week #2

  Hello Ai fans!

Welcome to week #2 of our Along Came a Spider challenge.

We want to see your projects that have a spider or a spider web on them.
These can be stamped, die cut, embossed, paper, embellishments...anything
you can think of. We know that not everyone celebrates Halloween so as long
as you have a spider or web on your project it counts. Maybe you'll make a
pretty little vase full of flowers and a spider snuck in with them.
We can't wait to see what you create.

Last week we had quite the treat from our Featured Designer Janet.


Let's see what our other designers created to inspire you.
We all went with a Halloween theme (and mine fall) but you don't need to.
As long as you have a spider on your project it can be entered into our challenge.

First up we have Tasha.
Next is Lynn.


Sharon's card has loads of layers.


Dori created a shadowbox and a gift tag.


In case you missed it, here are the latest releases from Art Impressions.
Which of these cuties is YOUR favorite?

    
Keepsake Series
These stamps can be purchased as a bundle to save you 15%!


You can also purchase each set separately.


Have you entered our challenge yet?
Remember that you get 2 entries.
Get yours in now and you might be our next winner.

You are invited to the Inlinkz link party!

Click here to enter