Hello Ai fans and welcome to our May Challenge featuring Debbie Hedges.
Happy May everyone! Mother’s Day is coming up and summer is just
around the corner!
For my May project, I created a
small scene with a little girl in a meadow. I inked the little angel
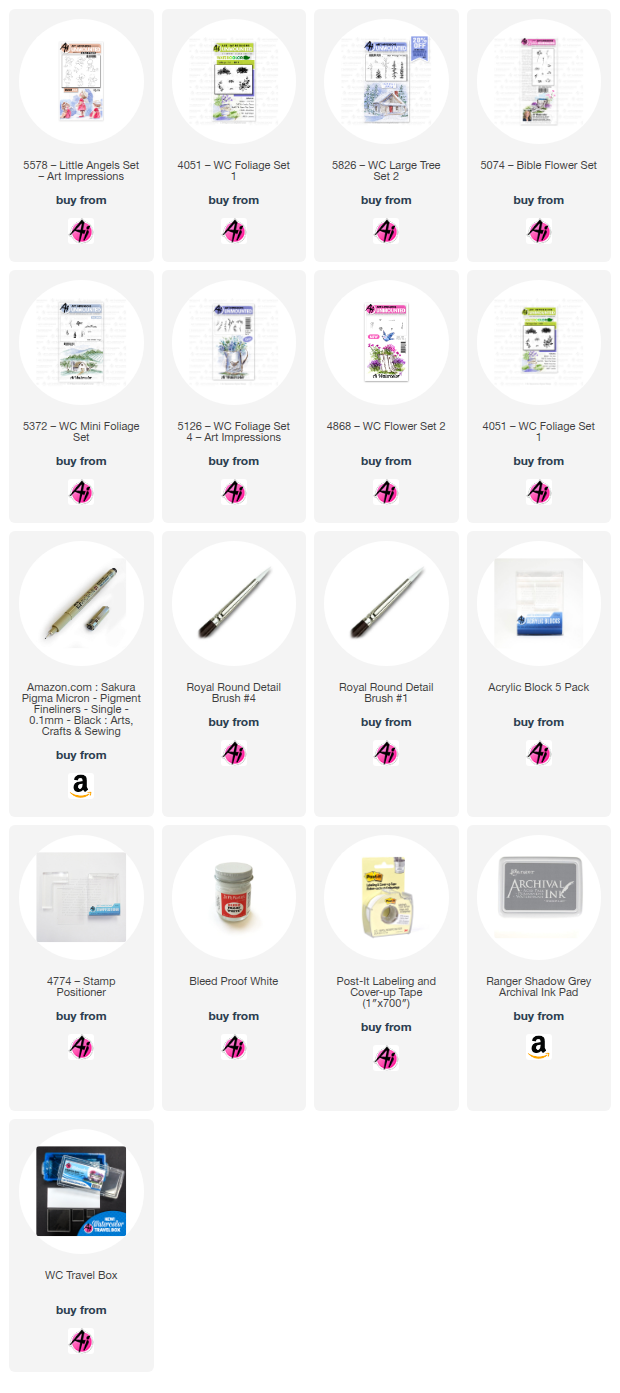
(#5578) without her wings (Shadow Grey Archival Ink) and stamped her
slightly to the right of center. I painted her with a violet dress
(#8) with a pink sash (#67). For her hair , I used sepia (#45), her
skin in pale pink (#47), added a little bit of extra pink on her
cheeks and added her eyelash with my Micron. I also used the fine
tip of my sepia pen to add a few accent lines in her hair.
I added a hill in the background in
pencil. I then painted the line in green (#15) and added a green
wash, keeping it lighter at the bottom where I will stamp grass and
flowers. Using the mini foliage set, I stamped bushes along my hill
line, leaving some blank area near the little girl. I stamped the
bushes twice on each side before re-inking to have some light and
dark areas.
Using post-it- tape to protect her
shoes and I stamped a grass line on either side of the little girl to
create the foreground. I used the teeny tiny grass, but also
randomly stamped a few of the grass from #5826 to use for
wildflowers. The wildflowers are a mixture of daisies using Dr. PH
Martin’s Bleed Proof White and also a flower from Bible Journal
Flower Set. I used my stamp positioner and only inked one flower in
aubergine (#93) to add to the top of a few of the longer grass
blades. For the daisies, I dabbed white paint to make the daisies in
different sizes. Once the paint dried, I added yellow (#43) centers.
Then I added a green wash below the grass, leaving light and dark
areas.
Sky was added next, leaving light
and dark areas with sky blue (#75). In the left upper corner, I
stamped leaves to give the impression of a tree near the little girl.
The last step was to add the butterfly. It is simple to create by
stamping a single heart flower (#4868) in the color you want your
butterfly. Then with my Micron, I added the butterfly body in black.
I still use Marvy Le Plume markers
for my projects. Most of these can be converted to Tombow
colors, but choose colors that work for you. These just happen to be
some of my go-to colors for any project I work on. (Here is the link
for the Tombow conversion chart:
https://www.artimpressions.com/shop/art-impressions-most-loved-color-conversion-chart/)
I hope you’ll give this project a
try and please be sure to post your project so we can all enjoy it!
Also, don’t forget to enter the Monthly Challenge for a chance to
win a free stamp set! Happy Mother’s Day and happy stamping!
Now let's see who won our April Challenge!
Can I just say...It was a good day to be named Bev....lol!
We had 2 Bevs win this month.
Our Lucky Random Winner was: #9
Bev.O.
Please contact Leah at Feedback@artimpressions.com
to claim a free stamp set of your choice!!
This month I decided to give away 2 freebies.
The winners of a freebie from me are #6
Bev. S.
and #4 Cindy P.
Please email me at Renee@artimpressions.com
with your full name and address and I'll send you a photo of the freebies I have available for you to choose from.
Now for our new monthly challenge, here are the rules.
✻ Please make a new card or handmade crafty creation using either stamps, dies and or designer paper from Art Impressions. You can make any item you wish; this is not limited to cards! (unless specified)
✻ Limit two submissions per person.
One random winner will receive a free stamp set from Art Impressions and one random winner will receive a freebie stamp from me.
✻Please include your first name and last initial on your submission. You may include your entire last name, but it's not necessary.
✻We love to comment on your entries, but keep in mind if you use a private group or a platform that you need to sign up for, we probably won't be able to.
✻ The Ai Challenge is open to everyone, international submissions are welcome!
✻ Include a link back to the Ai Blog or grab our button on the top right of our sidebar!
✻ Share the Ai love if you can, by clicking and commenting on your fellow crafters.
✻ Make sure to get your link up by the deadline to enter your creations.
✻ Good luck and happy stamping!




.jpg)