Showing posts with label Harvest Scarecrow Set 5594. Show all posts

Sunday, October 6, 2024

Sunflowers, a Grateful Slimline & a Giveaway! by Karen Day

 Hello Ai Watercolour fans!


Scroll down to the end of my post to enter my Giveaway!
*Edited on Oct 14/24 to announce that Donna Rudy has won the prize!  Congratulations, Donna!  I will be contacting you to get you your prize.  Thank you to everyone who left a comment to win.


October crafting - it's a balance between fall & Christmas projects for me, so these will be the last of my fall Ai paintings for a while!  My first card features the tub from the recently released 5923 - Farmhouse Container Set, filled with different flowers and foliage.


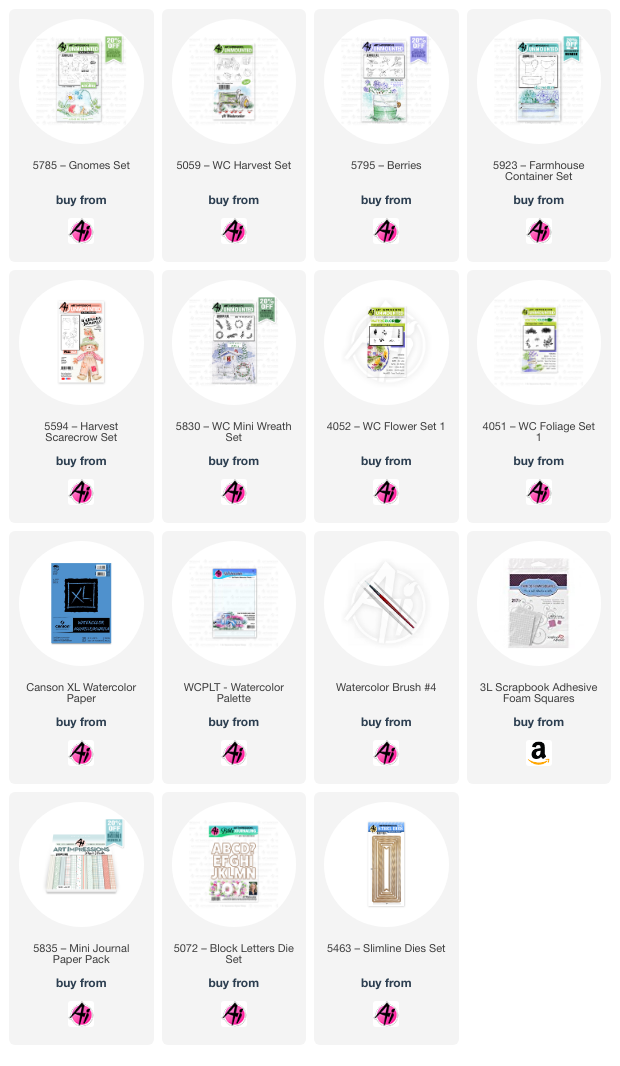
I stamped the tub in N55 on my Canson XL Watercolour Paper, then masked the top edge of it and added the two sunflowers from 5594 - Harvest Scarecrow Set in #993/177/969.  The ferns from 5830 - WC Mini Wreath Set were added in #126, and the foxglove from 4052 - WC Flower Set 1 was stamped repeatedly in #565, angled in different directions.  Everything was touched with a damp brush, and layers of colour were painted on the flowers.  The small grass from 4051 - WC Foliage Set 1 was added in #158, and painted as a wash below the tub.  #496 was added as the sky.


The background paper is from 5835 Mini PP.


My second card is a slimline (8 1/2" x 3 1/2"), and I have cased this card by Marie Nicole, as I loved how she used a gnome for the A, and I knew how great this would look with the 5785 - Gnomes Set.  I die cut the letters from the 5072 - Block Letters Die Set in kraft paper to spell out Grateful, omitting the A.  I blended some Walnut Stain Distress Oxide ink onto the bottom of each letter to create a soft gradient effect.


All of my images are stamped in N55 on Canson XL Watercolour paper.  I used a mix of #565/249 to create the teal colour that I painted on his hat and pants, using several layers to create the darker tones.  N55 and N75 were painted on his boots and mits, and light tones of N55 were painted on the edge of his beard.  A little #850 coloured up his nose.  Some #947 is painted on his tunic, as I wanted it to match some of the shades on the pumpkins.


The two pumpkins from 5059 - WC Harvest Set are always my favourite pumpkins to use on projects!  They were painted in tones of #993/933/947/969 and #249/565 respectively, with #126/158 added to their stems.  I wanted a few leaves scattered around my project, so I used the two clusters from 5795 - Berries Set, colouring them with dabs of #993/126/905/933158.  After fussy cutting everything out, they were mounted to my project with some thin 3D foam tape, to add a little dimension.

I used the 5463 - Slimline Dies Set to cut out my background paper, which I matted with some teal cardstock, and then adhered it to my kraft cardstock base.

Giveaway time!

I have two of the recently released flower sets (5917 & 5918) to give to someone who leaves a comment here on the Watercolour Weekend blog post. **Please note** - the giveaway is open to Canadian residents only! - I'm afraid that's where I'm mailing from, and to keep mailing costs down, avoid duty etc... we're going to give our Canadian fans a chance this time.

Just leave a comment on this post before midnight ET, Sunday, October 13th - and I will update this post with the winner's name on Thanksgiving Monday, October 14th.




Sunday, September 29, 2024

Scarecrow with Sunflowers and Floral Container


Good morning!  I love Watercolor Weekends.  This weekend I have a scarecrow with sunflowers and a wash basin full of flowers for you.

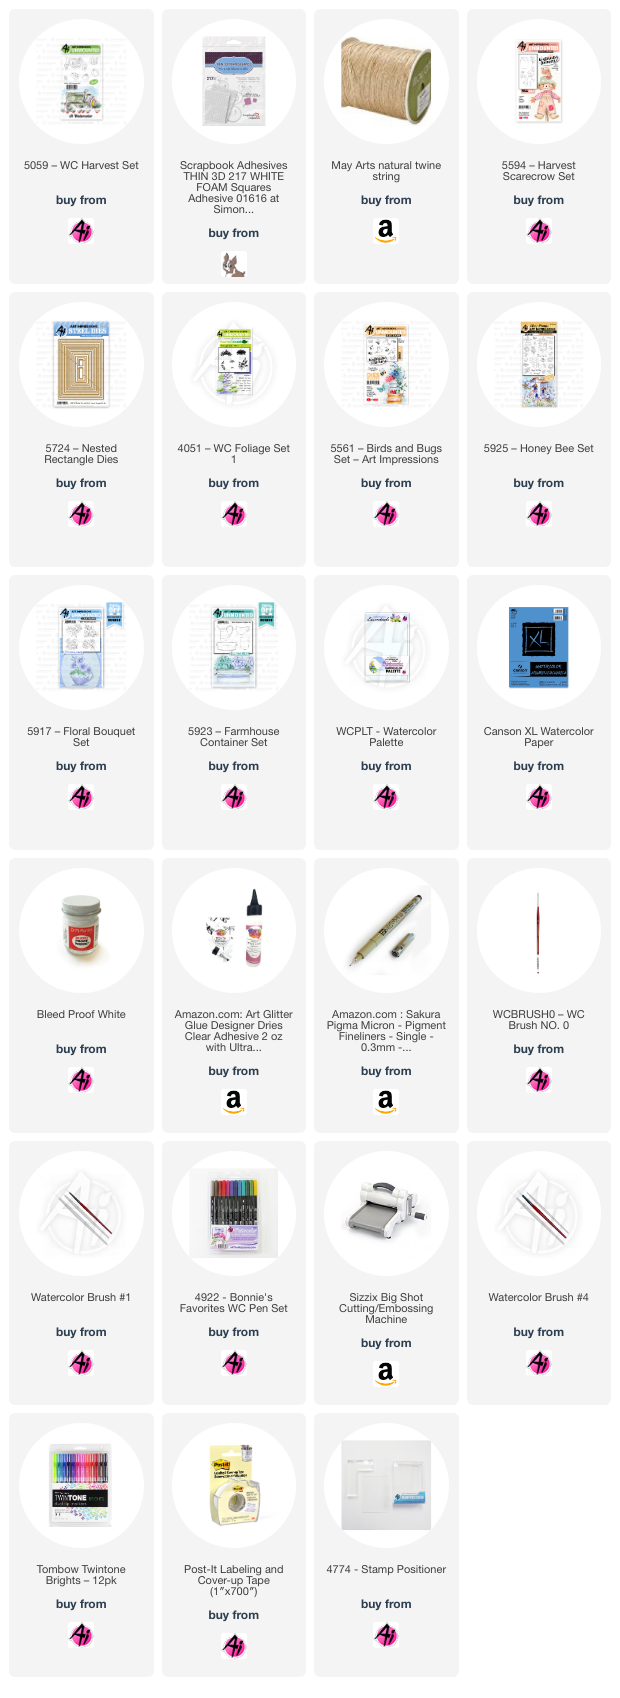
For the scarecrow card, I used the following stamps and dies:  5594 - Harvest Scarecrow, 4051 - Foliage Set, 5059 - WC Harvest Set, and 5724 - Nested Rectangle Dies.
The Tombow markers used are the following: 026, 228, 177, 565, 969, 856, 933, 947, 977, 992, 526, 312 and 879


This little scarecrow always makes me smile whenever I see it.

I wanted to make a card that looked like a scarecrow in a field of wild sunflowers.  I first stamped the scarecrow using 565 and 969 markers.  After the scarecrow was painted I used a stamp positioner to line up the milk container below.   I made masks for the container and the sunflowers to stamp a few layers of the sunflowers.  As I made this card I decided the scarecrow needed yellow hay sticking out like a real scarecrow and the grass/wheat stamp from the 5059 - WC Harvest set was perfect!  I think it adds a cute little detail.  Along the bottom of the card, I stamped some grass and painted small blue dots to look like wildflowers.  I used brown twine to wrap it around twice and tie it into a bow on the three layers of cardstock.  I used Dr. Ph. Martin's Bleed Proof White for the final touches to add small white highlights.  I attached the cardstock to a pretty orange plaid to complete the card.  


For the flowers in a container I used the following stamp sets: 5923 - Farmhouse Containers, 5917 - Floral Bouquet Set, 5925 - Honey Bee Set (honeycomb), and 5561 - Birds and Bugs 

Tombow markers: 565, 969, N60, 026, 177, 837, 679, 933, 946, 925 and 526


This was a fun simple card to create and I love the bug critters!  

I began by stamping the honeycomb stamp from set 5925 - Honey Bee using Tombow marker 026 on watercolor paper. Then, I pulled out the color from the lines to create a watercolor effect. Next, I stamped the wash basin onto watercolor paper and filled the basin with stamped flowers using Post-It white tape. To achieve the desired effect, I created a mask of the flowers. After stamping the flowers, I lightly painted each one and added deeper colors once they were dry. I die-cut the floral container with an oval die set. Before mounting the floral container painting to my card base, I wrapped a small ribbon around the honeycomb background, then mounted it to a card base and tied a small bow. Next, I stamped a bunch of bees, ladybugs, and butterflies onto watercolor paper, painted them, and then die-cut each bug. I added pop dots to the bugs, and the card was finished!

I hope you all enjoy the cards and are having a great weekend.  Thank you.


Monday, September 18, 2023

Fall into Fall Challenge by Sharon Caudle

 Hello AI Fans!

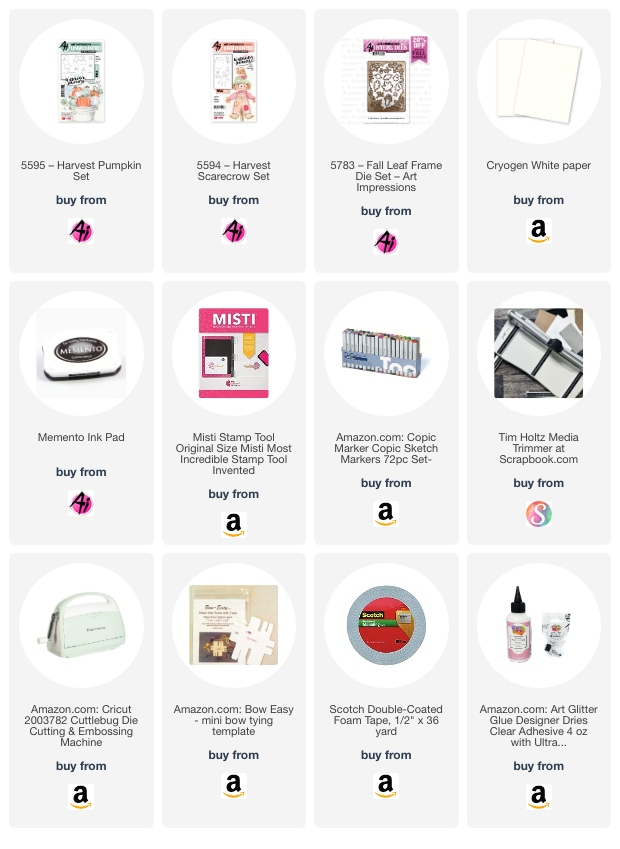
So have you checked out the new challenge?  It's Fall into Fall, and this card would work for it! I used 5595 Harvest Pumpkin Set, 5594 Harvest Scarecrow Set, and the brand new 5783 Fall Leaf Frame Die Set.  I stamped the images onto Cryogen white paper using Memento Ink and then colored them with Copic markers which are listed below. 


Thanks so much for stopping by for a visit today, and until next time - stay crafty!!


Copics use:

Y02, Y13, Y17, Y21

YG01, YG03, YG91, YG93

YR01, YR02, YR04, YR07, YR15, YR18, YR23

E19, E25, E33, E40, E42, E53, E57, E59, E81, E84, E93, E95, E97

B000


Sunday, October 9, 2022

Watercolor Angels by Tricia

I am incredibly honored to have been asked to do a blog post for a recent set of paintings that I created with the new Angels set.  I originally wanted to challenge myself to think outside of the box and stretch my stamps. I thought I was creating Halloween costumes but it turns out after creating the backgrounds that is not necessarily what they turned out to be in the end. 

Here are the before and after pics in case you missed my Instagram and Facebook posts.


Let's get a closer look!

First, we have this little dragon with her new mouse friend surrounded by a sweet pumpkin patch. The NEW Harvest watercolor stamps have the best pumpkins I have ever seen!

This cute little witch continues our Fall/Halloween theme. I colored her up like the wicked witch of the west and created my own broom.  I love these night scenes when I can just keep layering color to get more and more depth and make little stars, of course.


I was really torn on what to do with the background for this sweet bee, but then my new stamps arrived just in time and these hay bales were perfect.  I am in LOVE with the sunflowers and I know they will be showing up on lots of my projects. 


I wasn’t really sure what to do with this sleeping angel so I decided to dress her like Minnie Mouse. I found a picture of Minnie’s house to hand draw her background. Makes me think that she must have been exhausted trying to get there.

Finally I have a snowy scene with this cute angel.  I extended her wings a little a placed her in a winter wonderland. Creating these trees is one of my all time favorite things to do in watercolor.  I should have gotten out the bleed proof white to add some snow to the branches.  Next time!

I had so much fun creating these scenes.  I was glad I didn’t rush through the process and just let the inspiration come.  Thank you so much for joining me and I am so blessed to be surrounded by such a talented, loving and encouraging community. I hope you all have a wonderfully creative day!


SUPPLIES: