Showing posts with label Harvest Sentiments Set 5600. Show all posts

Thursday, March 6, 2025

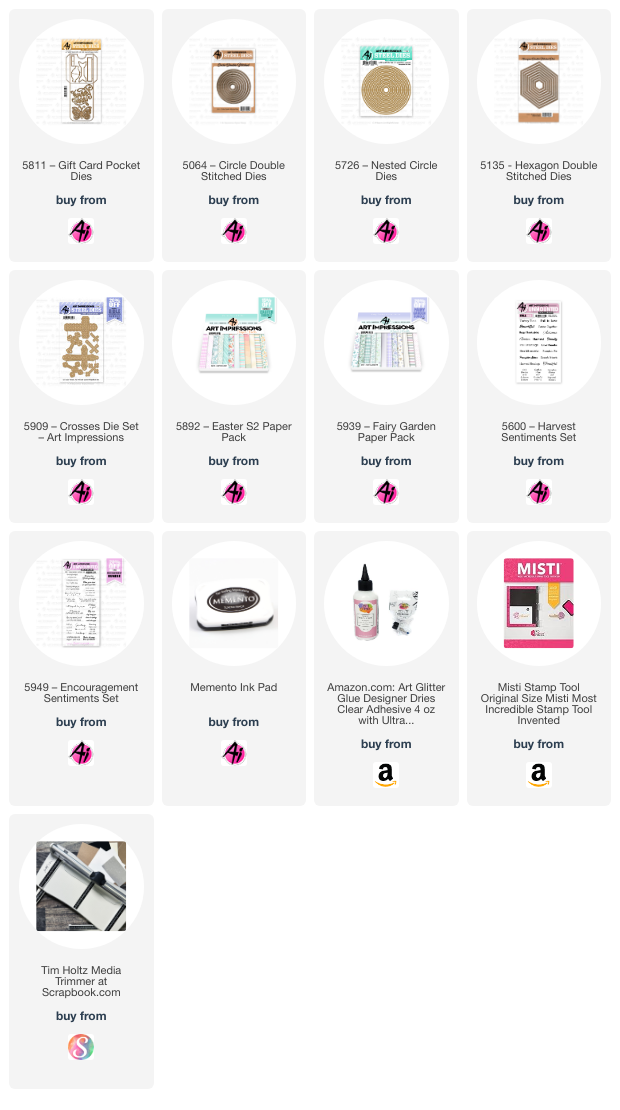
"Case" a design - Split Window card by Dori Mendiola

 Happy Thursday AI Friends!

The current challenge this week on the Art Impressions blog is "Case That Card".  What a fun idea!  I decided to recreate a split window card by Jennifer McGuire.  See below for her card and a link to her video/blog post. 

I started making Thank You cards and then decided to make a few more variations of this style.  I did find one suggestion to make them easier and create layers on the inside.  Before you adhere the sentiment panel down (circle), I recommend placing your layers (mats) on the inside first.  Then place the sentiment panel down over the mats.  Easier to cut a rectangle panel then to cut a partial circle into it and get it even.  You could even place a full panel down on the inside and then adhere the left side down.  This will create a sturdier and more finished card.

Here are a couple other versions.  I used stickles on the butterflies.  I like the look on kraft paper.  Makes it look bronze.


Below are Jennifer McGuire's cards that inspired me.  Here is the link to her video - Split Window cards


I hope you enjoyed my cased cards today.  I also hope you play along with the challenge.  See tab above for details and a chance to win a free stamp set.

Have a great day and Happy Creating!

Thursday, November 21, 2024

Harvest Blessings by Dori Mendiola

Happy Thursday AI Friends!

Today I have a fun fold A2 card for you that provides a great way to display your Fall Blessings, when expanded.  

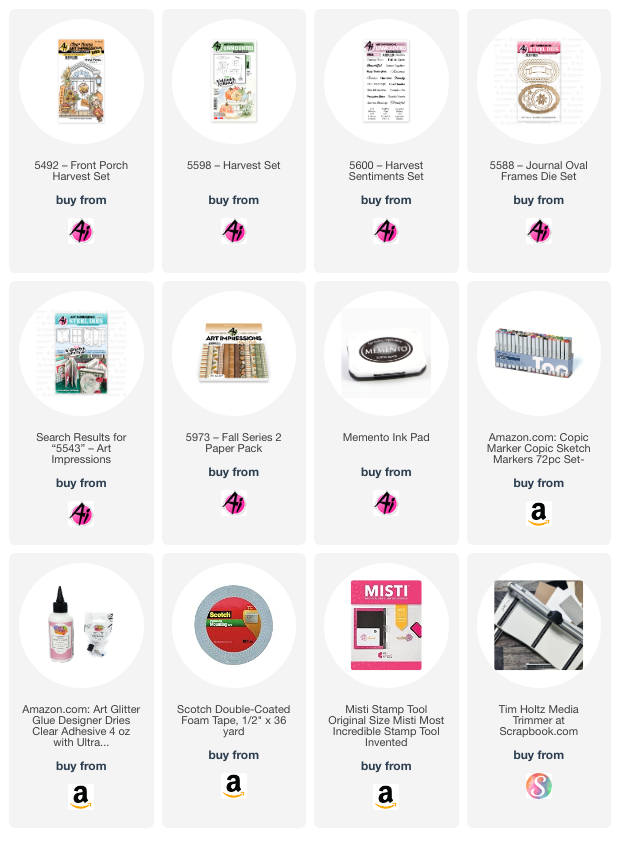
Have you checked out the latest fall paper pack (5973 - Fall S2 PP) from Art Impressions?  OMgosh, this is such a beautiful paper pack!  All of their papers are fantastic but this one has such great fall colors and patterns.  To show them off, I used the stamp sets #5492 Front Porch Harvest and #5598 Harvest Set along with the sentiments from the #5600 Harvest sentiments set.   


I stamped all of the images onto copic friendly paper and colored using my copic markers as listed below.   The hay bale is stamped directly onto the panel.  All other images are die cut using the coordinating dies that come in the stamp set.  

To create the fun fold card:  Cut your base cardstock at 4 1/4 x 11 and score on the long side at 2 3/4, 
5 1/2 and 8 1/4.  Fold and crease as mountain, valley, mountain.  This will create a W when standing upright.  Fold the side tabs backwards so that the card displays a solid A2 card front with the fold in the valley fold in the middle.  Next cut a 2 x 8 piece from the same cardstock and score the long side at 1 1/4, 2 1/2, 4, 5 1/2, 6 3/4.  Fold and crease as mountain, mountain, valley, mountain, mountain.  Should form a square when upright.  Place glue on the front of the left 1 1/4 tab.  Adhere to the left center of the A2 base along the fold.  Do the same to the right side.  Your fun fold card is now created.  Create your layers for each panel by cutting 1/4 inch smaller than the base.  
For the front panel:  You can cut any size or shape that you choose.  Adhere to the middle fold only of the 2 x 8 inch cardstock piece.  If you adhere to the side folds, the card will not pop up when fully opened.

When folded:

     Front side of the A2:                                                        Back side:

I hope you enjoyed my card for today and that you all have a wonderful Thanksgiving holiday. 
May each of you find some time to do what you love! 

Copics used:  E41, E43, E44, E47
YR12, YR16, YR20, YR23, YR27, YR68
R32, R35
YG91, YG93, YG95

Saturday, October 19, 2024

Tres Chic! Harvest Blessing by Janet


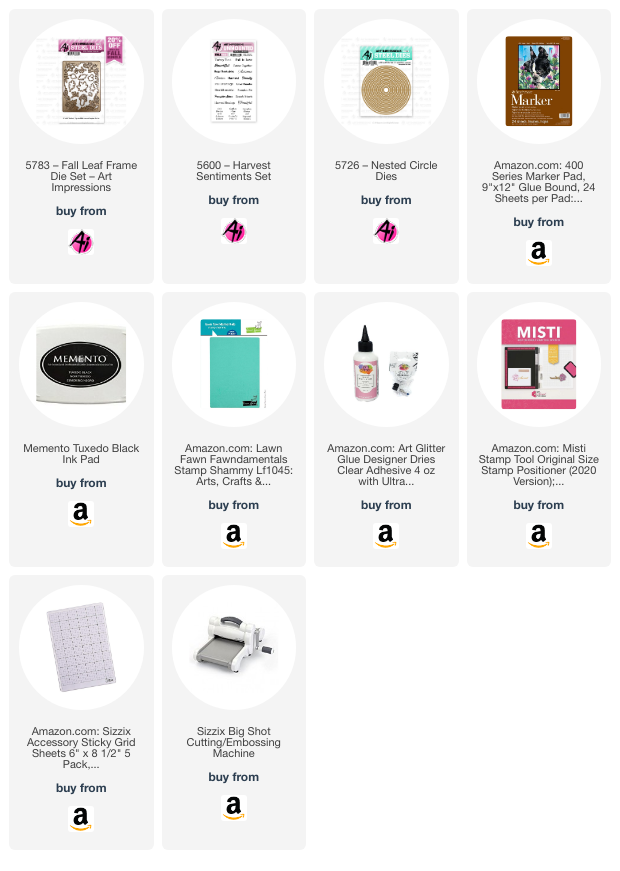
 Hi everyone. Today I have a card that's quite different from my usual. If you have visited here enough, you know that I like to use characters, critters, and always bright and cheerful colors. Today's project was made for the current challenge, Tres Chic. The challenge asks for projects made using the color palette and inspiration shown in the pictures posted for inspiration. I did my best! As usual, the end result is a bit brighter than I had intended but I have used twine and some neutral colors. Good thing the challenges are always pretty lenient! Most of the features in this card was created using 5783-Fall Leaf Frame Set.

I made this with inspiration from a video I watched from Laura Evangeline. I masked a piece of watercolor cardstock with 1" wide washi tape. Then I blended Antique Linen, Dried Marigold, and Victorian Velvet Ranger Distress inks in the unmasked rectangle. Then I splattered water, white, and copper watercolor inks over the panel. I next created my own stencil by arranging the leaf and acorn dies from the Fall Leaf Set on thick cardstock. Once done, I taped it in place over the inked rectangle I had just finished and then applied rose gold stencil paste over my homemade stencil. 


This method worked reasonably well. There was a little leaking but overall, that didn't take away from the result. Before the copper paste dried, I used a pin to draw in the veins of the leaves.


  I next cut more leaves, mushrooms and plant sprigs from the dies in the set in a few different colors. I picked some of them and arranged them as shown by gluing the stems and backs with just a little bit of glue. I used 5600-Harvest Sentiments Set to stamp the sentiment on kraft cardstock before cutting it out. I cut a circle out of vellum using the Nested Circle Dies and glued the collage and the sentiment to it. I added the crystals to the circle and to the inked and stenciled rectangle. The crystals are leftovers from a diamond art kit I had finished a while back. They worked great for this use.

I wrapped natural twine around the bottom of the card and added a bow. Then I attached the completed circle with foam tape placed strategically behind the sentiment and the collage. The last step was to attach the finished panel to a mustard gold card base. 

I hope you enjoyed seeing my interpretation of the Tres Chic challenge. Be sure to go to the challenge post and upload your entries. Share your work for a chance to win a free stamp set from Art Impressions.

Thanks so much for joining me to see what I created for you today. Please visit the Ai store for the sets I used and all the things you need for your card, journal, and tag making projects. Happy creating!

Janet YouTube - Blog - Facebook - Instagram - Pinterest

Tuesday, September 24, 2024

Fall Greetings by Reneé Matarese

Hello Ai fans!

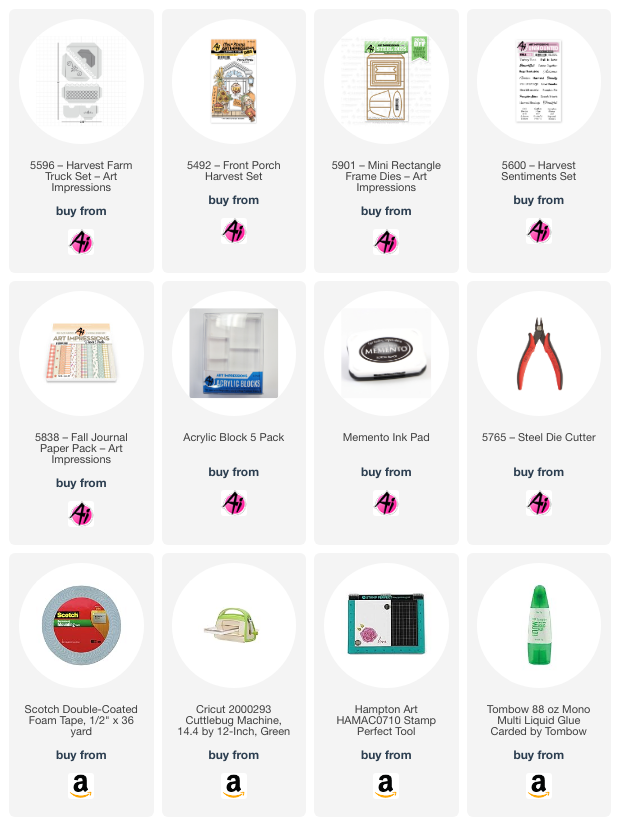
Since the Never Have I Ever challenge last month, I've really been trying to use stamps that I've never used before. This time, for the Not Just Paper challenge I pulled out 5596 – Harvest Farm Truck Set. I felt it was perfect for this time of year. My area is full of farms and our pumpkin farms are about to be in full swing!

My card qualifies for the challenge because I used twine and an enamel dot. You still have about 24 hours to enter and you may win a free stamp set!

I used the new 5901 – Mini Rectangle Frame Dies which have an easel on the back because I thought these would be cute displayed on my fireplace mantle this fall.


The sentiments and accessories are from 5600 – Harvest Sentiments Set and 5492 – Front Porch Harvest Set.  I used two sheets of designer paper from 5838 – Fall Journal Paper Pack.

Sunday, October 9, 2022

Watercolor Angels by Tricia

I am incredibly honored to have been asked to do a blog post for a recent set of paintings that I created with the new Angels set.  I originally wanted to challenge myself to think outside of the box and stretch my stamps. I thought I was creating Halloween costumes but it turns out after creating the backgrounds that is not necessarily what they turned out to be in the end. 

Here are the before and after pics in case you missed my Instagram and Facebook posts.


Let's get a closer look!

First, we have this little dragon with her new mouse friend surrounded by a sweet pumpkin patch. The NEW Harvest watercolor stamps have the best pumpkins I have ever seen!

This cute little witch continues our Fall/Halloween theme. I colored her up like the wicked witch of the west and created my own broom.  I love these night scenes when I can just keep layering color to get more and more depth and make little stars, of course.


I was really torn on what to do with the background for this sweet bee, but then my new stamps arrived just in time and these hay bales were perfect.  I am in LOVE with the sunflowers and I know they will be showing up on lots of my projects. 


I wasn’t really sure what to do with this sleeping angel so I decided to dress her like Minnie Mouse. I found a picture of Minnie’s house to hand draw her background. Makes me think that she must have been exhausted trying to get there.

Finally I have a snowy scene with this cute angel.  I extended her wings a little a placed her in a winter wonderland. Creating these trees is one of my all time favorite things to do in watercolor.  I should have gotten out the bleed proof white to add some snow to the branches.  Next time!

I had so much fun creating these scenes.  I was glad I didn’t rush through the process and just let the inspiration come.  Thank you so much for joining me and I am so blessed to be surrounded by such a talented, loving and encouraging community. I hope you all have a wonderfully creative day!


SUPPLIES: