Showing posts with label Fall Journal Paper Pack 5838. Show all posts

Thursday, May 14, 2026

Sweet Girls Playing by Dori Mendiola

Happy Thursday AI Friends!

This card came together perfectly for the Mix & Match challenge, which calls for using two or more stamp or die sets.  I ended up pulling from several favorites to build a three‑dimensional scene that feels fun and playful.  I created a 3D effect by layering several die‑cut fences together, scoring them to pop forward


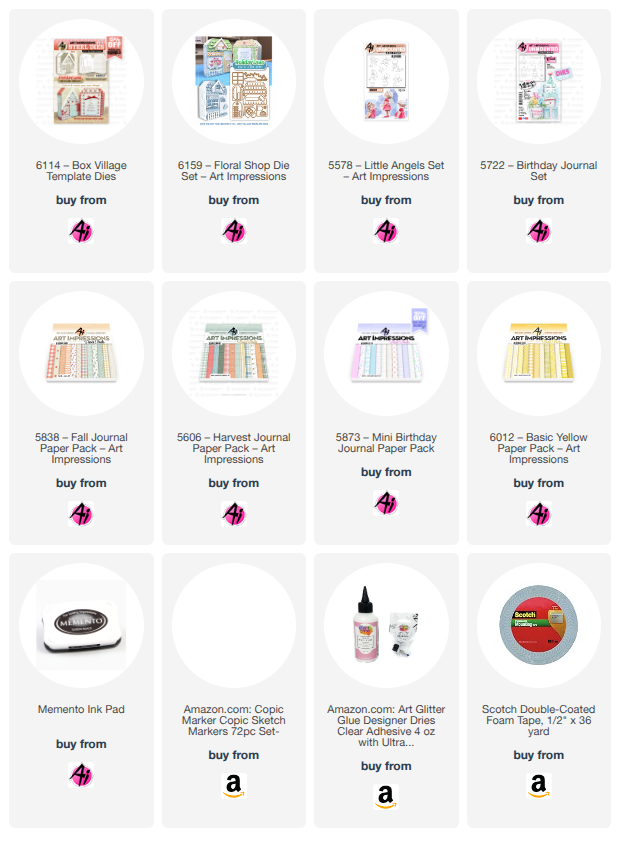
I began by die cutting the base from heavy cardstock using the #6114 - Box Village Template die.  I embossed this panel using a brick embossing folder that I had in my stash.  I then die cut the roof and window pieces from pattern paper using the #6159 - Flower Shop die set.  I die cut several fence pieces from heavy cardstock and layered together to double up and also to extend the fence.  I wrapped it around the base card on one end and over the front to the other side.  This fence stands out about 1/2" from the base panel.  

Using the #5578 - Little Angels set, I stamped two of the angels with Memento black ink and colored with copic markers listed below.  I fussy cut them out, cutting off the wings.  I die cut some balloons using the #5722 = Birthday Journal set and tied some string to the ends.  I placed some acetate behind them and attached to the back of one of the angel's hands. 

  To make the card base, take a standard A2 card base and place the Box Village Template die shape slightly over the card fold so that it will cut all sides but the folded edge.  Adhere the base panel to the card base.  Decorate as desired.

I hope you enjoyed my card today and thank you for joining me.  I hope you play along with our blog challenge.  We love to see your creations!

Have a great day and keep creating!
Copics used:  E000, E01, E11    R20
YR00, YR02, YR04
V12, V15      Y15, Y17

Friday, April 10, 2026

Egg-tremely Cute! Card by Tasha

 Happy Friday Art Impressions Friends!

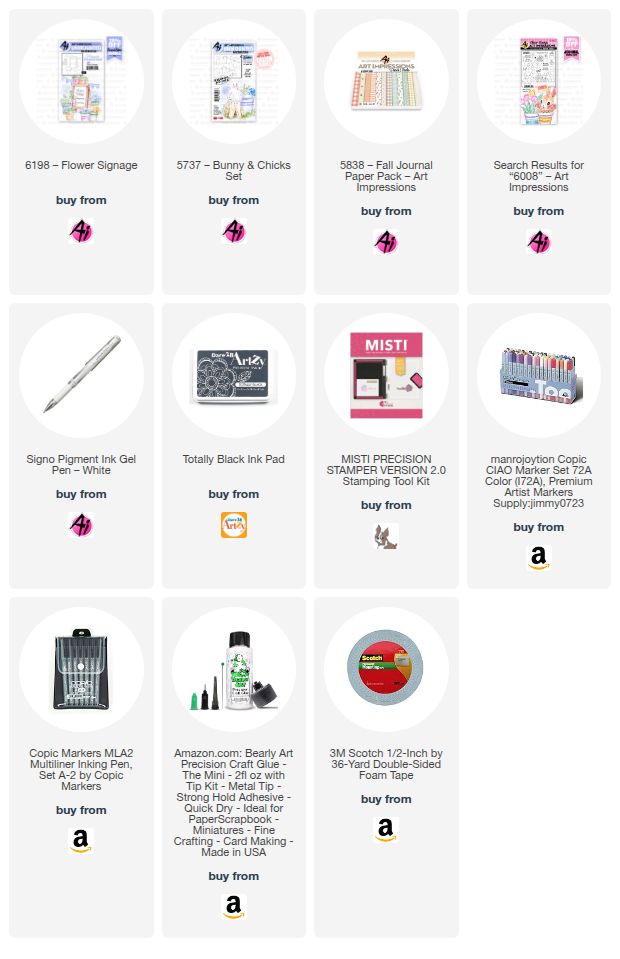
Tasha here sharing an egg-stra cute card created with the 5737-Bunny & Chicks Set, 6198-Flower Signage Set, and 6008-Bunny Hugs Set.


To create this project, I started by stamping the center card with the Flower Signage stamp and added the "Egg-tremely Cute," greeting from the 6008-Bunny Hugs Set to the center of the sign. It fit perfectly! 
After, I drew in flowers and colored everything with Copic Markers. I used a black liner pen and white gel pen to add more details to the flowers.

I love little chicks, and this trio is just too adorable. To coordinate with the sentiment, I also added three eggs using the egg stamp from the Bunny Hugs Set. They work great to bring the whole scene together!

Lastly, I added layers of blue, yellow, and white cardstock, gold glitter paper for sparkle, and a piece of plaid pattern paper that I thought went well with the design. 

I hope you enjoyed today's card and are having a wonderful day!


Sunday, November 2, 2025

Fall Keepsake and Cozy Christmas Ornament by Karen Day

 Hello Ai Watercolour fans!


I have a couple of projects featuring some of the newly released sets today!  First is a card using the 6105 - Fall Keepsake Set:


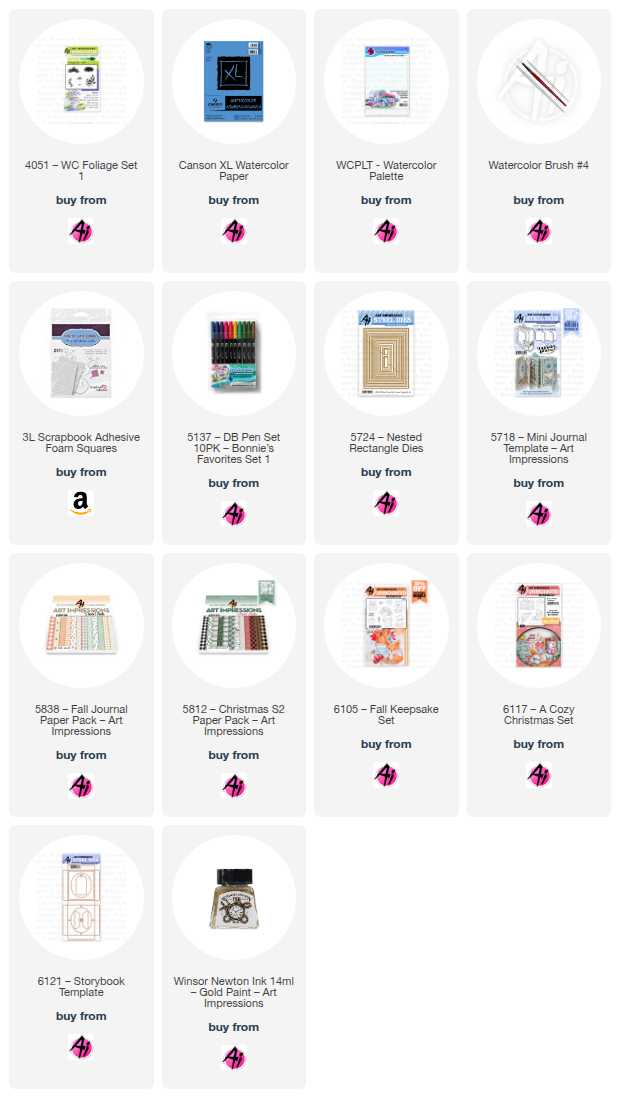
I coloured the images with my N45 Tombow Dual Brush Marker, and stamped them on my Canson XL Watercolour Paper.  I started with the fox, then the toadstool, and added masks to both of them.  The pumpkin and pail followed, and finally the fall bouquet was added to the pail.  After pulling the colour out of the lines with a damp brush, I added a pale coat of #993 to the pumpkins and fox, followed by several layers of #947, and finally a mix of #947/977 to create the really dark areas.  Shades of #N55 were painted on his paws and to the bucket, layering to keep the sides of the bucket and bottom of his paws darker.


I wanted the leaves to be multicoloured, so did sections of #993/947/856/126/346/977, blending them together.  I added #346/126/977 to the stems of the pumpkins, and the stem of the toadstool, and painted shades of #856 on the top of it, touching the dots with a little 346.  I used the N55 to add shadows to the fox's white areas, and finally painted a wash of #126/346 for the grass, and stamped the small grass from 4051 - Foliage Set 1 in #126, and then I used the fine point of the 346 marker directly on the paper to add a few darker lines of grass.  A wash of #493 was painted in as the sky.  I used my Grey Twintone marker to colour in the eyes/features and redefine any areas that needed it.


My scene was die cut using the 5724 - Nested Rectangle Dies, and adhered to a brown mat with 3D foam adhesive.  The word 'hello' is from the 5718 - Mini Journal Template set, cut twice in brown and stacked to be a more stable die cut.  Both pieces of background paper are from the 5838 - Fall paper pack.

My second project is featuring the new 6117 - A Cozy Christmas Set, that creates a sweet little ornament!


I have a lot of photos for you today!  I tried to capture a few steps in the assembly process, but I highly recommend that you watch the Ai video by Kim to see how to assemble it.


In addition to the stamp set, you need to purchase the 6121 - Storybook Template die.  The die cuts out the box (at the top) and you cut three of the inner frame piece.  The images were stamped on Mixed Media paper with #N55, and painted in with #349/993/493/837/N55, and a few touches of gold ink.  Images were cut out using the coordinating dies that are included with the stamps.


I cut a piece of patterned paper from the 5838 - Fall Paper Pack at 3 1/8" x 2 5/8" to act as the background, and glued it to the back of the box.  I fussy cut the fireplace out, and glued it down so that it would appear behind all the other pieces.  Each of the stamped images is drawn along the curve of the oval opening, so each piece was die cut and glued under one of the frames (there is a tab where you can add the glue, see the photo below from the backside).


Each of the frames got pieces of 3D foam adhesive attached to the corners and in a few other spots, and then each of them is layered on top of each other starting with the tree.


After the tree comes the Mama bunny, and finally the baby bunny on the top layer.  *I used 2mm thick adhesive, but there is plenty of room to use a thicker adhesive if you prefer.  I'm happy with how this looks, though.  When you adhere the layers, you want to make sure that the openings are stacked directly over each other.


The Storybook die includes a tab piece which I cut out of some woodgrain paper from the 5812 - Christmas S2 Paper Pack.  I wanted the woodgrain on the outside of the box, so I used the inner frame piece to cut it out, then attached it to the front of the box.  I added pieces to cover the sides, top and bottom also.  The tab is adhered to the top back of the box after it's assembled.  Glue was added behind each of the tabs, the box was folded and attached to the other side, enclosing the scene.


Friday, September 5, 2025

Cozy Fall Card by Tasha!

 Happy Friday Art Impressions friends!

Tasha here sharing a new card inspired by the When One Door Closes challenge. Since Fall is right around the corner (my favorite season!), I used the 5492-Front Porch Harvest Set to create a cozy autumn scene; pumpkins included, of course! šŸŽƒ

For the background, I stenciled a soft brick design with beige distress ink and popped up the stamped images with foam tape for extra dimension. To finish, I layered brown, golden yellow, and white card stock with a touch of leafy patterned paper to tie in the fall colors. A stitched die cut panel and a few white gel pen details pulled everything together.

I hope you enjoyed today's card and will join in the fun When One Door Closes challenge!


Thursday, December 5, 2024

Birthday Man card by Dori Mendiola

 Happy Thursday AI Friends!

I thought I'd share a card that I made for my husband for his birthday.  The image from the #5421 Sit Back Laugh Lines was just perfect for him.  Remote control and all.  😁  This guy is just so cute and funny!


 I stamped the image on copic friendly paper with memento black ink and colored with my copic markers listed below.  I decided to use the pattern paper from the #5606 Harvest Journal PP to paper piece the recliner.  Love the plaid!  I layered pattern pieces with a white strip for the floor board and die cut with the #5062 Rounded Rectangle A2 Double Stitched dies.  I then used the #5724 Nested Rectangle die to cut a center rectangle, creating a frame, to inset the image.  I popped up the "frame" with foam tape.  I also added the wall clock from the #5323 MB Wall Accessories.

This was a simple card but I hope it inspires you to create masculine cards.

Thanks for joining me today!  Have a wonderful day!

Copics used:  E00, E01, E11, E55
B000, T0, T2, T4
Y21, Y23
BG70, BG72, BG75

Thursday, October 31, 2024

Hello Fall by Dori Mendiola

 Happy Thursday AI Friends!

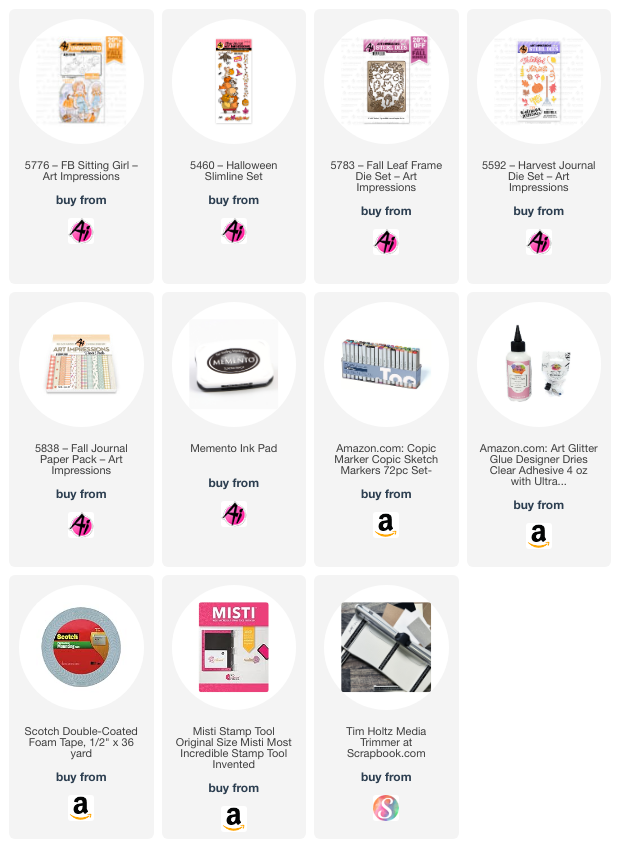
My card today is inspired by the Challenge "All the Fall".  I should probably have made a Halloween card since today is Halloween, but oh well.  šŸ˜  Instead, I chose to welcome in the Fall season using the 5776 Front and Back Sitting Girl, the 5460 Halloween Slimline and the 5783 Fall Leaf Frame die.

I began by stamping the images using Memento black ink on copic friendly paper and colored with copic markers listed below.  For the wagon and the pumpkins, I did a partial stamp of the bottom portion of the 5460 Halloween Slimline set.  I used the die to cut it out and then cut off the owl and above leaving the pumpkins and the wagon.  The sitting girl fits perfectly on the pumpkins and I added a leaf to cover the missing portion of the pumpkin.  I cut her arm to place the leaves under so it looks like she is holding them.  

I cut two leaf frames from two different colors of cardstock and inlaid the opposite color die cut pieces into the corresponding spot on the other frame.  This will give you a two for one frame to use on another card.  I placed a piece of the falling leaf pattern paper from the 5838 Fall paper pack behind the frame for the background.  I then popped up the girl sitting on the pumpkins and adhered to the frame.  Since I didn't have the same color pop dots or nuvo drops, I made my own.  I placed a piece of packing tape over the rust colored cardstock and punched out several pieces using a hole punch.  The packing tape gives a glossy look, but you can also add glossy accents.  I recommend adding the glossy accents after adhering the dots to your card as they are tiny and hard to work with when loose.
Hope you enjoyed my card today!

Happy Halloween, Happy Fall and Happy Nevada day for those of us in Nevada.

Copics used:  E00, E01, E8, E11, E13, E15
E21, E23, E25, E42, E44, E47, E53
N0, N2, N4, N6
R20, RV52, RV55, RV66
YR14, YR16, YR18, YR21, YR68

Friday, October 4, 2024

I Love Fall! by Tasha!

 Hi Art Impressions friends!

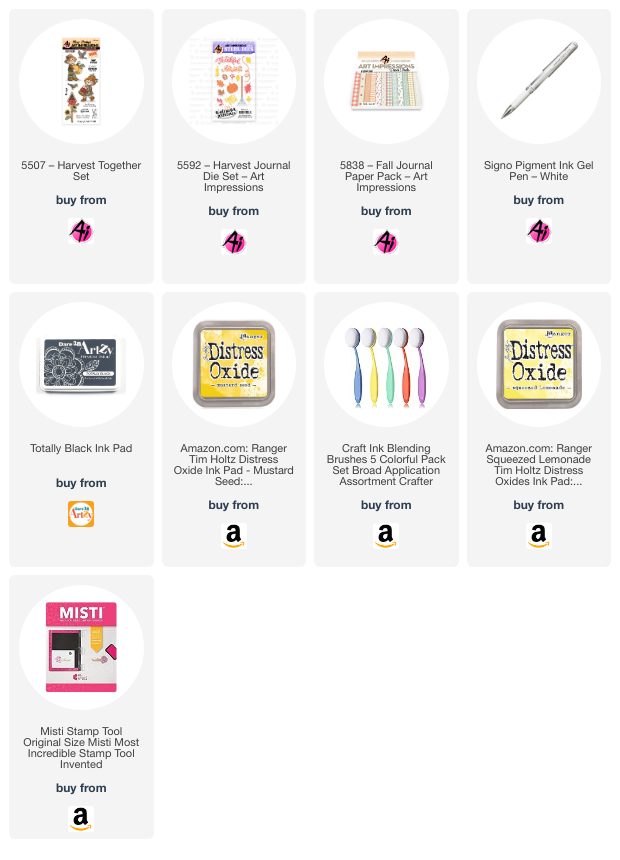
Tasha here sharing a Fall card inspired by the current "Farm Fresh" Challenge. Fall is my favorite season, so for this challenge I created a Fall scene featuring the 5507-Harvest Together Set and 5592-Harvest Journal Die Set.

The scarecrow image was stamped with black ink and colored with Copic Markers. I used a white gel pen to add little details to the patches, and gave each patch a different design. I also used the included coordinating die to cut the image out. I love that several Art Impressions sets include the dies.

Before attaching the scarecrow to the card, I created a Fall scene. The sky was created with Distress Oxide Ink and a Sunburst stencil. I also used the 5592-Harvest Journal Die Set to make some cool pumpkins for the background, I love pumpkins!

To complete the card, I stamped "I Love Fall Most of All" on to a stitched banner. This sentiment goes perfectly with this scene and I love the farmhouse style font. I also added layers of brown and yellow card stock, and a piece of Art Impressions pattern paper to complete the design.

I hope you enjoyed today's card and will join in the "Farm Fresh" Challenge!

Have a great day!


Thursday, October 3, 2024

Barnyard Fun by Dori Mendiola

 Happy Thursday AI Friends!

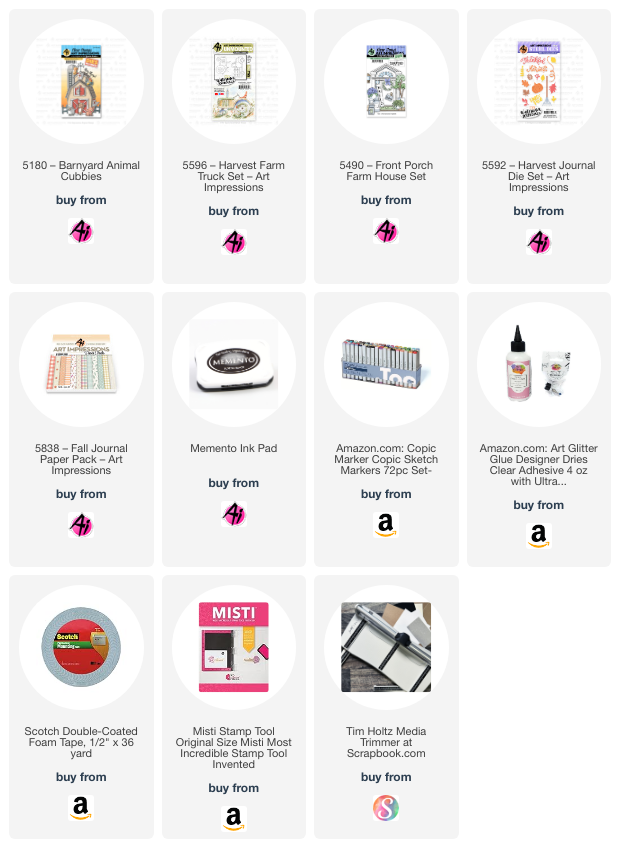
My card today was inspired by the current challenge "Farm Fresh".  I had a great time designing this interactive card with all of the little cubbie farm animals from the set #5180 - Barnyard Animal Cubbies and the truck from the #5596 - Harvest Farm Truck.


I began by stamping the images on copic friendly paper and coloring them with my copic markers listed below.  I also die cut several hay stacks from the #5838 - Fall PP and inked them with Distress Oxide Vintage Photo to give them texture.  Where did I get the die for the hay stacks, you ask?  I improvised and die cut the porch plant from the #5490 - Front Porch Farm House.  It had rough edges and without using the stamp, I thought it could pass for hay stacks.  Now that I told you, maybe it doesn't look quite like a hay stack?  šŸ˜‚  

To create the mechanism for the doors:  For an A2 size card, cut base cardstock at 5 1/2" x 5 1/2" (score at 4 1/4".  Cut two pieces of colored cardstock - 1 1/4" x 5".  Score down the middle lengthwise, turn and score at 1 1/4".  Fold one corner over to score line and then fold other corner over to score line.  Should create four scored triangles in that 1 1/4" square.  With right side facing you, cut 1 1/2 triangle off (as seen on left), then do the same on other piece but opposite side of piece.  As seen on the right side, fold long piece of triangles over the front.  Glue the tab (indicated on right by black marker).  Place point in fold and line up right side with white cardstock.  Fold down the top to adhere.  Then glue the bottom of the right half down to the base of the card (see Pic. 2).  

Pic. 1                                                                            Pic. 2


Fold back each side of the mechanism (Pic. 3).  Cut two pieces of colored cardstock for doors - 3 1/2" by 2 1/8".  Adhere in place (Pic. 4).

Pic. 3                                                                            Pic. 4

Hint:  youtube "Dual Pop Up Card" for video tutorial.  

Hope you have a wonderful day.
Keep creating!

Copics used:  E21, E23, E50, E51, E53
R20, R24
Y15, Y17, Y35
C00, C0, C1, C3
B000, B91, B93, B95
YR16
    

Tuesday, September 24, 2024

Fall Greetings by ReneƩ Matarese

Hello Ai fans!

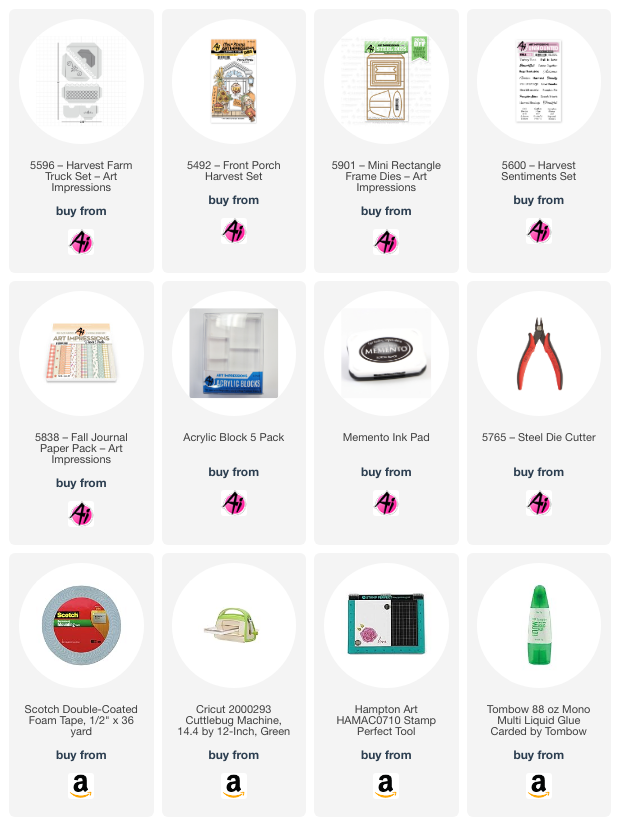
Since the Never Have I Ever challenge last month, I've really been trying to use stamps that I've never used before. This time, for the Not Just Paper challenge I pulled out 5596 – Harvest Farm Truck Set. I felt it was perfect for this time of year. My area is full of farms and our pumpkin farms are about to be in full swing!

My card qualifies for the challenge because I used twine and an enamel dot. You still have about 24 hours to enter and you may win a free stamp set!

I used the new 5901 – Mini Rectangle Frame Dies which have an easel on the back because I thought these would be cute displayed on my fireplace mantle this fall.


The sentiments and accessories are from 5600 – Harvest Sentiments Set and 5492 – Front Porch Harvest Set.  I used two sheets of designer paper from 5838 – Fall Journal Paper Pack.