Showing posts with label Scroll Set. Show all posts

Saturday, October 26, 2019

NEW VIDEO! Ai Bible Journaling Scroll Set Part 1

Hello Ai Bible Journaling Fans!

We are excited to be back with a new tutorial video from our latest Bible Journaling release! Bonnie kicks off our five new sets with the Scroll Set. One of the features we love most about this set is that with the open areas inside the design, you can see the lines in your Journaling Bible to write on!

Bonnie works today in Psalm 78, focusing on verses 1-5.

"Give ear, O my people, to my teaching; incline your ears to the words of my mouth! I will open my mouth in a parable; I will utter dark sayings from of old, things that we have heard and known, that our fathers have told us. We will not hide them from their children, but tell to the coming generation the glorious deeds of the Lord, and his might and the wonders that he has done."

We hope you enjoy today's video! Leave a comment on this video of what you would write inside the scroll!

Join in the Ai Bible Journaling Fun!
Sign up for our NEW Bible Journaling Newsletter
Subscribe to Art Impressions' YouTube
View our Bible Journaling YouTube Playlist
Follow Bonnie's Bible Journaling account on Instagram


View on YouTube: https://youtu.be/yZNJPCbKHz0


Hop over to YouTube and leave Bonnie a comment, then tag us in your projects on Instagram or Facebook using #AiBibleJournaling!


Happy Bible Journaling!


Saturday, October 19, 2019

Watercolor Weekend Roundup - Sweet and Spooky!

Hello, Ai Fans! We're back with a range of projects from sweet to spooky with our Watercolor Guest Design Team! Whether you are gearing up for Halloween, looking forward to winter, or dreaming about spring, we have inspiration for you! Let's take a look!

Dot Freel - Instagram - Blog - Pinterest
Hello Friends,

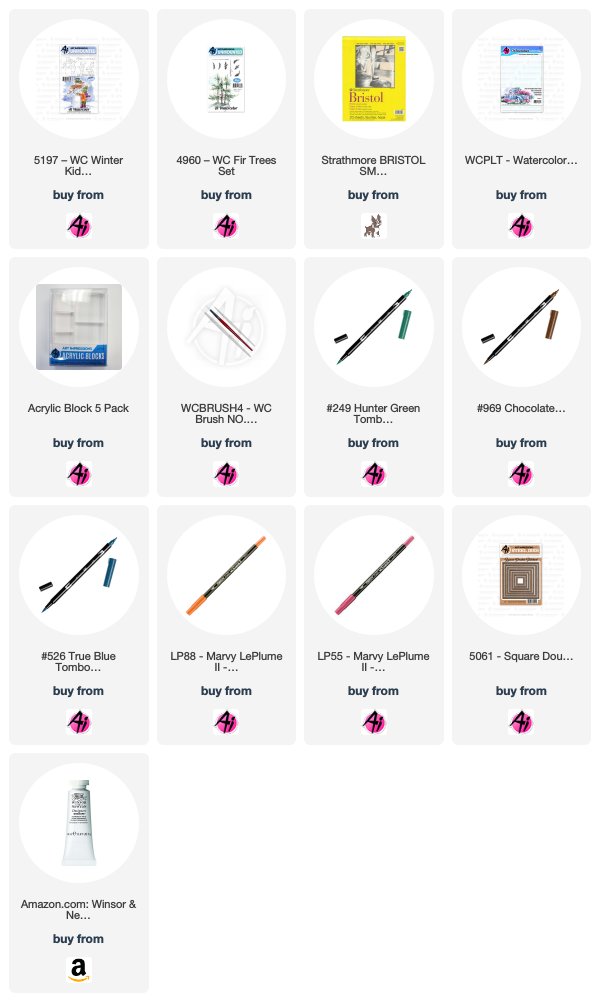
I am still busy playing with my favorite new stamp set - 5197 - WC Winter Kids. I am now using Strathmore Bristol smooth paper for all of my dye ink watercoloring because I just love how smooth the color blends on it. I stamped the snowman and kid after inking it up with brown 969, then blue 565. I stamped it off first on scratch paper (my usual way) so that the lines would not be so dark. I did the same thing with the light post and then I pulled the color out of the lines the same way Bonnie Krebs, Owner/Creator of Ai, always does on her YouTube videos. If you haven't subscribed yet, you should, I still learn from her every time. I used 565 off the palette to watercolor the snow, boots and sky. I colored the snowman's hat, the branch arm and the little girl's hair using brown 969. I used the Arteza TwiMarker in sage green to watercolor the hat band, the hat, the gloves, the pants and the scarf on the little girl. I inked up a branch from the 4960 - WC Fir Trees Set in green 249 and stamped it up and down the light pole then pulled the color out of the lines. I added the berries using the fine tip of the 55 iris purple pen. I dabbed in some of the sage green from the palette. I used the iris purple to watercolor the scarf, coat and hat band. I colored the nose with 88 terra cotta. I used the fine tip of a Copic Multi-liner pen to darken the eyes and buttons on the snowman. I used the fine tip of the Tombow TwinTone brown pen to draw hair on the girl. I cut it out using the large square die from the 5061 die set. I used watered down white Gouache to flick dots for the snow.
Karen Day - Blog - Facebook - Pinterest
I'm using all sorts of product from the Ai Bible Journaling collection today!
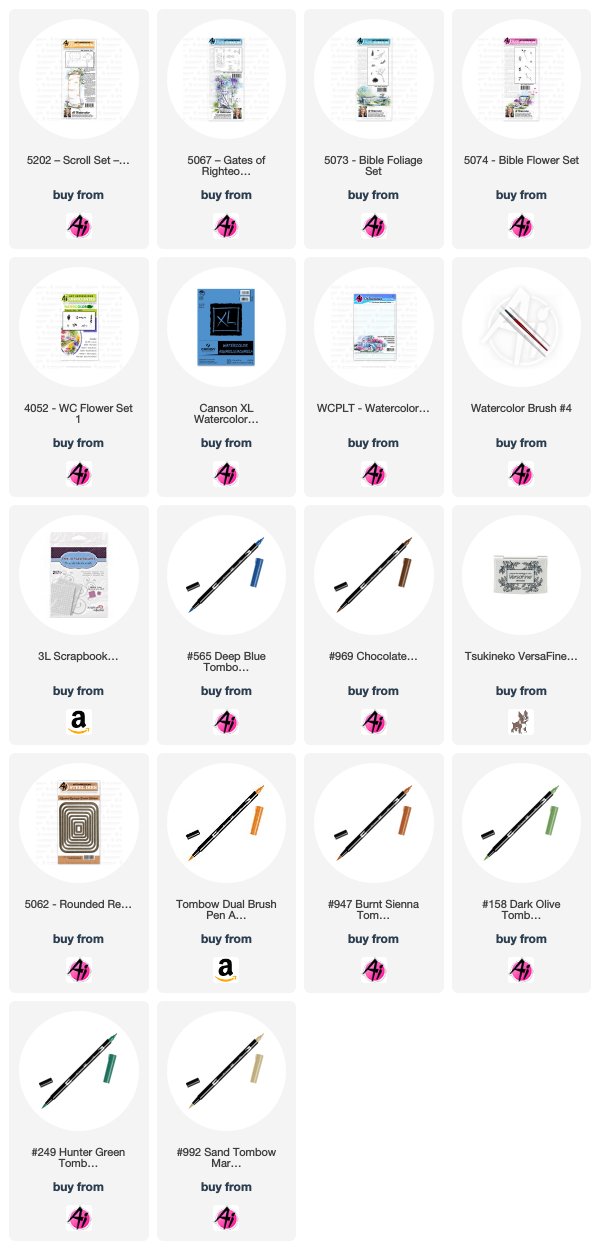
I began by cutting out my Canson XL watercolor paper with two sizes of the 5062 - Double Stitched Rounded Rectangle dies. I coloured the gate image from 5067 - Gates of Righteousness Set first in Tombow #565 Deep Blue, then #969 Chocolate overtop. I stamped it off on scrap paper, and then onto my panel. Since I knew that my card design would have the overlapping sentiment panel, the gate is positioned a little to the right of center. I added the clay pot image on the left side, slightly below the gate so that it would appear in front of it. With my damp #4 paintbrush, I softened the lines and pulled out the colour into the shadowed areas, as I wanted the gate to be white. I did the same stamping method with the medium scroll image from the 5202 Scroll Set on the smaller rectangle. I used a pencil to faintly sketch in the overlapping hillsides, having them meet right in the middle of the gate, as I wanted a sunrise to be centered there, and sketched in the narrow path also. Using the vine image from 5073 - Bible Foliage Set, and #158 Dark Olive, I stamped the vine so that it wrapped up and around the gate, and spilled over the top, sometimes colouring only part of the image if I wanted a smaller sprig of greenery. I filled in a few areas with the small leaf image from 5074 - Bible Flower Set, and used this to add foliage to the clay pot. The spiky trio of blooms from the same set was coloured with #946 Gold Ochre and stamped in the pot and around the vine to created the floral clusters. I used the Mini Foxglove stamp from Flower Set 4052 coloured in #565 to stamp the longer stems in the clay pot. I picked up #947 Burnt Sienna from my palette, and painted it onto the pot, adding several layers to the edges to deepen the colour. Using the shrubbery image from the Bible Foliage set, I coloured it in #249 Hunter Green, and stamped it on either side of the gate - wanting to create a bit of a hedge. I touched all of the flowers and foliage with my damp brush, then picked up #158 from my palette and painted in the hillsides and grassy foreground. I used it with the small grass image from the Bible Foliage set to add tufts of grass in and around the cobblestones. The path was painted with #992 Sand. I used #565 to add shadows between the slats of the gate, and as texture on the stones. With my scene pretty much complete, I used my fine point Twintone marker in 42 Navy to add definition and shadows to the stones, bushes and gate. I also used the finer point of my #946 to add darker yellow shades to the flowers. I used the #946 to paint the sun and it's glow, and added a wash of #565 to the sky.

My scroll was looking a little grey and gloomy next to my image, so I added in touches of the #946 Gold Ochre, which really brightened the scroll, and I added a little of the 565 and 158 around it to mimic the grass & sky - I quite like the effect. Both images were given an 1/8" soft grey matt, and glued onto a subtly patterned background paper. The sentiment is adhered with pop dots, and positioned about 3/8" above the top edge of the 5 1/2" square card.


Tricia O'Bin - Blog - Instagram - YouTube - Pinterest - Facebook
Hey watercolor fans, welcome to another watercolor weekend over on the Art Impressions Blog. This weekend I decided to get into the Halloween spirit by creating a spooky window. It was so much fun using the water to create some really cool textures.

Card Details

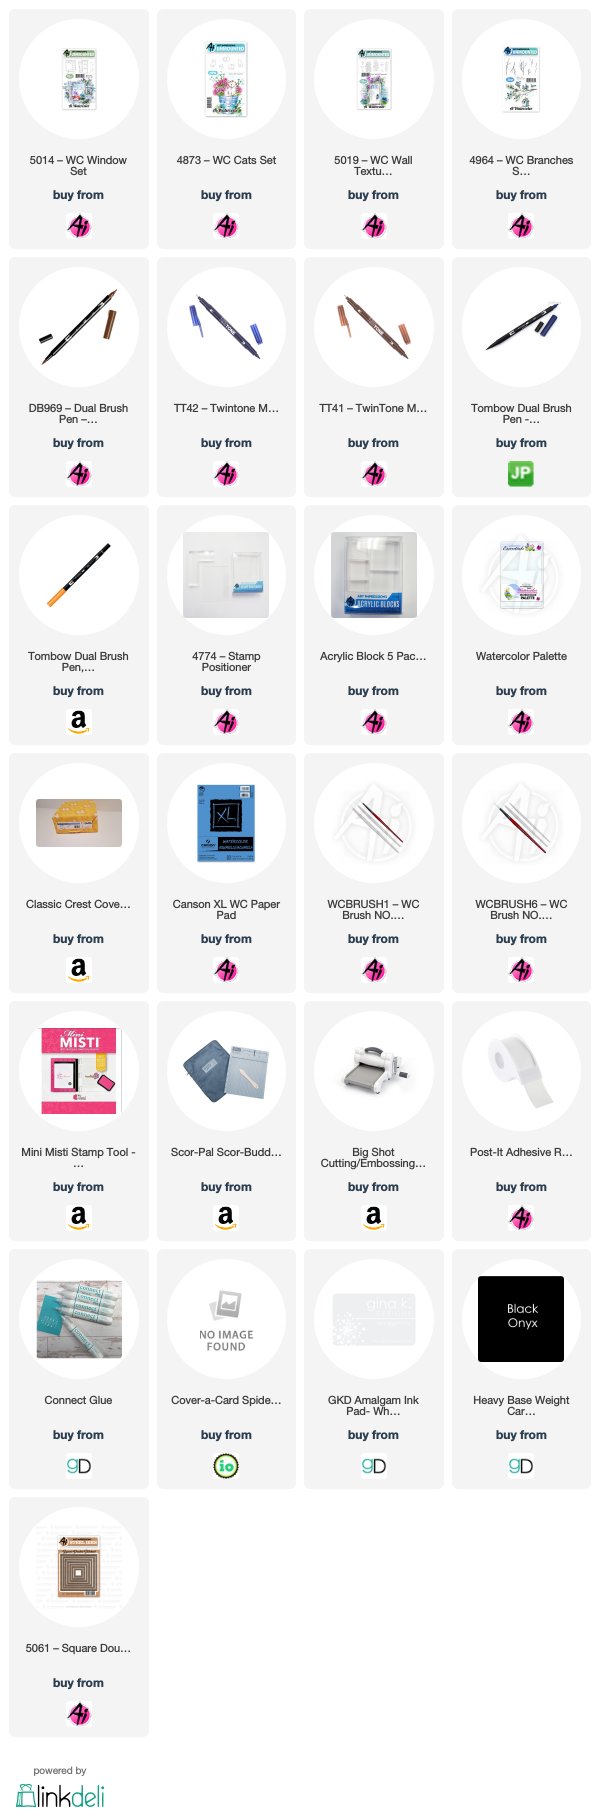
First, I inked up the window with 969 and 569. I stamped it off and then stamped it on the watercolor paper. This window seemed to be perfect for this project as it looked like it was kind of hanging off its hinges. I added more water than I usually do to the hanging part. After it dried, I added some additional color with my Twintouch Brown and Blue to get some additional texture. I pulled the color out of the lines around the window and panes.

In order to place the cat inside of the window, I masked it off using post-it tape, inked it up with black and using my positioner, stamped it in the window opening. I added some additional black to my palette and slowly built the color up to a deep black.

Next, I inked up the brick texture with 969 and some 569, stamped it off and then stamped it to the left and right of the spooky window. I added water between the stones. Once that dried, I added some additional cracks in the background for some additional spookiness (LOL).

I wanted to create a lighted window so I added some 025 in between each pane from my palette. I left a small amount of white space and free handed a ghost into the window. I used my fine point to add some cracks to the window panes.

I inked up one of the branches with black and stamped it to the left of the window, for yes - additional spookiness. To finish it up I drew in some spider webs around the window. Finally, I signed and dated my work!

Card Assembly

I cut my painting out with a stitched square die. Using Connect Glue, I added it a mat, using the next size up stitched square die, from Gina K Designs Black Onyx card stock. Next, I inked up a Spider Web Cover-A-Card stamp from Impression Obsession inked with Gina K Whisper ink and stamped it on the background of my white card base.

I cut the spooky BOO out of the Black Onyx card stock with my Art Impressions alphabet dies. I cut it 4 times and glued them on top of each other to give them a little more depth. I added a spider web on the "O" with a white gel pen.

This was such a fun spooky project and I am so happy that you stopped by today. I hope you will join me and my fellow design team members this weekend. Post your projects on Instagram with #AIWatercolor so we can see your creations.

Have a crafty day!!!


Thanks, team! Such a great variety of projects here! It's amazing what you can create with Ai Watercolor Stamps, and how each stamper develops her own style! Do you watercolor the Art Impressions way? Be sure to let us know, and tag us @artimpressions and #aiwatercolor on Instagram so we can see your cards! Also, you can enter our card challenges for a chance to win Ai stamps!

Happy Stamping!

Thursday, September 5, 2019

NEW Bible Journaling Stamps NOW Available! PLUS, Challenge 265 Watercolor Stamping Week 2!


Bible Journaling

Whether you are a traditional watercolor stamper, or you take your designs to a Bible or journal page, our NEWEST release opens the door to connect your art with the heart! Today, we have FIVE new Bible Journaling sets available at artimpressions.com, each created with the same technique as our Watercolor line of stamps.

Bonnie designed the new Praise Instruments Set with a beautiful harp, lyre, and horn to add to your Psalms or rejoicing scriptures. We have a new Wooden Crosses Set, which can be adorned with your Bible Flower and Bible Foliage Sets and includes three words to fit across the horizontal post. Add areas of text with our Scroll Set and Ornate Frames Set, which fit perfectly in the column of your Journaling Bible. In most columns there are lines, to easily write inside these decorative elements. Also in this new release is a beautiful Butterfly Set with easy open areas to add colorful designs to their fluttering wings.

Watch Bonnie explain her heart behind our Ai Bible Journaling collection and introduce all five sets in the video below. Just getting started? Hop over to our Bible Journaling webpage for a beginners supply list and most importantly, how to use our Watercolor Ground to prep your Bible pages.

Praise Instruments Praise Instruments
Wooden Crosses Wooden Crosses Scrolls Set Scrolls Set Ornate Frames Ornate Frames Butterfly Set Butterfly Set


Let's take a look at what the designers have created today! Remember, you can visit the designer's blog or social media by clicking the pink links by their name - and give them a follow while you're there for more inspiration in your feeds!

Dot Freel - Instagram - Blog - Pinterest

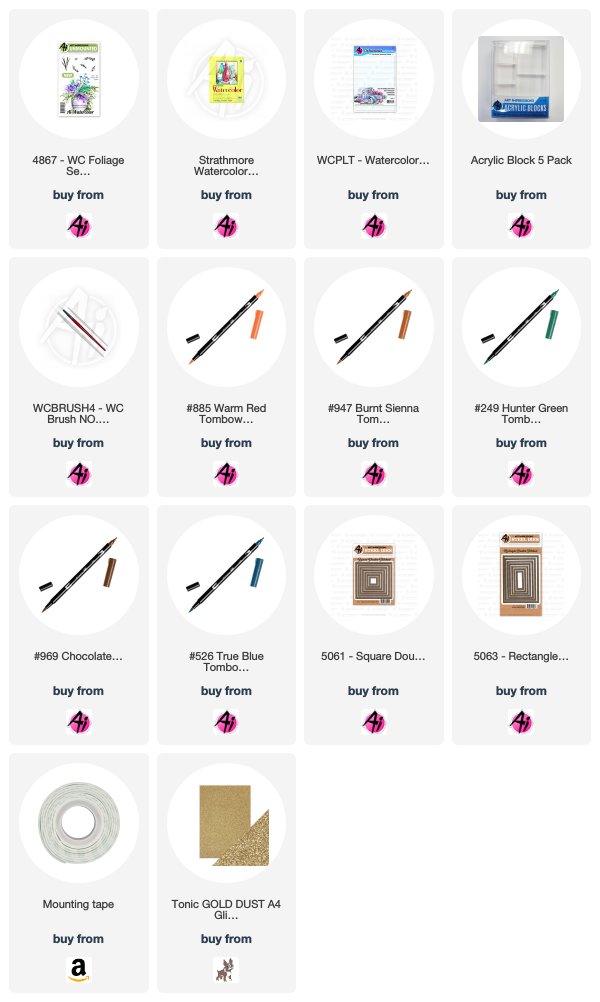
Art Impressions has just released brand new Bible Journaling stamps and you are going to want all of them, like I do! My card was made using the 5199 - Praise Instruments Set. I immediately thought of Christmas when I saw this set. I made this card by stamping the three instruments in 969 after stamping them off on scratch paper first, then I stamped them onto my watercolor paper. I pulled the color out of the lines and watercolored them in 947. I added the pine branches using 4867 - WC Foliage Set and stamping them in 249. I used the fine tip of the 885 to make the berries. I glued gold glitter on the instruments. After that dried, I ran it through my die cutting machine using the 5061 - Square Double Stitched Dies. I used a words stencil with Tim Holtz pumice stone distress ink for the background of the instruments. I typed that sentiment on my computer and cut it out using a die. The white pieces are adhered with foam adhesive over that gold card stock. The background piece was cut with the 5053 - Rectangle Die Set.


Karen Day - Blog - Facebook - Pinterest
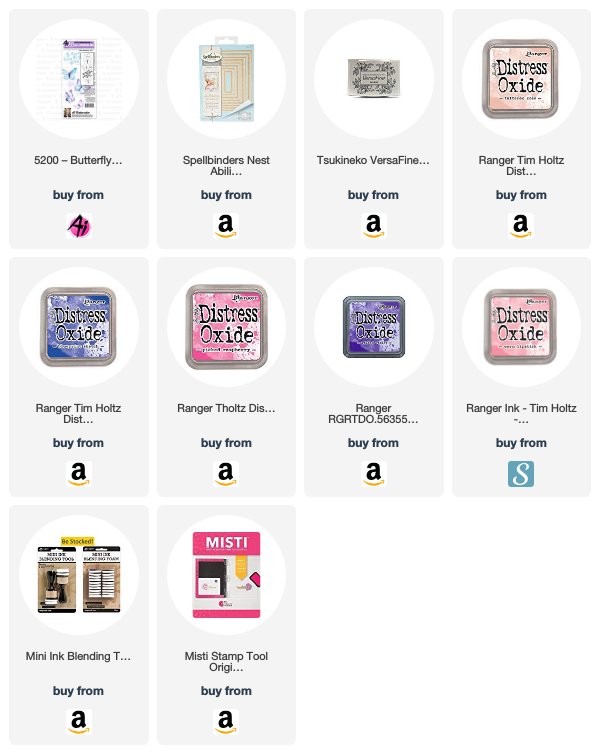
Today I am using 5200 - Butterfly Set. I was aiming for something a little mystical to show off this wonderful sentiment, so I created an ink blended background using five colours of Distress Oxide Inks. I kept the lightest shade in the middle where the sentiment would be, then worked with the two pink/blush shades and finally using the purple and blue around the outside. Using my Misti, I arranged the butterfly stamps around the sentiment, testing out my positioning on some scrap paper. With just the butterflies in the Misti - I dampened all the images and stamped them onto my ink blended background. The nature of Distress Oxide inks is that when you add water, the inks oxidize, so I was left with chalky white butterflies - a bit of an ethereal effect. I then spattered the cardstock with water using a wet paintbrush, which gave it a wonderful speckled look. Positioning the sentiment in the center of my piece, I stamped it in Onyx Black Versafine ink. I used my Hemstitch Rectangle die to cut out the pattern around the rectangle, and mounted it onto black cardstock before adhering it to my card.


Tricia O'Bin - Blog - Instagram - YouTube - Pinterest - Facebook
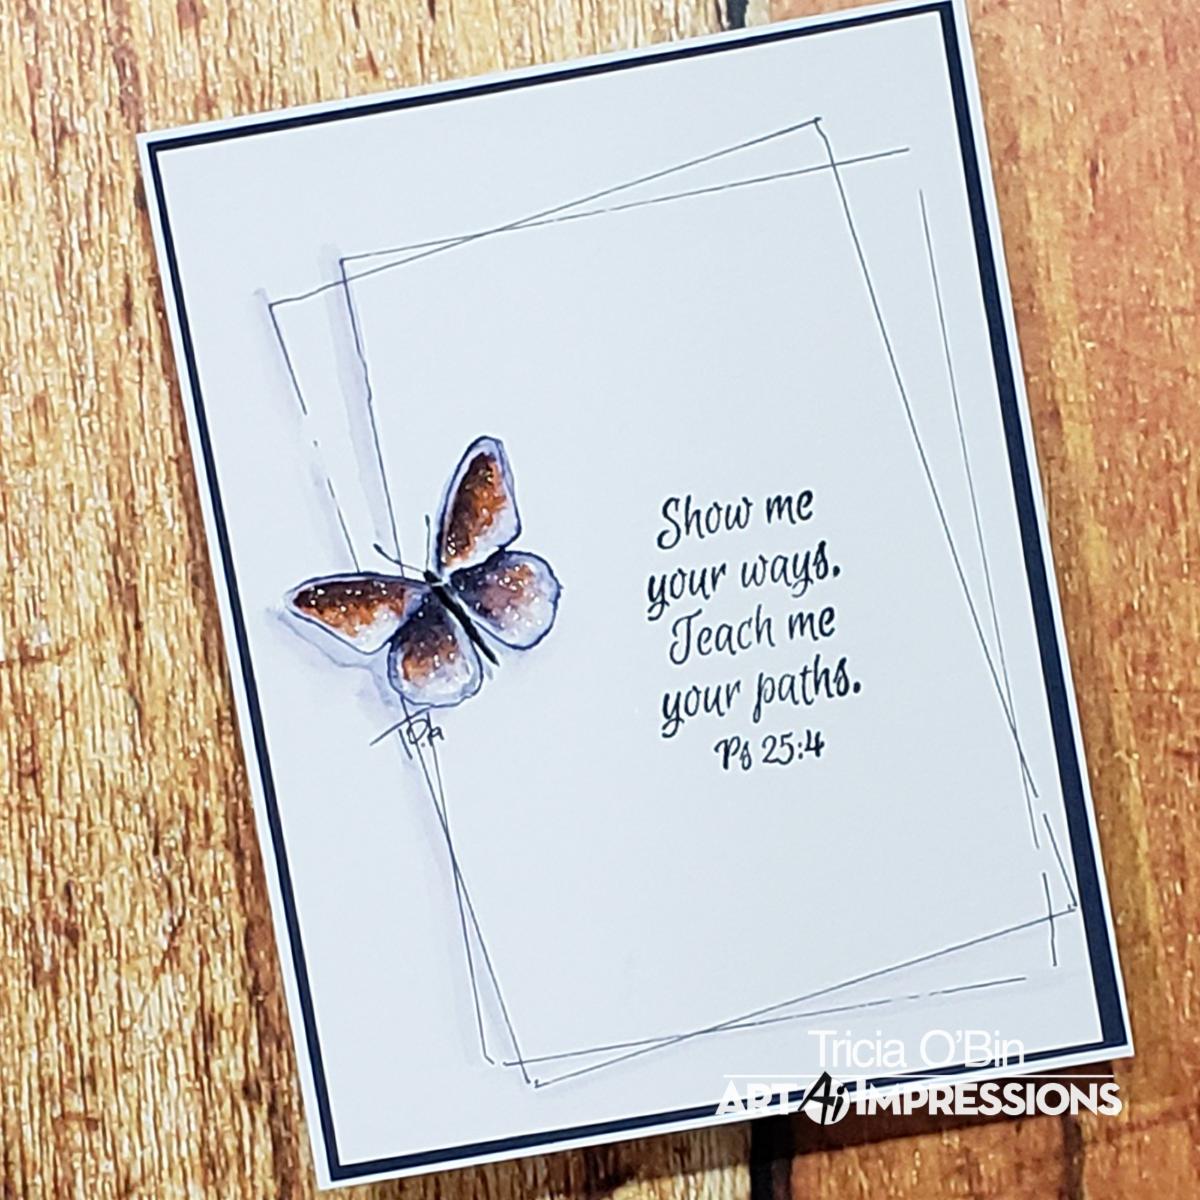
Welcome to the Art Impressions new release of Bible Journaling watercolor stamps. I love this butterfly set, you can really do some really cool stamping with them. I wanted to keep this one simple so I created this card I am calling Butterfly Path.

Watercolor Details

First, I inked the large butterfly from the New Butterfly Set with N25 (body and antennae) and 569. I pulled the color from the lines, focusing on the darkest areas first. This would be between the wings. You can build up the color slowly to create some really cool shadows.

I added some additional color from my palette, I also added 925 which I layered on top of the Navy. Using some watered down 569 from my palette and brushed them in on the left side of the butterfly to create a subtle shadow.

To create the rectangles, I traced the inside of the stitched rectangle dies with an EK Success journaling pen, I moved it slightly and traced it again. I used the same watered down 569 and brushed it along the left side of the lines.

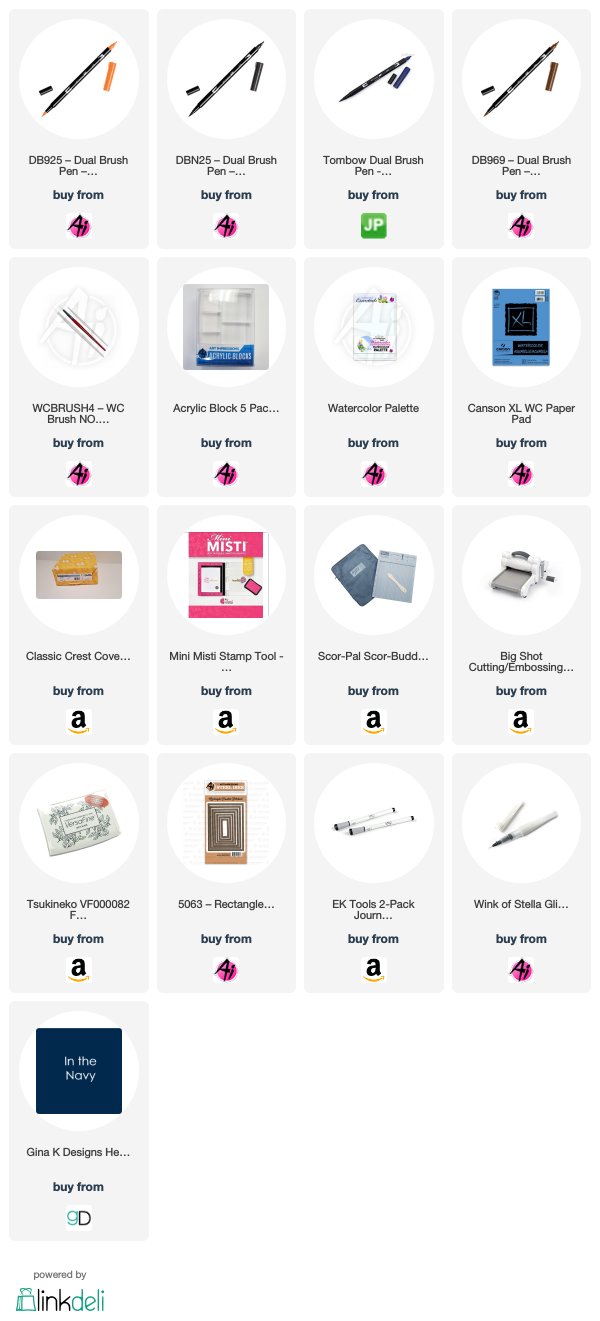
I placed it into the MISTI, I inked up the Show me your ways verse from the Stone Path Set and stamped it in the middle of the page. Lastly, I signed my work. I added some shimmer to the butterfly's wings with my Wink of Stella.

Card Details

I cut the watercolor paper down to 4 x 5 1/4 and a mat from Gina K Designs In The Navy card stock and added it to a Neenah Solar White card base.


I know you are going to love ALL of the new Art Impressions stamp sets. We love seeing your creations! Tag us on Instagram #AIWatercolor.


Thanks, team! Love how you used our Bible Journaling stamps to make beautiful cards! They are so unique and pretty!
For our new challenge, we want to see you try watercoloring stamping! You can watercolor the art impressions way or another watercolor stamping technique, we can't wait to see! You have one more week to enter, so be sure to link up a project or two for a chance to WIN Ai stamps!
Here are the Challenge Rules...
✻ Please make a new card or creation. You can make any crafty item you wish; this is not limited to cards!
✻ Limit two submissions per person. You will receive extra votes if you use Art Impressions stamps!
✻ The Ai Challenge is open to everyone, international submissions are welcome!
✻ Include a link back to the Ai Blog or grab our button on the top right of our sidebar!
✻ Share the Ai love by clicking and commenting your fellow crafters.
✻ Make sure to get your link up by the deadline to enter your creations.
✻ Good luck and happy stamping!

You are invited to the Inlinkz link party!
Click here to enter

Happy Stamping!