Showing posts with label Praise Instruments Set. Show all posts

Saturday, November 16, 2019

Watercolor Weekend Roundup - Sparkle & Shine Holiday Cards!

Hello, Ai Fans! We've been looking forward to Watercolor Weekend all week! Today the team is here with some awesome holiday inspiration! Let's take a look, and don't forget to follow these ladies on their social media platforms in pink next to their name for even more inspiration throughout the week!

Dot Freel - Instagram - Blog - Pinterest
Hello Watercolor Friends,

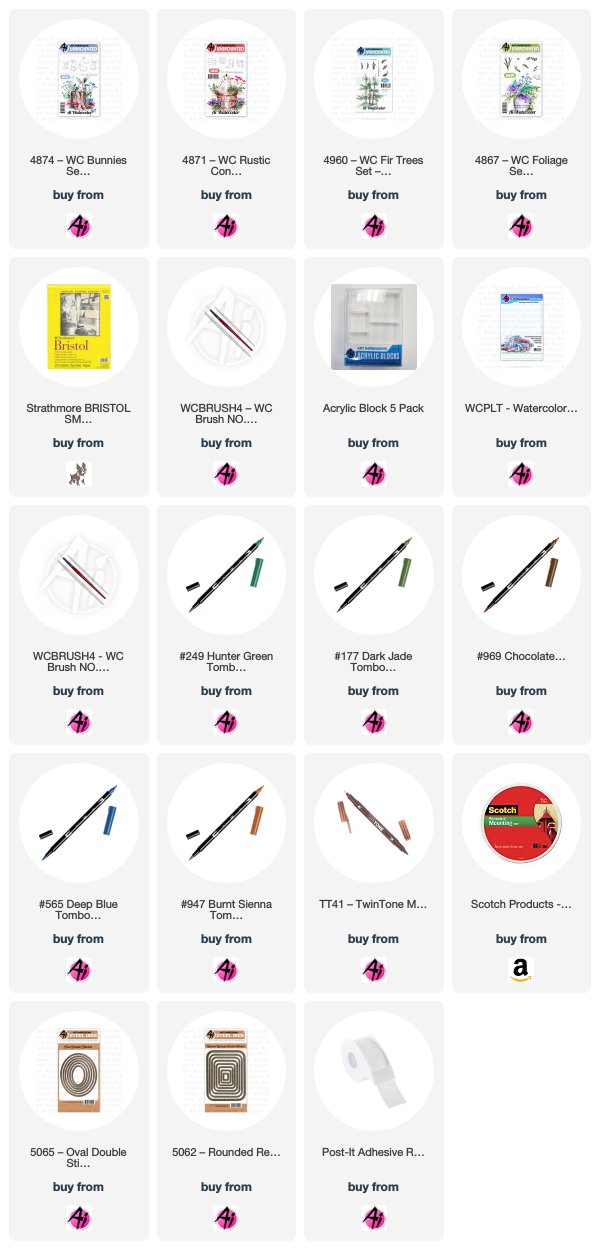
Don't you love Christmas trees? I hope you like my Christmas tree card for the Art Impressions bi-monthly Watercolor Weekend. The first thing I stamped was the bunny in brown 969 from the 4874 - WC Bunny Set and then I stamped it on post-it tape to make a mask. I stamped the barrel from the 4871 - WC Rustic Container Set after inking it in blue 565 and then brown 969. I watercolored the bands with N25 on the palette and the wood parts in 947. I watercolored the inside of the ears of the bunny in 772 and then I took the fine tip of the brown Tombow TwinTone to the eyes, nose and other areas that needed to be darker. I stamped the tree trunk from the 4960 - WC Fir Trees Set in 969 and the branches in two greens, 177 and 249. I dabbed all over the tree with a wet brush and then stamped more branches and repeated my process to really fill in the tree. No Charlie Brown trees for me, I like them fat and full. I stamped a branch from the 4964 - WC Branches Set with the 969 and then added leaves in 177 from the 4867 - WC Foliage Set 2. I dabbed at the leaves with a wet brush and then I took the fine tip of the red 847 to make the berries. I watercolored with 565 for the snow on the ground and the sky. I dabbed circles of glossy accents all over the tree and then I sprinkled red glitter on them. After I used a hot gun to dry the glossy accents, I cut out the scene with the largest die from the 5065 - Oval Double Stitched Die Set. I cut out the background piece of white glitter paper with the largest die from the 5062 Rounded Rectangle Die and then put it all together on an A2 card base.


Karen Day - Blog - Facebook - Pinterest
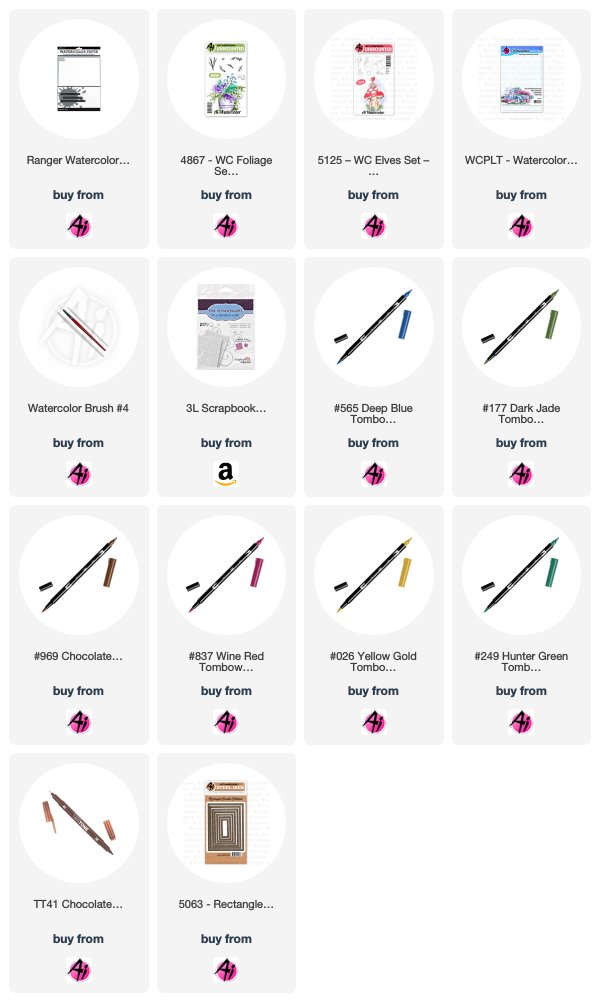
There was a lot of pre-planning on scrap paper for this one! I wanted to use all four elves from the 5125-WC Elves Set, so I played around with positioning based on their poses and the angle of how their heads were tilted, until I got something that I could work with. I also wanted them to be in and around the presents, so had to figure out the shape of the parcels, while still leaving room for the branch to hang down. I positioned all four elves on the same block to ensure they were placed correctly, and coloured them first in Tombow #565 Deep Blue, and then #969 Chocolate - stamped them off on scrap paper and then onto my Ranger Watercolor Paper. With a pencil and ruler, I drew in the presents, and lightly drew a line where I wanted the branch to be. 
The elves are painted with #837 Wine Red, #177 Dark Jade and #969 for their shoes. A touch of #850 Flesh for their skin tone, and #026 Yellow Gold and #969 Chocolate for their hair. The presents are painted with #026, #565, #969 and #N65 Cool Grey. I layered the colour to get the darker shades on some sides of the boxes, and went in with the fine points of the markers to draw the crisp edges of the boxes in. I dove into my Christmas wrap to dig out a bow, and loosely sketched it in on the large present, painting it in with #565 Deep Blue. With the pine bough from 4867 - WC Foliage Set 2 New, and my #249 Hunter Green marker, I repeatedly stamped it to create the tree branch. After dabbing it lightly with my damp #1 paintbrush, I went back in with the fine point to draw in a few needles, and darken a few areas. I picked up #565 from my palette, and painted a faint blue wash in the background, and also used it to add shadows in and around the elves & presents. 
Since this paper has a fair bit of texture, some of the definition of the elves had been lost in the stamping, so I used my TT41 Chocolate TwinTone Marker to redraw the outline of the elves. The image is die cut with one of the 5063 - Rectangle A2 Double Stitched Dies. I wanted a softer edge to my scene, so I used blending brushes with two shades of Distress Oxide Inks (Evergreen Bough & Blueprint Sketch) to shade the outside of my rectangle giving it a bit of a soft focused look. I matted it with some dark blue cardstock and adhere it with pop dots onto my plaid card base, then wrapped it with an organdy bow. A few sparkles liven it up a little!

Tricia O'Bin - Blog - Instagram - YouTube - Pinterest - Facebook
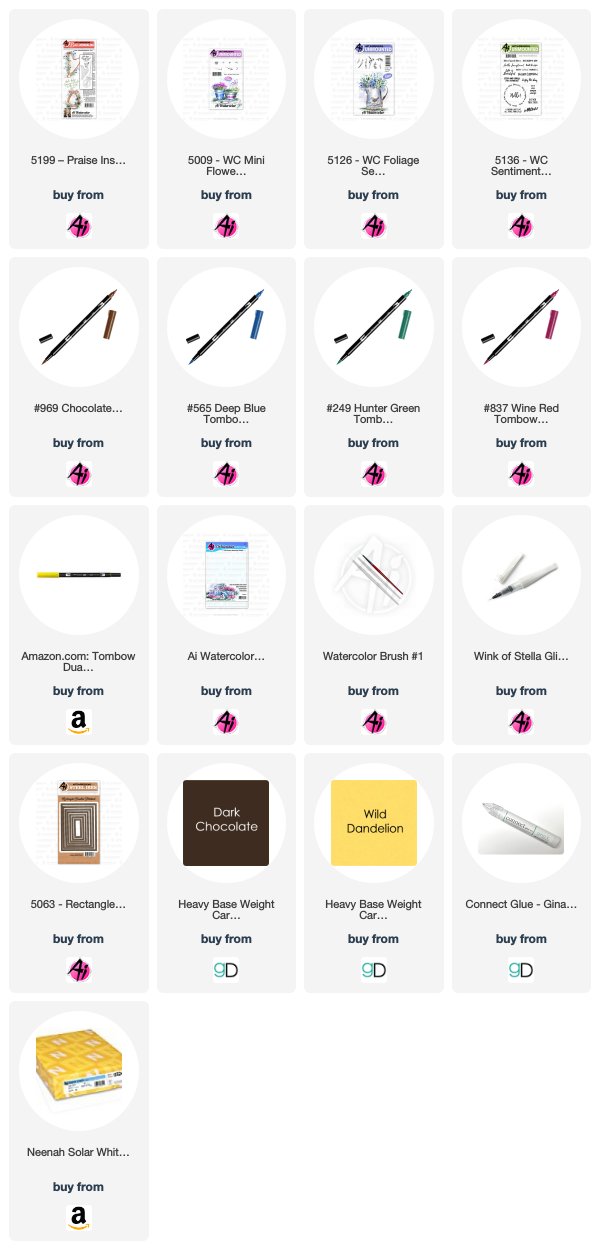
Hey watercolor fans! Welcome to another Watercolor Weekend. With Thanksgiving coming up soon I thought I would do a simple Blessed & Grateful Harp. I love the elegance of the harp. I just love the shine that the Wink of Stella adds. I hope you have a wonderful Thanksgiving and feel as blessed as I do.

Project details

I started out by inking the harp with Yellow. Then, using a light hand, I i
nked it with the Brown sporadically around the stamp. I wanted to create a mixture of color without losing the Yellow. The stamp is pretty delicate, so I decided to use my #1 brush to pull the color out of the lines. I also used it to pull the color slightly out of the strings, making sure to hold my brush vertical to keep the lines thin. I added some additional color from my palette.

Next, I inked the small vine from the Foliage Set 4 with the Green. I wanted it to be more of a Hunter Green so I used 249 but any green will work. I added water to the leaves. I knew that I was going to use red and I didn't want them to mix and make brown. I inked the small dots from the Mini Flower Set with Red. I added water to soften the blooms.

I added some Brown mixed with Blue to the bottom of the harp to ground it. To create some additional depth and interest, I added some blue to the background. To make the harp look like gold, I added some Wink of Stella to it. Lastly, I signed and dated my painting. 

That's it! Amazing right. You can create some quick and easy paintings that come out amazing.

To create the card I cut it out with a rectangle stitched die. I added it to a mat created from Gina K Designs Wild Dandelion cardstock and one created with Dark Chocolate cardstock. I added both of these to a Neenah Solar White card base.

I am so happy you stopped by and I hope you have been inspired by all the awesome projects. Tag us on Instagram so we can check out your fantastic projects.

Have a blessed & crafty day!

Thanks, team! What amazing holiday projects! We love the touches of sparkle added to your projects to make them pop and display more holiday cheer! Did you enjoy these projects? Let us know in the comments below! Thanks for stopping by this Saturday, and have an awesome Watercolor Weekend!

Happy Stamping!

Thursday, September 5, 2019

NEW Bible Journaling Stamps NOW Available! PLUS, Challenge 265 Watercolor Stamping Week 2!


Bible Journaling

Whether you are a traditional watercolor stamper, or you take your designs to a Bible or journal page, our NEWEST release opens the door to connect your art with the heart! Today, we have FIVE new Bible Journaling sets available at artimpressions.com, each created with the same technique as our Watercolor line of stamps.

Bonnie designed the new Praise Instruments Set with a beautiful harp, lyre, and horn to add to your Psalms or rejoicing scriptures. We have a new Wooden Crosses Set, which can be adorned with your Bible Flower and Bible Foliage Sets and includes three words to fit across the horizontal post. Add areas of text with our Scroll Set and Ornate Frames Set, which fit perfectly in the column of your Journaling Bible. In most columns there are lines, to easily write inside these decorative elements. Also in this new release is a beautiful Butterfly Set with easy open areas to add colorful designs to their fluttering wings.

Watch Bonnie explain her heart behind our Ai Bible Journaling collection and introduce all five sets in the video below. Just getting started? Hop over to our Bible Journaling webpage for a beginners supply list and most importantly, how to use our Watercolor Ground to prep your Bible pages.

Praise Instruments Praise Instruments
Wooden Crosses Wooden Crosses Scrolls Set Scrolls Set Ornate Frames Ornate Frames Butterfly Set Butterfly Set


Let's take a look at what the designers have created today! Remember, you can visit the designer's blog or social media by clicking the pink links by their name - and give them a follow while you're there for more inspiration in your feeds!

Dot Freel - Instagram - Blog - Pinterest

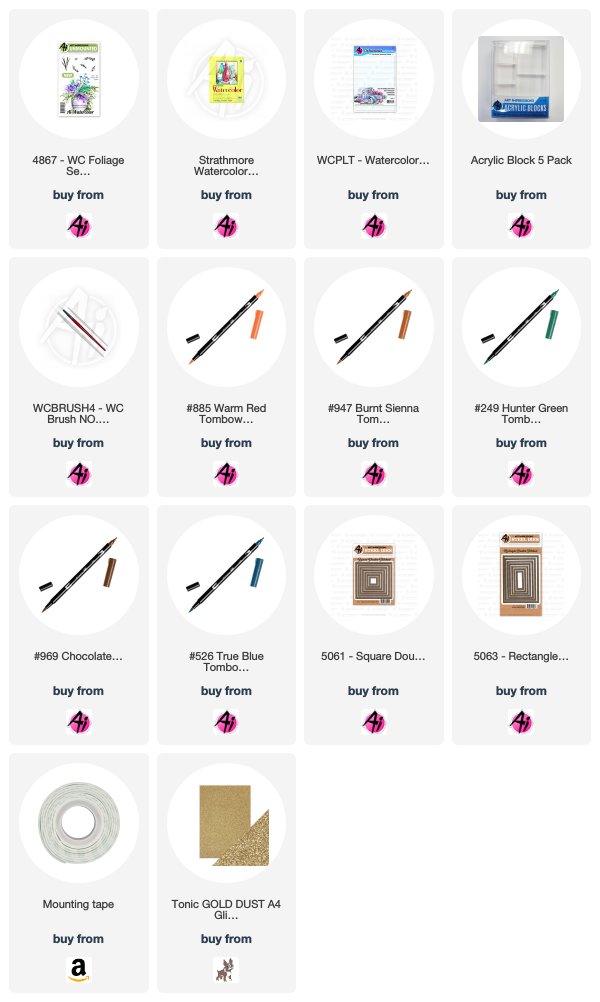
Art Impressions has just released brand new Bible Journaling stamps and you are going to want all of them, like I do! My card was made using the 5199 - Praise Instruments Set. I immediately thought of Christmas when I saw this set. I made this card by stamping the three instruments in 969 after stamping them off on scratch paper first, then I stamped them onto my watercolor paper. I pulled the color out of the lines and watercolored them in 947. I added the pine branches using 4867 - WC Foliage Set and stamping them in 249. I used the fine tip of the 885 to make the berries. I glued gold glitter on the instruments. After that dried, I ran it through my die cutting machine using the 5061 - Square Double Stitched Dies. I used a words stencil with Tim Holtz pumice stone distress ink for the background of the instruments. I typed that sentiment on my computer and cut it out using a die. The white pieces are adhered with foam adhesive over that gold card stock. The background piece was cut with the 5053 - Rectangle Die Set.


Karen Day - Blog - Facebook - Pinterest
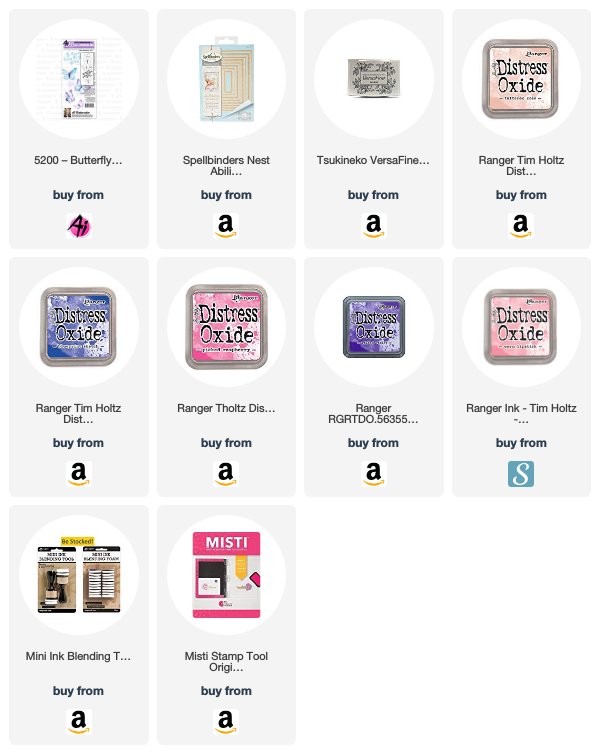
Today I am using 5200 - Butterfly Set. I was aiming for something a little mystical to show off this wonderful sentiment, so I created an ink blended background using five colours of Distress Oxide Inks. I kept the lightest shade in the middle where the sentiment would be, then worked with the two pink/blush shades and finally using the purple and blue around the outside. Using my Misti, I arranged the butterfly stamps around the sentiment, testing out my positioning on some scrap paper. With just the butterflies in the Misti - I dampened all the images and stamped them onto my ink blended background. The nature of Distress Oxide inks is that when you add water, the inks oxidize, so I was left with chalky white butterflies - a bit of an ethereal effect. I then spattered the cardstock with water using a wet paintbrush, which gave it a wonderful speckled look. Positioning the sentiment in the center of my piece, I stamped it in Onyx Black Versafine ink. I used my Hemstitch Rectangle die to cut out the pattern around the rectangle, and mounted it onto black cardstock before adhering it to my card.


Tricia O'Bin - Blog - Instagram - YouTube - Pinterest - Facebook
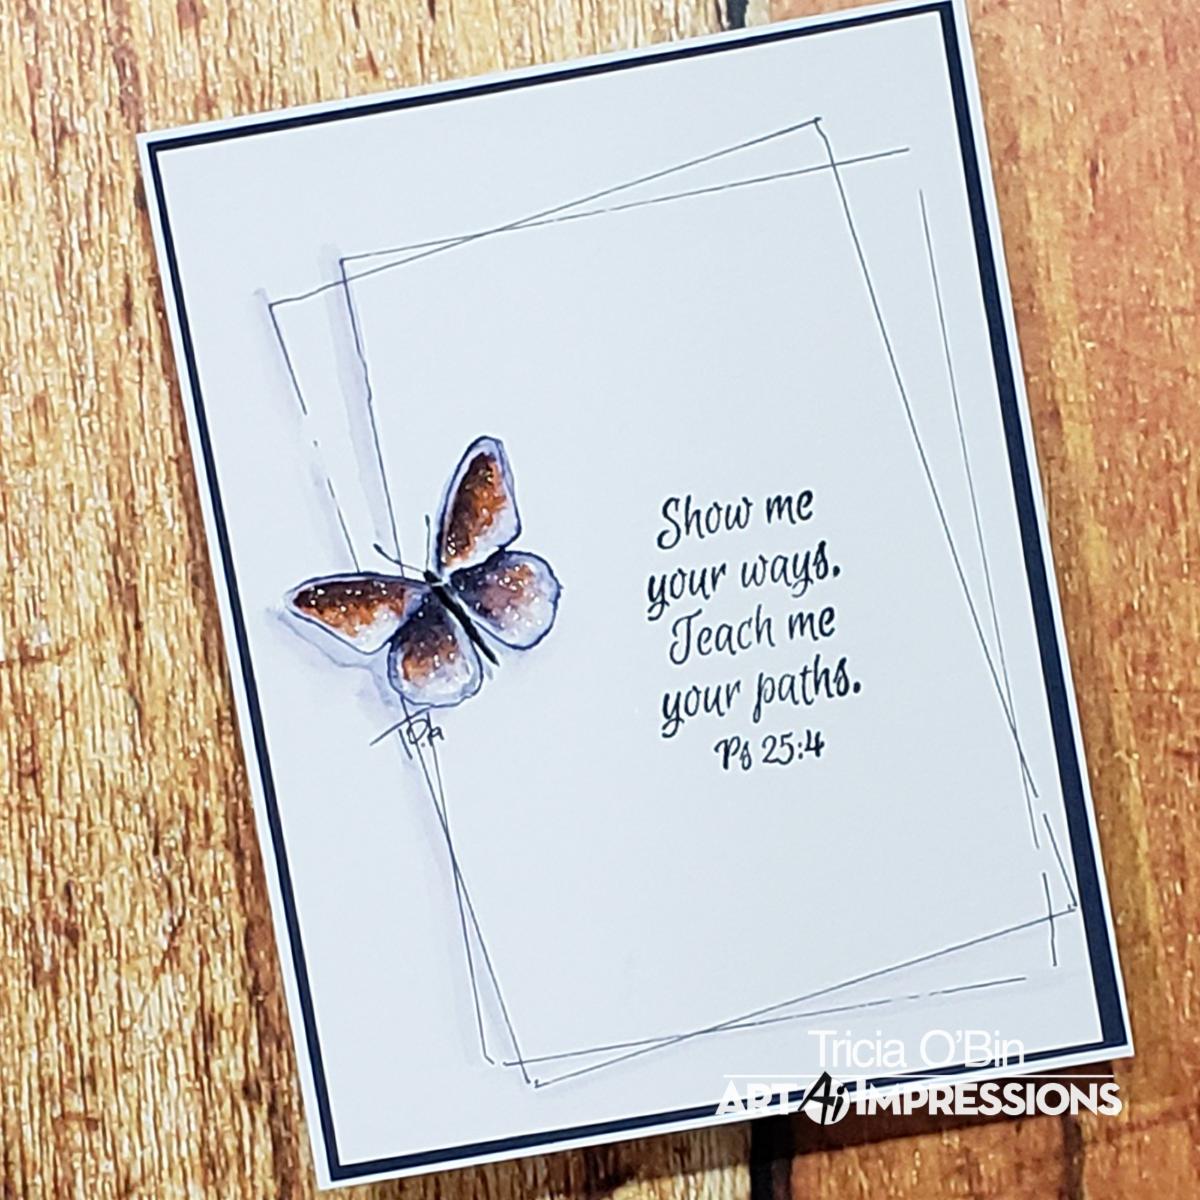
Welcome to the Art Impressions new release of Bible Journaling watercolor stamps. I love this butterfly set, you can really do some really cool stamping with them. I wanted to keep this one simple so I created this card I am calling Butterfly Path.

Watercolor Details

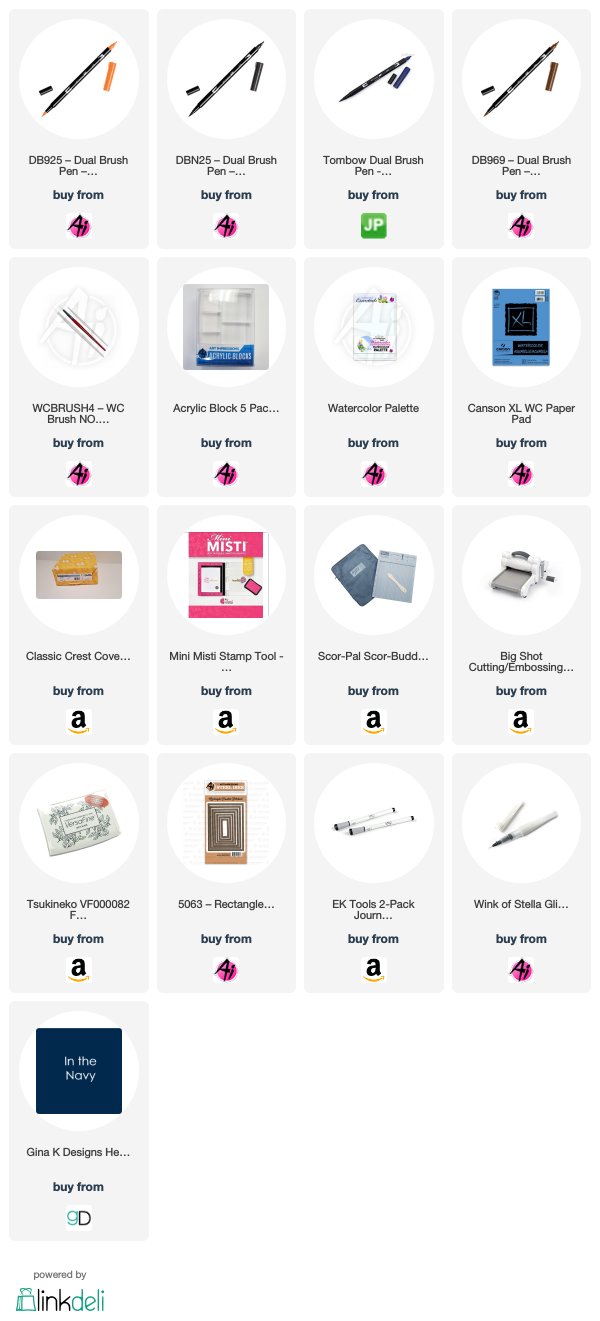
First, I inked the large butterfly from the New Butterfly Set with N25 (body and antennae) and 569. I pulled the color from the lines, focusing on the darkest areas first. This would be between the wings. You can build up the color slowly to create some really cool shadows.

I added some additional color from my palette, I also added 925 which I layered on top of the Navy. Using some watered down 569 from my palette and brushed them in on the left side of the butterfly to create a subtle shadow.

To create the rectangles, I traced the inside of the stitched rectangle dies with an EK Success journaling pen, I moved it slightly and traced it again. I used the same watered down 569 and brushed it along the left side of the lines.

I placed it into the MISTI, I inked up the Show me your ways verse from the Stone Path Set and stamped it in the middle of the page. Lastly, I signed my work. I added some shimmer to the butterfly's wings with my Wink of Stella.

Card Details

I cut the watercolor paper down to 4 x 5 1/4 and a mat from Gina K Designs In The Navy card stock and added it to a Neenah Solar White card base.


I know you are going to love ALL of the new Art Impressions stamp sets. We love seeing your creations! Tag us on Instagram #AIWatercolor.


Thanks, team! Love how you used our Bible Journaling stamps to make beautiful cards! They are so unique and pretty!
For our new challenge, we want to see you try watercoloring stamping! You can watercolor the art impressions way or another watercolor stamping technique, we can't wait to see! You have one more week to enter, so be sure to link up a project or two for a chance to WIN Ai stamps!

Here are the Challenge Rules...
✻ Please make a new card or creation. You can make any crafty item you wish; this is not limited to cards!
✻ Limit two submissions per person. You will receive extra votes if you use Art Impressions stamps!
✻ The Ai Challenge is open to everyone, international submissions are welcome!
✻ Include a link back to the Ai Blog or grab our button on the top right of our sidebar!
✻ Share the Ai love by clicking and commenting your fellow crafters.
✻ Make sure to get your link up by the deadline to enter your creations.
✻ Good luck and happy stamping!

You are invited to the Inlinkz link party!
Click here to enter

Happy Stamping!