Hello Ai fans!

This week Art Impressions launched 4 new watercolor stamp sets that you won't want to miss!
These are perfect for watercolor or even "regular" card scenes.
Just click on a photo to be taken to the new set.
Take a look below to see what the fabulous Watercolor Design Team has created with them.
Hello Ai Watercolor fans!
I have three of the new sets incorporated into my project today.
I stamped the largest image from 5465 - WC Cliffs Set on my Canson XL Watercolor Paper using #969/565 Tombow Dual Brush Markers, then did the same with my image from 5466 - WC Lighthouse Set. Using the leaves from 5372 - WC Mini Foliage, I added some trees in #177/249, and added a wash of green to the grass area. With #493, I painted in the line of the water, and a wash of it beside the cliffs, and then dabbed some onto the sky to define where my clouds would be. I used #N55 and #565 to create my stormy sky, and also painted them into the crevices of the cliff. To warm up the cliffs and rocks, I added #992 and #969. I used the grey and blue to paint in shadows on the lighthouse and cottage, and to darken the windows, and then painted in #856 mixed with a little #969 to make a duller red for the roofs and chimneys.

I added #528 and #565 to the water to give it some deeper tones, and then with my #N55, I added the seagulls from 5473 - WC Seagull Set to the sky. This makes a great masculine card!

Hi watercolor fans!
We have another great release for you. I created this Peaceful Seagull scene for you today!

Step 1 : The Posts
Ink the large post with 969, I added some 569 to the ropes. I didn’t stamp it off because I wanted it to be really dark. Next, stamp the smaller posts behind and to the right of the first. Pull the color out of the lines and add a little more color to the darkest areas.
Step 2: The Seagull
I inked up the seagull with 569 and 969, and stamped it off. Using my positioner, I placed him on top of the post. I pulled the color out of the lines just where the shadows would be (he’s white 😊).
Step 3: The Water
Using a few different blues, I layered the water. To create waves I left some areas white, darkening the blue under them. You can use squiggle lines to create ripples. I added some brown to the right bottoms of the posts for a reflection.
Step 4: The Sky
Using a really light wash of blue, just push the color around to create clouds. Continue to add darker colors in areas to create depth.
Lastly, sign and date.
I am so in love with this new release. It’s going to be a stellar card making year! Thank you so much for stopping by today, I hope you have a great weekend. Remember to tag us on social media so we can see what you come up with! Happy crafting!

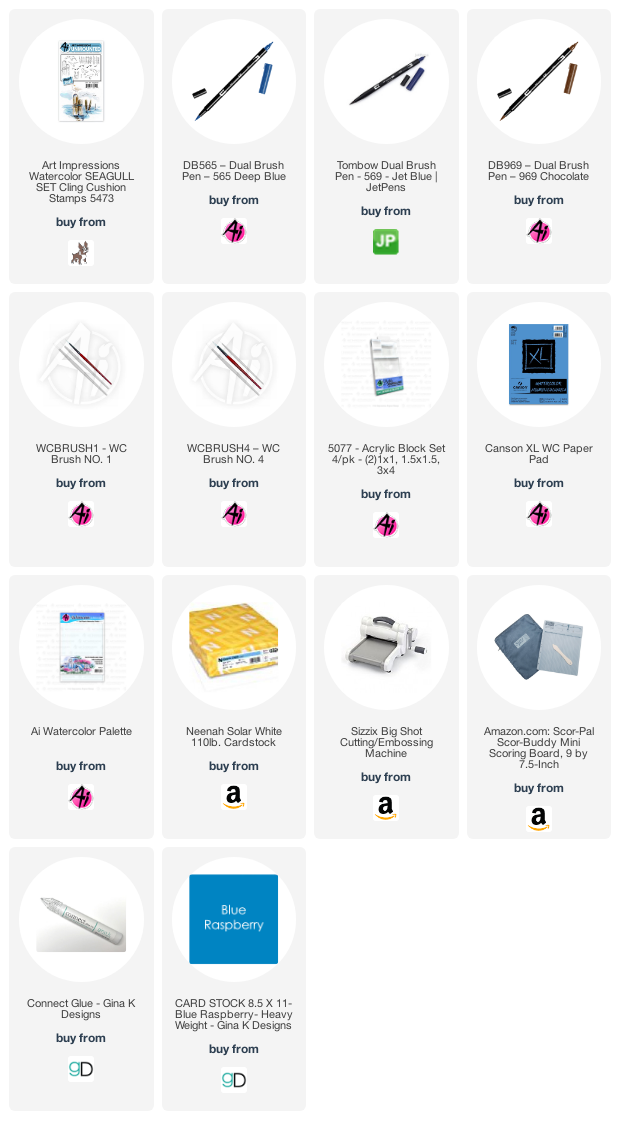
Supplies
Also, in case you missed the announcement there is a very special limited edition stamp set created by Bonnie at Simon Says Stamp. Don't miss out on the incredibly cute Christmas Train set. Once these sell out they're gone forever! Click on the photo to be taken to the set.
Click
HERE to see all of the Design Teams amazing cards with this set.
We hope you all enjoyed these fabulous cards!
If you're inspired to try one of these out or create your own make
sure to use #artimpressions so we can see what you make!
Have a great weekend and happy stamping!