Showing posts with label 5136 WC Sentiment Set 2. Show all posts

Sunday, August 11, 2019

Sleepy Little Elf! by Reneé Matarese

Hello Ai fans!

Today I'm sharing a pretty little scene I created using 


Do you ever layer your stamps?  If not, it's easier than you think.
I wanted the elf to be asleep in front of the big mushroom and for the smaller mushroom to be peeking out from behind the large one.
First I stamped the elf on my paper and then on scrap paper. I cut the elf out of the scrap paper and placed it over where I stamped him. Then when I stamped the mushroom it looks like it's behind him.


After that I masked off the large mushroom and stamped the small one.
Now it looks like the small one is behind that one.
Super simple and it allows you to build scenes.


Then you just watercolor away!


If you like this card then peek in here next week. I created an even larger scene using all the elves and mushrooms from this set (6 stamps in all) as well as some stamps from other sets.


Copics used:
E00, E25

Arteza Real Brush Pens:
101, 115, 117, 118, 121, 127, 137, 146, 169, 173, 177

Saturday, August 3, 2019

Watercolor Weekend Roundup - The Great Outdoors!

Hello, Ai Watercolor Fans! We hope you are enjoying your summer (or winter, to our friends in the southern hemisphere)! Dot, Tricia and Karen are here with a NEW watercolor roundup of beautiful projects! We LOVE how each watercolor artist develops their own style. Let's take a look at these unique projects featuring beautiful outdoors scenes!

Dot Freel - Instagram - Blog - Pinterest
Hello Friends,

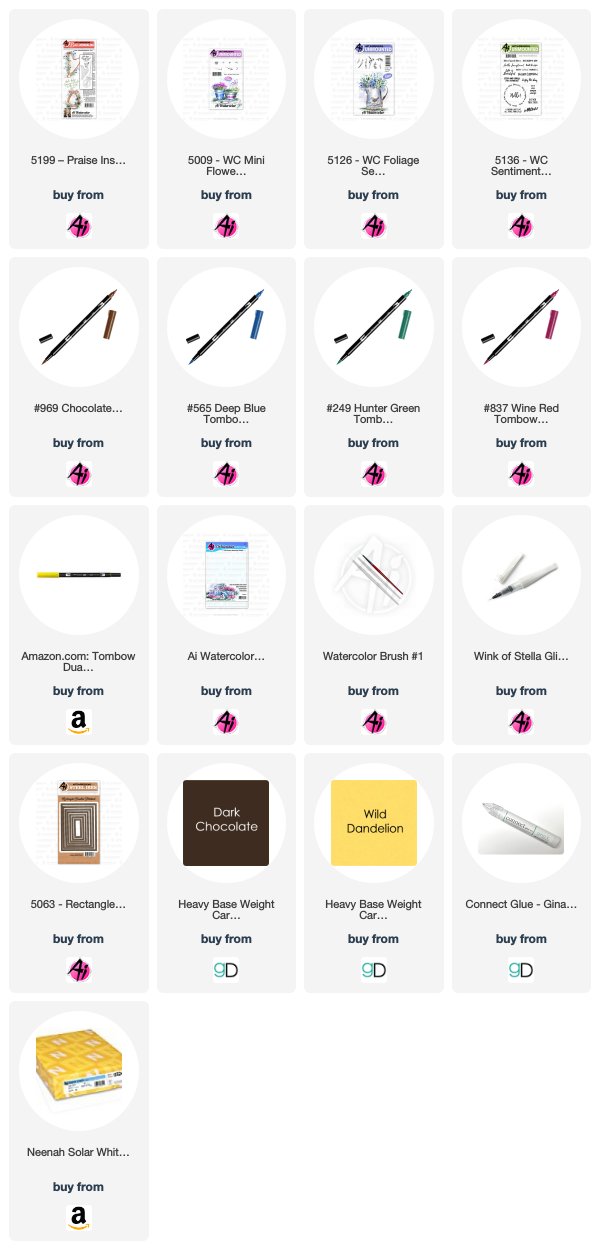
I made this floral card using Art Impression's stamps for the Watercolor Weekend. First I stamped the two pots from the 4870 - WC Ornate Container Set after inking them in 969 and then 565 and stamping them off on a piece of scratch paper. I then pulled the color out of the lines. I used No. 93 aubergine to watercolor the decorations on the pots. I placed a mask on the one pot, then used the stamp positioner to stamp the stool from the 5055 - WC Sitting Places Set (using the 969 then 565) under the pot. Next, I watercolored the stool in with No. 105 lt. teal. I used 177 and 249 to stamp in the greenery from the 4867 - WC Foliage Set 2 and 5126 - Foliage Set 4. I used the 565 to stamp in the blue foliage. I used No. 93 to stamp in the flowers from the 4052 - Flower Set and then touched them with a wet brush. I stamped the branches in 969 from the 4964 - WC Branches Set. I stamped the small grass in 177 from the 4051 - Foliage Set around the pot and stool and the pulled the color up and out. I added shadows and sky with 565 and then green 177 from the palette. I took a Sakura Gelly Roll pen and added glitter which you can't see in the first picture but you can see it in this picture below. The glitter adds the most beautiful touch! Try it, if you haven't already. I cut out my image with the 5062 - Rounded Corner Rectangle die.


Karen Day - Blog - Facebook - Pinterest
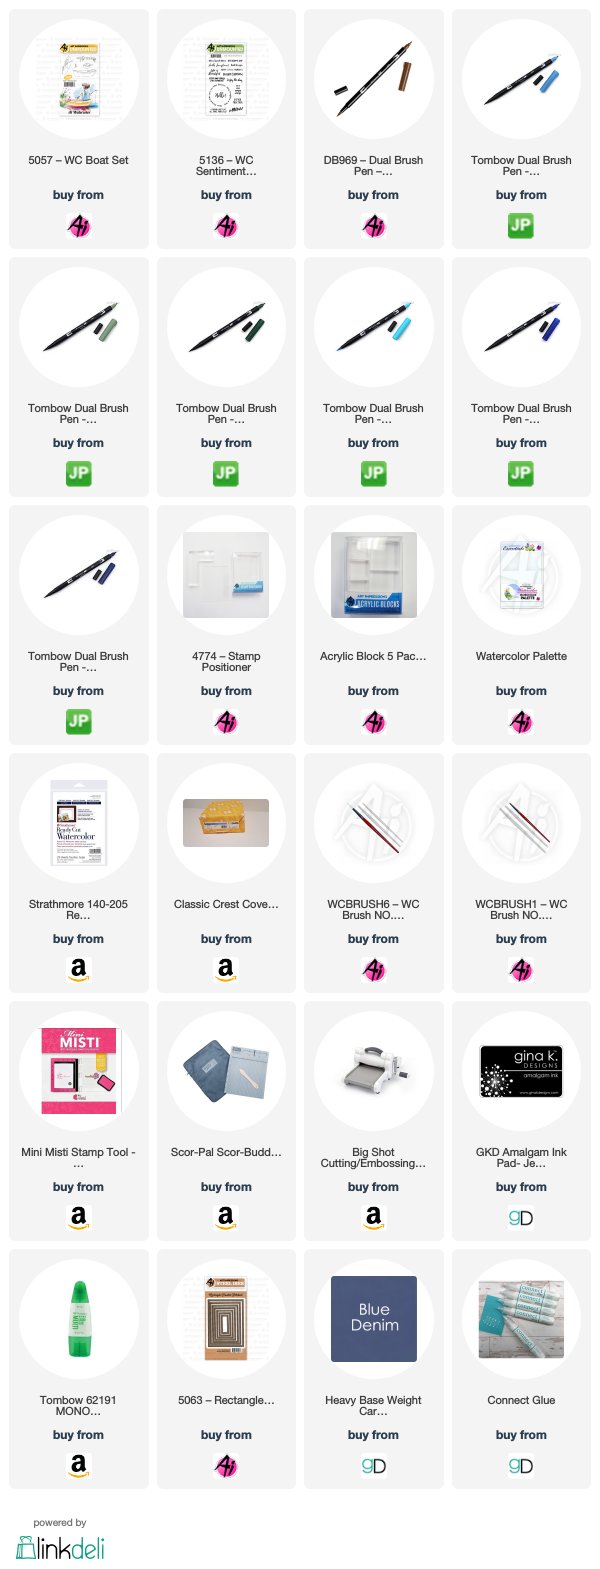
Using a larger block, I positioned both my cabin from 4962 -WC Rustic Cabins Set and the rowboat from 5057 - WC Boat Set, as this allows me to determine the right placement. I coloured them with my #969 Chocolate Tombow marker, then pulled out the colour with my damp #1 brush (this smaller paintbrush is amazing for scenes like this that are on a smaller scale!). Using a post-it note, I masked the cabin and coloured up both trees from the 5010 - WC Tree Set 1 with #249 Hunter Green. I did some second generation stamping behind the cabin to suggest some trees in the background. Now I took my pencil and sketched in the hills, shoreline, mountains and lake. With #992 Sand, I painted in the pathway and sandy shore, and used it to paint the boards and roof of the cabin. With the tiny greenery in 5009 - WC Mini Flower Set and my #158 Dark Olive marker, I added some bushes around the cabin, and tufts of grass with the small grass from 4051 - WC Foliage Set 1. With a wash of #158, I painted in the grassy foreground. I used the tiny cluster of rocks from the 5128 - As The Deer Set from the Bible Journaling collection, and my #N57 Warm Grey to stamp different clusters of rocks along the shore. I scribbled #565 Deep Blue onto my Palette, and picked it up with my #4 paintbrush, painting in the mountains and water. I went in with a second darker layer of the 565 to add shadows around the rocks, boat, cabin and trees to give a little depth to my scene. Finally, I mixed the #249(green) and #565(blue) to create the shade used to paint the far away line of trees. I used #837 Wine Red to add colour to the boat & chimney, with a touch of #991 Light Ochre on the oars. With a wash of #451 Sky Blue I painted in the sky. To finish, I used my sewing machine to run a line of stitching around the scene, matted it on grey, and adhered it to my base with pop dots.

Tricia O'Bin - Blog - Instagram - YouTube - Pinterest - Facebook

Hi Watercolor Fans! Welcome back to Art Impressions watercolor weekend. For my project this week, I was inspired by a painting I had seen with boats. I knew I could re-create it with my watercolor stamps, so that is just what I did. Let me tell you how I created my Simple Boats project.

Simple Boats Tutorial
1. I used the small boat from the 5057 – WC Boat Set and inked it up with Chocolate. I stamped it off a couple of times so I could get a really light impression. I wanted this boat to be really light so it would appear to be further away from the other boats. Using my stamp positioner, I positioned it in the upper right corner.
2. With my brush, I pulled the color out of the lines. I added some additional Chocolate from my palette to the areas I wanted to be the darkest.
3. Next I inked the medium boat with Chocolate. I stamped it off once to get a light impression but not a light as the first boat. I decided to use my positioner so I could get them exactly where I wanted them. I added this boat in the middle to the left of my paper. I pulled the color out of the lines and again added some additional Chocolate to the darkest areas. I also added a darker shadow under the oars.
4. I inked up the larger boat with Chocolate and wiped off the bottom. I wanted it to look like it was sitting in the water. I stamped it and pulled the color out of the lines. I added Chocolate to the darkest areas. 
5. I added True Blue, Asparagus, Hunter Green, Process Blue, Deep Blue and Jet Blue to my palette. I added color to each of the boats. I brushed in the water by building up the color slowly making sure to leave lots of white space. I made sure I used softer colors in the background gradually getting darker as I moved toward the front. I added darker shadows beneath each of the boats.
6. I added darker lines at the top where the horizon line would be. I added the mountain with Jet Blue. A light wash of Process Blue to create some clouds. Last but not least, I signed it
7. Using my MISTI, I stamped the sentiment “It’s the simple things” using Gina K Designs Amalgam Ink.
8. I cut it out using the Rectangle Stitched Dies. I added it to Gina K Designs Blue Denim card stock and adhered it to a Neenah Solar White card base.

This was really a lot of fun to put together. I hope you will challenge yourself to recreate something beautiful you see.


Thanks, team! We love Watercolor Weekends - they just get us so excited to create! Share your watercolor creations with us on Facebook or Instagram with #aistamps!

Happy Stamping!

Sunday, July 28, 2019

Joyful Christmas in July by Reneé Matarese

Hello Ai fans!

Today I'm sharing a Christmas in July card with you. I got it in just under the wire, huh!

I've used images or verses from 3 sets on my card.

4788 – Tropical Christmas Set
4937 – Santa Paws Set
5136 – WC Sentiment Set 2


 This card came about thanks to a FB post from a teacher friend.
She is planning to use postcards to teach her kids about geography this year. She asked for anyone traveling to send her class a postcard from wherever they are.
I asked her if the North Pole counted...lol!


I made a normal card with the same layout after making the postcard which you can see below.  This is the inside of the regular card.


This is the postcard that I made for her class.


Here's the back of it with a little message that Santa sent to the kids.


Copics used:
E0000, E00, E25, E34, E42, E43, E93, E99
R27, R59, R83, R85, R89
BG01, BG70, YG01, YG09, YG13, YG17,
C3, N1, N2

5 Yellow
11 Light Green
40 Brownish Grey
45 Sepia
75 Sky Blue
83 Butterscotch

Tuesday, July 23, 2019

Tropical Watercolor House Two Ways by Jil Lebel

Hello Ai fans!

My father's birthday was last week and I wanted to make him a personal card so I turned to the watercolor series of stamps.  I make a card depicting a house he built here in Florida.  It's not exact, but he knew exactly what it was when I gave it to him.  While I was at it, I made a second card with a few different colors with a similar layout.  The watercolor series of stamps are so versatile!
Use the Square Double Stitched dies to cut out a frame from the watercolor paper.  Color the house from the Mini Cottages set with Chocolate and Deep Blue markers and stamp it off to the right side of the inner square of watercolor paper.  Stamp the house onto Post-It Tape and cut it out before applying the mask over the image.  Apply Dark Jade and Chocolate markers to the palm tree and stamp the it over the house. I used my stamp positioner for both of those images.  Remove the mask and use the #1 brush to pull the color from the stamped lines.  Add extra color to the house with the Deep Blue, Avocado and Chocolate markers. Add Grass and Palm leaves with Dark Jade and Avocado and pull the color out with your #4 brush.  Add some tiny flowers with the Rhodamine Red marker.  Add in the sky with True Blue.
The background uses the Palm Fronds from the Palm Tree set and the tiny flowers from the Mini Flowers set.  Randomly apply the palm fronds using the Dark Jade and Avocado markers.  Fill in the blank areas with clusters of the flowers using the Rhodamine Red and Chartreuse markers.  Use the #4 brush to pull out the color.  Add the scene flat to the upper portion of the background and add the white frame around it with foam tape.  Add a sentiment from the WC Sentiment Set 2 that is cut from the Flag Double Stitch Dies below the framed image.


Thanks for stopping by and Have a Great Day!

Wednesday, July 10, 2019

The Lake House by Niccole Kulig

Hello Ai fans!!

"The Sinple things that fill our lives bring the greatest joy."

It is Niccole again stopping by to share a card I made using the Lake House Window. I just love these window stamps.  The saying around each one of the stamps are perfect!


I stared by using the Square Easel die.  I added the Lake House Window stamp to my layered square in the middle of my card. I added the sentiment from the WC Sentiment 2 set to the bottom of my card.  I though Blessed & Grateful was fitting for this card.


I colored my Lake House Window with my Prismacolor Colored Pencils.  I added Wink of Stella to my whole image to give it a little shimmer, like a reflection off of the lake. 


This card was a challenge for me as I am no good at colored pencils.  I am trying to make myself use them more to get use to then ... so please cut a girl some slack!  - LOL -

Prismacolor Colored Pencils used:
PC927, PC940, PC943, PC946
PC908, PC909, PC989
PC1025, PC1087

Thank you so much for stopping by ... we will see you again soon!
Until next time ... Hugs & inky fingers!

Wednesday, May 22, 2019

Circle of Happiness by Niccole Kulig

Hello Ai fans!

I am stopping by today to share with you a card that I had a lot of fun making.  Sometimes you do not need a lot of supplies to make a cute card.  Below I am sharing a card that you can make if you are a pro or a beginner.  It is very versatile.


I used the Art Impressions die set called Circle Double Stitched Dies.  I used a variety of glitter cardstock.  I put two dies together to make the circle outline and not a solid circle. I glued them to my card and finished it with the sentiment Oh Happy Day from the WC Sentiment 2 stamp set.


Here is a  better view of the "Oh Happy Day" stamp from the WC Sentiments Set 2 from Ai.


Here is a close up of the Circle Double Stitched dies.  Aren't they fun?? I do not have any Copics to list today. Like I stated earlier ... It is fun to make a card sometimes with minimal supplies.

Thank you so much for stopping by.  We will talk to you again soon.

Until next time ... Hugs & inky fingers!


Wednesday, May 15, 2019

Dear Friends Like You by Niccole Kulig

Hello Ai fans!!

I am stopping by today to share a card I made using the 4761-Watering Can stamp set and the 5136-WC Sentiment Set 2. I wasn't quite sure where I was going but I love how it turned out.


I made two of them; one with a bow and the quilted embossing folder and one without a bow and the basket weaved embossing folder.  Not sure which one I like better.  Which one do you?

The Ai products I used were the 4761-Watering Can set and the 5136-WC Sentiment Set 2.  I also used the Marvy markers in 08-Violet and 15-Olive Green.

Here you can see a close up of the Marvy markers stamped onto vellum.  I stamped the flowers second generation; which means i stamped each on a piece of paper before stamping on the vellum.  It gives the flower color a softer color.

You can see I raised the background circle up with foam tape.  This is the circle with the sentiment on it.  The vellum circle is glued onto the white circle.  This is the one with the flowers stamped on it.

I finished them off with some sequins which are actually iridescence confetti. Which one is your favorite once you have seen them together? I think I like the one with the quilted background and the bow.

Thank you so much for spending some time with me and check back soon to see what I make next!

Marvy Markers used:

Until next time ... Hugs & inky fingers!