Showing posts with label Hedgehogs Set. Show all posts

Sunday, June 7, 2026

From Wishing Wells to Hedgehogs by Simone Carr


Hello crafty friends!

For today’s card, I chose to use the Wishing Well Mini Set. I started by stamping the image onto Canson Watercolor Paper using Tombow 565 and 969, stamping off twice before stamping onto the paper. Using a damp brush, I pulled color from the stamped lines to begin coloring the image.

The well was colored using Tombow 977 and 027. To give the stones more definition and texture, I added details with a brown TwinTone marker. Once the well was finished, I used my stamp positioner to help place the vine around the well.

Before stamping the vine, I added the sky using Tombow 526. I then stamped the vine, grass, and flowers and softened them with a damp brush for a watercolor look. Dr. Ph. Martin’s Bleed Proof White was used to add additional flowers throughout the scene. To finish the background, I lightly brushed in some green along the horizon.

For the card layout, I used three different shades of purple cardstock, each cut to 5½" x 4¼". Starting with the darkest shade, I used the 6th largest Nested Square Die. After cutting it, I placed the next shade underneath and traced the opening so I could accurately position the 5th largest die. I repeated the process with the final shade using the 4th largest die.

Once all the layers were cut, I glued them together and used the Large Double Stitched Rectangle Die to cut the completed panel. I added foam tape to the panel and adhered it over my watercolor scene. To finish the card, I selected a patterned paper from the Mother’s Day PP collection that complemented the colors of the project. The "Hello" sentiment was cut twice and layered for added dimension.

The finished card measures 5½" x 4¼".


Materials Used

Stamps & Dies

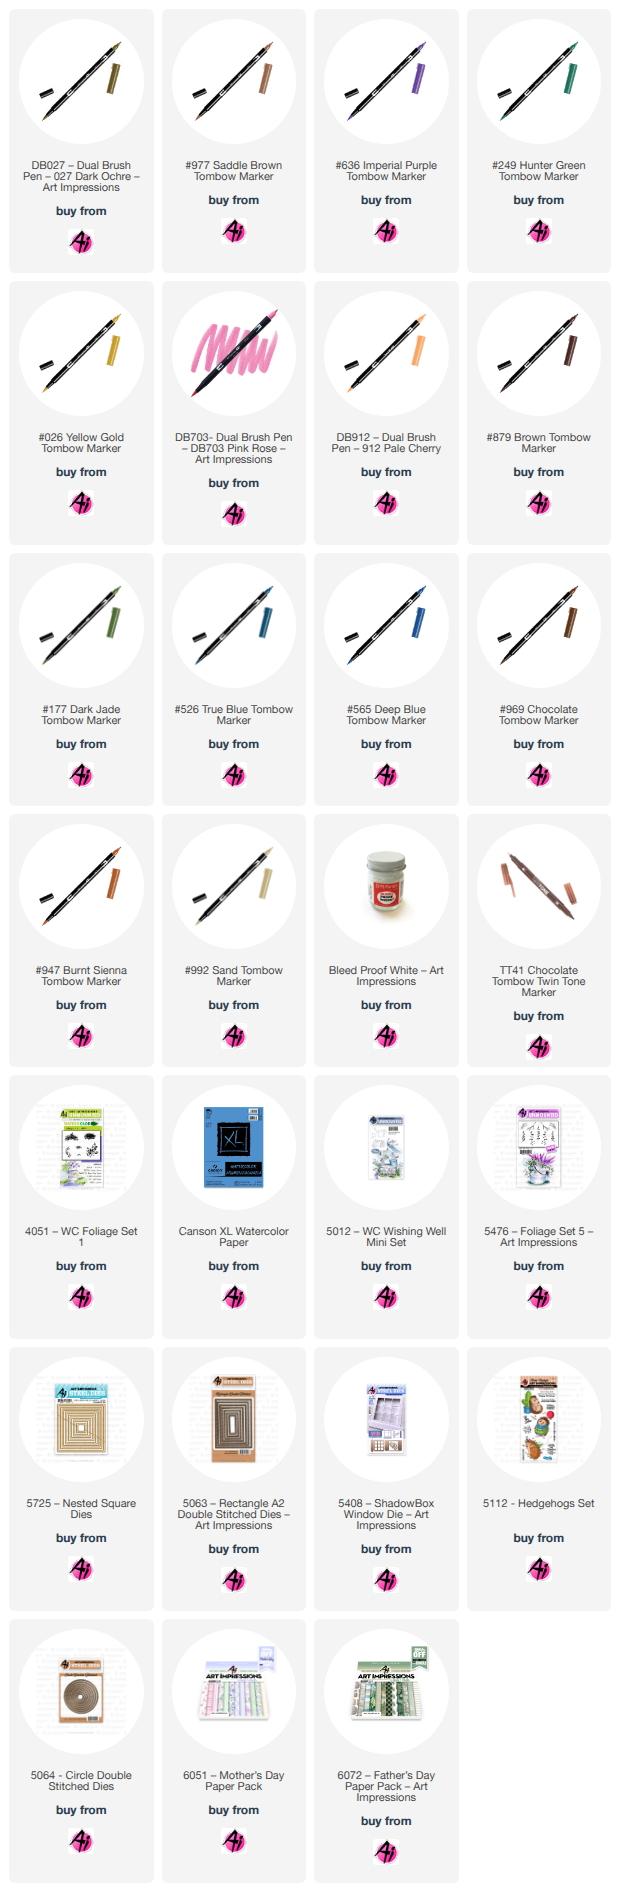
• 5012 – Wishing Well Mini Set
• 5476 – Foliage Set 5
• 4051 – Foliage Set 1 (Grass)
• 5725 – Nested Square Dies (4th, 5th & 6th largest)
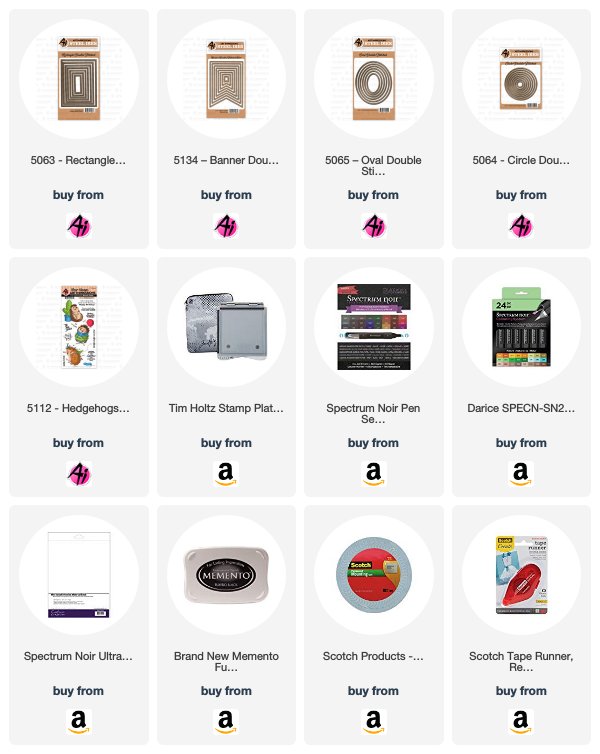
• 5063 – Large Double Stitched Rectangle Die
• 5408 – Shadowbox Window "Hello"

Paper

• 6051 – Mother’s Day Patterned Paper
• Canson Watercolor Paper

Inks & Mediums

• Dr. Ph. Martin’s Bleed Proof White
• TwinTone Marker – Brown
• Foam Tape

Tombow Markers

• 565, 969 – Stamped Image
• 177 – Grass
• 249 – Vine
• 636 – Flowers
• 977, 027 – Well
• 526 – Sky
• 026 – Bucket


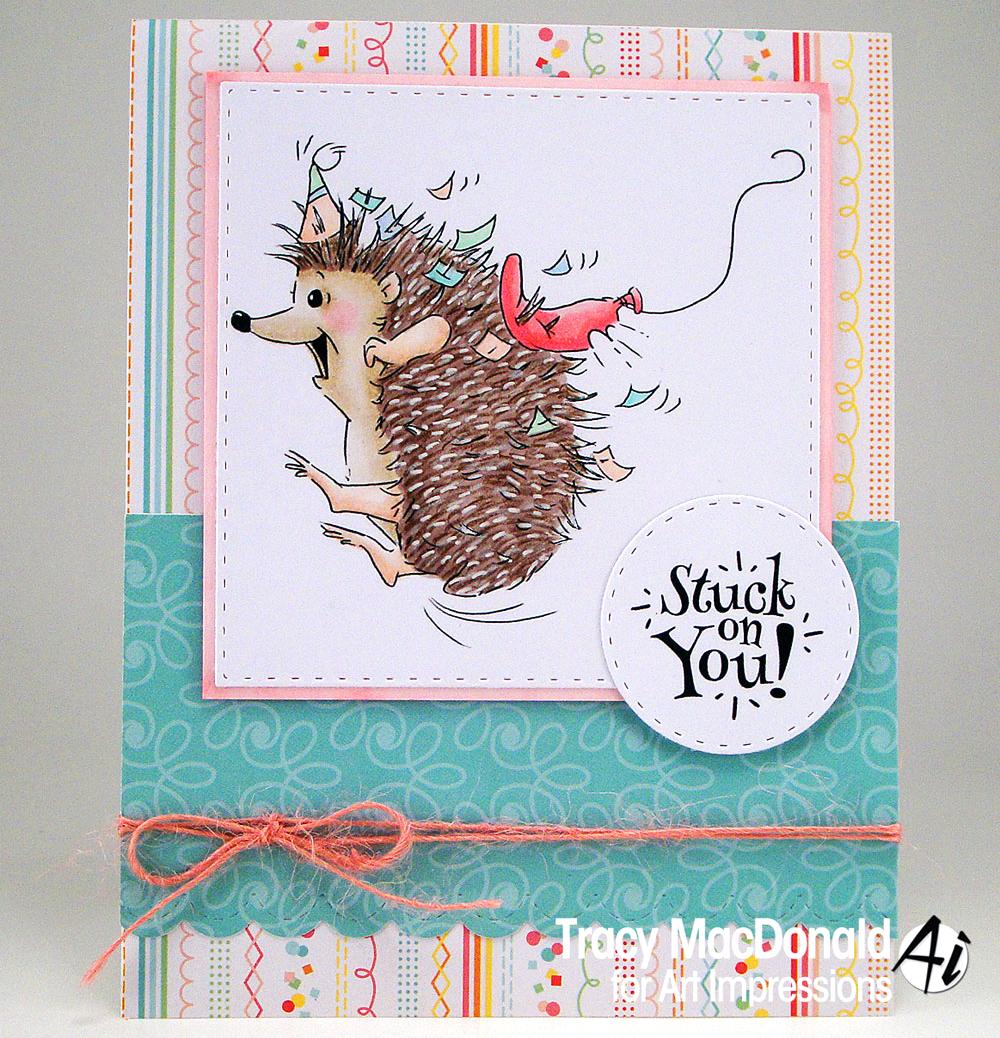
For my second card, I chose the Hedgehogs Set. I started by stamping the image onto Canson Watercolor Paper using Pumice Stone Distress Ink, stamping off once before stamping onto the paper.

Once the image was stamped, I began coloring with the hedgehog's face and belly using Tombow 992. For the back of the hedgehog, I started with 947, then added 969, and finished with 879 to create depth and shading. A black Pitt Artist Pen was used to color the eyes, nose, and mouth.

Next, I colored the flower pot using 026 and added 565 for shadows. The cactus was painted with a light wash of 131, followed by 126, 177, and finally 249 to deepen the color toward the center. I used the tip of Tombow 177 to add the cactus thorns.

Tombow 565 was also used beneath the hedgehog and pot to ground the image, while 526 added a soft wash of color to the background. To give the hedgehog's coat more texture and definition, I used a Chocolate TwinTone marker on the spikes.

Once everything was dry, I used the 2nd largest Double Stitched Circle Die to cut out the image. From the Father's Day Patterned Paper collection, I selected two papers that complemented the colors of the scene. The green layer was cut using the largest Double Stitched Rectangle Die, and the coordinating strip beneath the circle was cut from the same die for a perfect fit. The strip measures approximately 1" wide.

For the sentiment, I stamped it onto a 1¼" circle and adhered it to the 6th largest Double Stitched Circle Die. Both circles were attached using foam tape for added dimension.

I hope you enjoyed these two projects and found a little inspiration along the way. Happy crafting!


Materials Used

Stamps & Dies

• 5112 – Hedgehogs Set
• 5064 – Double Stitched Circle Die (2nd & 6th Largest)
• 5063 – Double Stitched Rectangle Die (Largest)

Paper

• 6072 – Father's Day Patterned Paper
• Canson Watercolor Paper

Inks & Mediums

• Pumice Stone Distress Ink (stamped off once)
• Chocolate TwinTone Marker
• Black Pitt Artist Pen
• Dr. Ph. Martin's Bleed Proof White
• Foam Tape

Tombow Markers

• 992 – Face, Body, Hands, Feet
• 947, 969, 879 – Hedgehog
• 912 – Feet, Ears
• 703 – Cheeks
• 026 – Pot
• 131, 126, 177, 249 – Cactus
• 565 – Shadows
• 526 – Background


Thursday, July 24, 2025

Hedgehog Tuck Flap card by Dori Mendiola

 Happy Thursday AI Friends!

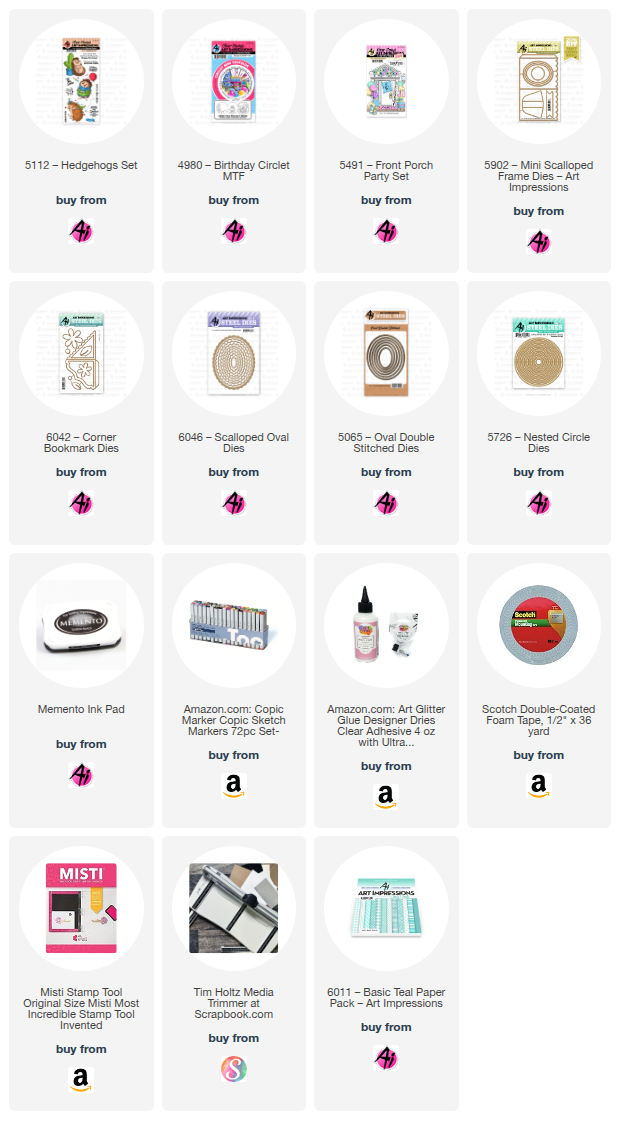
We have a new blog challenge currently going on called "Let Them Eat Cake".  Any card, project with cakes or cupcakes, etc.   I decided to make a cute little Hedgehog Tuck Flap card using the #5112 - Hedgehogs set with the cake from the #4980 - Birthday Circlet MTF and the presents from the #5491 - Front Porch Party set as accents. 

I stamped all of the images onto copic friendly paper with Memento black ink and colored with my copic markers listed below.  The hedgehog was stamped onto a 3.5 inch square.  The other images are cut using the dies, so can be stamped onto any size paper.  
I die cut the cake and balloons with the corresponding die (#4980 Birthday Circlet) and then fussy cut the portion that wasn't cut out with the die.  The presents (#5491 - Front Porch Party) were cut with the dies included in that set.  I mounted each of those onto a white circle die cut and then layered onto a blue circle die cut.  I cut two corner bookmarks using the new #6042 - Corner Bookmark dies.  I assembled the bookmarks and adhered the circle die cuts onto each of the fronts of the bookmarks. 

For the card base and fold, I cut a top folding A2 card size 4.25 by 8.25 inches and scored at 5.5 inches.  This will leave a 2.75 inch flap for the front.  Using the #6011 - Basic Teal PP, cut two pieces (front -
2.5 x 4 inch and the inside - 5.25 x 4) to be layered onto blue cardstock.  Place the corner bookmarks over the bottom edges of the inside layer and adhere this layer to the inside of the card base.  This will glue the bookmarks to the inside of the card and leave the back of the card white.  Mount the hedgehog image onto blue cardstock.  Place glue onto the backside of the top half only and adhere to the front flap of the card base.  Add the sentiment from the Hedgehog set and die cut with the #6046 - Scallop Oval dies with a blue layer cut from the #5065 - Nested Oval dies.

Create an easel with the #5902 - Mini Scallop Frame die and glue to the back of the card base.  Tuck the hedgehog image piece inside the bookmark edges and you have a Tuck Flap card that stands on display, thanks to the easel.

Hope you join us in this "Let Them Eat Cake" challenge for a chance to win a free stamp set of your choice.  We LOVE to see your creations!

Hope you have a wonderful weekend and keep creating!

Copics used:  E01, E02, E11, E21, E23, E25
R20, N0, N1, N2
B000, B00, B01, B02
Y13, Y15, Y17, Y21
YG21, YG23, YG25 

Monday, May 6, 2024

You're lookin' sharp birthday card by Sharon Caudle

 Hello AI Fans!

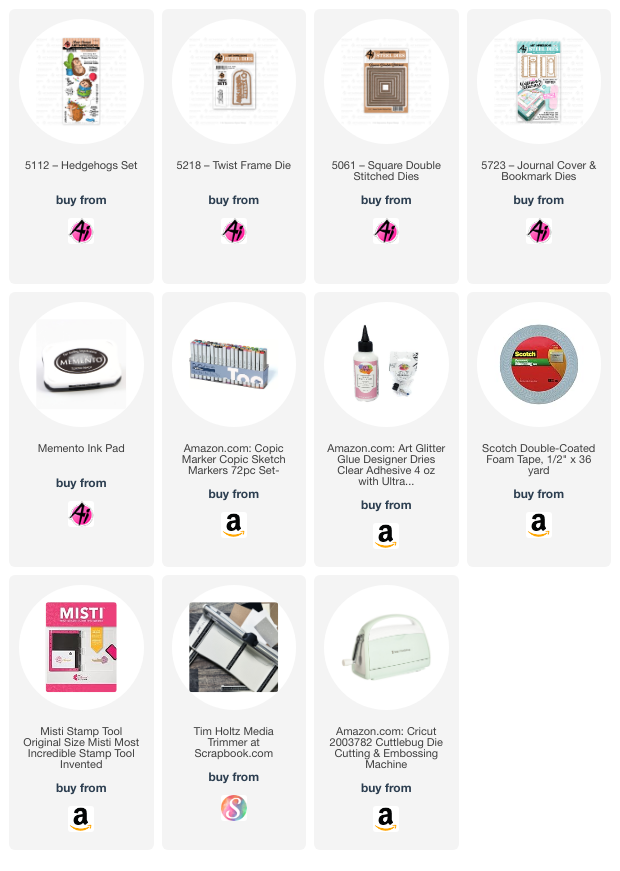
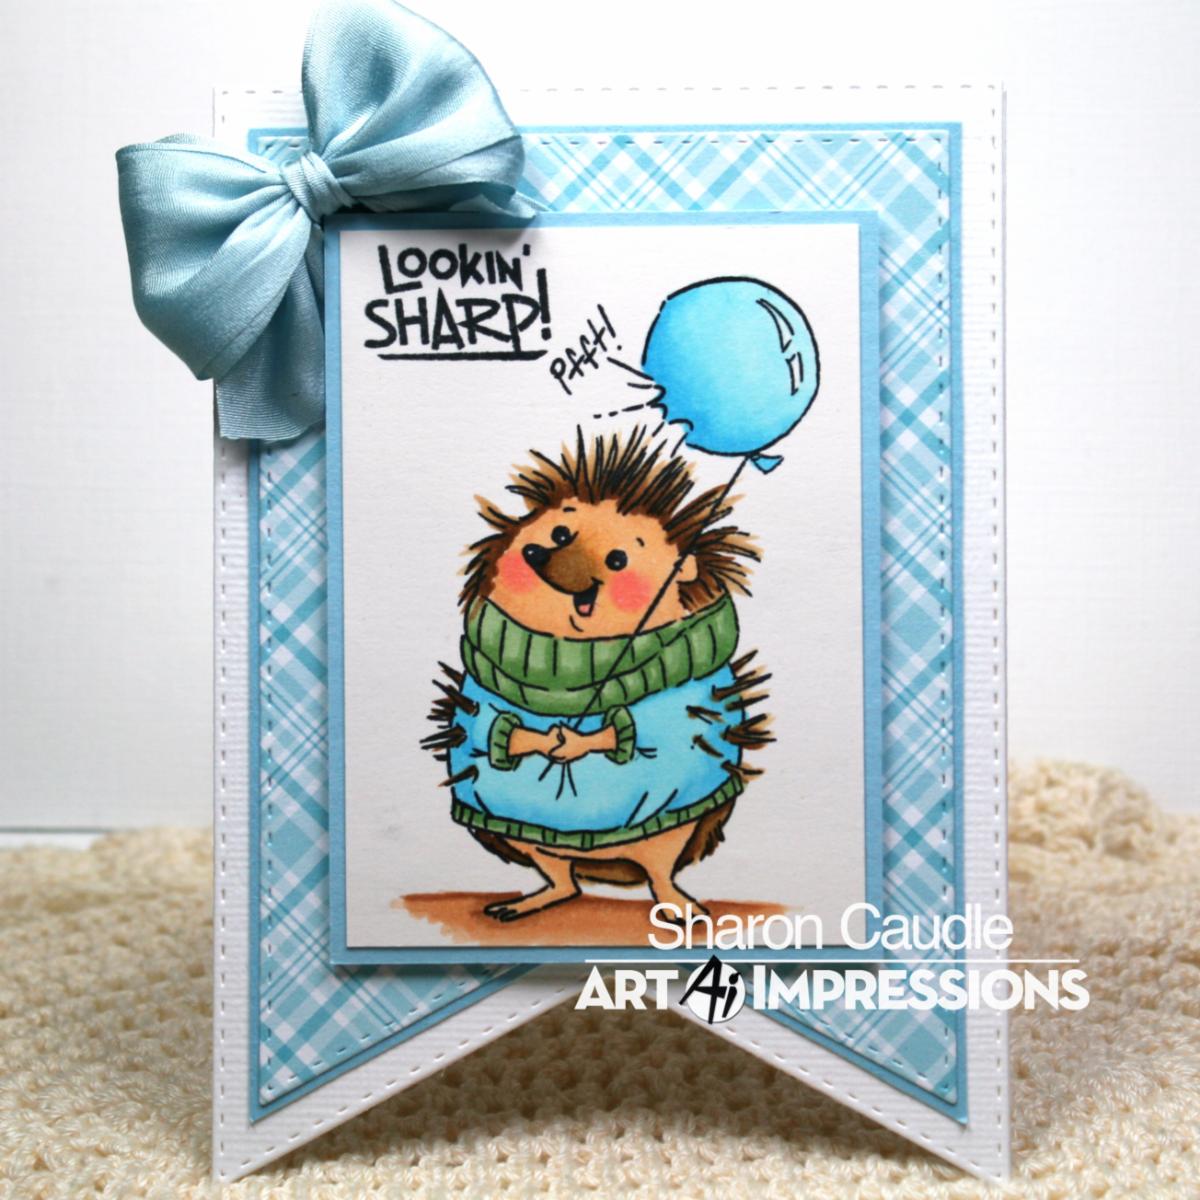
I've got another card for you today featuring the adorable 5112 Hedgehogs Set from the Art Impressions Funny Farm Line! I just think this set is so cute and can just see them popping all their balloons at their birthday party!! I love how all the confetti is sticking to him too! LOL!  I stamped the image onto cryogen white paper and colored it with Copic markers (colors are listed below). That fun birthday sentiment is from 5218 Twist Frame Die set which is on sale right now! I also used 5061 Square Double Stitched Dies and 5723 Journal Cover & Bookmark Dies. I just extended the die to the length I needed. 


Thanks so much for stopping by and until next time - stay crafty!!


Copics used:
E21, 23, 30, 31, 33, 35, and 37
V12, 15, and 17
RV32 and 35
Y35
YG05
R12
B00


Monday, March 11, 2024

Let me keep this short and to the point by Sharon Caudle

 Hello AI Fans!

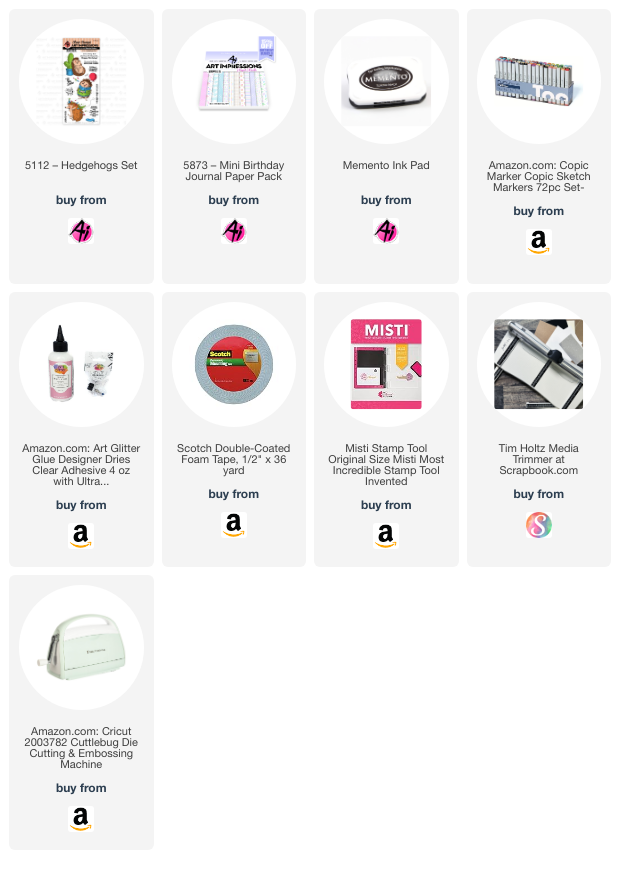
Bonnie creates the cutest little critters I've ever laid eyes on, and this little set of adorable hedgehogs is no exception!!! This card features 5112 Hedgehogs Set along with the beautiful new 5873 Mini Birthday Journal Paper pack.  This paper has the most scrumptious colors!! I stamped this little cutie with Memento ink and colored her with Copic markers which are listed below. The sentiment is also from the stamp set. I just love this image with the popped balloon! So cute!! 


Thanks so much for stopping by for a visit today, and until next time - stay crafty!


Copic colors used:
E21, 23, 30, 31, 33, 35, and 37
RV32 and 34
V12, 15, and 17
C2 and 3
B000 and 00
R12


Thursday, October 17, 2019

Short and to the Point... by Crystal

Hi Ai Fans!


This week I made two cards using the same hedgehog image from the Hedgehogs stamp set.


Such perfect sentiment "Let me keep this short and to the point... Happy Bithrday!" 


For both cards I stamped the image with Memento black ink onto Smooth white card stock. 


I kept both cards very simple just layered the image onto pattern paper using different shapes of Art Impressions double stitched shape dies. 


Spectrum Noir Markers: 
DR2, DR5, DR7, TB1, TB7, AG2, AG3, AG5, TN1, TN2, TN5, GT1, GT2, GT3, EB2, EB4, EB6

Happy Stamping!


Thursday, October 3, 2019

Now Available at Hobby Lobby! Share the Love With #AiAtHobbyLobby!


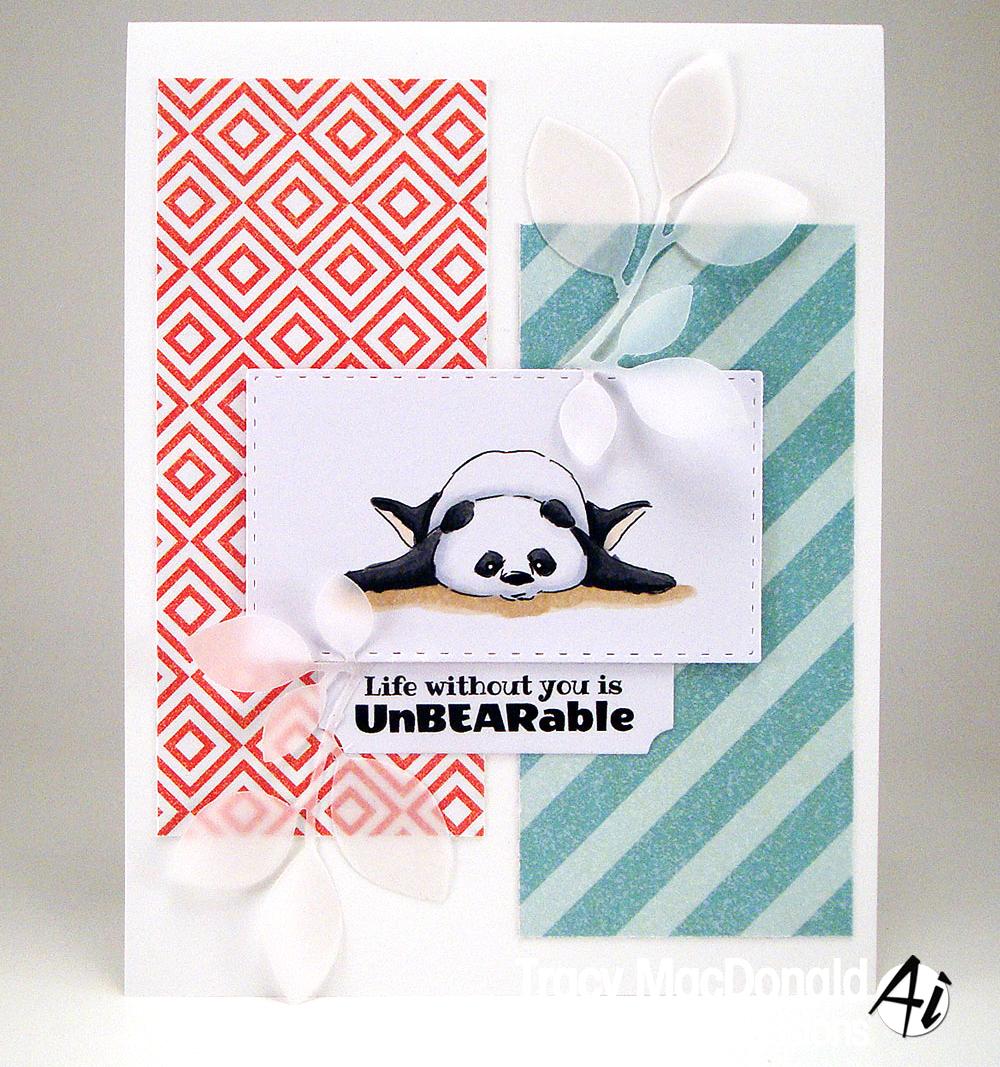
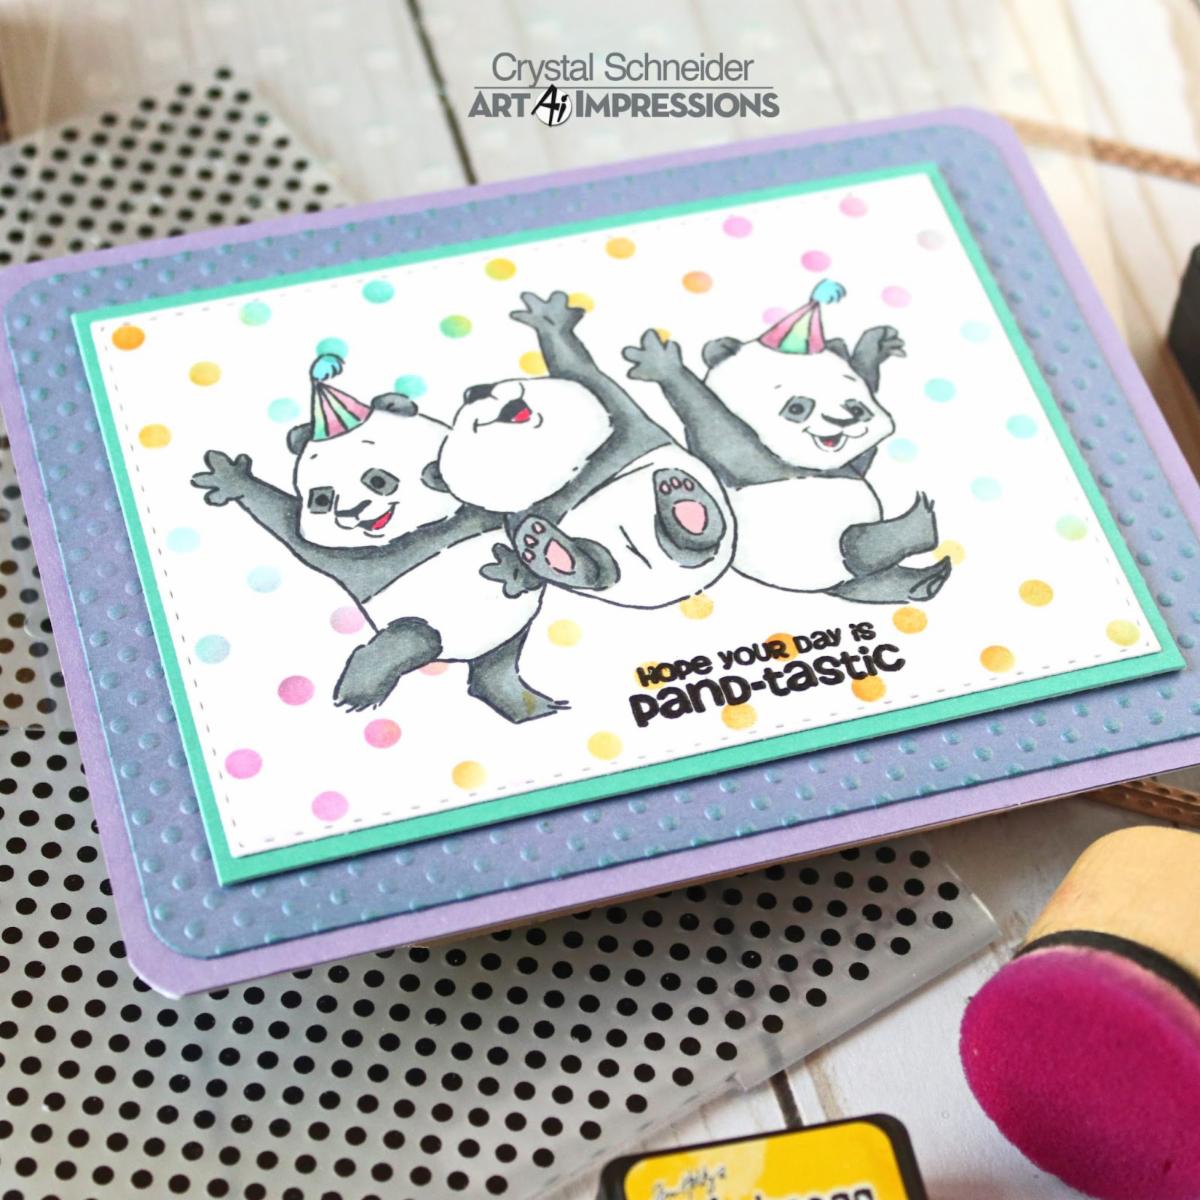
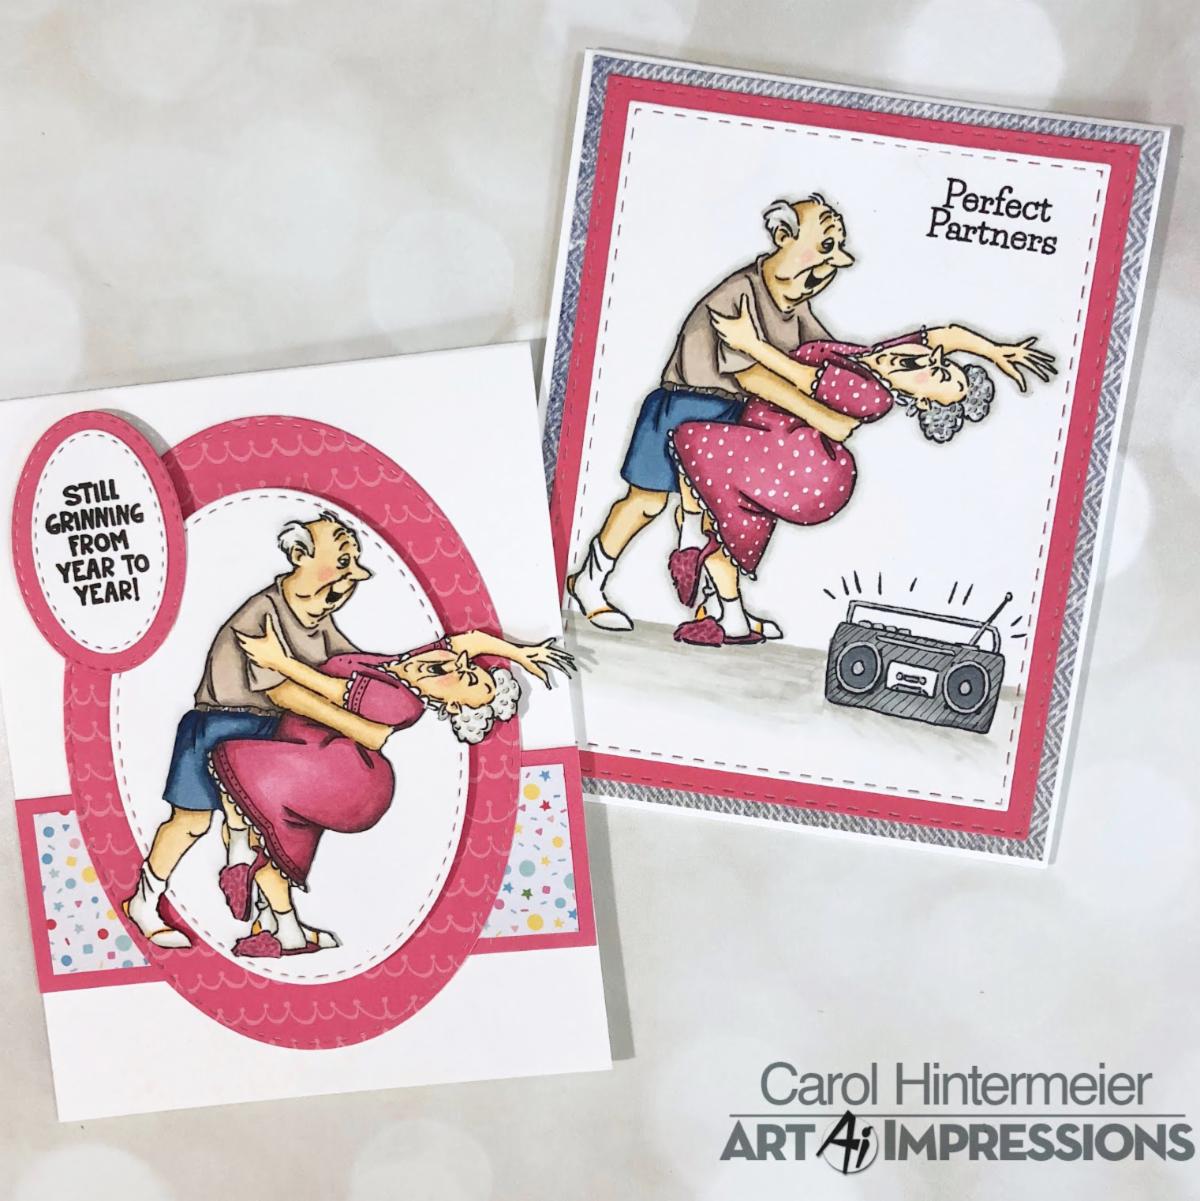
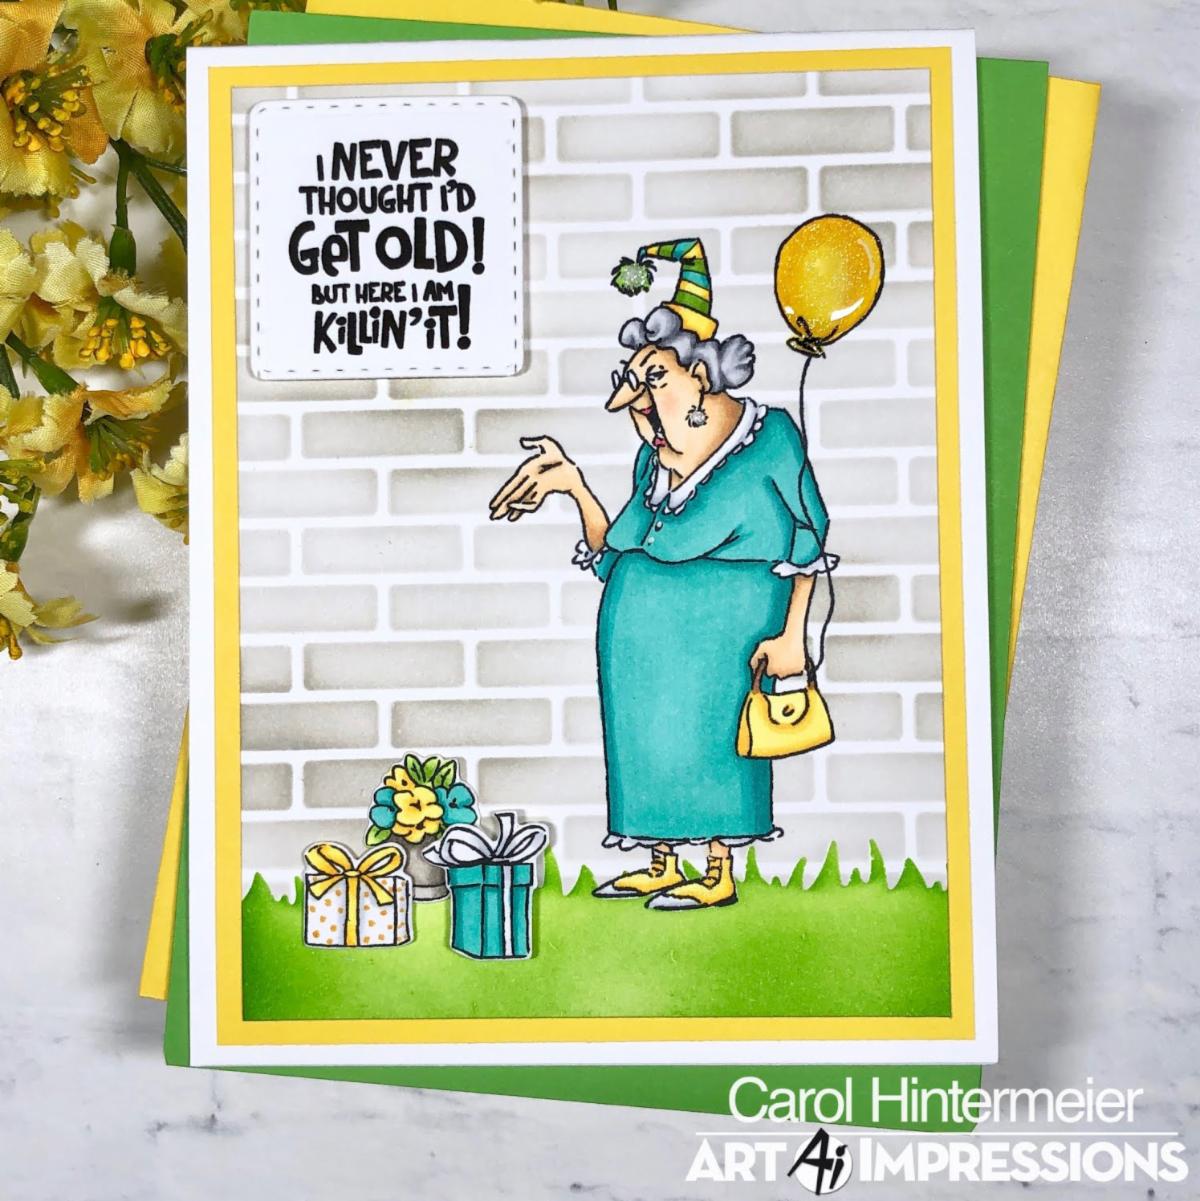
We are excited to announce NINE new stamps hitting Hobby Lobby shelves, including beloved animal, character, and Bible Journaling sets! If you love wood block stamps, be sure to pick up our Hedgehog and Panda blocks, Hobby Lobby exclusives! These images are also available in our Hedgehog and Pand-tastic clear stamp sets, packed with festive critters and sentiments! Send cuddly "get well soon" wishes using our Catastrophy clear set, filled with kitties and healing wishes. Party it up with our Never Too Old Laugh Lines lady, and share a love note with Perfect Duet. In addition, we have to exclusive Bible Journaling cling sets, He Leads Me and On The Sparrow, which include the flower and foliage elements to complete the project shown. 

Grab your favorite Ai Stamps at your local store and share a photo with us on Facebook and Instagram with #AiAtHobbyLobbyWe have gathered inspirational projects here on the blog, so click the "Inspiration Here" for the projects you want to view up close!

Hedgehog Wood Block Inspiration Here
Hedgehog Block
Hedgehog Set Inspiration Here
Hedgehog Set    
Panda Wood Block Inspiration Here
Panda Block  
Pand-tastic Set Inspiration Here
Panda Set
Catastrophy Set Inspiration Here
Catastrophy Set   
Never Too Old Laugh Lines Set Inspiration Here
Never Too Old Set
Perfect Duet Set Inspiration Here
Perfect Duet Set
He Leads Me Set Inspiration Here
He Leads Me Sample
On the Sparrow Set Inspiration Here
   On the Sparrow Sample
Hobby Lobby Locator

Happy Stamping!

Sunday, September 29, 2019

Hog the Cake! by Reneé Matarese

Hello Ai fans!

Today I'm sharing some fun birthday cards!
How cute are these little hedgies??

The set is called 5112 – Hedgehogs Set.


I made two with each verse I used...one in yellow and one in green.  What I liked about these is that they're perfect for a guy or a girl.


I love the combination of the Hedgehog and the cactus!  How perfect.


As I'm typing this post up and looking at the verse "hog the cake" with this little guy it just hit me!  There are little cupcakes scattered about in other Ai sets...wouldn't it be adorable to fussy cut one and put it in his hands??  Why didn't I think of that when I was making the cards??  Oh well...next time.


Copics used:
YG06, YG11, YG17 Y0000, Y08, Y17
E000, E00, E23, E31, E42, E55, E59, E93, 
NO, N2, B0000