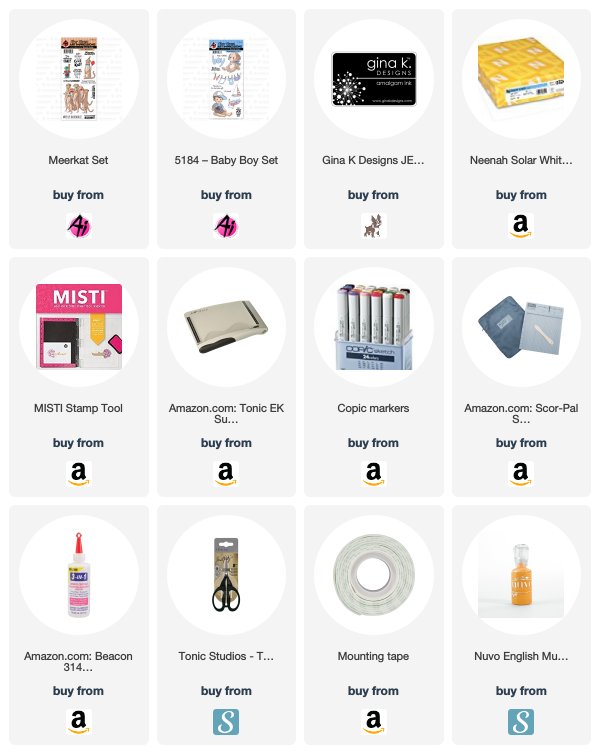
I am stopping by today to share another card I made using the Baby Boy stamp set from Art Impressions.I wanted to show another masculine card. I love sets that are versatile.
I started by layering my card base with a white piece I used an embossing folder on. I then layered a green strip across the center. I added the sentiment "Happy Birthday" in the top right on the green piece. The "Happy Birthday" sentiment is a stamp from the Meerkat set. I actually only used a portion of the stamp that says "Happy Birthday from the Meerkat". I added a white strip in the center.
I finished it by stamping three sailboats across the front. I Copic colored them with matching colors. I finished it off with yellow Nuvo Drops.
Here is one more look at the finished card.
I really like the polished look of it and how it could be really for any occasion for anyone from a young boy to an older gentleman just like the card I shared last week.I think we all probably need more masculine cards in our stash! :-)
Copics used:
B12, B14, B16
C0, C1, C3
G40, G43, G46
Y13, Y15, Y17
Thank you so much for stopping by. Please come back soon and see all of the wonderful creation by the Ai team!
Did you catch our exciting announcement on our newsletter today?! You are cordially invited to the fifth annual Art Impressions Warehouse Sale, a two-day shopping spectacular on Friday, November 22 and Saturday, November 23, 2019, in Keizer, Oregon!
We are building over 2,000 square feet of shopping space for you to grab some great stamps at discounted prices! Find our current and popular stamps, as well as closeouts, seconds, unmounted rubber sheets, and accessories!
Please note we have a NEW sale location in Keizer, Oregon, as well as a NEW hotel to book your accommodations! Visit our page for more information, and be sure to RSVP to receive a free gift at the event! We hope to see you there!
We are back with the second week of our super fun shaker card challenge! Let's take a look at what the team has in store for us today!
Join the party! Shaker cards are so fun to make, and there are so many different kinds you can create! Make a card, share it with us by linking it up, show us what you got! You just might win a prize, and you know how much we love giving away stamps!
Here are the Challenge Rules: ✻ Please make a new card or creation. You can make any crafty item you wish; this is not limited to cards! ✻ Limit two submissions per person. You will receive extra votes if you use Art Impressions stamps! ✻ The Ai Challenge is open to everyone, international submissions are welcome! ✻ Include a link back to the Ai Blog or grab our button on the top right of our sidebar! ✻ Share the Ai love by clicking and commenting your fellow crafters. ✻ Make sure to get your link up by Wednesday, July 3 at 5:00 p.m. PST to enter your creations. ✻ Good luck and happy stamping!
Let's shake it up with a NEW challenge! This one is all about shaker cards, and our friend Jill has an adorable card to share with you for inspiration!
Hello Ai fans!
I really enjoy making shaker cards. I have a feeling that many of you do too. For those of you that haven't tried to make one yet, you should really give it a try! I've shown you how I made one below so you can follow along. I used the Meerkat stamp set, but you can do this with any stamps you have. Once you make your shaker card be sure to enter it in this weeks contest for the chance to win some great prizes.
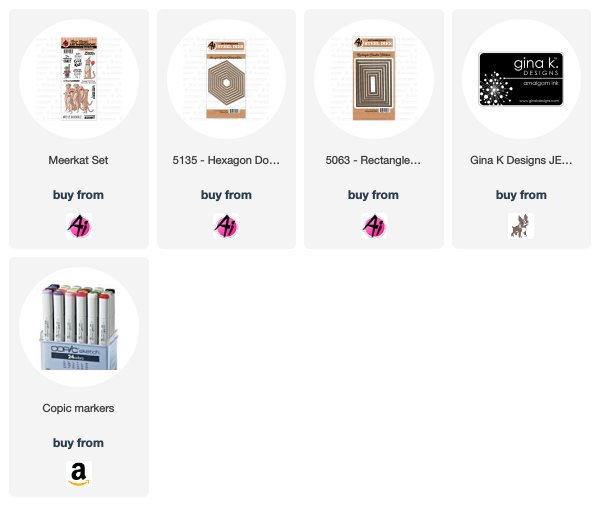
To make the frame I used washi tape to attach two of the Hexagon Double Stitched Dies together and cut them out of white cardstock. I used the second and third largest dies.
Here are the elements of the card. I used the third largest die to cut a piece of confetti patterned paper. I used the second largest die to cut a piece of teal cardstock as well as a piece of acetate. I'm also showing you the A2 card, the papers that I layered over the card and the colored images. The images were stamped onto Copic X Press It paper with Gina K Designs Black Amalgam Ink and colored with Copic markers. The colors used are listed at the end of this post. Two greetings from the stamp set were combined and stamped at once to look like one bigger greeting.
I used 1/4" double sided tape to attach the patterned paper to the center of the cardstock panel. I also attached the frame to the acetate with the same tape.
I used two layers of Adhesive foam strips to form the shaker element. You can also use regular foam tape cut down into thin strips. Just double it up to give your shaker elements room to move. Be sure that you have no gaps in the foam tape so none of shaker bits escape.
I chose to use tiny diamond shapes for this card. I purchased some from Queen and CO. and some from nail supply stores. I wanted them in a few different sizes. In the long run, I'm not sure that it mattered that they were different sizes.
I added the items that I wanted inside the shaker over the patterned paper before removing the backing paper from my adhesive and then stuck the frame and acetate piece down. I find that it is the easiest way to line everything up.
The last thing I did is attach all of my pieces to the card and shake everything up. I hope you make a shaker card of your own. I will warn you, they're addictive! Copic Colors Used: Meercat - E30, E31, E33, E25, E29, E83 Yellow - Y11, Y13, Y26 Orange - YR12, YR14, E08 Teal - GB11, BG13 Rose - R81, R83, R85 Gray - C0, C1, C3
Thanks for stopping by and Have a Great Day!
Are you ready to shake, shake, shake? Let's see your creative shaker cards in this new challenge! There are many different kinds of shaker cards, so anything with a shaking element will do! Show us what you got!
Here are the Challenge Rules: ✻ Please make a new card or creation. You can make any crafty item you wish; this is not limited to cards! ✻ Limit two submissions per person. You will receive extra votes if you use Art Impressions stamps! ✻ The Ai Challenge is open to everyone, international submissions are welcome! ✻ Include a link back to the Ai Blog or grab our button on the top right of our sidebar! ✻ Share the Ai love by clicking and commenting your fellow crafters. ✻ Make sure to get your link up by Wednesday, July 3 at 5:00 p.m. PST to enter your creations. ✻ Good luck and happy stamping!
Janet Kraft!
Congrats, Janet! Your sweet letter organizer is perfectly purple and features our First Bloom window beautifully! Email annelise@artimpressions.com with your address to claim your prize pack!
Congrats, you two! Bev, your Sound Off Jean sticky note holder is too funny! And Cynthia, your lovely Wagon watercolor calendar is very pretty and is sure to bring some peace while making plans! Email annelise@artimpressions.com with your address and select a stamp set as a prize!
By the way, did you catch us on HSN? Bonnie gave two awesome presentations featuring special product bundles, which are selling fast at hsn.com! The segments are still available for viewing on YouTube, so be sure to check them out!
One last thing before we go! Want to receive more watercolor ideas in your inbox? Art Impressions is launching a brand NEW Newsletter for our Bible Journaling enthusiasts! On the first of each month, we will round up tutorials and project inspiration specifically for your Bible pages and papercrafting. Be sure to sign up to receive our first email on July 1!
My card today features the so adorable Meerkat Set. I just love the expression on this Meerkat's face! I'm pretty sure he LOVES cake!
For this card I used the single Meerkat on the front. I colored it with alcohol makers (listed below.)
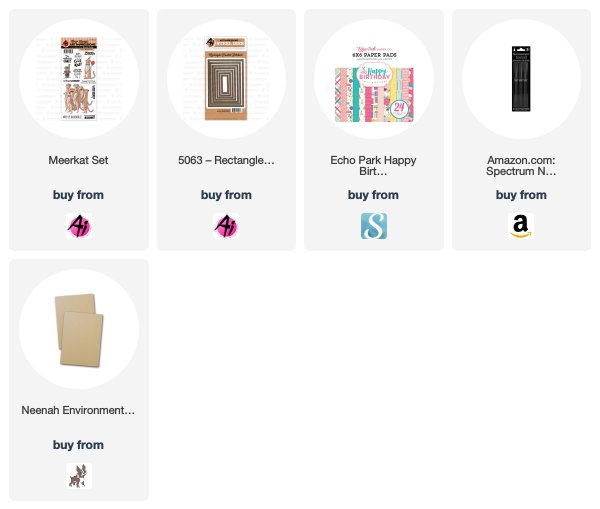
I used the gang of meerkats on the inside along with another sentiment included in the set. All of the rectangles are cut with Art Impressions Rectangle Double Stitched dies. I used an A2 top-folding card made with Neenah Desert Storm card.
I hope your week, and 2019, is off to a great start! Happy stamping!
We are back with the second week of our "Anything Goes" challenge! Since we recently launched our NEW Funny Farm and Work & Play clear sets, our design team is playing with them this challenge! Let's peek at their creations for some inspiration!
Great work, team! We love these adorable cards! They are all so bright and colorful, and look like you had a lot of fun creating them!
Join our challenge! We want to be sure you all get a chance to join, because it's the last challenge of 2018. Who doesn't love to win some stamps?! The theme is "Anything Goes" so you can create anything, the sky is the limit! Our judges love seeing how you use our stamps and dies with stunning coloring and creative cards! Now is your time to shine, so let's see those entries!
Here are the Challenge Rules:
✻ Please make a new card or creation. You can make any crafty item you wish; this is not limited to cards!
✻ Limit two submissions per person. You will receive extra votes if you use Art Impressions stamps!
✻ The Ai Challenge is open to everyone, international submissions are welcome!
✻ Include a link back to the Ai Blog or grab our button on the top right of our sidebar!
✻ Share the Ai love by clicking and commenting your fellow crafters.
✻ Make sure to get your link up by Wednesday, December 12 at 5:00 p.m. PST to enter your creations.
The countdown to 2019 has begun, and we are excited to announce our new show schedule! We are visiting 25 cities around the country, as well as hosting our Fifth Annual Warehouse Sale in Oregon! At each show, you can find our NEWEST product, complete a FREE make & take each day, and watch our specialist demo watercolor and Bible Journaling techniques! To top it all off, nearly every product in our booth is priced 15% lower than the Ai website! We love to see you at shows, and hope to see you at one or more next year!
Stay tuned for information about our NEW Watercolor Workshop and 2019 Exclusive Stamp Set! Nearly half of our classes sold out last year, with an average 84% fill rate, so mark the registration date on your calendar so you can reserve your seat!
View the full show list with clickable links on our website here.
Hello, Ai Fans! We are back from our Thanksgiving break and are SUPER excited for today's post!
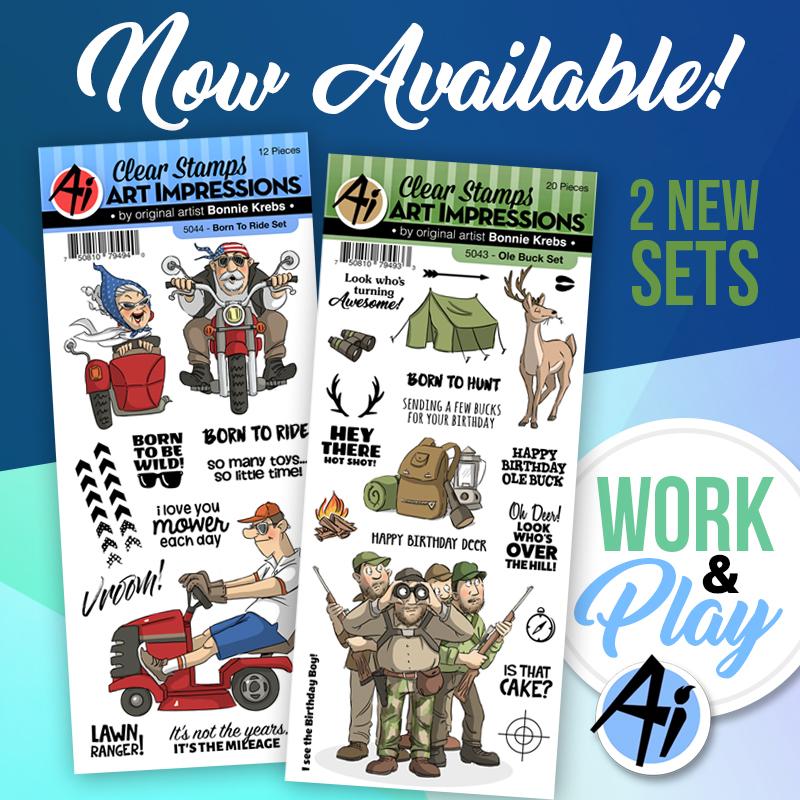
We are wrapping up our last release of 2018 with NEW Funny Farm and Work & Play clear sets! Go "hog wild" with our Ham It Up Set, and "let the party begin" with our Meerkat Set! Both are fun for birthdays, just because, and more! Our new Work & Play additions are perfect for your masculine cards with our Born to Ride biker and mower, as well as our Ole Buck hunters set! Take a closer look at these stamps in our videos below!
Jil is here with a great tutorial for a fun card! Let's take a look!
Hello Ai fans!
I just can't stress enough how much I enjoy interactive cards! If you've been following me here on the Ai blog for any time this news won't shock you. When I saw the Meerkat Set in this new release I knew I had to make them pop up in some way. I went through my old favorite cards and came up with the surprise pop up card that I had made based on a tutorial from SplitCoastStampers. It's quite easy to make with a few simple folds.
This is a photo of the card front while it is closed.
This is what the card front looks like when you pull the ribbon to reveal the hidden message. You could also add a gift card.
The image was stamped onto Spetrum Noir Ultra Smooth paper with My Favorite Things Extreme Black Ink and colored with Copic markers. It was then gone over with a very light layer of Prismacolor colored pencilsThe colors used are listed at the end of this post. It was fussy cut with EK Success Cutter Bee scissors.
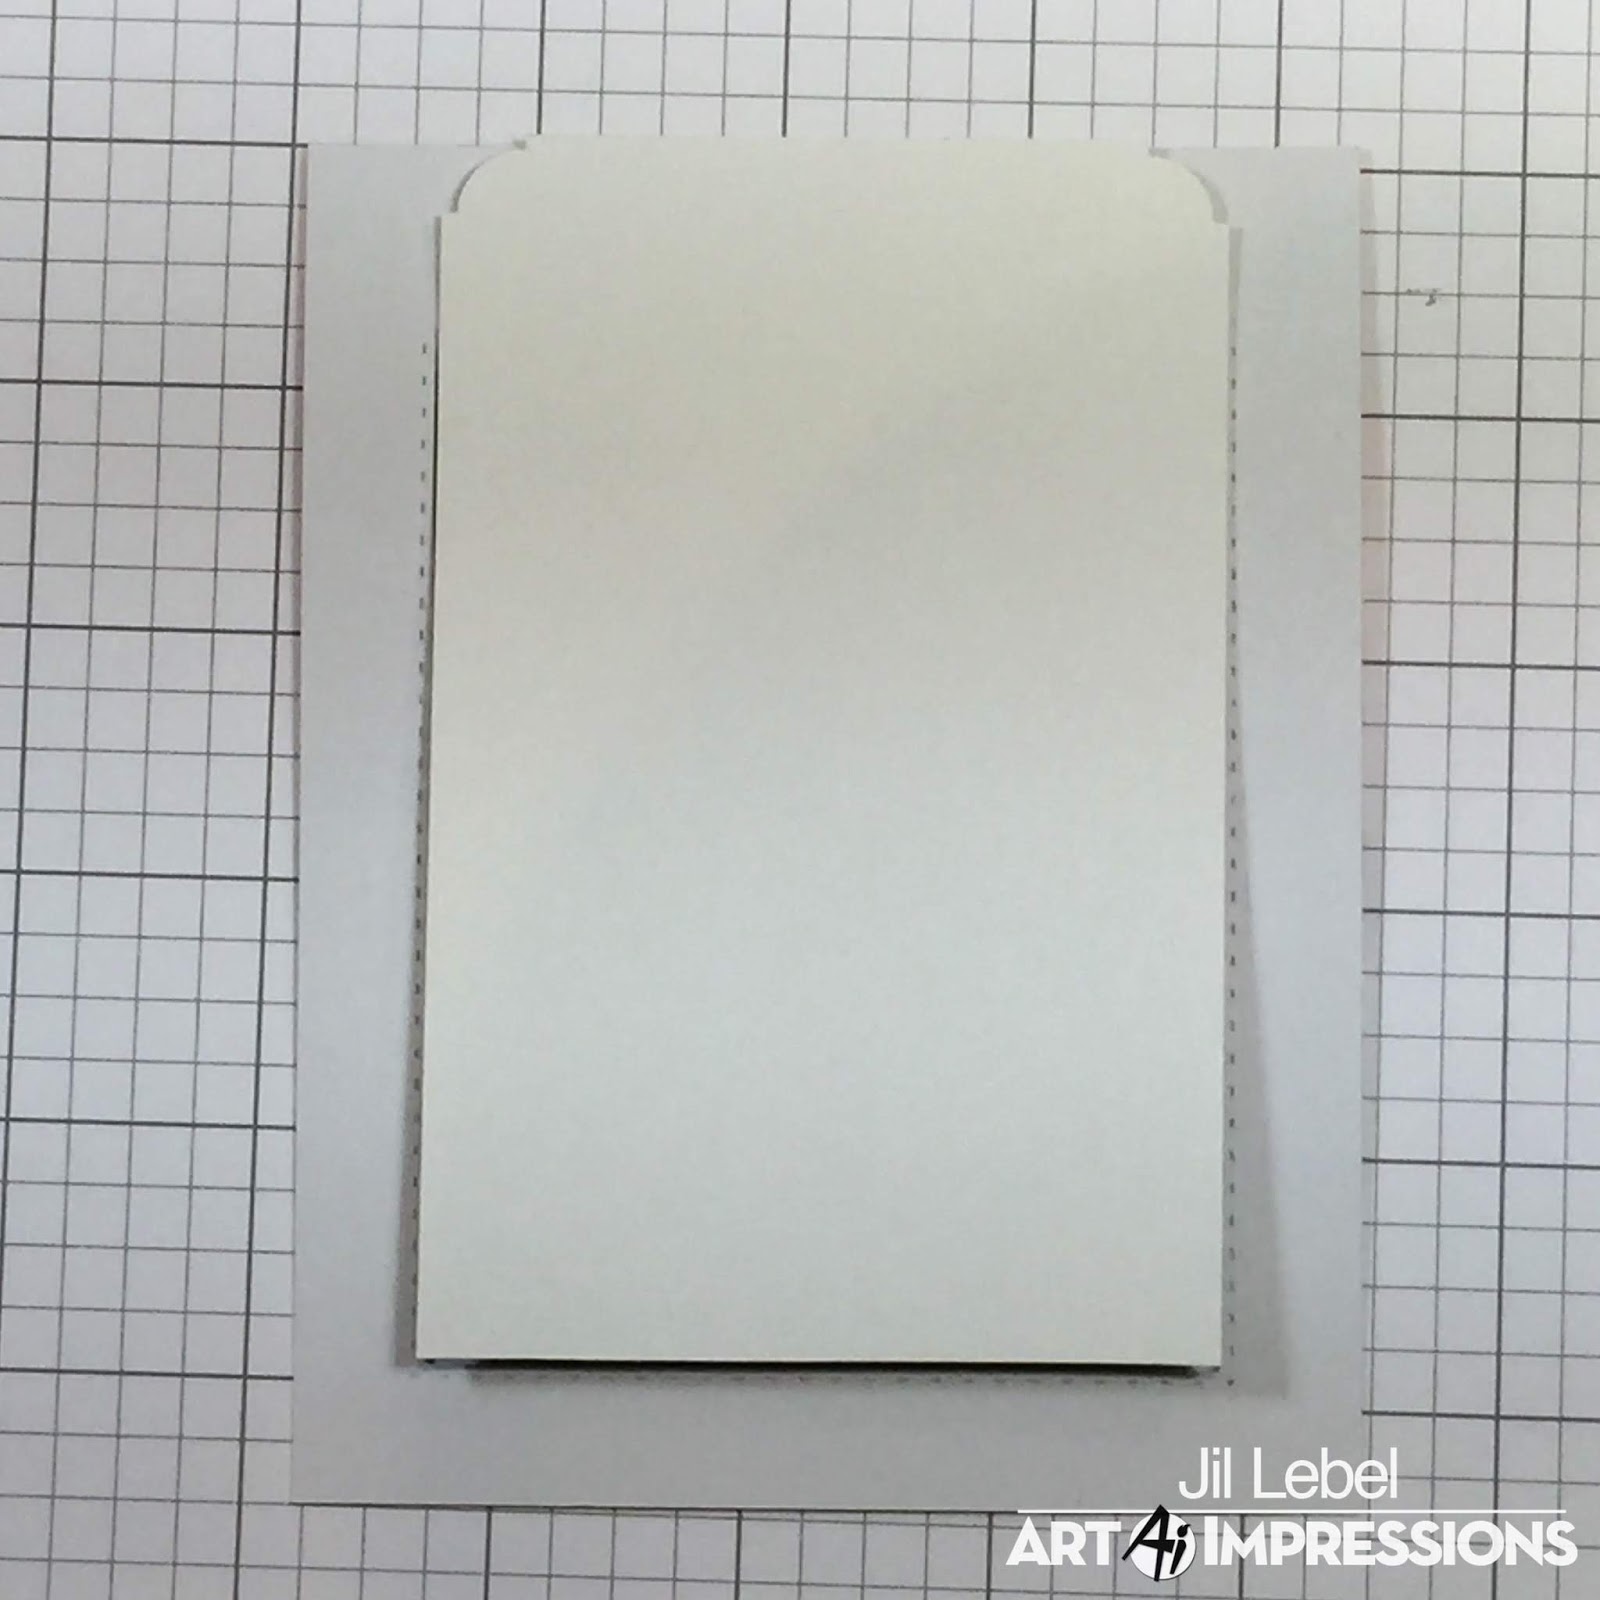
Paper from the Echo Park Party Time by Dani Mogstad 6 x 6 paper collection was added to a 4 1/4" x 5 1/2" piece of paper. It was then cut with the A2 Rectangle Double Stitched Dies. The top of the die wasn't cut. This is easy to do, just send the die through the die cut machine with the plates together just up to the point that your don't want to cut link in the photo.
The paper was scored on the interior portion of the cuts from the bottom up at 1", 2 7/8" and 4 3/4".
The middle fold is a mountain fold, which just means it will fold up from the back. The other two folds are valley folds, they fold down.
Another greeting and image were stamped with the same ink and Colored the same as before. They were stamped inside the card top to be sure the image could be seen when the card was opened.
This is a back view of the front card panel. Strong tape was adhered to the bottom inner piece. It will be attached to the tag. The tag is 2 7/8" x 4 3/4". It is a piece of card stock with a piece of the pattern paper over it. The We R Memory Keepers Deco/Stub Corner Chomper was used on the top edges.
This is the back view of the front card panel. The tag was flipped over and lined up with the bottom of the front panel and attached to the adhesive strip. This will form the pull tab for this card.
A eyelet and ribbon were added to the center of the top of the tag. A thin layer of foam tape was added around the back and added to a top folding A2 card base.
Copic Colors Used:
Meerkats - E40, E42, E33, E25, E29
Teal - BG10, BG11, BG13
Pink - R81, R83, R85
Prismacolor Colored Pencil Used:
Sandbar Brown 1094, Dark Brown 946
Thanks for stopping by and Have a Great Day!
Thanks, Jil! Such a sweet card! Love how you took one of our clear sets and made an interactive card!
Well, it's challenge time! This is the last challenge of the year, so be sure to join in! The theme is "Anything Goes" so you can create anything, the sky is the limit! Our judges love seeing how you use our stamps and dies with stunning coloring and creative cards! Now is your time to shine, so let's see those entries!
Here are the Challenge Rules:
✻ Please make a new card or creation. You can make any crafty item you wish; this is not limited to cards!
✻ Limit two submissions per person. You will receive extra votes if you use Art Impressions stamps!
✻ The Ai Challenge is open to everyone, international submissions are welcome!
✻ Include a link back to the Ai Blog or grab our button on the top right of our sidebar!
✻ Share the Ai love by clicking and commenting your fellow crafters.
✻ Make sure to get your link up by Wednesday, December 12 at 5:00 p.m. PST to enter your creations.