Showing posts with label Valentine Critters. Show all posts

Wednesday, June 5, 2019

You Are My Significant Otter by Niccole Kulig

Hello Ai Fans!!

I am stopping by to share an Anniversary card I made for my husband.  Our Anniversary is not until July but I wanted to make sure I had it done.  I also wanted to show you that you don't to use themed stamp sets for that specific occasion; like this one from Art Impressions called  Valentine Critters stamp set but I am using it as an Anniversary card.  

  Isn't he just the cutest?? I started by using my Smoky Shadow card base.  I glued a piece of White trimmed down to 3.75"x5.5".  I stamped "to my significant OTTER" in black ink right on my white card base.

I stenciled on my white piece with some yellow ink and some red ink.  Doesn't it just radiate?  I think it really makes my OTTER pop.

I really wanted my OTTER to be the focal point so besides the radiating sunburst, I raised him up with an action wobbler. I finished it off with some red Nuvo drops. 

Once again here is a finished look at my OTTER card from the Valentine Critters stamp set.  I absolutely love how it turned out.  I made a second card with the OTTER lower and my sentiment on top, but I like it this way a lot better. 

Thank you so much for stopping by and spending a little time with me. Come back again soon!

Copics Used:
BG93, BG96
E41, E43, E44, E47
R35, R37
Y11, Y13, Y15, Y17
YR04


Until next time ... Hugs & inky fingers!


Wednesday, February 20, 2019

I Love You by Niccole Kulig

Hello Ai fans!

I am stopping by today to share with another quick card from the 
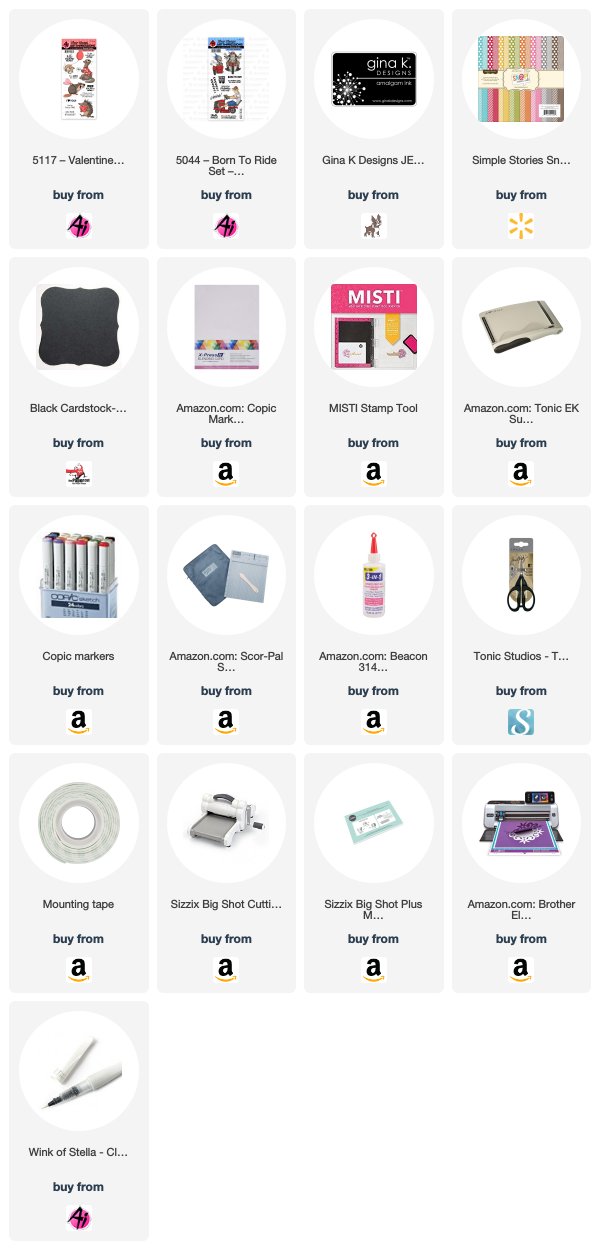
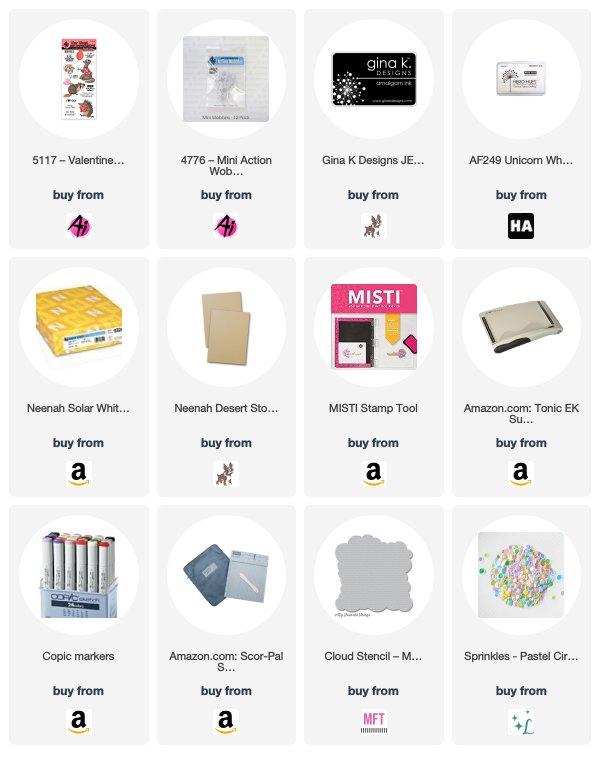
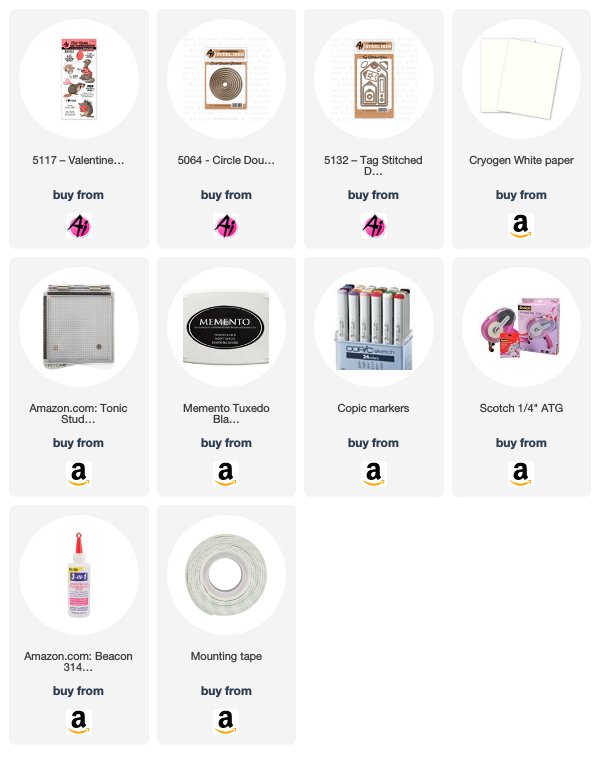
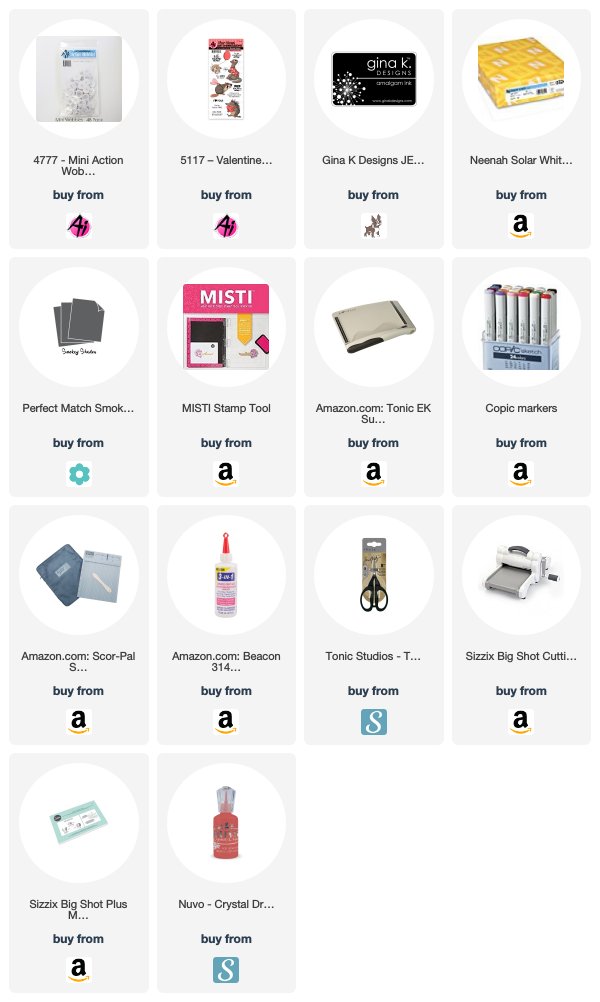
Valentine Critters stamp set from Art Impressions.  It is a rather quick card today. I wanted to show you can use it for other things than just Valentine's Day.
I used black for my card base.  I used an old die I had to cut my circles.  After I colored and cut out my mouse from Valentine Critters. I cut him out and cut almost all of the string off of the balloon.  I adhered the mouse and balloon with glue on one side and foam tape on the other.
I drew my string with a pencil so it would line up with both the top and bottom circle.  Once I had it where I wanted it I used a black pen. As you can see I am not the best at free hand but I think it added to the character of a homemade card.  The nice thing is if I really hate it I can always cut another circle and add it to the top of the one that is already there.  Easy fix!  I stamped I love you with a stamp from the Born to Ride stamp set.  I masked off part of the sentiment to only use the I love you portion. I layer the sentiment, added rhinestones, and finished it off with some Wink of Stella.
Thank you so much for stopping by.

Copics used:
C1, C3, C5, C7
RV21, RV23, RV25

Until next time … Hugs & inky fingers!