Showing posts with label Action Wobbles. Show all posts

Sunday, May 30, 2021

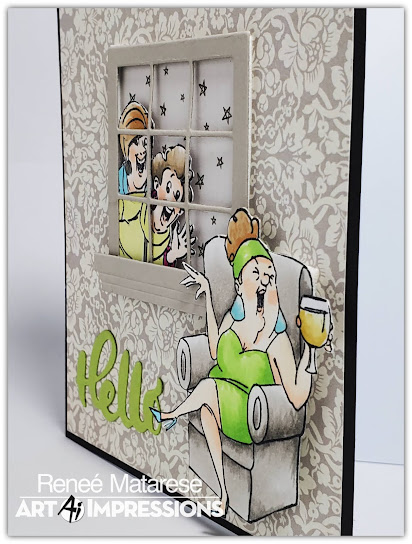
Sit Back and We're Here Windows by Reneé Matarese

Hello Ai fans!

As you know, Art Impressions has a funny series of sets called Laugh Lines.  They've recently added to fun, new sets to the line. 


On the front I stamped the verse in the
to make it look like we are looking into his living room.


When you open up my card you enter his living room.  
He "pops" up and his recliner shakes on its wobble!
The verse on the inside is stamped on 5065 – Oval Double Stitched Dies.


If you notice the front of the card, the window is actually faux.
What I mean is that I didn't make it so that you could actually see through
the window.  I just made it look like you could.  The reason for that was so that
on the inside I could make it look like there were deer just outside his window.
This is how it is at my house.  My husband can be sitting in his chair and the
deer (or more recently...bear) stroll on by.


I made it a pop up card so that his chair was away from the wall and window the way they'd be in real life.


Doesn't the wobble make it look like he just "ejected" his foot rest from the recliner?


I made a second living room scene using the same window and 
the girlfriends this time. I used SC0677 – Wine Divas.


Can't you just hear them rapping on the window saying..."We're here!! Let us in for some wine too!!"
lol!! "  I used 5281 – We’re Here Set.  

   
The girlfriend in the chair is popped up dimensional foam tape and the Hello die come with the ShadowBox window die.


Copics used on Sit Back Window:

N0, N1, N4, C8, YG0000, YG06, YG91,
YG93, E23, E99, Y17, B95

Copics used on GF Window:

BG10, BG53, Y00, Y26, YG05, YG13, YG21,
RV09, W00, W2, W5, E00, E02, E31, E43, E50
E55, E97


Wednesday, January 22, 2020

Couples Frame by Niccole

Hello Ai fans!!
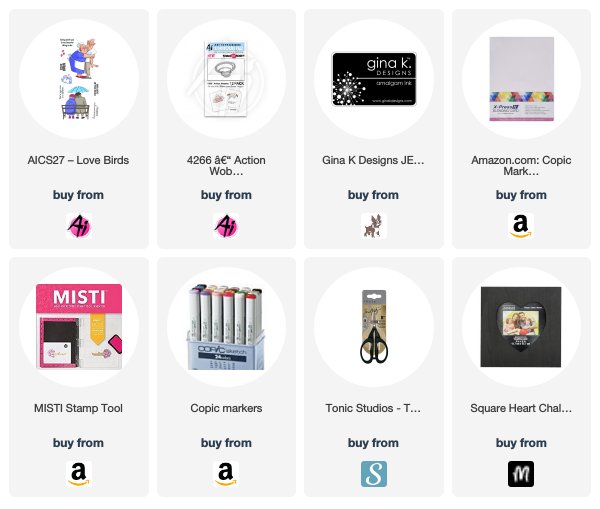
I am stopping by today sharing a fun project I made using the Love Birds stamp set from Art Impressions.  I had so much fun with this one.  It could be used in so many different ways and for so many different occasions.
I started by stamping my image of the couple hugging onto white paper.  I Copic colored it with shades of gray, black, and red.  This is my all time favorite color combo.  I might be dating myself BUT that was the color combo of the wallpaper ... YES you heard me right, I said wallpaper LOL that I had my room decorated with in high school.
I added Wink of Stella to my lady's hair to give her gray some shimmer. I also added some Crystal Effects to her glasses to give them some dimension and shine.  I fussy cut my couple out. From there I added one of the Action Wobbles onto the back of my couple.  I found a frame from Michaels. A $2 frame at that ... YAY! AND ... it was already painted black.
I figured out where I wanted my couple and I attached my stamped couple to the frame. And VOILA ...

Here is one more look at the completed frame.  What do you think?  Cute right?  Now to figure out what picture of my husband and I do I want to put in the frame ... Hmm! 
Thank you so much for stopping by.  Please come back soon to see what the Ai team has been up to!

Copics used:
B0000
C0, C2, C4
E00, E11
R11, R22, R24, R27, R29
T5, T7, T9

Until next time ... Hugs & inky fingers!

Friday, November 15, 2019

Jingle All the Way Wobble | By Jessica Shier

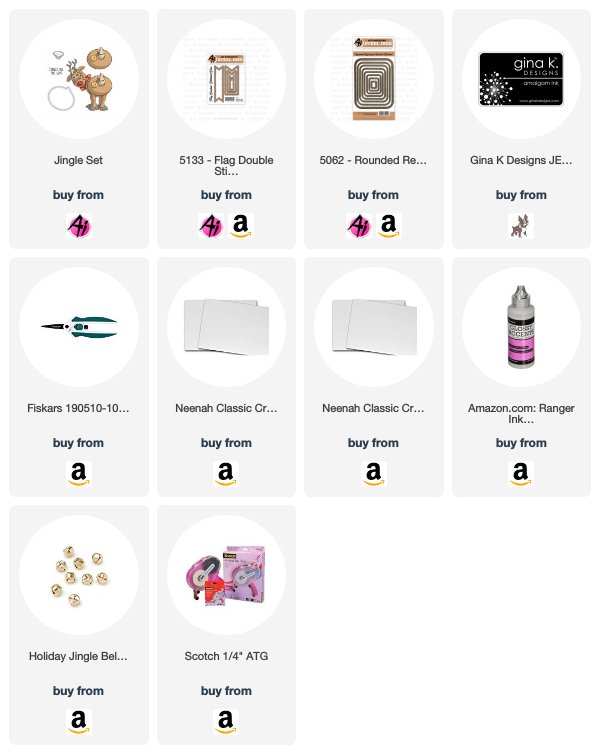
Hello Ai Fans!I'm making some interactive Christmas cards this week. This Jingle set has a large reindeer stamp that comes with a action wobbler and a extra stamp and die to cut out his bum. So silly and fun!


I stamped the reindeer and the extra bum on to Neenah 80lb card stock and colored them in with Copic markers. This set does come with a die for the bum image but I went ahead and fussy cut it out. It is a very simple image and I chose not to have the white border that the die leaves behind. Fear not though the die will not go to waste, because it is a great shape to use a speech bubble! I love items that can be used for dual purposes. Also I don't mind fussy cutting but I know some do not, so the die is a great option. 


I'm going to apologize really quick... the paper with the stars is actually discontinued. It was by Simple Stories. I got excited when I found it in my stash and didn't look to see if it was still available. I should have, so I'm sorry about that. I did use the the Art Impressions Rounded Rectangle Double Stitch die, which is not discontinued, on the star pattern paper. I adhered a dark gray card stock to a A2 sized card base and layered the star pattern paper over the top. 


I used my scissors to cut out a couple of quick snow hills then use the same Rounded Rectangle die to trim the edges and so that it matches the pattern paper and adhered those to the pattern paper. The last item that had to be die cut is the Flag Double Stitch die. This is where I stamped the sentiment from the Jingle set with red ink. I also added adhesive foam circles to the back so that it is popped up. 

The reindeer is attached directly to the card then I added the bum (how many times will I type bum? The answer is 6) with the included Action Wobbler. I did order some bells (listed below) that fit perfectly onto the bell on the bum but they did not arrive in time. 

Copic Markers Used:
E77, E74, E59, E13
E35, E34, W0
R29, R14
Y18, Y02


Thank you so much for joining me today! Happy Stamping. 


Friday, October 4, 2019

Happy Fright Night | By Jessica Shier

Hello Ai Fans!

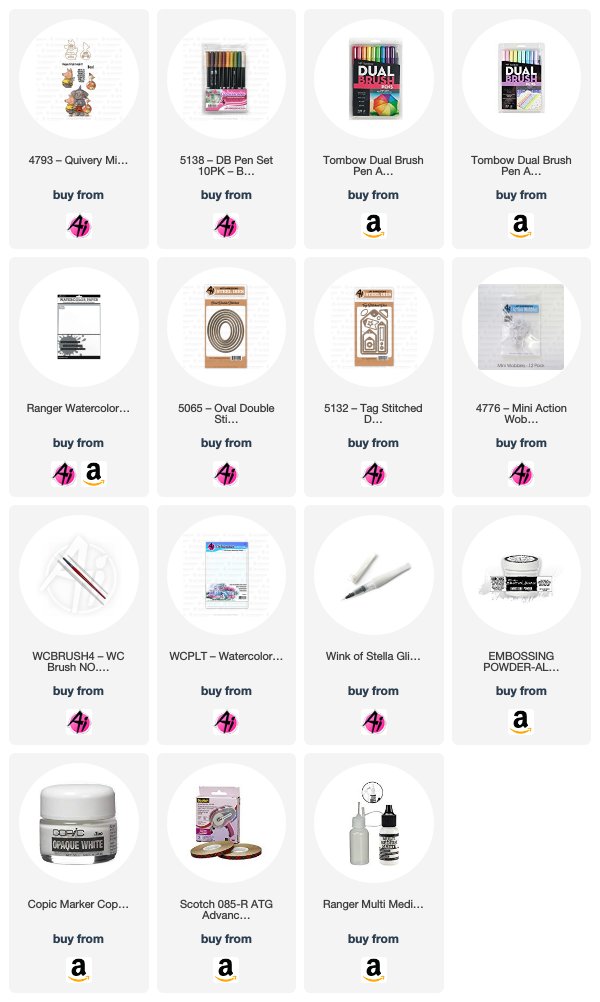
Today I'm using some Tombow Markers to watercolor these shaky little critters from the Quivery Mini Shaker set. This set was made to use with the Action Wobbles and even includes a few to get you started on these fun interactive cards. It's October so I have to get in all those cute little Halloween cards before the month is up!


This set comes with the extra dies and stamps to create the bodies that are popped up from the Action Wobblers, which gives these critters extra dimension. I stamped all the critters and extras on to a piece of Ranger Watercolor paper using Versafine Clair ink. Then embossed with clear embossing powder.


For my coloring I used Tombow Markers, the colors I used are listed below. Coloring directly to the paper with the Tombow Marker, then blending out with a clean wet brush. I find it easiest to work quickly when using the markers directly to the watercolor paper, immediately blending out with the brush. Once I had the lightest colors down and all my areas were dry, I applied the darker colors the same way. Taking the marker directly to the paper and blending out with a clean brush. 

I fussy cut the three characters out and used the coordinating dies on the pig and duck. Also die cutting a piece of navy card stock using the largest oval from the Oval Double Stitched die. I ran that oval through my die cutting machine several more times with the little star die form the Tagged Double Stitch die set. Then added some white splatter to the top of the oval and a bit of ink blending on the bottom half using Peeled Paint Distress Oxide. It's just enough to add some color. 


After heat setting the distress oxide ink I used the "Happy Fright Night" sentiment and white heat embossed it. Adhering the oval to a Neenah Solar White 110lb card base and attaching the three animals on top. The Action Wobblers come with a release paper that you peel off. I attached the Action Wobblers to the back of the die cut bodies first, then peeled off the release paper on the other side and attached over the top of the large stamp image. Matching up the character shapes. 

The Quivery Mini Shaker stamp set also comes with a couple of extra small dies. These dies don't have coordinating stamp but there is two sizes of bats, a pumpkin and a ghost die. I also added some shimmer and sparkle to the stars with a Wink of Stella pen. Perfect for the current Art Impressions challenge #267 Make it Sparkle!
Tombow Markers Used:


947   026
925   933
055   991
969   173
098   133
062   679
636   620
743   723
493   451

Thank you so much for joining me today!
Happy Stamping!


Wednesday, June 5, 2019

You Are My Significant Otter by Niccole Kulig

Hello Ai Fans!!

I am stopping by to share an Anniversary card I made for my husband.  Our Anniversary is not until July but I wanted to make sure I had it done.  I also wanted to show you that you don't to use themed stamp sets for that specific occasion; like this one from Art Impressions called  Valentine Critters stamp set but I am using it as an Anniversary card.  

  Isn't he just the cutest?? I started by using my Smoky Shadow card base.  I glued a piece of White trimmed down to 3.75"x5.5".  I stamped "to my significant OTTER" in black ink right on my white card base.

I stenciled on my white piece with some yellow ink and some red ink.  Doesn't it just radiate?  I think it really makes my OTTER pop.

I really wanted my OTTER to be the focal point so besides the radiating sunburst, I raised him up with an action wobbler. I finished it off with some red Nuvo drops. 

Once again here is a finished look at my OTTER card from the Valentine Critters stamp set.  I absolutely love how it turned out.  I made a second card with the OTTER lower and my sentiment on top, but I like it this way a lot better. 

Thank you so much for stopping by and spending a little time with me. Come back again soon!

Copics Used:
BG93, BG96
E41, E43, E44, E47
R35, R37
Y11, Y13, Y15, Y17
YR04


Until next time ... Hugs & inky fingers!


Sunday, March 3, 2019

You Rock! Sports Fan Shaker by Reneé Matarese

Hello Ai fans!

Today I'm sharing two interactive birthday cards with you.

My brother-in-law's birthday is in 2 weeks and he's a big sports fan.
His favorite team is the Pittsburgh Steelers so his card was done in black, white and yellow.  My other card (the first one you'll see) was just done in colors I like.
The main image is
In the corner I used
and


On the inside I used
to create a frame with can be personalized inside.


Here's the version I made for my brother-in-law.


The foam finger is on a WOBBLE and shakes when you flick it.


Copics used:
Y00, 17, 21
YR15, 16, 20, 21
E00, 02, 93
N0, N2, T3, C7, 100


Friday, February 22, 2019

I Wet my Plants By Jessica Shier

Hey Ai Fans!

Today I'm sharing a card using the Gotta Garden set. I know some of us are still experiencing freezing temperatures and snow falls, so hopefully this will remind you that spring is around the corner. Plus don't we all have a crazy garden person in our lives that would be tickled by this stamp set!? I know I do!


I first stamped the gnomes and the crazy garden lady, from the Gotta Garden set, with black ink and then colored them in, using copic markers, colors listed below. I also fussy cut those 4 images out using a craft knife to get into the smaller areas around the garden hose. 


The background I drew and colored with copic markers. I also drew the sign and trimmed it out then embossed the sentiment with white embossing powder. This set has so many good puns so I tried to incorporate as many as I could! I adhered the sign and the 2 gnomes on to my background and then stamped the "It's Birthday Thyme" with Salty Ocean Distress Oxide ink. 


I used one of the Art Impressions 4265 Action Wobbles behind this happy gardener, which makes me laugh every time she wobbles! She is just so excited. I love the bit of interaction these wobbles add to a card design!


I also used one of the gnomes on the inside. Which I had to cut and color again because I lost one, he is still MIA. I stamped two more sentiments that are full of puns and die cut them using one of the Flag Double Stitched Dies. 

Copic Markers Used:
W9, W6, W3, W1, W0
C1, Y18, Y02
R29, R17, R05, R02
E77, E74, E59, E51, E35, E34, E31, E15
G99, G94, G46, G17, G14
YG67, YG63, YG03
B12, B00

Thank you so much for stopping by today!
Happy Stamping!

Wednesday, January 23, 2019

It's Not The Years It's The Mileage by Niccole Kulig

Hello Ai fans!

Today I am sharing with you a card from the set 5044 - Born To Ride. This set is so fun and versatile.  It a great set for the men in your lives.


I wanted to leave a little to the imagination of the person receiving the card, so the focal point is on the inside of the card. I started off by stamping the tire marks across the bottom of the page.  I added Vroom! just above the tracks.  I stamped that in green so it would stand out.  To frame the card I did not have any matching card stock so I used my Copics to color around the edge of the card to have it match the Vroom! sentiment. I added a few green jewels to match the green on the card as well.  

Now for the inside of the card ...


I used the sentiment from 5044 - Born to Ride and 
I also used the Happy Birthday from the set - 5046 - Meerkat
 For the Happy Birhtday I only used part of the stamp.  When I inked up my stamp I used masking tape to cover up the "from the Meerkat" so no ink would get on it, removed the making tape and then stamped the sentiment from there. As you can see above I colored my man on the lawnmower with Copics. 

 I thought he would go perfect with an action wobble, almost like he was moving or should I say "MOWING" haha.  You can get the action wobbles in a 6 pack, 12 pack, 48 pack, or even a pack of 100. You can get regular wobbles which are 1.25" x 1.5" but I used the mini wobbles which are 11/16" x 13/16", so basically the size of a nickle, for my guy. I love how much character they give an image or scene.

I finished him off with a small hill at the bottom of my card. I used Lucky Clover Distress Oxide ink. I absolutely love how this birthday card turned out. Thank you so much for stopping by, see you next week with something new!

Copics used:
Shorts, Hat, & Shoes - B14, B16, & B18
Wheels, Grill, Deck, & Steering Wheel - C1, C3, C5, C7, & C9
Skin & Hair - E00, E23, E55, E57, & E77
Shirt & Socks - G40, G43, & G94
Lawnmower - R35, R37, & R39
Gloves & Seat -Y13, Y15, Y17, & Y19

Until next time ...