Showing posts with label patterned paper. Show all posts

Friday, October 20, 2023

Trick or Treat Card by Tasha!

 Good morning and Happy Friday Ai Fans!

Tasha here sharing a Halloween card featuring the new 5778 - FB Frog Costume Stamp and 5769 - Halloween FB Fence Set. I love Halloween and this little trick or treater is just perfect for a not-so-spooky card or project!

The Trick or Treater was stamped with black ink and colored with Copic Markers before using the included die to cut the image out. I LOVE when stamp sets include the coordinating dies! I also used a white gel pen to add little white accents to the costume and pumpkin. I thought the white stitch lines made the costume look homemade. 


For the background, I used a night sky pattern paper from the new 5849 - Halloween S2 Paper Pack and glued on a little glitter moon and stars; I love glitter paper! I also attached the spooky fence from the 5769 - Halloween FB Fence Set to go with the Halloween scene. 

For the greeting, I embossed "Trick or Treat" from the 5603 - Halloween Sentiments Set. I think the Ai Sentiment stamp sets are awesome and are great to mix and match with all their cute characters!


Lastly, I attached lime green, purple, and black paper to bring in more color. I also added another piece of Ai Halloween paper to complete the design. 

I hope you enjoyed today's project and are inspired to create a fun Halloween card!


Monday, May 11, 2020

Cruisin' By to Say Hi by Carol Hintermeier

Happy Monday Ai friends!  Today I have a card featuring the fun Enjoy The Ride set.  This stamp reminds me of the warm spring and summer days and enjoying the outdoors.  This is wonderful for sending to someone "just because" or several other occasions!


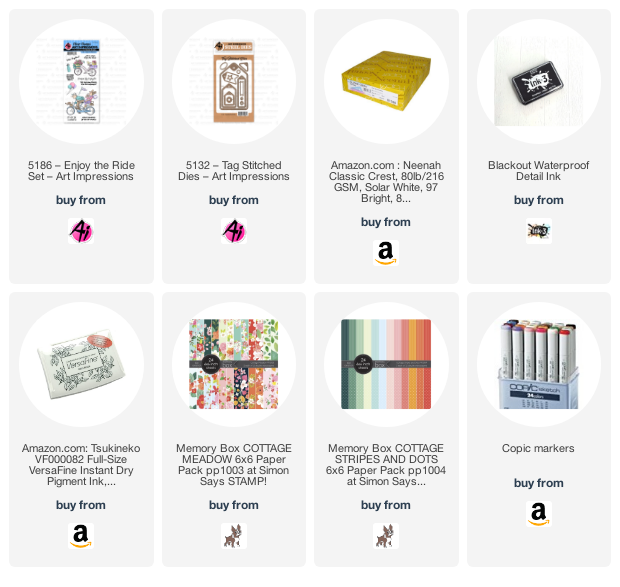
This card was really quick and easy to make!  I die cut the tag from Neenah Solar White 80# card stock with the tag from the Tag Stitched Dies set.  Next I stamped the bicycle onto it with Copic safe ink and colored it with my markers.  The colors I used are listed below.  When I finished the coloring, I stamped the sentiment (it's one of seven included in the set) in Versafine Onyx Black ink.  

I created my card base with a top-folding A2 card base.  I adhered a floral patterned paper that I trimmed to 4" x 5-¼".


I hand cut a patterned paper layer to go behind the tag.  I did that by using a pencil to trace around the actual die on the patterned paper.  I trimmed the straight edges with my paper trimmer and fussy cut the rounded corners.  I adhered this to my colored image.  I added foam tape to the back of the tag.  Before adhering the tag to the card base, I tied on some ribbon from my stash.


I love how this turned out and I hope I've given you some inspiration for your cards today!  Have a wonderful, safe, and crafty week!


Copic markers:
B0000, B000, B00, B41, B24, B32, B37, B45,
C00, C1, C3, N4, N6, N8, R05, R08, R21,
Y02, Y18, YG01, YG03, YG17, YR27, YR31

Monday, March 2, 2020

Happy Mail by Carol Hintermeier

Hello Ai friends!

I have a fun card today using the adorable Mailbox Gift Card Holder set.  This is another versatile set that will be great to use for so many different occasions!


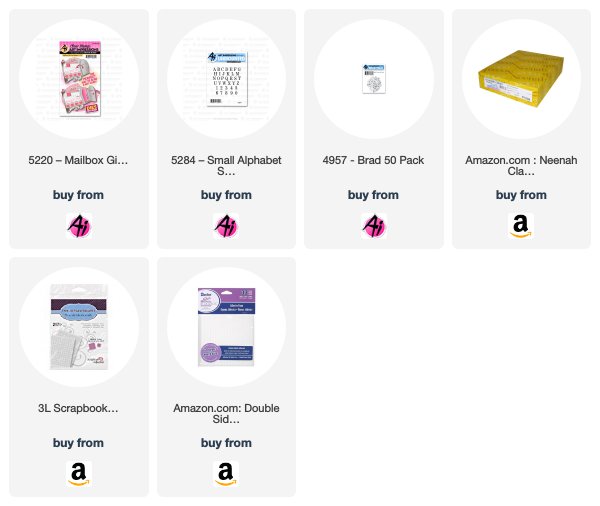
I stamped the images with Copic safe ink and used some Copic markers to color them.   I've listed the markers I used below.  Next I used the included dies to cut them out (except the latch, which I fussy cut).  I also stamped the mailbox onto some patterned paper from my stash and fussy cut it out.  I used the alphabet set (5284) to stamp out the words.


I followed the directions on the back of the package for the easy assembly.  I added foam tape to the back (be sure to leave the gift card area open) and popped it up onto my layered card base.  This card turned out to be 5" x 4-3/4".  I adhered the flowers with liquid glue and popped a few up with thin foam squares.  I also added a flower to cover the hole that is die cut for the flag since I didn't use that.  I added the latch with a silver brad.


Thanks so much for stopping by today!  I hope you have a wonderful, crafty week!


Copic markers:
C5, C3, C1, C0, C00, E27, E57, E23,
G43, R24, R22, R21, R20,
Y17, Y08, Y04, Y00, YG67, YG17, YG61