Showing posts sorted by date for query watercolor weekend roundup. Sort by relevance Show all posts

Saturday, April 2, 2022

Watercolor Weekend Roundup 3-2-2022

 Hello Ai fans!

It's a Watercolor Weekend at Art Impressions and our Watercolor Design Team did NOT disappoint!


This week Tricia kicks things off.  She created a stunning floral Spring card.
---------------------------------------------------------------------------------------------------

Welcome back watercolor fans!  I don’t know about you but I am so excited for the spring.  I have a new puppy and she has inspired some cute watercolor cards.  Her name is Lily, she is a rescue from Arkansas and the light of our family.  I did this Spring Lilies card inspired by her, Spring, and Easter.  This project uses just one stamp set.


To start off, I inked the lilies stamp from the Lily Border Set with 969, stamped it off on a piece of watercolor paper, and stamped it towards the left side of my paper.  I pulled some color out of the lines, making sure to keep the darkest areas really dark. 

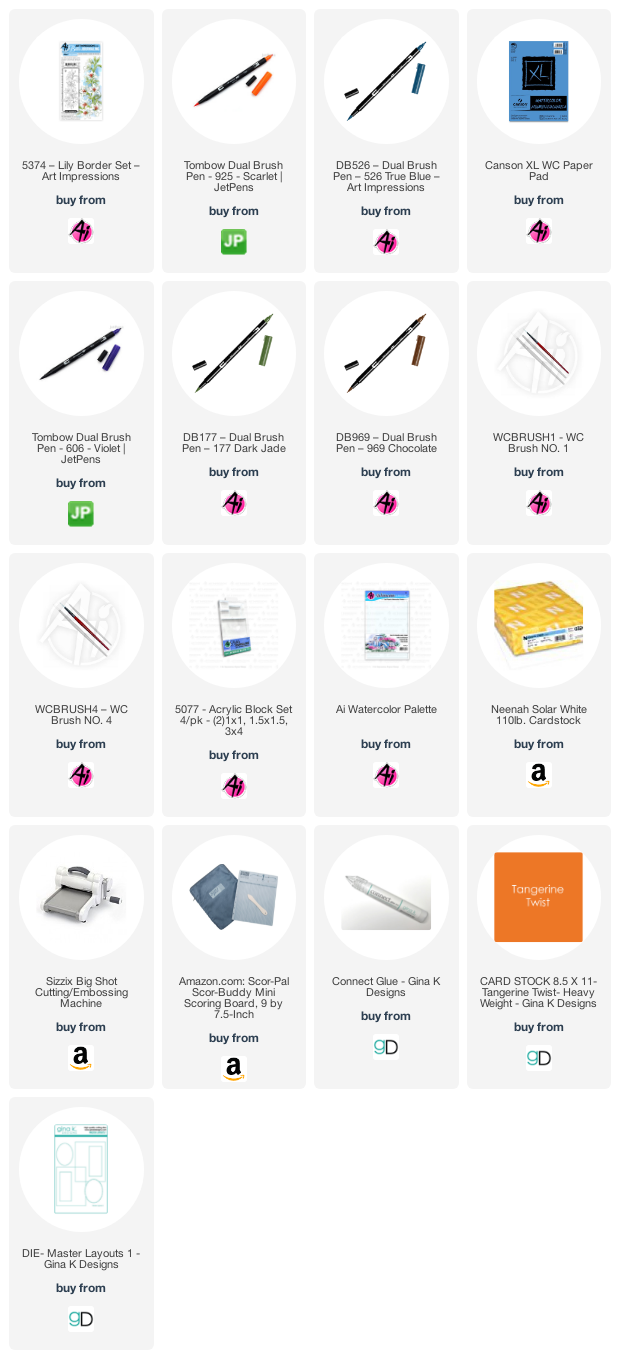
Using my palette, I added layers of 925 to the flowers.  To build the color make sure you are layering on top of paint that is fully dry with small amounts of water.  In order to get some really dark shadows, I added some 606 to the centers of the lilies.  Purple is opposite orange on the color wheel, that means when you glaze them they turn brownish.  This gives the illusion of darker color. 

Once the flowers were done, I added 177 to the leaves and buds, again layering the color in the darkest areas.  Once it was dry, I added some 526 to the background between the leaves and flowers. Lastly, I signed and dated!

You could add just about any sentiment to this piece, I added a handwritten spring saying.  I hope you try this painting.  See you next time!


-------------------------------------------------------------------------------------------
Next up we have Dot's adorable Easter shaker card.

Hello,

I love this row of bunnies stamp and wanted this to look like they were lined up on the bench and excited for the egg hunt! The row of bunnies is from the stamp set 5116 - Basket of Blessings which is one of my favorite Easter stamp sets.

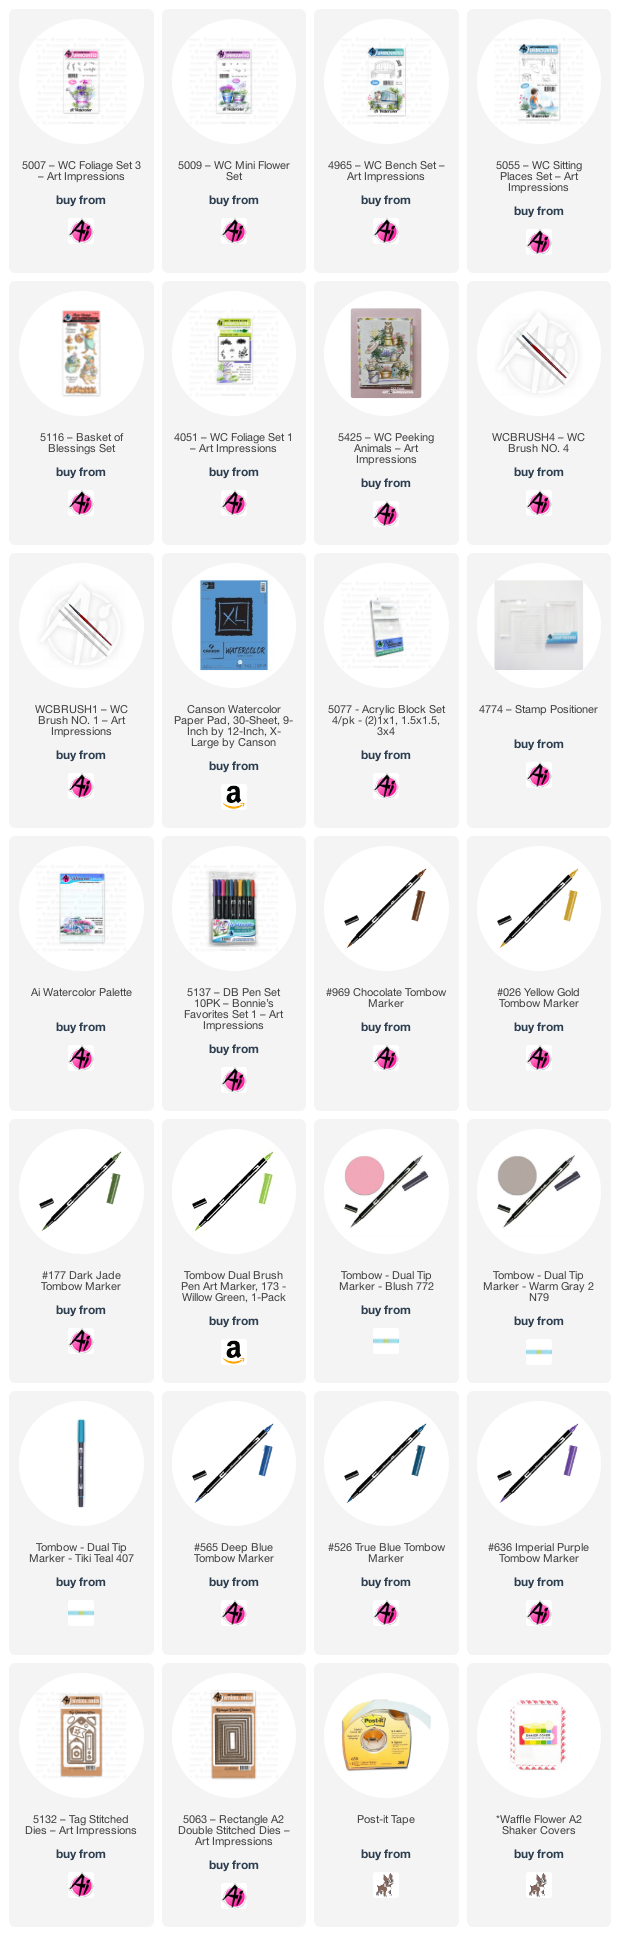
To make this card, stamp the bunnies inked in Tombow N79 which is the most perfect color for animals. Cover them with post it tape then using a stamp positioner, stamp the bench inked in 565 and 969 on the right side, then stamp it again after you clean off the edge you don't need to make it long enough for all the bunnies to fit. Color the bench in with 407 mixed with 177 which really makes the bunnies look white. Stamp the bunny from the 5425 Peeking Animals set. Use 772 for the ears and cheeks of all of the bunnies. Use a fine tip black pen to darken the eyes, noses and whiskers. Stamp the rocks from the 5055 Sitting Places inked in 565 and 969 under the bench so the bunny has something to stand on. Stamp the bush from the 4051 Foliage Set 1 inked in 173 and 177. The purple flowers are from the set 5007 inked in 636. Use the larger grass from set 4051 inked in both 173 and 177. Stamp the pink and yellow flowers from the 5009 Mini Flower Set inked in 177, 725 and 026. Use 526 for the sky. The sentiment is from the same set as the row of bunnies and it's cut out with the 5132 Tag Stitched Dies set. Cut the entire thing out with the 5063 Double Stitched Dies Set and use a Waffle Flower Shaker Cover which fits an A2 card size.


----------------------------------------------------------------------------------------------------
Last, but not least is Karen with her sweet, lavender Easter Bunny card.

 Hello Ai Watercolor fans!

With the month of April upon us, I had to paint something pretty & spring-like, so I've pulled out nine different stamp sets to put my scene together:


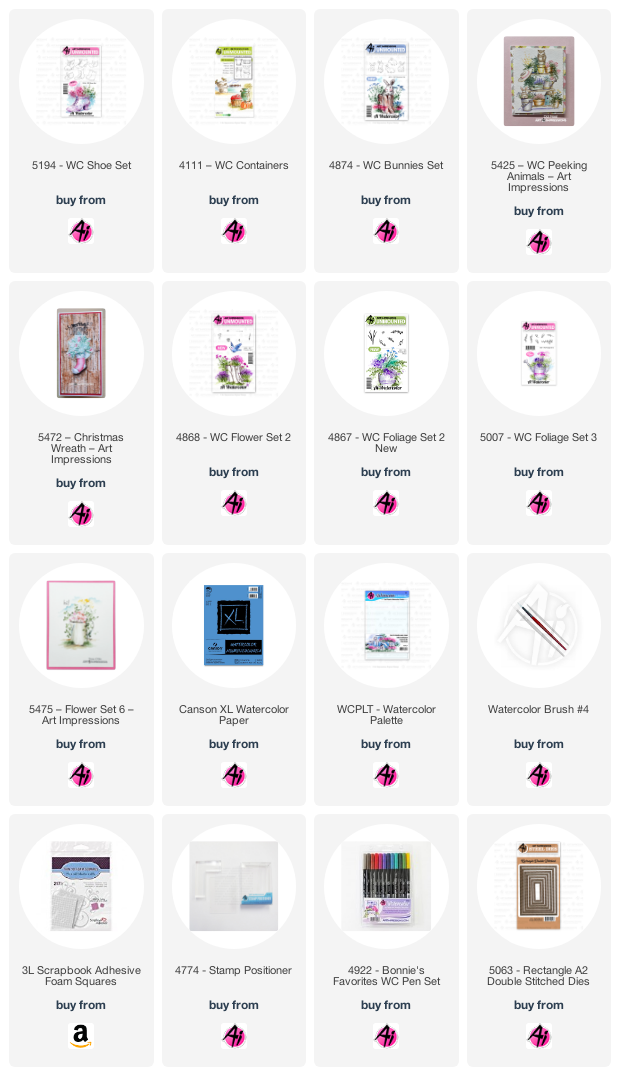
I began by colouring the boots from 5194 - WC Shoe Set in #N55 Tombow Dual Brush Marker, leaving the top edge uncoloured.  Using my stamp positioner, I added the bunny from 5425 - WC Peeking Animals, the pail from WC Containers and the sitting bunny from 4874 - WC Bunnies Set, all in #N55.  I painted in colour on all of them, adding #533 and #565 to the boots, N55 to the bunnies, and #N55/451 to the pail.  For the bouquet, I used the pinecone from 5472 - WC Christmas Wreath Set, adding #993 to the center, and #725 around it, to create the roses (be sure to not colour the entire pinecone!).  As a filler flower, I used the tiny blooms from 4868 - WC Flower Set 2 stamped in #606, and the tiny leaves in 4867 - WC Foliage Set 2 in #177 as the greenery.  After masking the boots & bunny, I stamped the two grasses from 5007 - WC Foliage Set 3 in #177, and used it as a wash on the ground.  The two carnation stems in 5475 - WC Flower Set 6 were coloured with #993/126, and added to the pail and on the ground.  To finish, I added some #526 to the sky, and die cut my scene with 5063 - Stitched Rectangle Die.


Thank you to our fabulous Watercolor Design Team for all of this fabulous Spring inspiration! All are so different and yet, each, so beautiful!
-----------------------------------------------------------------------------------------------------
Did you see the recent sale going on at Art Impressions? They're doing some Spring cleaning on overstocked items and there are some FANTASTIC deals going on. You can check it out by clicking on the photo below.
Have a great weekend and, Happy Stamping!

Saturday, March 5, 2022

Watercolor Weekend Roundup March 5, 2022

 Hello Ai fans!

It's time for Watercolor Weekend Roundup!


This week all of the Watercolor Design Team went with warmer weather cards.

Dot is kicking things off with her beautiful spring themed farm scene.

Hello,

If this scene looks familiar, it's because I created it in a Fall setting. I thought, why not do a Spring Scene for this Art Impressions Watercolor Weekend.

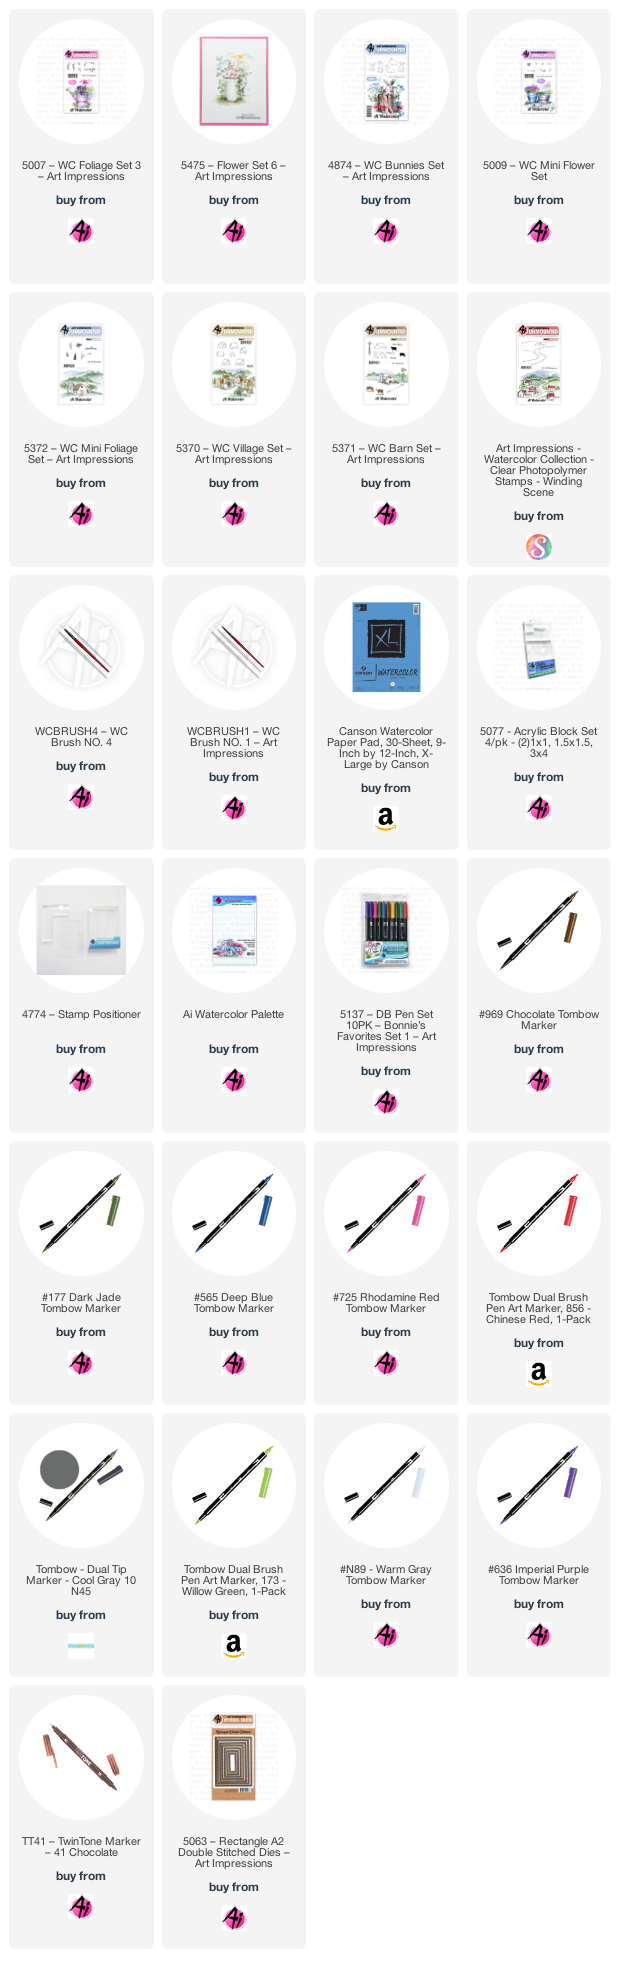
If you would like to make it, start by stamping the 5379 Winding Scene inked in 969 for the road and N89 for the hills. Stamp the barn from the 5371 Barn Set inked in 565 then 969. Stamp the other buildings from the 5370 Village Set also inked in 565 then 969. Paint all the roofs and doors in 969. The barn is painted in with 856. Use the fine tip Tombow Twintone in brown for the windows. The silo is N45. Use the tree stamps from the 5372 Mini Foliage Set inked in 969 to add all of the trees. Use the foliage from the same set inked in 177 on four of the trees and use pink 725 for two of the trees. Dab at them with a wet brush, then stamp them again inked in 173 this time to add that bright Spring green color. Stamp the row of bushes from that same set inked in 177 on the back hills. Then stamp the row of bushes again but inked in 173. Stamp the grass inked in 177 from that same set and use it to add flower stems. Then ink the mini-dots from the 5009 Mini Flowers Set in the 856, some in the 725 and some in 636 to add the flowers on the stems. Ink the fence from the 5372 Mini Foliage Set in 969 and add all the fences. Stamp the windmill from the 5371 Barn Set inked in 969. Use a wash of 177 on the palette to add some grass all over. Use 565 to add the shadows on the fences, houses, windmill and road. Stamp a bunny from the 4874 Bunnies Set inked in 969. Color him with N45. His ears and cheeks are 725. Darken his eyes and nose with the fine tip of the brown Tombow TwinTone pen and draw some whiskers. Stamp the flowers from the 5475 Flower Set 6 inked in 177 and 725. Stamp the other flowers with 177 and 856. Then stamp the grass from the 5007 Foliage Set 3 inked in 177 and 636. The sky is 526. Use the 5063 Rectangle Double Stitched Dies to cut it out and the background piece. 


Next up is Karen with her lovely ocean scene.

Hello Ai Watercolor fans!

I have a scene using just one stamp set today.  I'm using 5473 - WC Seagull Set that was released last fall:


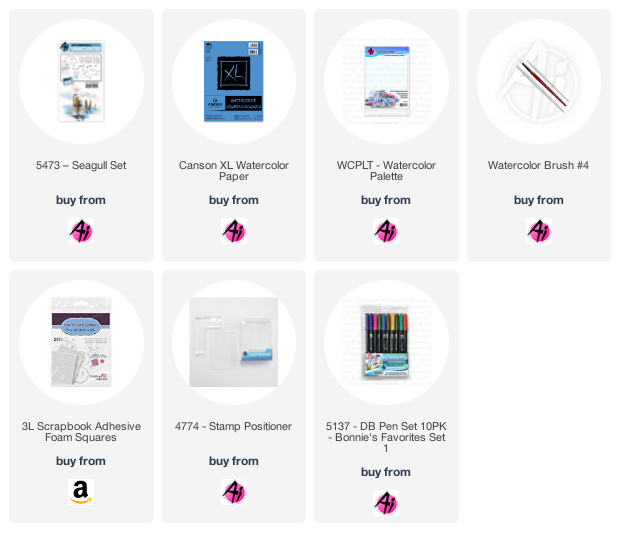
I started by painting a wash of colour for the sky, wetting my paper first, then doing a stroke of Tombow #565 picked up from my palette, followed by #803 and #993, and used the same colours to paint a wash for the reflection in the water.  I stamped the posts in #N65 using my stamp positioner to get them in the right spots, then used #533, #565, #N45 and #N25 to paint in the post in shades of blue, grey and black.  I made sure to leave a lighter edge on the right side of each post, where it would be relecting the sunrise, and the other sides were darker, in shadow.  I used all the colours to add a few streaks to the water, especially the 565, and added darker ripples behind the posts for the shadows.  I added the suggestion of wispy clouds to the sky and stamped one of the seagull images in #N45.
This would be gorgeous in bolder colours to be more of a sunset look, too.


Finally,  we have an adorable spring raccoon card from Tricia.

Hi Watercolor Fans,

 We are so excited for another watercolor weekend.  This weekend I have a cute Peeking Racoon for you.  I love how cute all the little animals in this set are. 


 Here is how I put this project together. 

Step 1: Bucket

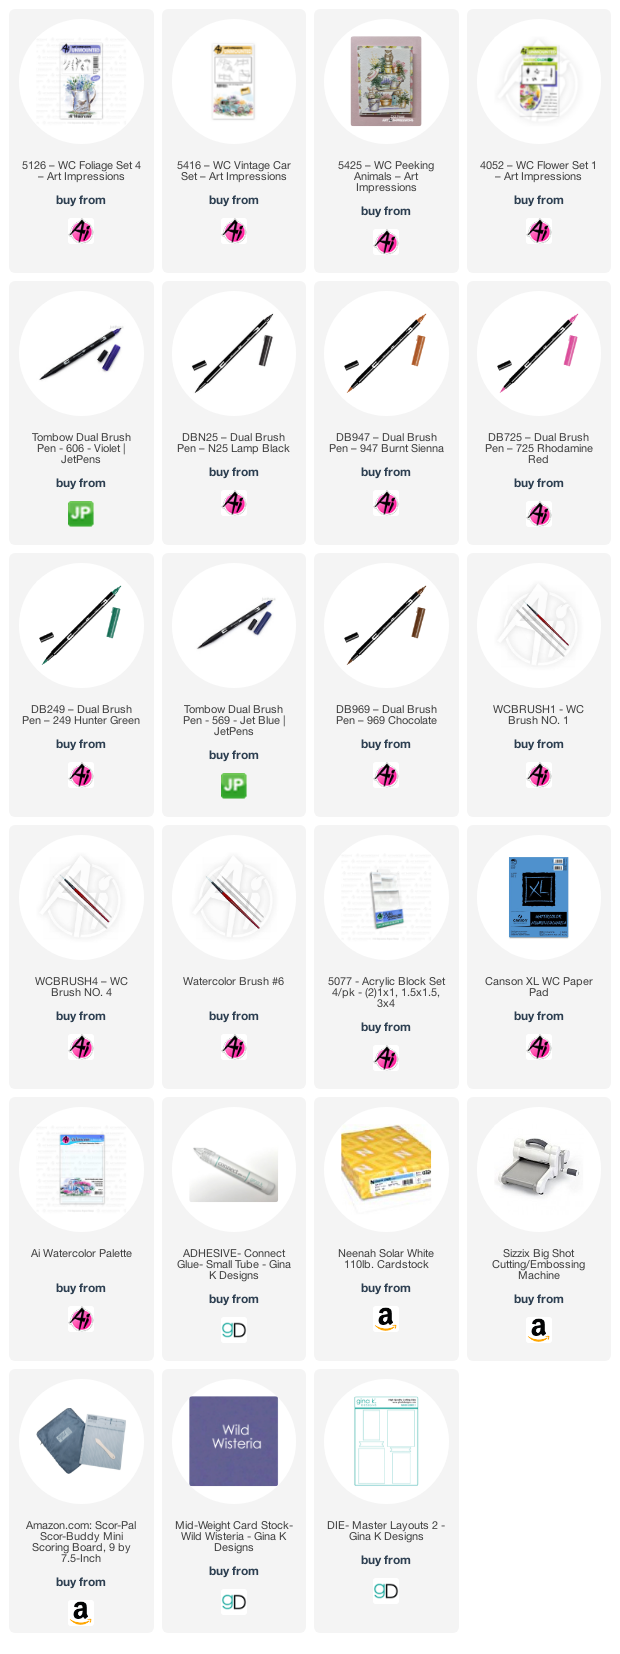
To start off, I inked the bucket from the Vintage Car set with 969 not inking the left corner or lower right corner to allow the flowers and foliage to appear like they are spilling out of the bucket. To make sure it was really light, I stamped it off and then placed it on the left side of the paper.  Next, I pulled the color out of the lines keeping the sides really dark and fading the color into the center.  I added some additional 947 from my palette to add a little rusty look to the bucket. 

 Step 2: Raccoon

To make sure I protected my bucket, I used a small piece of post it tape over the top of the bucket.  Using my stamp positioner, I inked up the peeking racoon with 969 and placed him into bucket.  I pulled the color out of the lines and added some additional color to him from the palette.  In order to get some really dark color, I let each layer dry before adding more color. To darken him eyes, use a twin tone or the bullet point nib of your N25.

 Step 3: Foliage and Flowers

First, I cut a mask to protect the peeking racoon while I stamped in the flowers and foliage.  I inked up the mini vine from the Foliage Set with 249 and stamped it around the racoon.  For an accent, I stamped the vine in the bottom right as well.  To create the flowers, I inked the daisy bush from the original flowers set with 606 and stamped them several times into the foliage.  I added water to all the blooms and leaves.

 Step 4: Shadow

Using a mixture of N25 and 969 on my palette, I created a shadow to the left of the bucket by pulling the color to the left.  Add some additional darker color at the base to give additional depth.

 I wrote “Hi!” as my sentiment with a fine liner and  signed and dated my painting.


If you're here, it probably means you're a fan of watercolor.  Be sure to check out Bonnie's Camper Challenge for your chance to enter a card and win a $25 Gift Certificate to the Art Impressions online store.

Upload your version of her beautiful scene HERE.


Stay tuned this Tuesday for the latest Watercolor Throwback.  This currently retired set will be released for 3 days and then will be gone forever!
Tune into Kendra's Facebook live to see it and visit the Ai store to get yours!

Have a great weekend and Happy Stamping everyone!

Saturday, February 19, 2022

Watercolor Weekend Roundup February 19, 2022

Hello Ai fans!

It's getting to be towards the end of winter where we live.  That doesn't mean we won't get hit with more snow but we love that our Watercolor Design Team is beginning to think spring!
From Tricia's gorgeous mushrooms, Dot's sweet wagon scene and Karen's lovely grazing deer there is plenty of inspiration for you this weekend. 


This week we're kicking things off with Tricia.

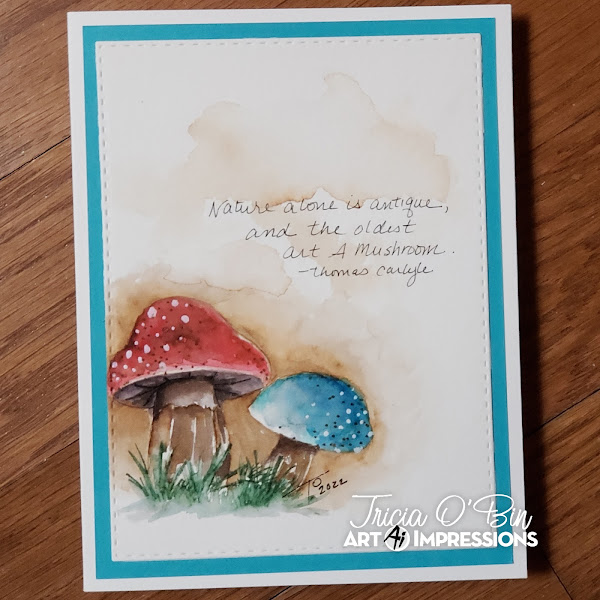
WOW, can you believe it is already the middle of February? I swear the older I get the faster it goes. Anyway, I decided to keep it simple with these Sweet Mushrooms from the Art Impressions Elves set. They are so easy to paint and are so versatile any sentiment could be used. I know, I say it all the time, but it is so true.
 

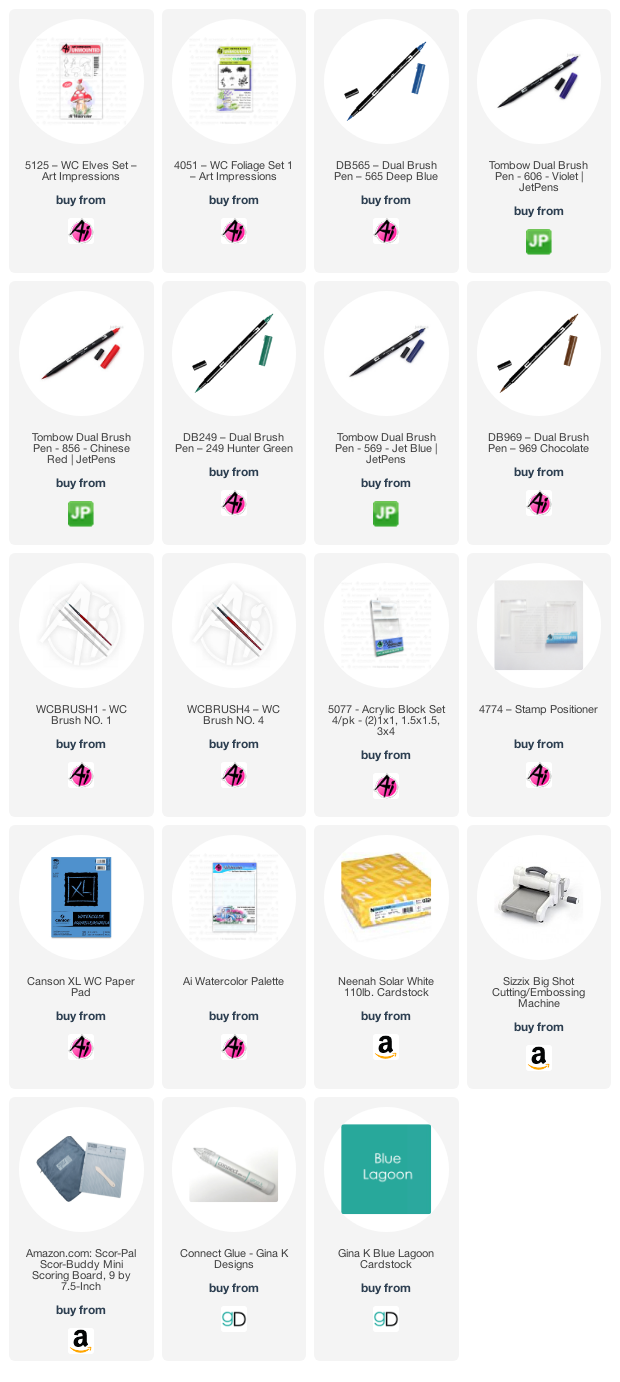
 To start, I inked up the larger mushroom with 969 and stamped it onto my watercolor paper. Next, I inked up the smaller mushroom and, using my positioner, stamped it to the right of the large mushroom. Using my #4 brush, I pulled the color out of the lines, blending it towards to center. Using my palette, I added some red to the large mushroom, blue to the small mushroom and some brown to the base of them both. Make sure you leave some white space especially on the stem. I built up the color by adding color and waiting for it to dry before adding the next layer. I added a bit of grass to the base of the mushrooms with the larger grass and my 249. I felt like it was more in perspective with the mushrooms than the small grass. I added some white dots with my white gel pen. To finish it off, I pulled some of the brown out into the background and added some additional to fill in some of the white space at the top. By doing this you create depth in your painting. I decided to write in the quote “Nature alone is antique, and the oldest art A Mushroom. – Thomas Carlyle”. Check out my blog for more details. I hope you have a crafty day. Make sure to tag us on Instagram and use the #AIWatercolor.


 SUPPLIES:   


 Hello, It's time for the bi-monthly Art Impressions Watercolor Weekend and I get excited and look forward to seeing what my teammates make, too.  It definitely feels like Spring in Las Vegas, 70's all week. My flowers should be blooming soon. This card is inspired by granddaughters, Aubrey and Brinley, even though they are older now. 


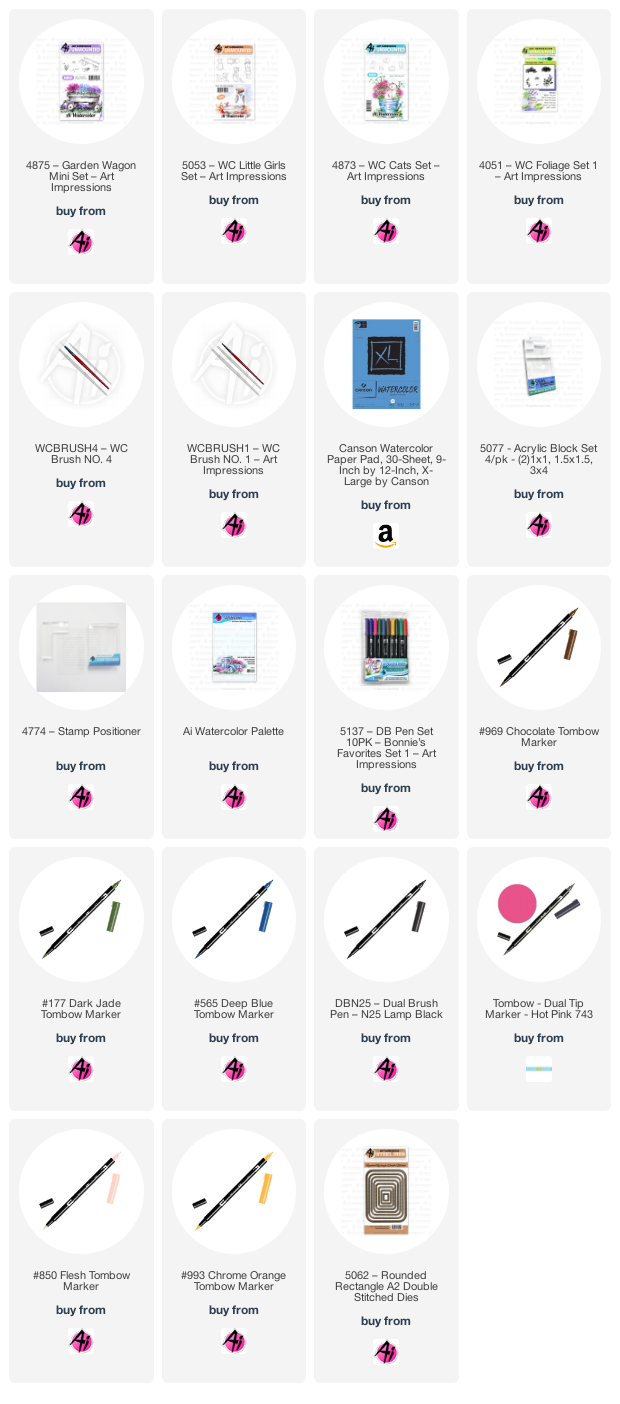
To make this card, stamp the wagon from the 4875 Garden Wagon Mini Set inked in Tombow 565 and 969. Be sure to stamp it off first. Cover the wagon with post it tape. Ink the girl from the 5053 Little Girls Set in 969 and place her inside the wagon. Ink the cat from the 4873 Cats Set with the 969 and stamp it inside the wagon. Stamp the other girl inked in 969. Use the foliage from the wagon set inked in 177 and 993 on either side of the wagon. Use the grass from the 5061 Foliage Set 1 inked in 177 and then use the dots from the wagon set inked in 743 to add flowers above the grass. Use 565 to create a shadow under the wagon. The taller girl is colored with 743 for her hat and skirt, 993 for the stripes on her shirt and her hair is colored in with 969. Her skin is colored with 850. The girls in the wagon is colored with 969 on her hair, 850 for her skin, 743 for her pants, 993 for her shirt and the dots on her shirt are 743 The cat and the tires are colored with N25. The wagon is colored 993. The sky is 526. Use the 5062 Rounded Corner Rectangle Die Set to cut out the paper and background paper. 


 Hello Ai Watercolor fans!

Time for another scene today, using the 5431 - WC Simple Scene Rocky River:

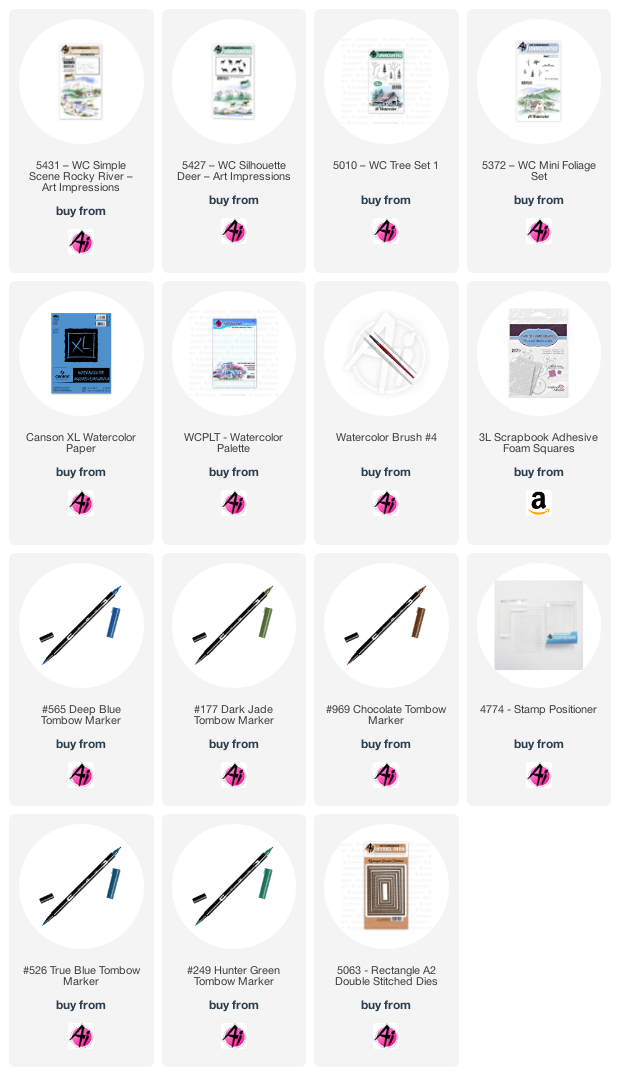
I coloured the entire scene stamp in Tombow #969/565, stamped it off, and then onto my Canson XL Watercolor Paper.  I added in the two deer from 5427 - WC Silhouette Deer both coloured in #969 and placed with my stamp positioner.  The mountains were painted with #533 for the farthest one, as it is a lighter shade, and #565 for the closer one, appearing a little darker.  I added shades of #N65 and #969 to my rocks, adding layers to build up the colour, and using #565 for the shadowy parts.  The hillsides and grassy areas were painted with #177 and touches of #076, again making it a little darker in the foreground.  I used 5010 - WC Tree Set 1, colouring 2 of the trees in #249 to add in the pine trees, and used the marker directly on the paper to add the trees way in the background.  I used one of the bare trees from 5372 - WC Mini Foliage to add in the bushes and gave them a few berries and bits of grass around their base.
I wanted the stream to contrast with the hills, so used #526 to paint in the water and dabbed it onto the sky.  I darkened up the undersides of the deer, and added a slight reflection in the water.


Check out the most recent watercolor tutorial from Bonnie on FB.


Kendra has a wonderful, Spring themed tutorial this week for her weekly Back to Basics.


Don't forget to check out the latest Deal of the Week.  It expires at 11:59 PST Sunday.


Enjoy your weekend and Happy Stamping!

Saturday, February 5, 2022

Watercolor Weekend Roundup February 2, 2022

Hello Art Impressions watercolor fans!!

It's time for our Watercolor Weekend Roundup!

Each week our Watercolor Design Team creates beautiful works of art to inspire you.  Each designer has her own style and all are so loved among the Art Impressions fans!  We hope you love their designs as much as we do and are inspired to try some of them out.


 Hello Ai Watercolor fans!

I created a formal bouquet today, as I wanted to showcase some of the wonderful new flower & foliage sets, and used the limited edition Column stamp to give my bouquet some height:

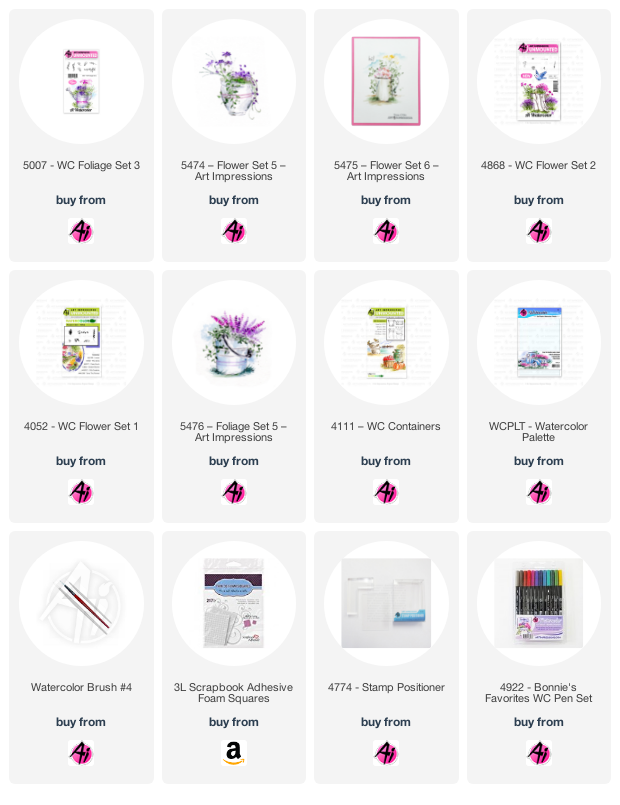
I coloured both the column and container from 4111 - WC Containers in Tombow #969/565, using my stamp positioner to get the container placed perfectly, and then used my damp brush to pull out the colour, concentrating it in the indents to indicate shadows.  I stamped the trailing ivy from  5476 - WC Foliage Set 5 in #177, then using #725 and #606, I used the tiny circlet stamp from 4868 - WC Flower Set 2 stamped in clusters and the Leaves from Flower Set - 4052 in #533.  The stemmed flowers from 5475 - WC Flower Set 6 was stamped twice in #565/177, and the two sprigs from 5474 - WC Flower Set 5 were stamped as foliage fillers in the bright #126 green.  A wash of #536 was painted in as the sky.  The grasses from 5007 - WC Foliage Set 3 were stamped around the base in #177/126.


Welcome back Watercolor Fans! I have a fantastic slimline valentine card for you today. This is a perfect set to use to create a standard card or on any size slimline card.
 

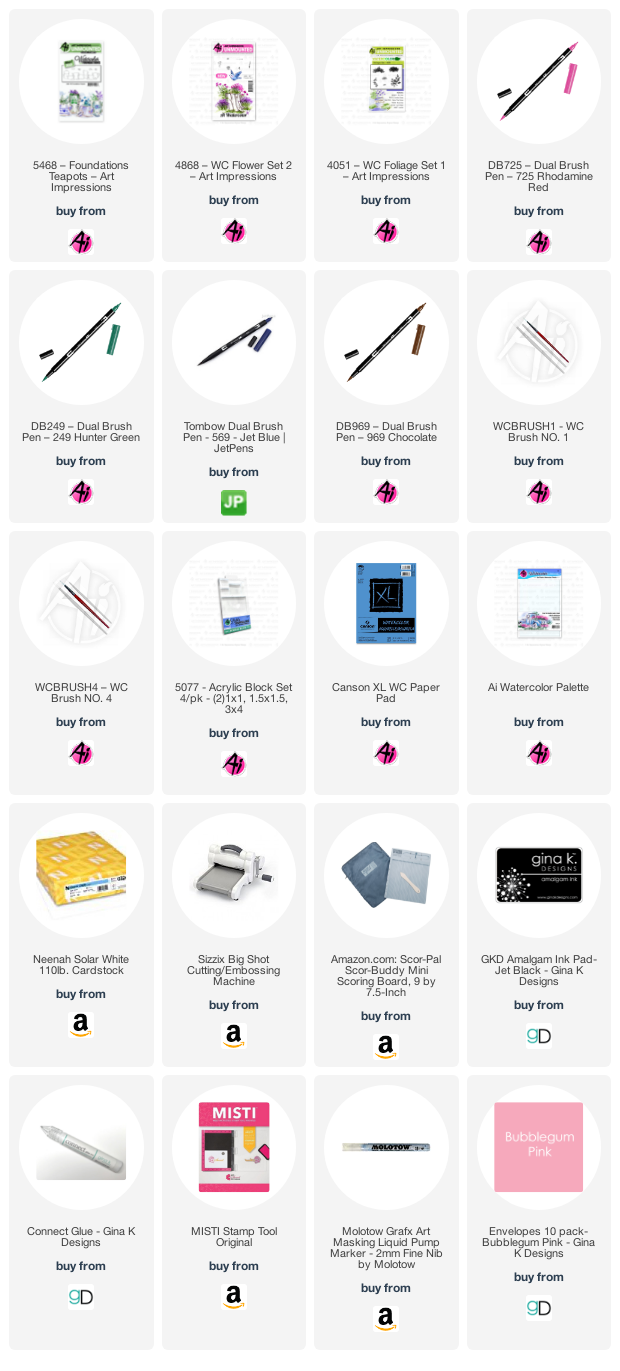
 Step 1 - The Teapots Let's started out by inking the teapots up with 569. You want to stamp this off once or sometimes twice depending on how much ink is on your stamp. The teapots are white so you just want enough color to create the shadows. With your brush, pull the color out of the lines but only where the shadows will be. If you have too much color on your brush, rinse and pinch it off. As you pull out the shadows, fade them out towards the middle of the teapots. The teapots are cylinder so they would be shadowed on the left and right with a highlight in the middle. This set includes a couple of decorative stamps. I wanted this to feel really cohesive so I stamped the same heart onto each teapot inked in 725. You can also add some additional decorations. Step 2 - The Table Using my pencil and a ruler, I marked out the table. I knew I wanted to do it with a wood finish so the teapots would pop. For the front, I drew a few scallops. Before I started coloring the wood, I took some Molotow masking fluid and drew out the hearts and dots. Let this dry. Again, using my pencil I lightly drew in the slats of wood. Using 969, I colored the wood, making sure under the teapots was really dark. Once it was dry, I rubbed off the masking fluid. Step 3 - The flowers Again, to keep this as simple as possible, I added the small grass inked with 249 to a couple of the teapots, most I drew in the stems after I stamped the flowers. These flowers were perfect for this card. I used the hearts stamp from Flower Set 2 inked with the 725 stamped a few times into each teapot. To finish off the card, using a bit of 569 and a lot of water, I added a sky behind the teapots. I signed and dated. Thanks for spending some time with me today! Tag us on Instagram and use #AIWatercolor so we can see your projects! SUPPLIES:  


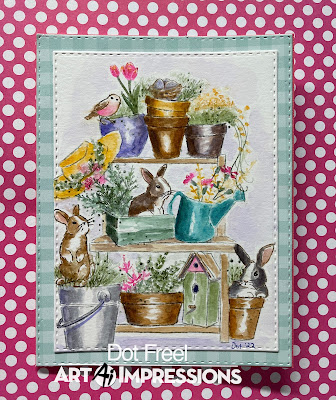
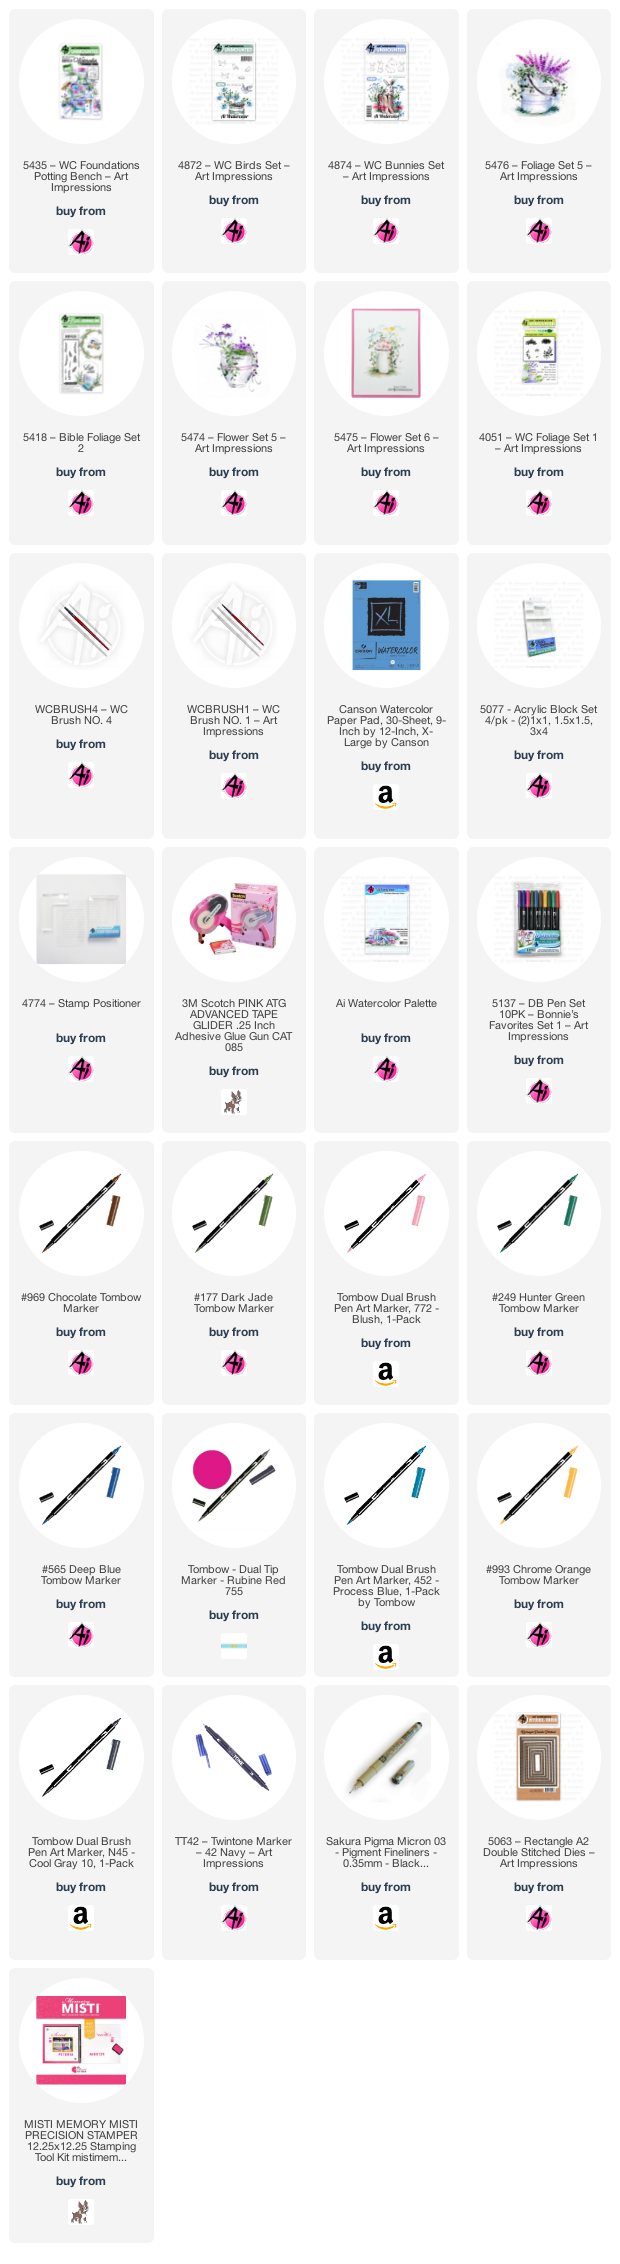
Hello, How can it be February, already? I wanted to make a Spring card for the Art Impressions Watercolor Weekend and thought the 5435 Foundations Potting Bench would be perfect for it.


Stamp the bench inked in Memento London Fog ink using a Misti or similar stamp platform. Stamp the bunnies from the 4874 inked in the Tombow 969. Stamp the bird nest and bird from the 4874 Bunnies Set inked in 969. Use the 4051 Foliage Set 1 to stamp grass in some of the pots, inked in 177. Stamp the flowers from the 5474 inked in 177 and 993. Stamp the flowers from the 5475 inked in 755 and 249. Use the 993 on the tips of the tulips and to color in the hat. The leaves under the hat are from the 5418 Bible Foliage Set 2 inked in 249. Color the containers/pots from the top left to right down to the bottom row in 565, 993, 969, N45, 249, 379, N45, and 969. The birdhouse roof is 969, the pink is 755 and the bottom is 177. Darken the holes with the blue TwinTone pen. The bird is colored in 969 and 755. The eggs are colored in 565 and then use the Tombow TwinTone blue pen fine tip to add dots to the eggs. The bunnies are colored in 969, N45 and the middle one is a combo of 969 and 565. The ears are colored in with 772. Use a fine tip black pen to darken their eyes, noses and draw whiskers. The potting bench is colored in with 969 and the shadows and sky are colored with 565. The last thing I did was add the Kendra dots from the 5418 Bible Foliage Set 2 inked in 177 all around. Use the 5063 A2 Double Stitched Dies to cut it out and for the background piece. 


All of these cards were beautiful and each so unique.  Thank to our Watercolor team.  We appreciate your hard work.

If you decide to create something using Art Impressions stamps remember to #artimpressions and #artimpressionswatercolor so we can see them.  We know we'll love them.

Before you leave,  did you see the new Watercolor tutorial videos this week?

Bonnie created this stunning Winter Lighthouse Scene - Feb 2, 2022


Kendra shared a beautiful wishing well on her weekly Back to Basics on Facebook.