Hello Ai fans and welcome to our April Monthly Challenge.
These monthly challenges will have no theme. It's just fun to create something using Art Impressions products and then possibly win some free stamps!
April is Simone Carr's turn to be our Guest Designer.

How do you win free stamps? Add your creation (it doesn't have to be a card) using Art Impressions products below for your chance to win a free stamp set from Art Impressions or a freebie from me. (US addresses only for my freebie...The free stamp set from Ai is open world wide)
Let's see what Simone has created to inspire you this month.
Hello Crafty Friends,
I chose to create two cards with the Happy Easter Set (4754) because I absolutely loved the cute egg-shaped heads of the Easter bunnies.
For my first card, I started by stamping the images onto masking paper and fussy cutting them out. Using an egg-shaped die, I drew a pencil outline to guide where to place the bunnies. I stamped the smaller bunny first with Memento Toffee Crunch and placed the masking paper over it. Then, I stamped the second bunny next to the first one and masked it as well. Finally, I stamped the standing bunny behind the two smaller bunnies.
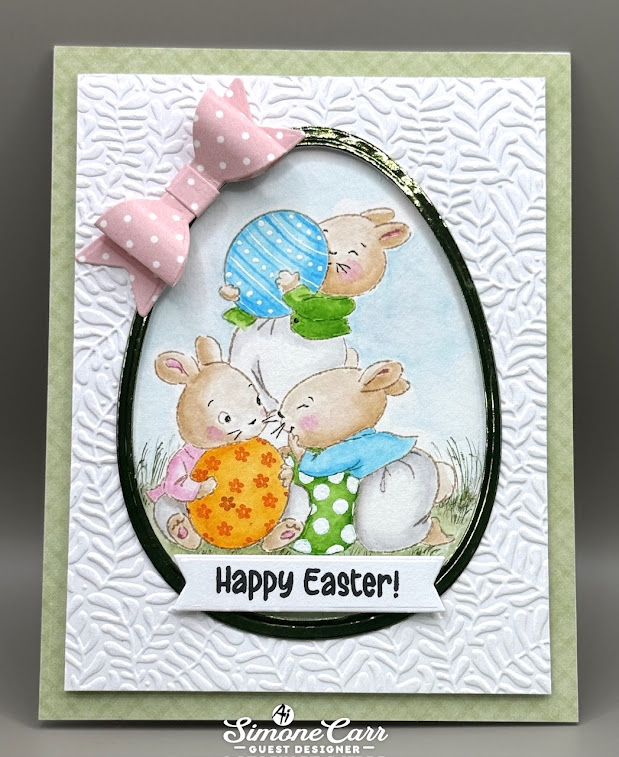
After all the bunnies were stamped, I removed the masking paper and began coloring the images. I used Tombow markers to color in the bunnies and added details to the grass and foliage around them. Once the coloring was complete, I cut a piece of white cardstock to 3 ¾” x 5”, centered it on my die, and ran it through the die cutting machine. I then embossed the frame with a lovely texture and used two dies to cut out a frame that fit the opening. I added some double-sided foam behind the frame to give it a bit of dimension before adhering it to the watercolor paper. To finish the card, I stamped a sentiment on white cardstock, die cut it out, and added a sweet bow to complete the design.

After all the bunnies were stamped, I removed the masking paper and began coloring the images. I used Tombow markers to color in the bunnies and added details to the grass and foliage around them. Once the coloring was complete, I cut a piece of white cardstock to 3 ¾” x 5”, centered it on my die, and ran it through the die cutting machine. I then embossed the frame with a lovely texture and used two dies to cut out a frame that fit the opening. I added some double-sided foam behind the frame to give it a bit of dimension before adhering it to the watercolor paper. To finish the card, I stamped a sentiment on white cardstock, die cut it out, and added a sweet bow to complete the design.
Materials Used:
Stamps:
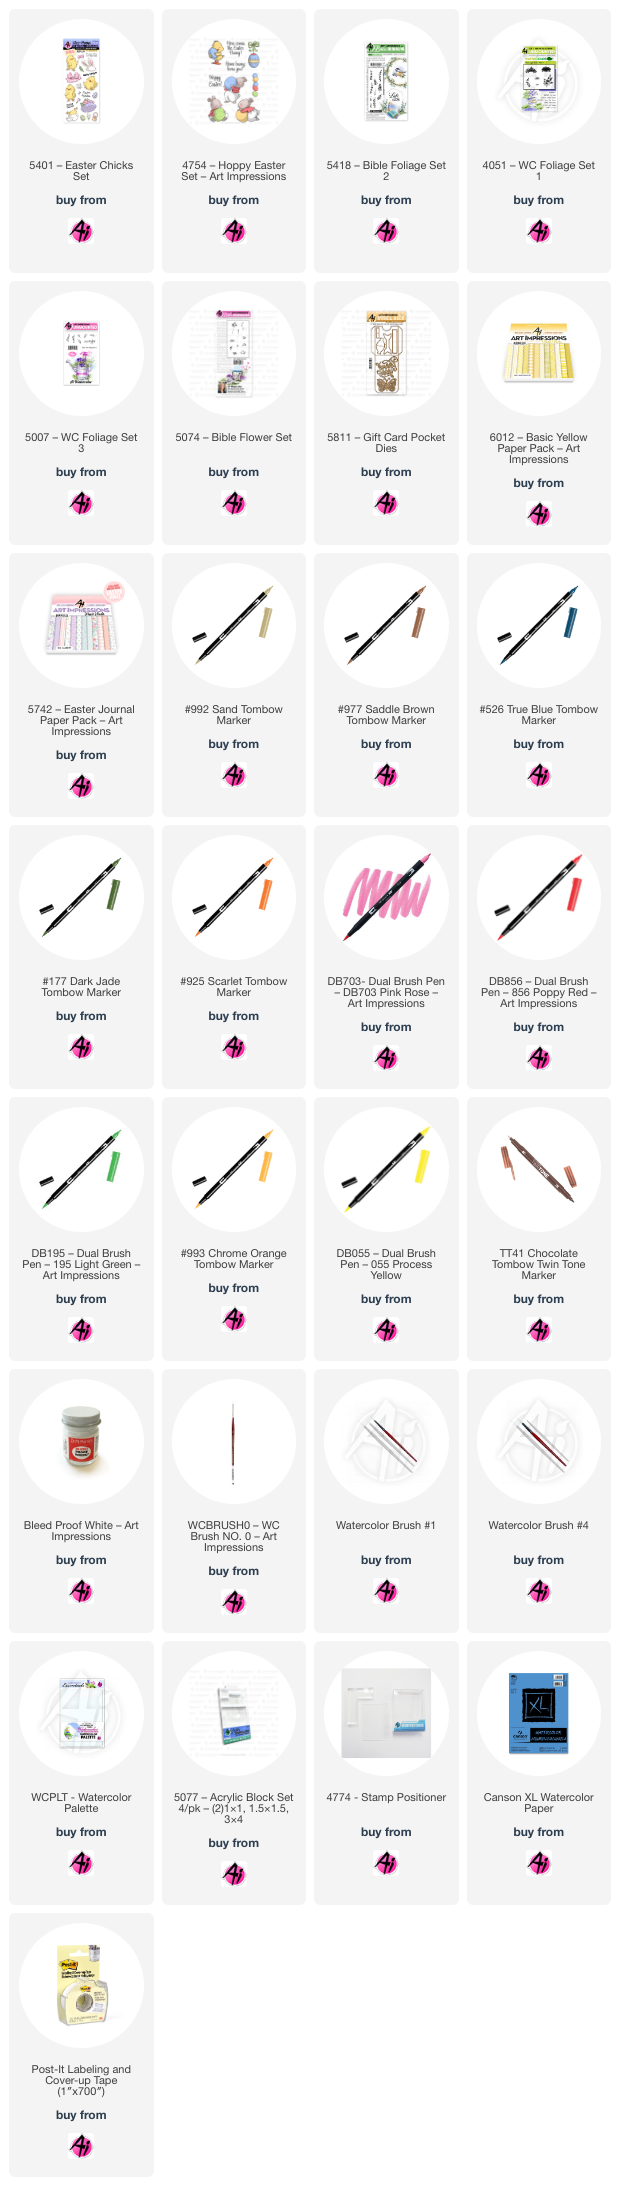
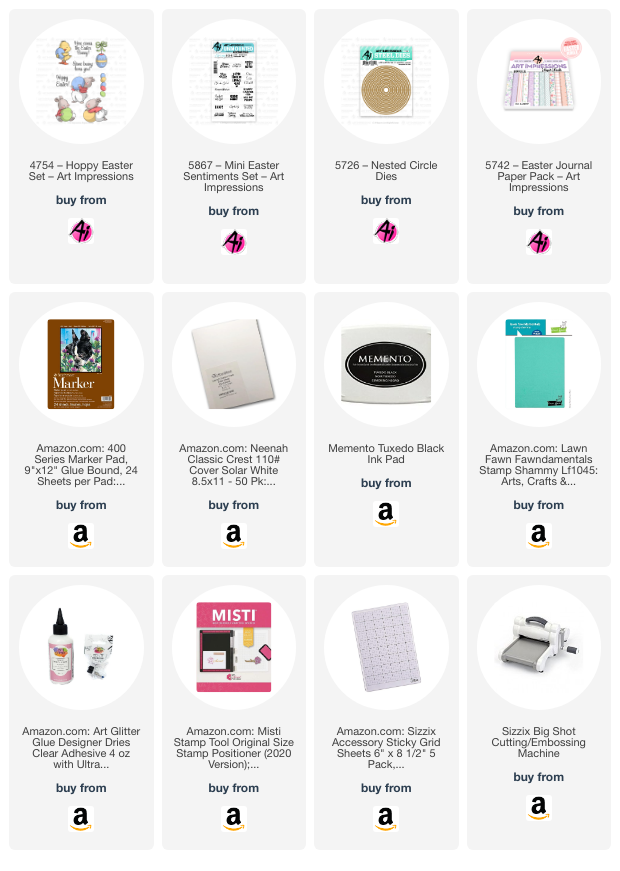
- Happy Easter Set (4754)
Foliage Set 1 (4051)
Foliage Set 3 (5007)
Bible Flower Set (5074)
Gift Card Pocket Set (5811)
Easter Chicks Set (5401)
Dies:
- Egg-shaped Die (for drawing the outline)
Die for Frame
Bow Die
Paper:
- White Cardstock
Easter PP (5742)
Canson Watercolor Paper
Mirri Paper
Inks & Markers:
- Memento Toffee Crunch
Bleed Proof White
Tombow Markers: 177, 526, 977, 992, N55, 925, 195, 452, 703, 985
Other:
- Masking Paper
Embossing Folder
Double-sided Foam Tape
For my second card, I created a design using the Postage Die on Strathmore Bristol Smooth Cardstock. I started by cutting out the postage shape and placed it in my Stamp Positioner to ensure proper alignment for the stamping. I used Post-it tape to mask off certain areas of the stamp to prevent overstamping. Once the areas were masked, I stamped the images using Memento Toffee Crunch and then colored them in with Tombow markers using a #4 brush for a soft watercolor effect.
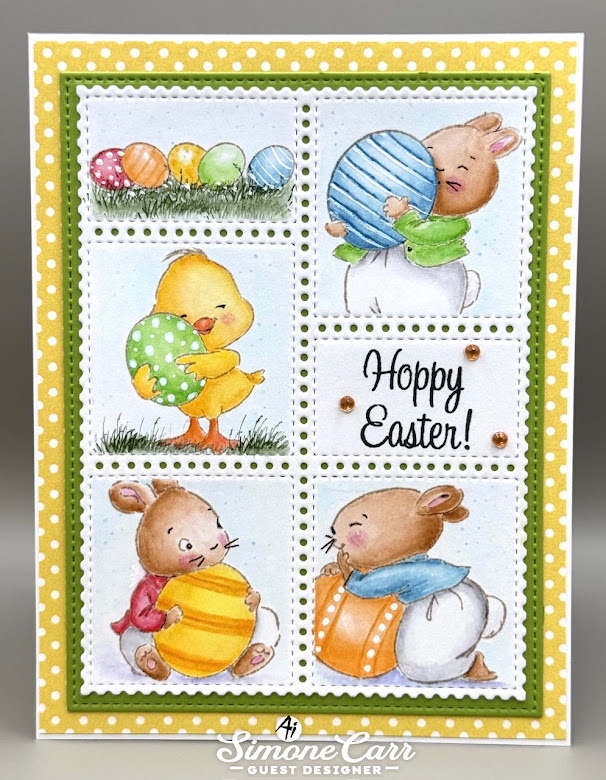
The result was a whimsical Easter scene framed by the postage die, which really helped to highlight the stamped images. I finished the card by adding some patterned paper from the Basic Yellow PP (6012) to add an extra pop of color behind the frame.

The result was a whimsical Easter scene framed by the postage die, which really helped to highlight the stamped images. I finished the card by adding some patterned paper from the Basic Yellow PP (6012) to add an extra pop of color behind the frame.
Materials Used:
Stamps:
- Happy Easter Set (4754)
Foliage Set 1 (4051)
Foliage Set 3 (5007)
Bible Flower Set 2 (5418)
Dies:
- Postage Die
Paper:
- Strathmore Bristol Smooth Cardstock
Basic Yellow PP (6012)
Inks & Markers:
- Memento Toffee Crunch
Versafine Clair Nocturne
Bleed Proof White
Twintone Brown and Black
Tombow Markers: 025, 055, 993, 905, 933, 195, 856, 703, 526, 401, 177, N55, 947
Other:
- Stamp Positioner
Post-it Tape
I hope these cards bring some Easter joy to your crafting! It was such a pleasure to create them, and I can't wait to see what you come up with for your own Easter projects.
Happy Crafting,
Simone
Simone

Here is the fine print...
✻ Please make a new card or handmade crafty creation.
✻You can make any item you wish; this is not limited to cards and it can be any theme you like.
✻You can make any item you wish; this is not limited to cards and it can be any theme you like.
✻ Limit two submissions per person.
✻You MUST use Art Impressions stamps or dies! You may use other companies products but the main focus should be on Ai items.
✻If you win, you will receive one free stamp set of your choice.
This will be a random drawing so all levels of ability are encouraged to enter!
✻Please include your first name and last initial on your submission.
This will be a random drawing so all levels of ability are encouraged to enter!
✻Please include your first name and last initial on your submission.
✻We love to comment on your entries, but keep in mind if you use a private group or a platform that you need to sign up for, we probably won't be able to.
✻ The Ai Challenge is open to everyone, international submissions are welcome!
✻ Good luck and happy crafting!