Showing posts with label 6150 His Love Set. Show all posts

Tuesday, April 14, 2026

To the Best Mom! by Reneé Matarese

Hello Ai fans!

I had fun with the "I See Right Through You" challenge.
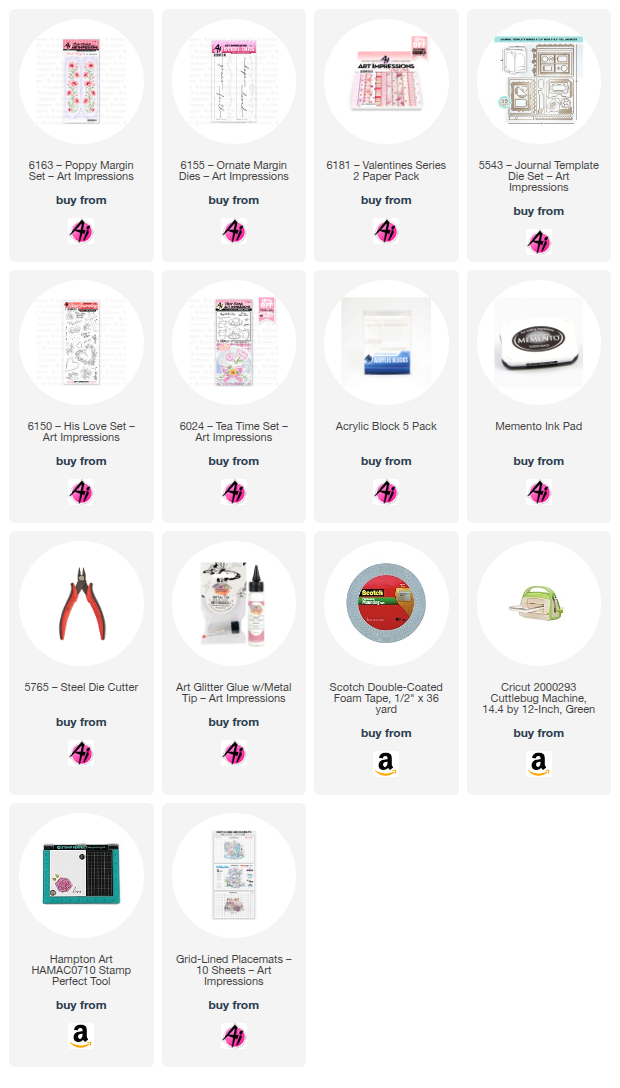
For this card, I used an acetate panel combined with the new Margin Dies
to create a see through card front.


I added some tiny gems that look like they're floating which is a cool effect.


The flowers are trimmed out from the larger stamp.
I thought they went well with the beautiful paper.


I hope you're inspired to try the challenge. Your card doesn't have to be see through.
You just need to have something see through on your card, even a window or a clear vase.


Thursday, March 26, 2026

Round & Round Challenge #424 Week #1

Hello Ai fans!
Welcome to our latest challenge.
This time we're thinking circles.

Round & Round
We want to see your circle cards, cards with circle dies or stamps, circular gems and embellishments,  dotted embossing folders...anything round!

Our Featured Designer this week is Lynn and she created a gorgeous floral wreath card.

Simple and Easy Watercolor Floral Wreath!
After you admire her card be sure to watch her tutorial and then,
check out who won our last challenge.


Watch video tutorial here!

I'm excited to be the featured artist for the new Ai "Round and Round" Blog Challenge! For today's card, we will be using the double roses stamp from the Ai His Love Stamp Set (6150). This pretty duo of roses has a natural curve to it so it will be really easy to add these roses to a circular shaped wreath.

We will stamp 8 sets of the roses using the stamp positioner because once we have colored these roses, we will be stamping them again...just to darken them up a bit more!

For the water coloring, we will be using the Tim Holtz Distress Mini Ink Pads in Spun Sugar, Picked Raspberry and Candied Apple. This watercolor technique is so easy and simple to do. We will apply of the inks directly onto the glass mat, add a spritz of water and place the stamped images directly into the ink. This will pick up a variety of the pinks and reds onto the roses. I'll show you exactly how to do this in today's video!

Now we can heat set the images and with the Candied Apple Ink we will apply a little bit onto each of the flowers using a #0 paintbrush. No need to be fussy.... just add a bit of this color onto the centers of the flowers for a bit of shadowing.

Let's heat set these again and now we can place each of the flower duos into the stamp positioner and re-stamp them. They will line up perfectly because we have left them in the stamp positioner while we were coloring the images. By stamping the images again, we will get a nice dark black and crisp image! Now let's fussy cut the roses with our detail scissors. We can also add some highlights using a white gel pen!

We will add a watercolor panel to the card by just spattering each of those same inks onto a white panel and them adding a bit of ink around the edges and add a black layer behind this panel. This will frame everything nicely!

Let's die cut the Ai Scalloped Circle (6045) onto some pink cardstock and add a black circle behind it.

We can assemble the layers on the card but first let's stamp the sentiment using the Ai Birthday Sentiments Set (5735). We will also go back to the Ai His Love Set and add the pretty heart and swirl border just below the "Birthday Blessings" sentiment.

We can pop-up the roses and add them to the scalloped circle. Let's add a cute little black and white ribbon using some baker's twine.

For a finishing touch, let's add a few clear "iridescent" gems for a bit of sparkle!

If you love this Ai His Love Stamp Set then you may enjoy this video using that same set:

Thank you so much for joining me today!  Have a fun and crafty day!

Ai His Love Set (6150)

Ai Birthday Sentiments Set (5735)

Ai Scalloped Circle Dies (6045)


What a beautiful card Lynn!

Now, let's see who won our 3D challenge.

For our Top Spot we selected:

Cathlyn A.


Please contact Leah at Feedback@artimpressions.com
to claim a free stamp set of your choice!!

Be sure to grab your winner's badge to display on your social media.


Our Lucky Random Winner was:

#11 Kathy A.


Please contact Leah at Feedback@artimpressions.com
to claim a free stamp set of your choice!!

Be sure to grab your winner's badge to display on your social media.

Congratulations to both of our winners!


Now for our new challenge!

 ✻ Please make a new card or handmade crafty creation using either stamps, dies and or designer paper from Art Impressions. You can make any item you wish; this is not limited to cards! (unless specified)

✻ Limit two submissions per person.
✻Top Spot Winner and Lucky Random Winner each receive a free stamp set from Art Impressions
 ✻Please include your first name and last initial on your submission. You may include your entire last name, but it's not necessary.
✻We love to comment on your entries, but keep in mind if you use a private group or a platform that you need to sign up for, we probably won't be able to.
✻ The Ai Challenge is open to everyone, international submissions are welcome!
✻ Include a link back to the Ai Blog or grab our button on the top right of our sidebar!
✻ Share the Ai love if you can, by clicking and commenting on your fellow crafters.
✻ Make sure to get your link up by the deadline to enter your creations.
✻ Good luck and happy stamping! 

You are invited to the Inlinkz link party!

Click here to enter

Sunday, February 15, 2026

You're So Sweet Village Card and Farmhouse Floral Thank You Card by Diane Mason

  Hello, and welcome back for Watercolor Weekend! 

Hello, my Ai watercolor friends and fans! I’m so glad you’re here for Watercolor Weekend. Today I’m sharing two cards. The first features a sweet Parisian street scene. The second is a charming farmhouse floral thank you card.

You’re So Sweet Village Card:

Ever since the 5746 – SF Village set came out, I thought about how cute this little scene would be with a glimpse of the Eiffel Tower in the background.

Bonnie is always saying to try new things to make it your own. Add things, leave part of a stamp off, draw in elements, etc. – so that’s just what I did!

I began by doing a Google image search for the Eiffel Tower. After finding a reference image, I inked the stamp with N57 and stamped the street scene onto my Canson XL watercolor paper using a stamp platform. Using the reference photo, I sketched the shape of the Eiffel Tower lightly with a pencil – adjusting where needed. Surprisingly, it was a fairly easy shape to draw if you break it down into a rough triangle shape, a few rectangles, and a curve at the base. Once I had the shape drawn, I added a few more reference details. Since it’s in the background, it doesn’t need to be too detailed. I also drew a horizon line under the tower and extended the walkway past the building.

I painted the tower with N55, layering more color to some areas of the structure, creating contours and shadows. Once dry, I added a few details with a gray TwinTone.

I shaded the flower pots with 526 on some and 565 on the others. I used the spiny stem stamp from 4963 – WC Fall Set to create an Italian Cypress tree on the far left. The pot edge was masked; I inked the stamp with 249 and stamped multiple times until I was happy with the shape. Using a stamp positioner can be helpful for perfect placement. For the other tree, I used the small fir tree from 5372 – WC Mini Foliage Set, also inked in 249. For the pink flower pots and flower box, I stamped tiny leafy foliage from the 5009 – WC Mini Flower Set inked in 177 and added pink flowers with the tiny dots stamp also from 5372. Those were inked in 725. For the potted white and yellow flowers, I first stamped the tiny grass from 5372. Next, I added dots of Dr. Ph. Martin’s Bleed proof white. Once dry, I added yellow centers to the flowers with a Chrome Yellow TwinTone.

The rooftops and windows were painted in 526. For the chimneys, I used N55. The chalkboard frame, door overhang, and trim were painted in 947 and the buildings were mainly painted in 942. I’ve noticed that store fronts in Paris are often painted in different colors than the building (probably to stand out), usually a darker color, so I chose black for my sweet shop. I painted the lower part of the building with N25, as well as the sign and chalkboard. The awning and door of the shop was painted in 725. The other door is 249. I like to think I live in that building, just a few steps away from the Bon Bon Shop!

For the red pot of flowers, I did the same process as the pink flower pots but used 856. For the remaining flower boxes, I inked part of the squiggly bush from 5372 in 177 and stamped along the railing edge, cascading downward. I used the dot flower stamp again inked in 565 for the blue flowers and Dr. Ph. Martin’s and Chrome Yellow TwinTone for the others.

The sky was brushed in with 555, and the grass below the tower was 177. I dotted in some bushes below the tower with 249. For the pathway, I added a little 565 and a little 177. Additional shadows on the curb, under the roof, around the pots, and the doorways were added with 565. Dr. Ph. Martin’s was used to dot in additional white flowers to the pots. It was also used to paint the lettering on the signs using a #0 brush. All the window frames were also painted with Bleed Proof White. I used a .005 Black Micron pen to add tiny details to the signs, balconies and flower boxes. A brown or grey TwinTone was also used to add details where needed.

The card base was covered with a blue and pink floral-patterned paper from the 6051 – Mother’s Day Paper Pack. The painting was matted with a thin black mat on top of a blue scalloped mat and then mounted onto the card base with foam tape.

For the interior of the card, I added a decorative edge to the bottom using a scrap of the patterned paper. The “You’re so Sweet” stamp from the 5904 – So Sweet Armful set was inked in pink. I cut a thin mask strip to cover the sentiment and then stamped the heart from the 6150 – His Love Set in blue, over the masked area. This prevented the image from being stamped over the lettering.

I was very pleased with how this card turned out. I think it would make a nice Thinking of You or Thank you Card.

Farmhouse Floral Thank You Card:


Next up is this quick to paint floral thank you card. To start off, I used a die from the 5591 – Journal Rectangle Frames Die Set to cut out a base for my watercolor painting and a second one from pink dotted patterned paper from the 6051 – Mother’s Day Paper Pack for the frame.


I inked the rose floral stamp from the 6126 – Light of the World Set in 249 for the foliage and 815 for the roses and stamped onto the watercolor paper using a stamp platform. I created a mask to cover the roses, and then inked the farmhouse planter from 5923 – Farmhouse Container Set with 565 and 969 and stamped off twice. Using the positioner, I was able to place the pot in the perfect spot. Once the mask was removed, the flowers now appeared to be hanging over the edge of the planter.

I layered additional 815 from my palette to add shading to the roses, remembering to leave some white areas for highlights. I also darkened some areas with a Fuchsia Twin Tone. For the leaves, I added additional 249 to darken the leaves and some 177 for highlights.

With a damp brush, I pulled some of the color from the container to add depth. Additional 565/969 mix was added to the container to create shadows and contours. The background was brushed in with 555 and a shadow below the container was brushed in with 565.

I added some additional greenery to the container using a long stem foliage stamp from the 5920 – Long Stem foliage Set. I placed the mask back over the roses and foliage, inked the stamp with 177 and added multiple greenery stems to the container. I used Bleed Proof White to dot in tiny flowers to the stems to create a filler flower like Baby’s Breath. To make the white flowers stand out against the background, I used a pencil to draw just below the bud to give shape and shadow.

I used pink plaid patterned paper from 6051 and white embossed cardstock to cover the card base. I also added some sheer white ribbon and pink baker’s twine. I added twine to the framed painting and popped it up with foam squares.

For the interior of the card, I die cut the sentiment from pink cardstock using the Thank You die from 5811 – Gift Card Pocket Dies and adhered to the white cardstock mat. Again, I added a strip of patterned paper to the bottom edge for a pop of color.

And there you have it, a quick, yet elegant Thank You card ready to send! That’s all for now—thanks so much for stopping by for Watercolor Weekend! Until next time, Happy Painting!



Tuesday, February 3, 2026

Focus on Faith Gift Set by Sara Furr

Greetings my dear friends, I am back today with another Faith filled project. This time I'm featuring a gift set including a card and coordinating necklace to go with it for a friend. 


I started out by making the necklace. I cut two 1 1/2" squares of watercolor cardstock and on one square I inked up one of the roses from the "His Love" stamp set with a purple, for the petals and a jade green marker for the leaves, and then stamped it inside my Misti stamping tool. Leaving the square in the corner of my Misti, I pulled color from each outline and added in more color where the shadows or darker areas would be. Then I reinked my Stamp with the 2 markers and re-stamped the image over top of the watercoloring to add the outlines back into the image. I then added a wash of blue around my floral image, then let that dry. In the right hand corner I added some watered down coral to add some warmth to the sky. In the left hand bottom corner I added a tiny bit of the Jade green to act as grounding. I then set that aside to dry and worked on the back of the necklace.


On the second square of watercolor cardstock I stamped the cross, and again while leaving the cardstock in my Misty stamping tool, I pulled color from the outline with a damp brush, and then re-inked the cross and stamped the image again over the top to add the outlines back in. I then stamped the sentiment over top of the cross with Black Versafine ink. Once my first panel was dry I stamped the sentiment over top of the right hand corner of the Rose in Black Versafine Ink. Once both panels were dry I encased them, back to back, in the two pieces of glass and put them inside of the metal necklace casing. I added a jump ring and chain. To the chain, I tied a piece of seam binding ribbon that I had hand dyed with re-inkers, and a little water, and scrunched and left to dry.


With my necklace gift complete, I moved on to creating the coordinating card. 


For that, I began by cutting a 6x12 piece of 2 tone jade colored cardstock for my card base, and folded it in half. I then created two layers on top of my card base. The first layer is out of the back side(which is a shade lighter)of the jade colored cardstock a cut at 5 1/2 x 5 1/2, and the second layer is a purple polka dot designer paper cut at 5 1/4 x 5 1/4, and that is out of the Mother's Day paper pack. I distressed the edges of both layers with the edge of a scissors. I then created another layer using a square lace doily die cut out of Jade colored glimmer paper and the top layer out of watercolor cardstock. On that watercolor square I did the same process as I did for the necklace. I started out by stamping the image as I individually colored the roses in purple and the leaves in green. I moistened the ink with my breath and then stamped on to the watercolor paper. I pulled color from the lines with a damp brush, and then re-inked the entire stamp again with the individual markers, and re-stamped the outlines back in. Once dry, I stamped the sentiment in the center of the heart-shaped wreath with black Versafine ink. I added fun foam behind my stamped image, and more fun foam behind the doily layer. Before adding my focal piece down, I added a strip of white lace and some purple organza ribbon and a bow off to the right side. I then added my focal piece on top finishing the front of the card. 

I then moved on to the inside of the card, in which I placed a strip of designer paper from the Bible Journaling series 1 paper pack that had a foliage print with the coordinating colors that I had used for the front in purples and greens. I cut a mat of jade cardstock, 4 1/2 x 4 1/2, and then cut another doily die cut out of white cardstock. I stamped "He will sustain you" at the bottom in black Versafine. I cut a cross from the "Crosses die set" out of the Jade colored glimmer paper and added that to the top of my inside focal piece. Both Sentiments on the card are from the "Frameworks Sentiments" stamp set.


And that finishes my faith inspired gift set, ready to give to a dear friend.

Do you like to make little gifts like this for your friends? I do!😊

This is the list of all the supplies I used to create my little gift set.

Art Impressions Supplies used:

[ ] 6150- His Love

[ ] 5417- Frameworks Sentiments 

[ ] 5909- Crosses die set

[ ] 6051- Mother's Day PP

[ ] 6082- Bible Journaling S1 PP


Other supplies

[ ] Misti stamping tool

[ ] Paper cutter

[ ] die cutting machine

[ ] Watercolor brush

[ ] Watercolor cardstock

[ ] Glimmer paper

[ ] Two-tone cardstock

[ ] Lace doily die cut ( From Divinity Designs)

[ ] Necklace frame and glass and chain

[ ] Seam binding ribbon, lace, and organza ribbon

[ ] Assortment of markers

[ ] Scissors, glue, tape, and fun foam


Thank you all for joining me for another Faith filled project I hope you will join me again February 17th.

Blessings to you all,

Sara Furr-The Crafty Farm Chick 

Thursday, January 29, 2026

Love, Love Me Do Challenge #420 Week #1

Hello Ai fans!

Welcome to our new Love, Love Me Do challenge!


We want to see all of your lovey, dovey creations.
Pink or Red or Hearts or Love.
You name it!

Please take note,
we have a new requirement.
We're not a large corporation like Simon Says Stamp that sells MANY brands.
Art Impressions is a family run company that designs ALL of their own stamps, dies and designer paper.
Therefore, moving forward, we're going to ask that you use some sort of Art Impressions product on your challenge entries. Everything else remains the same. Please see the full list of rules below.

After checking out the beautiful snowman themed Frosty Kisses funky fold card from our Featured Designer Tasha, scroll down to see who won our last challenge.

💗💗💗  💗     

 Hi everyone, Tasha here sharing my project created for the #420 Love, Love Me Do Challenge.The adorable main image is from the 6107-Snowman Hugs Set, and honestly, who can resist a snowman hug? They add the perfect touch of warmth and charm to this love-themed project.


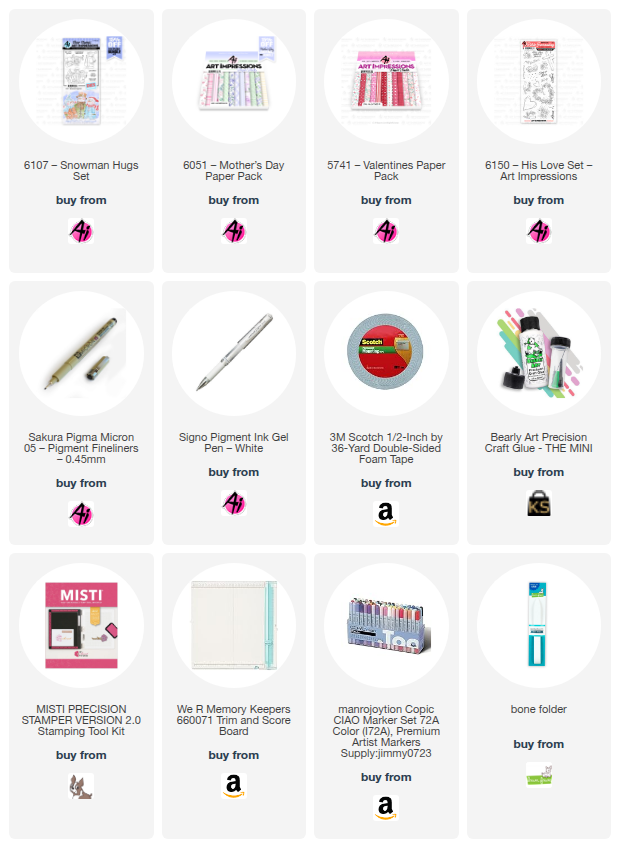
This card features a W-V Card Fold, which adds fun dimension and makes the design extra special when displayed. It’s such a great fold for showing off patterned paper

-Base: 5-1/2” x 11”

Score across at 1-3/4”, 3-1/2”, 5-1/4” and 7”


-Center Card Base: 3” x 6”

Score across at 3”


-Fold and score all the score lines.

To create a fun and layered panels, I mixed and matched patterned papers from two packs: the 6051-Mother’s Day Paper Pack and the 5741-Valentines Paper Pack. These patterns pair beautifully together and really help set the tone with soft colors.


I also used Distress Oxide Ink to add extra pops of pink throughout the design, giving the project more depth and a soft, blended look that really enhances the love theme.

This project was so much fun to create, and I absolutely loved combining these sets to celebrate all things love and hugs! 

Thanks so much for stopping by and I hope you will participate in the #420 Love, Love Me Do Challenge!


That card from Tasha is just the CUTEST!!
Thank you so much for the inspiration.

Now let's see who won our Pocket Full of Sunshine Challenge.
We had a BUNCH of entries which makes me SO happy!

For our Top Spot we chose:


Please contact Leah at Feedback@artimpressions.com
to claim a free stamp set of your choice!!

Our Lucky Random Winner was:


Please contact Leah at Feedback@artimpressions.com
to claim a free stamp set of your choice!!

There were so many entries and you all made it so difficult to choose a winner. We can't wait to see what you create over the next two weeks for our Love, Love Me Do challenge.

 ✻ Please make a new card or handmade crafty creation using either stamps, dies and or designer paper from Art Impressions. You can make any item you wish; this is not limited to cards! (unless specified)

✻ Limit two submissions per person.
 ✻Please include your first name and last initial on your submission. You may include your entire last name, but it's not necessary.
✻We love to comment on your entries, but keep in mind if you use a private group or a platform that you need to sign up for, we probably won't be able to.
✻ The Ai Challenge is open to everyone, international submissions are welcome!
✻ Include a link back to the Ai Blog or grab our button on the top right of our sidebar!
✻ Share the Ai love if you can, by clicking and commenting on your fellow crafters.
✻ Make sure to get your link up by the deadline to enter your creations.
✻ Good luck and happy stamping! 

You are invited to the Inlinkz link party!