Hello, and welcome back for Watercolor Weekend!

Hello
Ai Watercolor friends, I hope you are having a fabulous weekend! Thanks for
stopping by for Watercolor Weekend. I have two fun projects to share with you
today — a “Christmas in July” gift box and a fun card using 6076 – Gardener
Gail from the newly released Ai People sets.
Christmas in July – Holly Jolly Gift Box:
The hot summer days of July are a perfect time to start
thinking about Christmas projects (can you believe it’s only 158 days until
Christmas?!). In honor of “Christmas in July”, I created a sweet little gift
box using 5805 – Mini Journal Box Dies and 5953 – Woodland Critters Set. This
die was originally designed to create a box for storing Mini Journals, but it's
also perfect for holding small gifts like candy, jewelry, money, a note, or
even as a place-setting treat box. Make a variety of them, and you could turn
them into a fun advent calendar!
Ever since the 5953 – Woodland Critters Set was released
last year, I’ve been wanting to paint this adorable image of the sledding mouse
and hedgehog—they look like they’re having a blast! I stamped the image onto
Canson XL watercolor paper using Versafine Onyx Black ink, which is waterproof
and perfect for capturing fine details.
Here
is a list of colors I used for this image:
- Mouse: (body) N95, N75, (scarf) 249, (jacket) 526 and Navy TwinTone,
(hands) 850, 912, (cheeks, nose, ears, mouth) 772
- Hedgehog: (face and hands) 850, 942, 912, (cheeks, nose,
ears, mouth) 772, (spikes) 977 and Chocolate TwinTone, (scarf) 856, (sweater)
312
- Gift: (bow and ribbon) 856, (box) 565 for shading, (dots)
Winsor & Newton Gold Ink
- Sled: (sled) 977, 969, Chocolate TwinTone, (runners) Winsor
& Newton Silver Ink
To add dots to the gift, I used the new
Winsor & Newton Gold Ink. This stuff is awesome! For the sled runners, I
used a silver version of the Winsor & Newton Ink (I think Bonnie mentioned
recently on a LIVE tutorial, that Art Impressions may start carrying this in
the shop too!). Dr. Ph. Martin’s Bleed Proof White was used to add stripes to
the hedgehog's scarf and sweater. To add woodgrain to the sled, I used a
Chocolate TwinTone.
To create the gift box, I used the 5805 –
Mini Journal Box Die along with patterned paper from the 5969 – Classic
Christmas Cover Paper Pack. This paper is larger than the standard packs,
making it a great fit for the box die—and it’s double-sided, too! I secured the
tabs with double-sided tape (ScorTape) for a strong hold. The stamped image was
die-cut using the coordinating die from the set and popped up on the lid for
added dimension.

To decorate the inside of the box, I started by stamping the
'Holly Jolly' sentiment in red ink. I die-cut the sentiment using an oval die
from the 5952 – Portfolio Template Die Set. Next, I used the decorative label
die from the same set to cut a piece of the patterned paper I had used for the
box. I layered the sentiment oval on top of the label and adhered them
together. Finally, I glued the layered sentiment to the inside of the box lid.
The box was then ready to fill and gift!
Still Blooming
After All These Years Card – featuring Gardner Gail:
For my second project, I painted a landscape side-folding card using the
newly released 6076 Gardner Gail set. I wanted to mix things up a bit and have Gail
popping out of the oval frame for a 3-D effect. Since I only needed to
paint some of the image of Gail for the oval frame, I selectively inked parts
of the image with Pebble Beach (Ranger Archival Ink). I find this color of ink
to work well for people images. I inked the flower pot in 969 and the blooms
with 555.
Here
is a list of colors I used for this image:
- Gail: (hat) 990, 992, 027, (hat band) 027, (hair) 977, 969, Chocolate
TwinTone, (shirt) 856, (apron) 027, (jeans) 565, (earrings) Winsor & Newton
Gold Ink, (face, arms, and hands) 850, 942, (lips and tongue) 856, (cheeks)
772, (flower and stem) 555, 177, Turquoise TwinTone
- Flower Pot: (pot) 947, (blooms) 555, Turquoise TwinTone
To cover the landscape A2 side-folding white card base, I chose two
patterned papers from the 5832 – Gnome Paper Pack. I used one of the patterns
for the oval frame, the card base, and the sentiment mat to keep the design
cohesive. The sentiment was stamped in Versafine Onyx Black ink for crisp,
detailed results.

I used two oval dies from 5065 – Oval Double Stitched Dies to create the
frame. I also die-cut an oval from watercolor paper, using the larger of the
two dies. I painted clouds on the watercolor paper in 555 to create a background for the oval
frame. Gail was die-cut and trimmed to fit inside the oval. I trimmed away the
shovel handle with scissors so it would look like her hand is resting on the
frame. I glued just the very top of the frame to the cloud painting. I then
added foam tape to portions of the Gail die-cut (mainly the hat, face, shirt
sleeve, flower, and hand). I inserted Gail into the frame opening. Once I had
her where I liked it, I glued her empty hand and the bottom front of the apron
into place. I then added glue to the lower portion of the back of the apron,
the frame edges, removed the foam tape backing, and secured it in place.

Voilà, now it looks like Gail is coming out of the frame to hand you one
of the beautiful blooms she has grown! The flower pot, frame, and matted sentiment
were all popped-up with foam tape.
For the interior of the card, I attached a decorative strip of patterned
papers to the bottom edge to make it fancy! I didn’t include a sentiment on the
inside this time, but I think this card would make a fantastic Birthday or “Just
Because” card.
That’s all for now—thanks so much for stopping by for Watercolor Weekend!
I hope you have enjoyed today’s projects and have inspired you to get creative
and make something fun. Also, be sure to check out the other four newly released
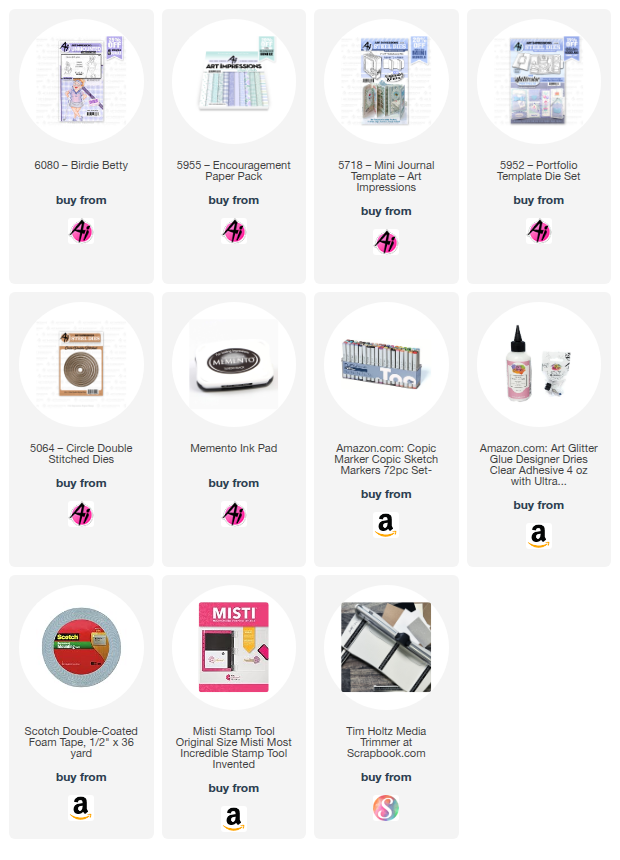
Ai People sets (6074 – Pickleball Patty, 6075 – Cruisin’ Carol, 6077 – Loungin’
Linda, and 6080 – Birdie Betty) available in the Art Impressions
shop! Until next time, Happy Painting!





.jpg)







.jpg)
.jpg)
.jpg)
.jpg)


.jpg)