Showing posts with label 5509 Beach Accessories. Show all posts

Sunday, August 23, 2026

From a Classic Door to a Blooming Garden


From a Classic Door to a Blooming Garden


Welcome to Watercolor Weekend; today is August 23, 2026
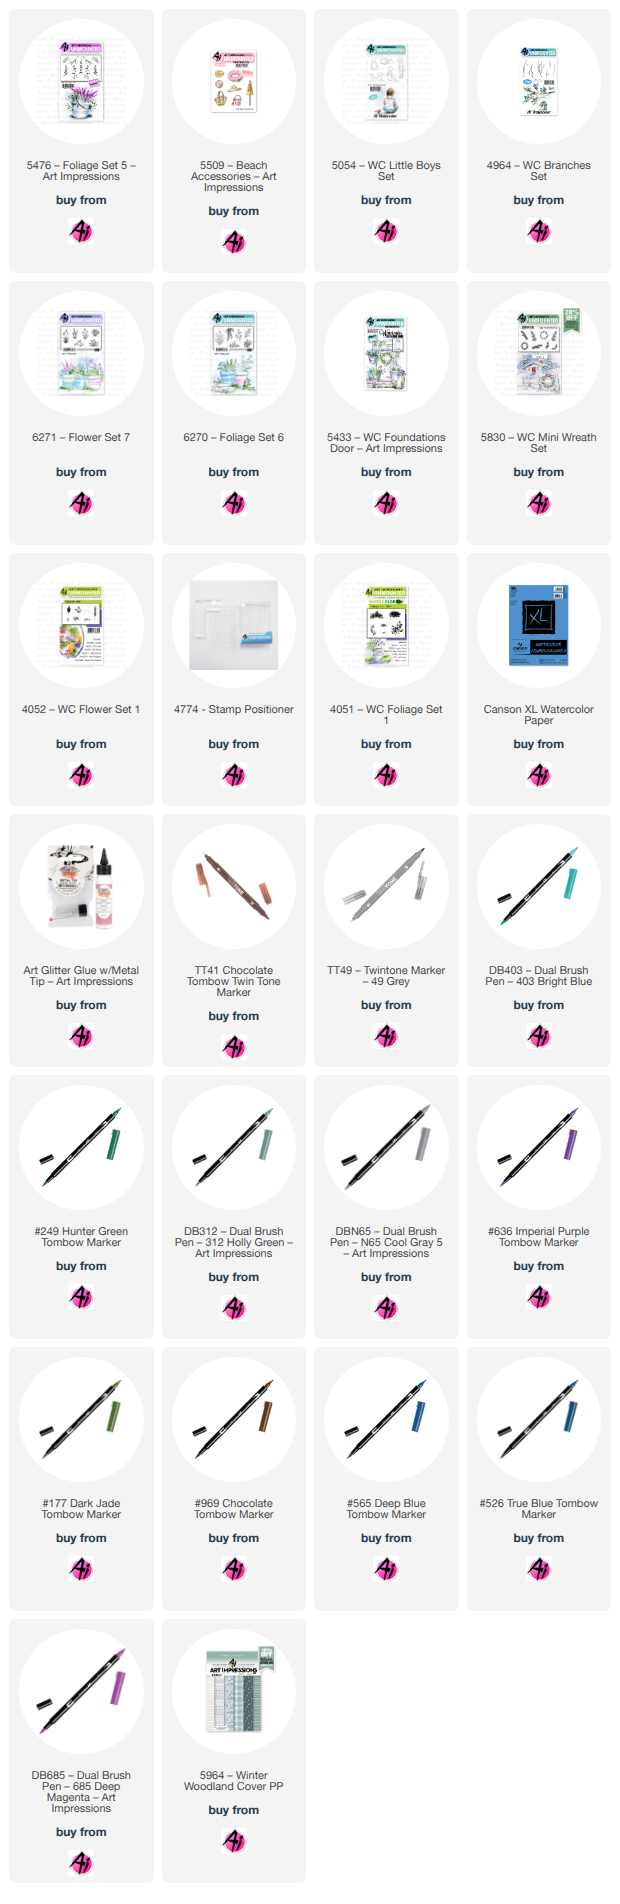
There’s something truly special about giving a classic stamp a new look. For this A2-size card, I combined the classic door stamp #5433 (WC Foundation Door) from 2021 with the recently released flower stamps #6270 and #6271 (Foliage Set 6 and  Flower Set 7) to recreate a charming scene filled with color and texture.


Painting the Door and Creating the Brick Wall

I began by stamping the door using Tombow markers #969 and #565. To color the door, I chose light shades of gray, purple, and blue to give it the appearance of weathered white wood. I then colored the flower pots and steps using very light shades of pink, purple, green, and blue.                   


To create the background wall, I used a brick stencil paired with a dry-brush watercolor technique for a soft, artistic look. By applying a small amount of watercolor to a relatively dry brush and lightly sweeping it across the stencil, I achieved a beautiful, uneven texture that gives the wall an aged character.


Adding the Flowers
Using Foliage Set 6 and Flower Set 7, I inked the stamps with markers and stamped the flowers directly into the pots. I also added foliage over the door and a wreath using stamp set 5830. Because the ink dilutes slightly with water, each flower features a unique blend of color, making it look as though a vibrant garden is growing right outside. To finish, I used PH Martin Bleed Proof White to add small white flowers. I painted the door hardware in gold and added a touch of grass to the bottom step using foliage set 1 (#4051).


Putting the Card Together

Once completely dry, I trimmed the main panel to 4" x 5.25" and layered it over a 4.25" x 5.5" coordinated background from the Winter Woodland paper pack (#5964). Finally, I mounted the entire piece onto an A2 card base.

The watercolor effect from the Tombow markers brings everything together beautifully, creating a soft, hand-painted finish that looks completely custom.

A Quick Tip
When using Tombow markers with stamps, experiment with your water ratio. Less water preserves defined details, while more water creates softer, blended colors. Don't be afraid to let the colors mix and move naturally—those minor variations are what make each image look like a miniature watercolor painting.
 

Second Project: I will SEA you Soon


For my second card, I used stamps 5054 and 5509 along with Tombow markers to craft another watercolor-style scene. This image features a boy pausing during a playful day at the beach to watch a sailboat in the distance (featuring the exclusive sailboat stamp, WC0526).

I hope these projects inspire you to break out your classic favorite stamps and combine them with something new. Sometimes, the most unexpected combinations create the most beautiful cards!

Happy Crafting!

Neema 


Thursday, April 2, 2026

Ride the Waves Pup Card by Dori Mendiola

 Happy Thursday AI Friends!

Today I have two cards for you that both fit the Round and Round Challenge.  The first one is an interactive rocking card and the second is more to show you how many ways you can use your dies and stamps, just add some imagination.  

Let's start with the rocking pup:

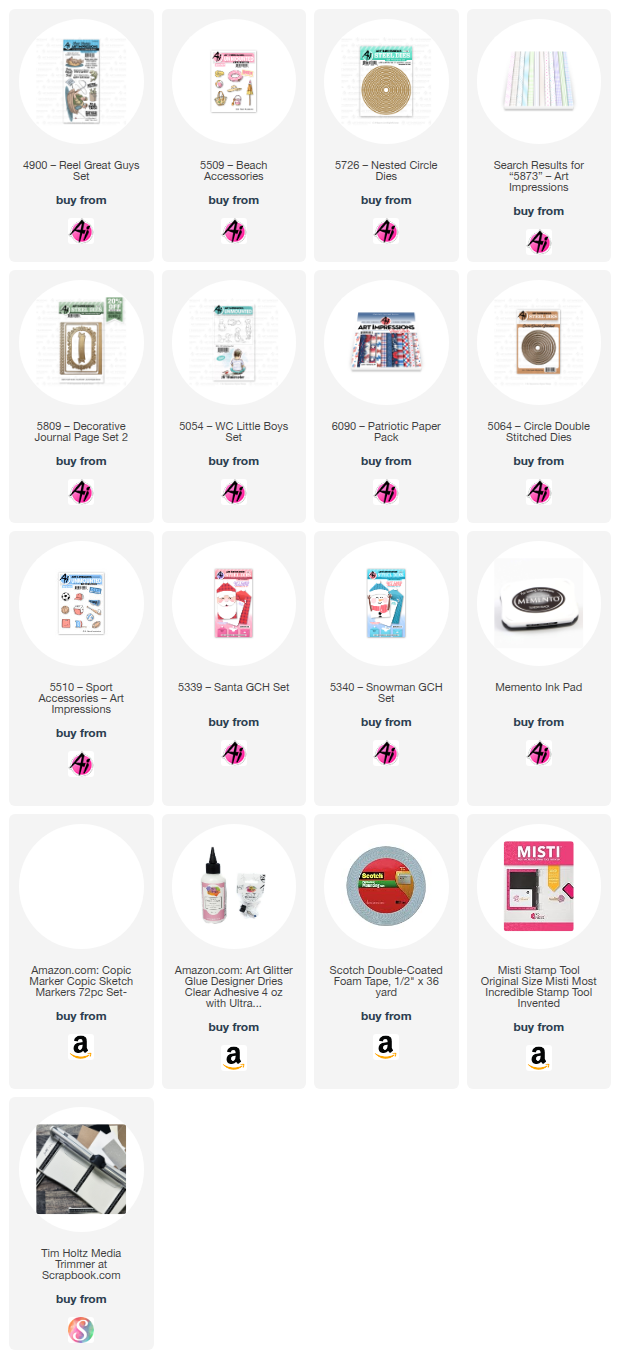
I used the Pup floating in the inner tube from the #4900 - Reel Great Guys stamp set along with the beach toys from the #5509 - Beach Accessories stamp set.


I stamped the images onto copic friendly paper with Memento black ink and colored them with my copic markers listed below.  I die cut the beach toys with the corresponding dies and fussy cut the pup in the inner tube.  I cut off the water beneath the tube since I was making my own water. 

I cut a 5 1/2" circle out of heavy weight cardstock and scored in half to make the base.  I then cut waves with dies I had in my stash.  I positioned the blue waves together and taped the back side.  I die cut these layers with the same round die, lining up the halfway mark of the circle die to the top wave.  I also placed a smaller circle over the waves for the middle circle panel.  I die cut a sand layer using the bottom edge of the circle die.  I glued the outer layers together onto the circle base card. 

To create the middle circle and the mechanism for the pup to rock, I cut a white base panel with the circle die that is just larger than the one used to cut the middle of the waves.  I cut the cloud panel from the smaller circle die used to cut the inner waves.  I punched a dime size hole in the darkest wave and cut two larger circles (approx. 1") from scrap white cardstock, making sure they will be hidden under the pup.  Adhere one of these scrap circles to one side of a pop dot and feed the dot into the hole from the back side of the wave.  Adhere the other scrap circle to the top of the pop dot and then glue the pup onto that disc, hiding it under the pup.  Place foam tape onto the back side of the darker wave, making sure that you don't hinder the disc from moving.  Adhere this layer to the white/cloud panel, matching up the waves to the circle base.  Test it out and see if your pup rocks.  Place foam tape to the next layer, again making sure that it doesn't hinder the pup.  Adhere to the white/cloud panel, matching up to the outer waves.  The lighter blue waves are adhered directly onto the middle blue layer.  Adhere your wave bubbles to the base card and then adhere the white scene panel to the base.  Add your beach accessories, sun and sentiment.  Your card should rock and so should your pup.  See the video below.


Baseball card

This next card was made for my grandson's birthday.  He loves baseball.  
I used the #5054 - WC Little Boys stamp set and flipped him by stamping a mirror image.  I wanted him to be right handed.  πŸ˜‚  To create a mirror image, I stamped him onto a silicone embossing mat that came with my die cutting machine and then placed my white copic friendly paper over the top and pressed.  The image is just as clear as the original stamp.  
  I used the #5510 - Sports Accessories for the cap, bat and ball.  For the ball in his hand, I used a hole punch and a marker to draw the stitches.  
Okay, now for the crazy part, can you guess which die sets I used for the stitches on the larger baseball? 
I should have made this a contest to see if anyone could guess OR maybe I'm not as creative as I think I am.  πŸ˜‚πŸ˜ƒ  Probably the latter, but I wanted to show you that you can use your dies in soooo many different ways.

First of all, I used the 5064 - Double Stitch circle die for the baseball.  Then for the half circles, I used two of the #5726 - Nested Circle dies together to create the thin circle frame.  Lastly, I used the eyes/brows from the #5339 - Santa and the #5340 - Snowman GCH for the red stitches on the ball.

Now, would it have been easier to draw the ball, probably, but I can't draw.  πŸ˜‚

Well, there you have it!  Thanks for joining me today.  I hope you create something fun for the Round and Round challenge and enter for a chance to win a free stamp set.  We love to see your creations!

Have a great day and keep creating!

Copics used:  Pup - N0, N1,  B0000
                                                 E21, E23, E50, E51, E53  
                                                             B21, B24,   YG21, YG23, YG25  

                                                      Baseball - E00, E01, E11, E51, E53, E55
                                                                      T0, T2, T4   R22, R24,    Y23 
                                               B21, B23, B24 

Thursday, August 28, 2025

Loungin' Linda Bday by Dori Mendiola

 Happy Thursday AI Friends!

I know I've said it before, but I'm going to say it again.  These new AI ladies are a HOOT!
I made this card for a friend of mine and, yes, she will always be older than me so I'm going to rub it in when I can.  😁  But, I can say with sadness, she doesn't look older! πŸ˜›

I stamped the images on copic friendly paper with Memento black ink and colored with my copic markers listed below.   I used the 6077 - Loungin' Linda stamp set along with the 5509 - Beach Accessories stamp set (handbag).

I also used the 5873 Mini Birthday PP and the 5132 - Tag Stitched dies.  The sentiment, balloons and scallop stitch edges are from my stash.

Hope you have a wonderful day!  Keep creating!

Copics used:  E000, E00, E01, E11
C0, C1, C3, C5, C7
R20, R22, R24
Y13, Y15, V20, V22, V25
BG10, B0000, B000, B12, B14

Thursday, August 14, 2025

Vacation Vibes by Dori Mendiola

Happy Thursday AI Friends!

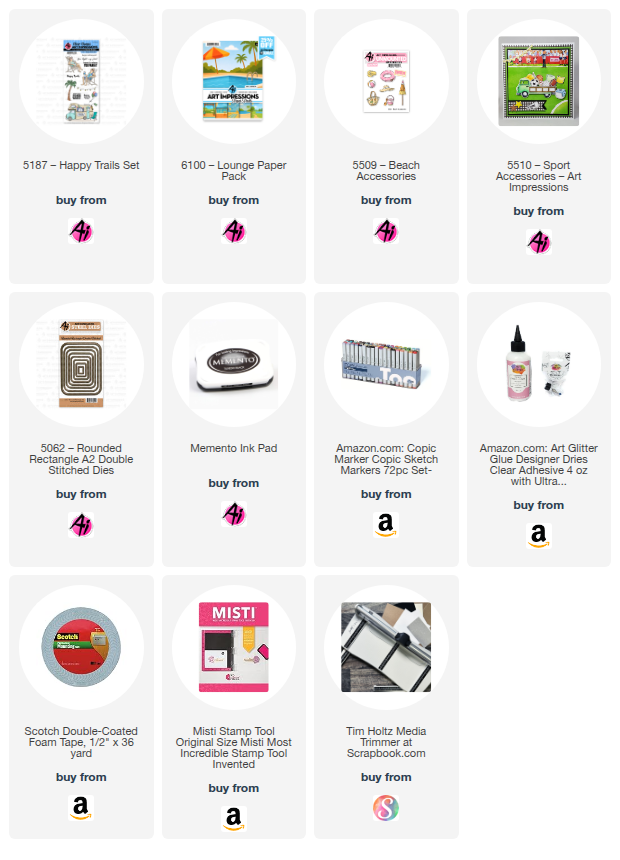
Wondering if you've seen the five new paper packs from Art Impressions yet.  If not, make sure to visit the Art Impressions website.  These paper packs were designed to go with the five new fun AI People stamps sets.  However, I wanted to show you how versatile they are and how you can use them with some other stamp sets.  They make such fun backgrounds.  All you need to do is add some images to them and your card is complete.  I used the #6100 - Lounge PP, #5187 Happy Trails stamp set for the couple on the beach, added a few accessories and the card is full of fun and relaxation.  
Total Vacation Vibes!

I began by stamping the images with Memento black ink onto copic friendly paper and coloring them with my copic markers listed below.  The couple are from the #5187 - Happy Trails set and the accessories (beach ball, hat and cooler) are from the #5509 - Beach Accessories and the #5510 - Sports Accessories.  The sun and the cloud are from my stash.


The accessories come with corresponding dies but the beach chair couple, I had to fussy cut. 
I used the largest #5062 - Rounded Rectangle A2 Double Stitch die to cut the background and then placed a layer of foam underneath to pop it up on the card base.  I also popped up the sentiment cloud, the couple and the accessories for added dimension.

Hope you look through your stamp sets and find other fun images to use with these papers.  Such a great way to add a scene as your background.

Thanks for joining me today.  Have a wonderful day and keep creating!
Copics used:  N0, N1, N2
E000, E01, E11, E21, E23 E25, E51, E53, E55, E57
R20, Y32, G40, G24
B0000, B91, B93, B95

Monday, June 10, 2024

Seas the Day by Sharon Caudle

 Hello AI Fans! 

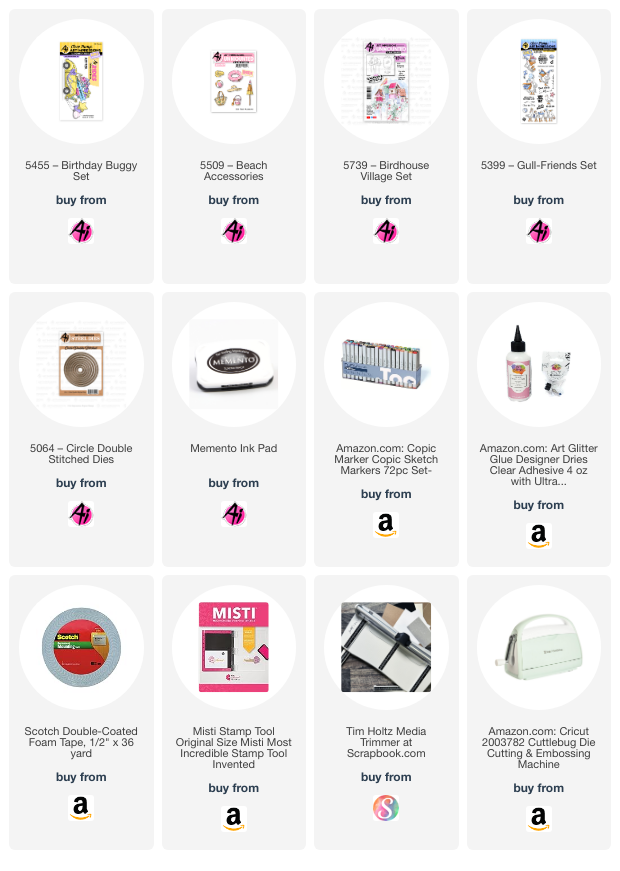
I hope you enjoyed your weekend and it was full of fabulous weather! For those of you lucky enough to either live close enough to, or were able to visit the beach, I'm totally jealous! LOL! I had a fun time coloring up this colorful car from #5455 Birthday Buggy Set from the line of Rides at Art Impressions. And instead of using all the Birthday stamps that comes with it, I chose to grab #5509 Beach Accessories set. I might have given away my age by the way I colored it. LOL! Who remembers all the cute bugs around the 60's and 70's with flowers painted on them? I couldn't resist, so I grabbed #5739 as it had the perfect sized flowers for the car door. For the sentiment, I used #5399 Gull Friend Set. I started by stamping all the fun images onto Copic friendly paper and then colored them with Copic markers which are listed below. I created a beach scene by just grabbing some dies from my stash. 


Thanks so much for stopping by for a visit and until next time - stay crafty! 


Copic markers used:
Y35 and 38
YG01 and 03
B00, 02, 04, and 06
R22, 24, and 27
YR04 and 09
E33, 51, and 53
C3, 4, and 5