Showing posts with label Birthday Buggy Set 5455. Show all posts

Thursday, February 20, 2025

Ultimate Birthday by Dori Mendiola

 Happy Thursday AI Friends!

My card today features the #5405 Mrs. Set.  I thought it represented the "Ultimate Birthday", from the PJs to the glass of wine.  It also fits this week's challenge "Drink Up".  Check out the bi-weekly challenge tab above and join in the fun by entering your card to have a chance at winning a free stamp set of your choice.

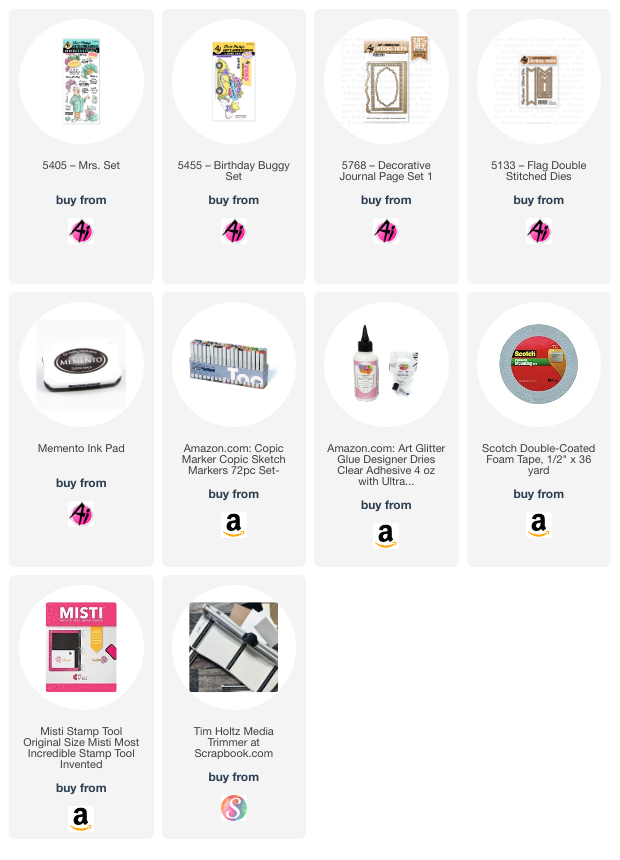
I started by stamping the images onto copic friendly paper with Memento black ink and colored with my copic markers listed below.  I then cut each of the images out with their corresponding dies.  For the wine glass in her hand, I colored an extra wine glass from her hat and fussy cut it out, removing the bow.  I cut a slit in her fingers and adhered the wine glass in between.  


I die cut the white frame from the #5768 Decorative Journal Pg. 1 die set.  I love the beautiful edge on that frame.  I typed the sentiment and printed onto a tag from the #5133 Flag Double Stitched dies.  Lastly, the cupcake came from the #5455 Birthday Buggy set.

Thanks for joining me today.  Hope you have a wonderful day.  Happy creating!
Copics used:  E000, E01, E11, E21, E23
R20, R81, R83, R85, R89
YR32, YR35, YR38
C1, YR14, YG25

Monday, June 24, 2024

Stars and Stripes Challenge Happy Birthday by Sharon Caudle

 Hello AI Fans!

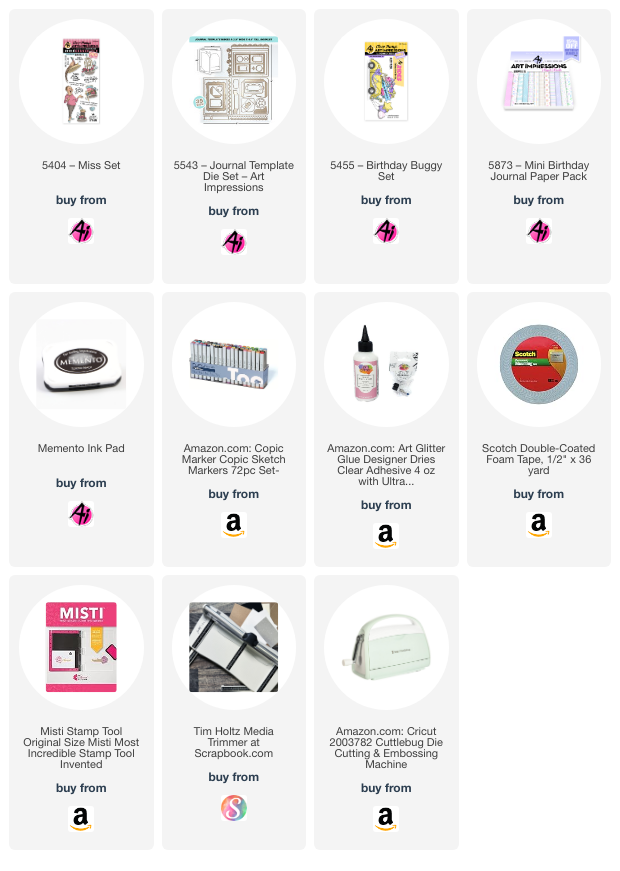
Happy Monday everyone! I hope you had a wonderful weekend! As you can see, I took a totally different approach to the Stars and Stripes Challenge that is going on right now. I decided not to go the patriotic red, white, and blue. I love to celebrate the 4th of July like other Americans, but this time I wanted to approach the challenge in a different way. So I chose a striped paper from the beautiful assortment of papers in #5873 Mini Birthday Journal Paper Pack and then grabbed a star balloon from another set, and used 5404 Miss Set from the Hats Off line. I ADORE that hat!!!  I stamped the images and colored them with Copic markers which are listed below. 


Thanks so much for stopping by for a visit today! Until next time - stay crafty!!


Copic markers used:

E11, 13, 15, 21, 23, 33, 39, and 59 (skin was E11, 13, and 15. Hair E15, 39, and 59)

YG01, 03, and 05

V01, 04, 06

RV52 and 55

Y35 and 38

B00 and 01

R32 and 35


Thursday, June 20, 2024

Stars & Stripes Forever Challenge #381

Welcome to our newest challenge!


Stars & Stripes Forever!

Now, we know that Art Impressions has a lot of international fans, so for this challenge your project does NOT need to be patriotic themed, though it certainly can be. You must use stars or stripes on your creation. 

Before we see what Dori created for her first ever Feature, let's see who won our Panda-Monium challenge. (Black & White or Pandas)

For our Top Spot we chose


Please contact Leah at Feedback@artimpressions.com
to claim a free stamp set of your choice!
Also, be sure to grab our badge to display on your blog, Facebook or Instagram!

Our Lucky Random Winner was:

#7 Becca Yahrling


Please contact Leah at Feedback@artimpressions.com
to claim a free stamp set of your choice!
Also, be sure to grab our badge to display on your blog, Facebook or Instagram!

Congratulations Lynn and Becca!

Enjoy your new stamps.

Be sure to check out the new Fairy series that just released yesterday as well as all the other new releases! So many fun, new sets!

See all the NEW 2024 releases HERE.

Now on to Dori's Stars & Stripes Forever card.
Though she chose to use a Patriotic theme for the challenge, remember, you only need
to use stars or stripes unless you want to use a red, white and blue theme for Independence Day.

Let's see and hear about what she's made to inspire you!
Be sure to check out her quick little video to see the pop-up surprise.

--------------------------------------------------------------------------------------------------------------------------


 Hello Art Impressions Fans!

I'm excited to share my feature post for the new blog challenge - Stars and Stripes Forever.   Any card or project with stars and stripes will work for this challenge so I hope you will play along.  I love all of the July 4th fanfare here in the good ole USA, from parades to barn dances to fireworks displays.     Such a great time for family fun and celebration!

So, with that, I decided to create an interactive card that is sure to get us all in the mood for the festivities.

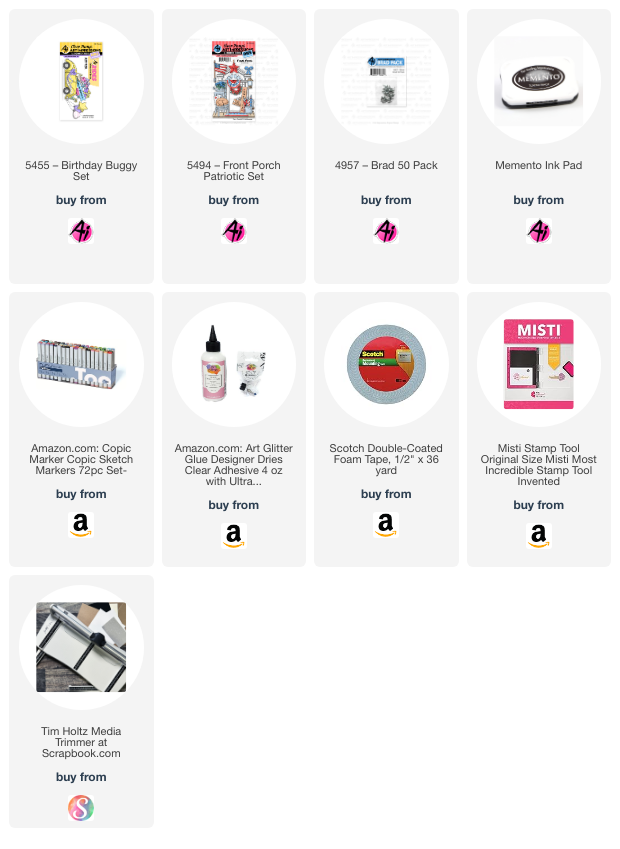
I began with the #5455 Birthday Buggy set and the #5494 Front Porch Patriotic set.  I stamped all of the images onto copic friendly paper and colored each with my copic markers (colors listed below).  If you look at the pictures below, you will notice there is a pull tab and when you pull it to the right, the flags pop up.  So much celebration going on in this little buggy.  LOL!  


This mechanism was inspired by the Lawn Fawn Swish n Pop die set.  The acetate piece (arm) was cut manually so that the flags were hidden behind the buggy when down.  Picture 1 shows the shape of the arm and the two small holes cut into the base of the arm.  As you can see, it doesn't have to be pretty or exact because it will be hidden.  There are also 4 small holes in the background paper.  Depending on which hole you use, will determine where your pop up displays.  I used the farthest one to the left.

Picture 1:

The pull tab is attached with a small brad (#4968 White Brad 50 pack) to the bottom hole of the arm and another brad attaches the arm to the background paper.  (See picture 2)  In order for the pull tab to not flap around, you will want to create a collar to minimize the movement of the pull tab.  Glue the collar to the background paper and slide the pull tab through it.  Test your mechanism to see where the flags will pop up.  Glue the flags to the acetate arm, making sure the buggy will cover them when down and they pop up where you want them to.  Place a small piece of foam tape as a stopper so the flags don't go over too far.  Place foam tape to the bottom of the background paper making sure not to hinder the mechanism from moving.

Picture 2:

Lastly, place your bottom panel over the foam tape and test the mechanism by pulling on the pull tab.  If all works well, adhere to the card base.  While the flags are down, mark the pull tab where it matches up to the side of the card.  (See Picture 3)  Pull the tab out and cut at your mark.  Stamp the tab end with the word "Pull" or cover with a piece of colored paper with an arrow so the recipient knows to pull the tab.

Picture 3:

Now you are ready to decorate the card.  I cut a piece of black cardstock (about an inch wide) and used a gold pen to create the yellow lines in the road.  Place the road on the bottom panel and glue down.  Glue the buggy onto the road, making sure that the flags pop up where you want and are hidden when down.  I choose to add a thin strip of silver glittered cardstock to the top of the gray polka dot paper to create a nice transition but also to hide any foam tape (oops).  LOL!  It also accentuates the glittered stars.  I die cut stars and the word "Celebrate" using dies from my stash.


Hope you enjoyed my card today and it inspires you to join the challenge for a chance to win a free stamp set of your choice!

Have a great day!

Copics used:  E21, E23
C00, C0, C02, C03, C05
B24, B26, B28
R35, R43, R46

Let's give Dori a big round of applause for her first time being the Art Impressions Featured Artist. 
What an amazing interactive card.

Thank you so much for your beautiful card Dori.


✻ Please make a new card or handmade crafty creation. You can make any item you wish; this is not limited to cards!

✻ Limit two submissions per person. You will receive extra votes if you use Art Impressions stamps!
 ✻Please include your first name and last initial on your submission.
✻We love to comment on your entries, but keep in mind if you use a private group or a platform that you need to sign up for, we probably won't be able to.
✻ The Ai Challenge is open to everyone, international submissions are welcome!
✻ Include a link back to the Ai Blog or grab our button on the top right of our sidebar!
✻ Share the Ai love if you can, by clicking and commenting on your fellow crafters.
✻ Make sure to get your link up by the deadline to enter your creations.
✻ Good luck and happy stamping! 


You are invited to the Inlinkz link party!

Click here to enter

Monday, June 10, 2024

Seas the Day by Sharon Caudle

 Hello AI Fans! 

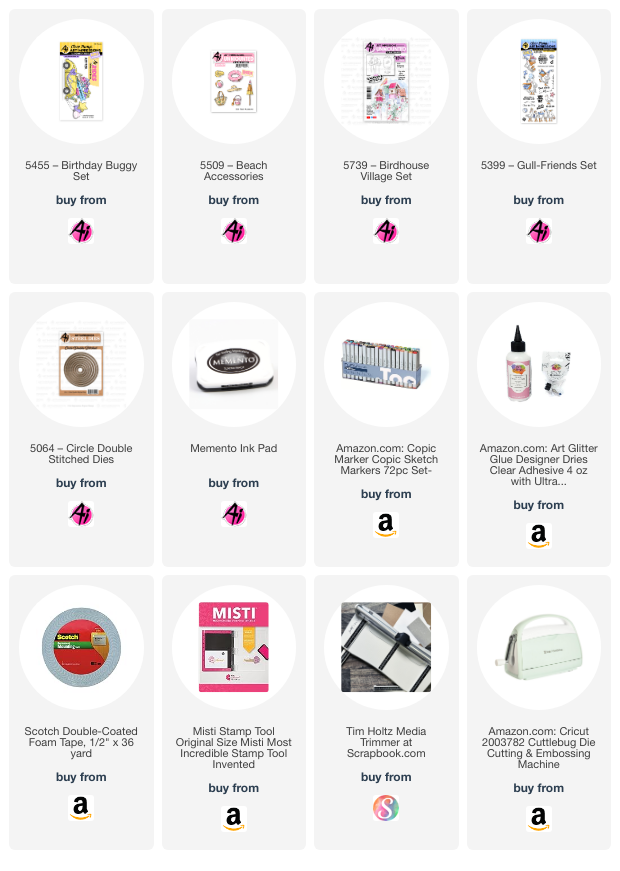
I hope you enjoyed your weekend and it was full of fabulous weather! For those of you lucky enough to either live close enough to, or were able to visit the beach, I'm totally jealous! LOL! I had a fun time coloring up this colorful car from #5455 Birthday Buggy Set from the line of Rides at Art Impressions. And instead of using all the Birthday stamps that comes with it, I chose to grab #5509 Beach Accessories set. I might have given away my age by the way I colored it. LOL! Who remembers all the cute bugs around the 60's and 70's with flowers painted on them? I couldn't resist, so I grabbed #5739 as it had the perfect sized flowers for the car door. For the sentiment, I used #5399 Gull Friend Set. I started by stamping all the fun images onto Copic friendly paper and then colored them with Copic markers which are listed below. I created a beach scene by just grabbing some dies from my stash. 


Thanks so much for stopping by for a visit and until next time - stay crafty! 


Copic markers used:
Y35 and 38
YG01 and 03
B00, 02, 04, and 06
R22, 24, and 27
YR04 and 09
E33, 51, and 53
C3, 4, and 5


Sunday, January 28, 2024

Buggy Valentines, Bunnies and Bees by Jami Steiger


Watercolor Weekend January 28, 2024


Hello everyone!  I hope everyone is having a great weekend.  

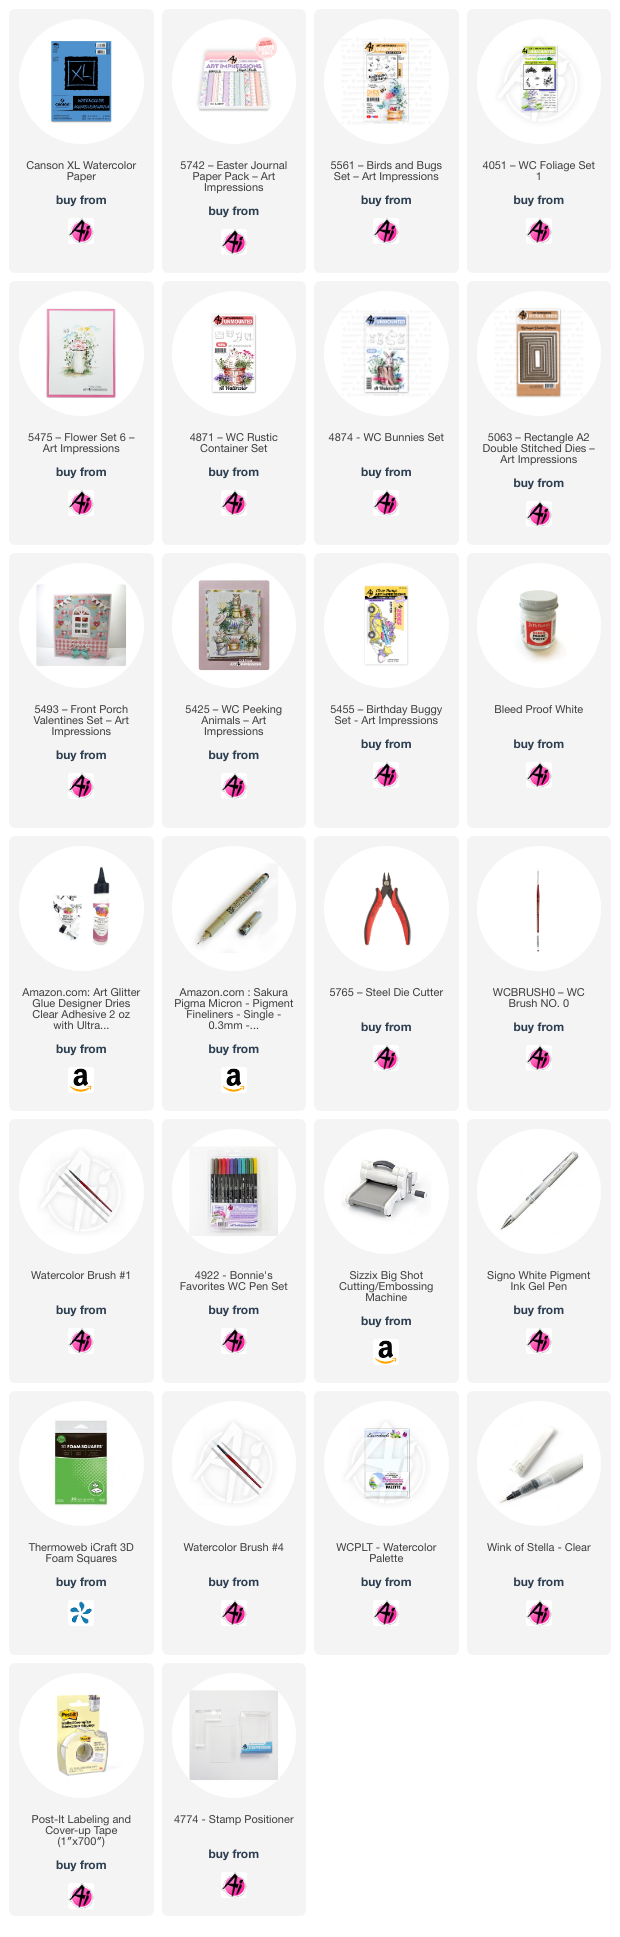
For my first card I wanted to make a Valentine card using the Ai set #5455 Birthday Buggy Set.  I love vintage VW Bug cars so I painted the car using Tombow marker #312 because that would be my dream color.  The balloons were each painted using Tombow marker #835, 817 and 772.  It is hard to see in the photo but I also added Wink of Stella in clear for a pretty shimmer.   For the red balloon I popped it up for added dimension. The heart balloons also came from set #5455.  I added the mouse from set #5425 WC Peeking Animals.  I wanted to add some more heart elements to the design so the heart garland was used from set #5493 Front Porch Valentine Set.  It is always fun to look at your stamp sets and dies to see if an element can be used to add interesting detail and texture to your card designs. The final touch was adding some flowers from set #5475 WC Flower Set 6.  The flowers were painted with Tombow #526, 817 and 177.  When all of the elements were painted I then die cut some clouds and the words "I love you".  To complete the card I used die set #5063 Rectangle Double Stitched to cut out my watercolor paper and then matted onto red cardstock.


 I am thinking ahead to spring!  It has been a cold, wet winter here in Ohio! 
 If you don't know me my favorite color is pink so this card was really fun for me to create.  I first started by painting the bunny in multiple colors.  I used shades of gray and added some rust color for added depth.  The bunny is from set #4874 WC Bunnies Set.  Next it was time to paint the stump from set #4871 WC Rustic Container Set.  I first stamped off the stump twice after coloring the stamp with Tombow markers #969 and 569.  Then I pulled out the color for shading and then I used Dr. PH Martin's to give the stump a more weathered look by brushing on the white using a "dry brush" technique meaning to not have much water on the paint brush and just lightly going over the image with the paint brush.  All of the flowers came from set #5475 WC Flower Set 6 which was perfect because there is a matching left and right directional flower.  I wanted to draw the eye towards the bunny in the center.  For the flowers I used Tombow markers #526, 025, 772 and 177.  The small grass from set #4051 Foliage Set was used to complete the setting.  For the final touch I added a bee from set #5561 Birds and Bugs Set.  I used the gorgeous pink gingham from the #5742 Easter paper pack.  


For the inside of the card I had a piece of paper left over so I took a paper punch and punched the edge of the paper to add design.


  • Thank you for taking the time to read my long posting.  As usual, if anyone has any questions please ask.  I am more than happy to answer any questions.  I hope you all have a wonderful day!


Tuesday, June 20, 2023

Tag Journal Recap by Nina

             Hi Ai fans, Nina here and I am so excited to recap with you all the tag pages I enjoyed creating using the adorable images and the die sets from Art Impressions.

This Tag Journal documented my moods since beginning of March all the way until today, each one of them gave me tremendous joy as I dig into my Art Impression collection of stamps and dies, mixing and matching elements from different sets to create one single adorable project.

I will include links to all of the tags in this article along with some photos so it will be easier for you to find them all in one place.

I used the Tag stitched Die Set for all the tags to create the base, I would usually die cut it twice and glue them both to each other so all my tags are sturdy and flat (not warped). For the elements I place on the tags you will find thier name below with each project.

1. You Rule! Tag


This was created for the Teacher Appreciation week using Teacher Rule Set. 


I also have a Video Tutorial here:


I created this one for our Windows Challenege, I used the Little Girl Front & Back set.


3. Spring Harvest Pastel Tag

To kick off the Spring season, I created this tag using the Harvest Together Set.


4. Easter Bunny Tag

Here I used the Sweet Easter Set.


5. Explore Nature Tag

I used the bag stamp from from Ole Buck Set.


6. Woodland Treehouse Tag

This project was created for the April Showers Ai Challenege where we included rain or clouds, I used Woodland Tree Cubbies Set.


7. Teacher Appreciation Tag

I created this one to thank all teacher as we hit the second day of Teacher Appreciation Week. I used Teacher Rule Set.

8. Barnyard Party Tag

This tag was for our Ai challenege "Don't Fence Me Up". I mixed and matched many decorations and critters from different Ai sets to achieve this adorable partying scene on the inside, it had an interactive door than opens up to this fun scene. I used:

4967 – WC Fence Dies
5180 – Barnyard Animal Cubbies
5455 – Birthday Buggy Set
5491 – Front Porch Party Set
5722 – Birthday Journal Set
5443 – MB Nativity


9. Life is Sweet Tag

Yet another tag, I used the adorable Birthday cake GCH Die set.


10. Spring Time Tag

 For this Spring tag I used the cute HM Garden Set which is an add-on for the Holiday Mansion Set.


11. Fabulous Flowers Tag


I was the featured Design Team member for the Fabulous Flowers Challenege and I created this tag as one my projects for this challenege. I used Birdhouses stamp Set.

12. Baby Steps Tag

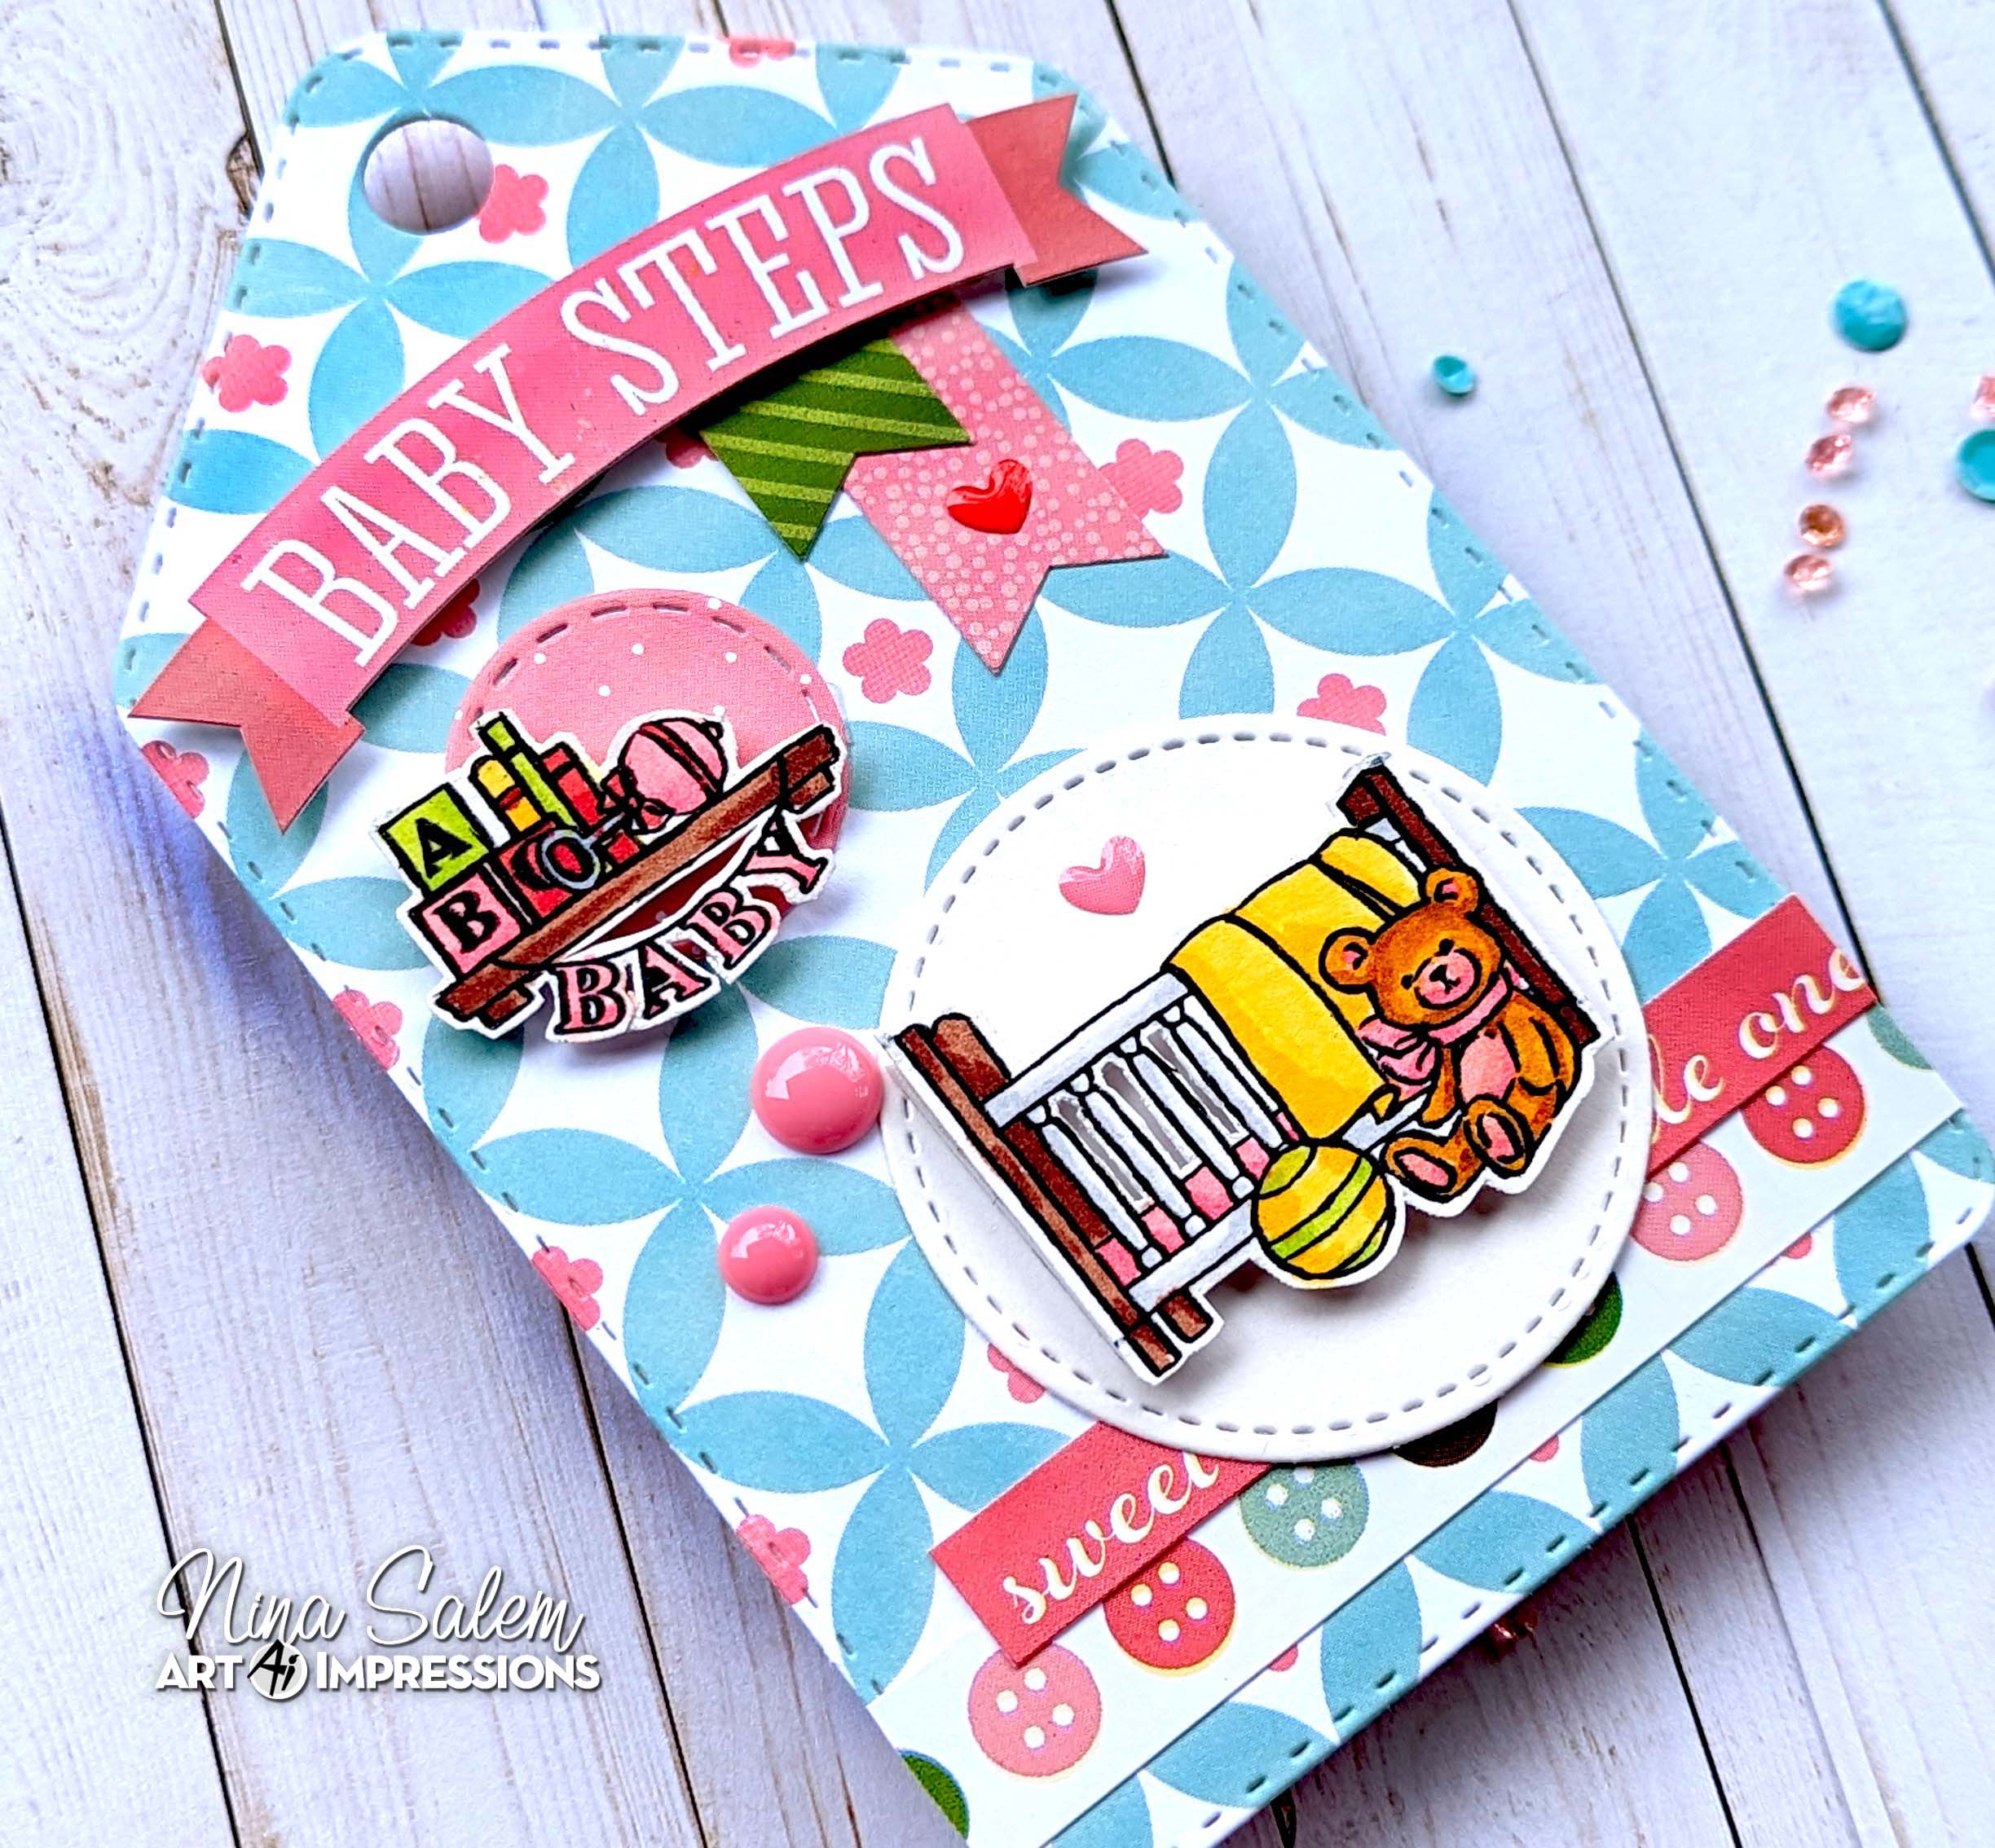
I used images from MB Nursery Set which is one of the Matchbook sets. Matchbook sets were the perfect size to create scenes on these tags.


13. Chicken Coop Tag

Again for this Spring Tag using one of the Matchbook sets, just the perfect size. Here I used the Chicken Coop Set.


I also created another tag for our current Midnight Snack Challenege that will be up on Art Impressions Blog Next Tuesday. Stay tuned.

Here are images for the complete Journal..


I had a blast creating this Tag Journal I hope you enjoyed each one of them. Thanks for being part of this journey!