Showing posts with label 5064 Circle Dbl Stitched. Show all posts

Monday, July 6, 2026

Get your happy on by Sharon Caudle

 Hello AI Fans!

Hope you had a wonderful and safe 4th of July weekend if you're in the states and celebrated! I've got a fun card to show you today! Have you ever jumped on a trampoline? Well this lady is out having the time of her life helping someone celebrate their birthday! Watch a clip of the video below to see her in action! It's so much fun watching her jump around! I started by stamping #5279 Be Happy Laugh Lines onto a Copic friendly paper and fussy cutting her out after coloring her. I found this video on how to make the mechanism to make her jump. It's really pretty easy and you don't need any special dies to make it! 


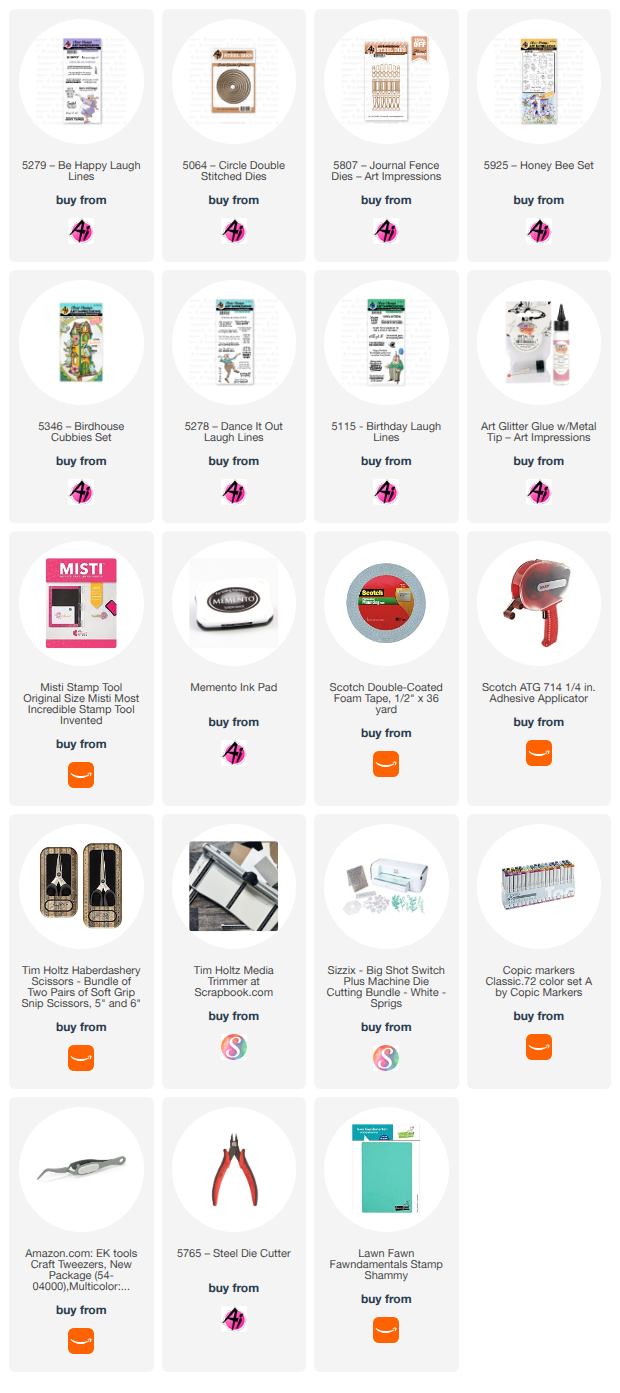
The sentiment get your happy on is also from the same stamp set #5279 Be Happy Laugh Lines. The bird is from #5346 Birdhouse Cubbies Set, the flowers from #5925 Honey Bee Set, and the fence from #5807 Journal Fence Dies. I just clipped off one fence post from the die as it was just a little too wide for what I needed. The other pieces just came from my stash. 


For the inside sentiments I used #5278 Dance it out Set and #5115 Birthday Laugh Lines for the two different sentiments. 


So that's it for me today! Thanks so much for stopping by for a visit and until next time - stay crafty!!


Thursday, July 2, 2026

4th of July Granny card by Dori Mendiola

 Happy Thursday AI Friends!

In celebration of our freedom and this wonderful country we call home, I had to create one more card for this fabulous U.S. holiday. Thank you to all the brave service men and women who have fought for our country.  Your courage and sacrifice mean everything.  

Happy Independence Day to All!

This Granny is excited to be celebrating!  She's a rockin in her chair!
I placed her on a round card base, so she literally rocks.  LOL!

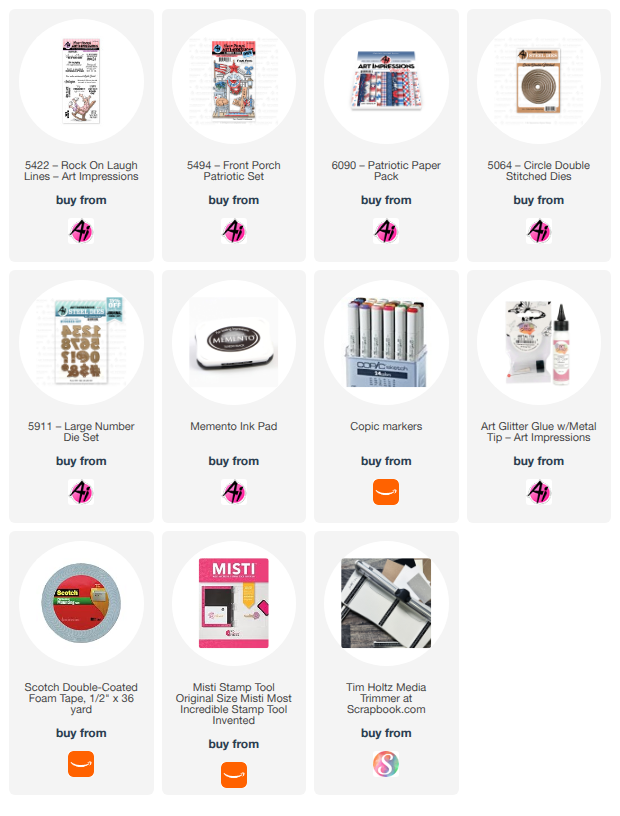
I stamped the images onto copic friendly paper with Memento black ink and colored with my copic markers, listed below.  The accessories were die cut with the corresponding dies from the #5494 - Front Porch Patriotic set but the Granny was fussy cut.  I also paper pieced her outfit using the #6090 - Patriotic PP.  This paper pack is SO full of beautiful papers in the Red, White and Blue. 

 I placed the flag into her hand and curled her fingers around the pole so that she looked like she was waving it.  Just make sure to color the backside of her hand.  πŸ˜€  I popped her up onto a white circle,
 cut with the #5064 - Double Stitched Circle dies.  I also popped up several of the accessories.
I die cut the numbers out of red cardstock using the #5911 - Large Numbers dies.  The sentiment is from the same set as the Granny (#5422 - Rock on Laugh Lines).

That's it for me today!  Hope you all have a safe and fun 4th of July weekend!

Keep creating!
Copics used:  E000, E00, E01, E11
E31, E33, E35, E51, E53
R20, R24, R27, R29
N0, N1, N2    B34    Y15, Y17

Saturday, April 18, 2026

Vine Wreath and Dear Friend by Gennette Houghton


Hello, and Welcome to Watercolor Weekend. One of the hardest parts of the time between winter and spring is all of the muddy brown, weather permitting, which sometimes doesn’t happen here right away, I so look forward to things turning green again. I rejoice in seeing leaves and flowers, signs of things coming to life again.  Warmer days and sunshine usually mix with cold, gray, and snow in April.  So, my projects today are all about the things I am wishing for right now, green, that first spot of yellow, bees looking for their first food of the season.  Spring fever hit me hard this year.

My first card is a simple wreath, perfect for those times when you may need a quick card.  There are so many ways to change this up just by adding a secondary color.  Blues, yellows, or add in some browns and oranges for a fall vibe. Add red berries and you could make a Christmas wreath as well.  Just by changing the sentiment, this is great for any occasion.  

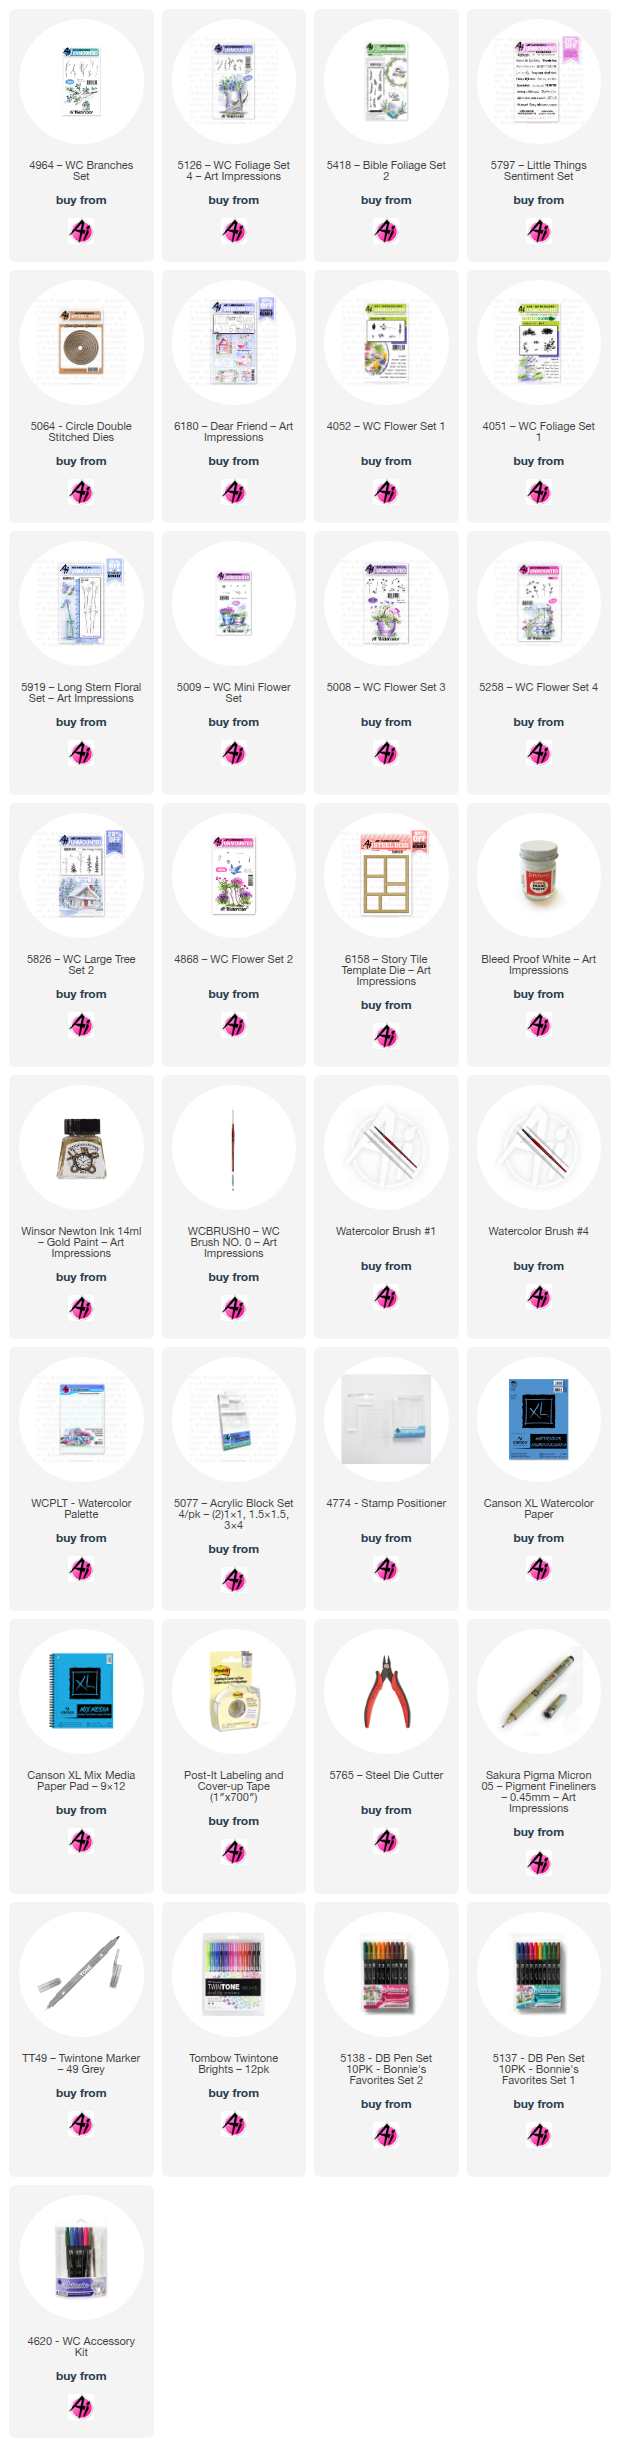
I started with 5064 Circle Double Stitched Dies and used the 2nd to largest, tracing the inside for a circle guide.  I then used a kneaded eraser to lighten the line so it was just barely there but still give me a guide.  4964 WC Branches Set, using the 2nd to smallest branch with 969, I started stamping around the circle.  Alternating the direction and stamping multiple times, shifting back and forth over the circle guide, giving more fullness. I then used the leafy branch from 5126 WC Foliage Set 4, inking in first 126 and then pulling a line through each section with 177.  I literally just drew a line up the stamp with the 177, nothing specific, just to add a two tone look to the leaves.  I did not ink the end of the stem, just the area with the leaves.  Then following the branches, also stamping several times, I then softened with a damp brush, pulling color out into the more blank areas around the wreath.  I then used a soft wash of 177 inside the wreath leaving the center alone.  Once dry, with 026 I added in some golden dots with 5418 Bible Foliage Set 2, (also known as Kendra dots), stamping multiple times around the wreath. I then used the Winsor and Newton Gold Ink, and the leafy branch, I painted a leaf on each side of the stamp at the widest part and stamped these in, re-inking the stamp each time going around the wreath. Using my stamp platform, I stamped in my sentiment from 5797 Little Things Sentiment Set in Distress Ink Forest Moss.  I cut down my watercolor paper to 4 ¼ by 5 ½ and matted it to my card base, creating a quick and easy card.   


For my 2nd card, I used 6180 Dear Friend Set with the coordinating die 6158 Story Tile Template.  The die can be used with so many different stamps, but there are currently 4 sets that were created to use with it.  I have seen some pretty amazing creations used with this die, with the sets and without.  I started with using a cutout of the template that I use to trace the boxes on my watercolor paper after cutting it down to 4 ¼ by 5 ½.  Since the sets are created with the different size boxes in mind, it is pretty simple to layout.  After getting my boxes outlined, I stamped each image in Distress Ink Pumice Stone, stamping off once, and then stamping into each of the boxes.  For the sentiment, I used my stamping platform and Versafine Clair in Nocturne, just in case that I would need to stamp it again.  Once all of my images were stamped in, I started with the main images and then built them up with foliage and flowers, masking images as needed.  I actually used quite a few sets with this, here is what I used.

4052 WC Flower Set 1

4964 WC Branches Set

5126 WC Foliage Set 4

4051 WC Foliage Set 1

5919 Long Stem Floral

5009 WC Mini Flower Set

5008 WC Flower Set 3

5258 WC Flower Set 4

5826 WC Large Tree Set 2

4868 WC Flower Set 2


The Tombows I used are:

027, 192, 565, 947, 249, 603, 969, 526, 076, 879, 856, 403, 177, 126, 025, 026, and 606.


I hope you enjoyed my projects today and thank you for joining me.  Until next time, Create….Share….Inspire!


Monday, April 6, 2026

Another card for the Round & Round Challenge by Sharon Caudle

 Hello AI Fans! 

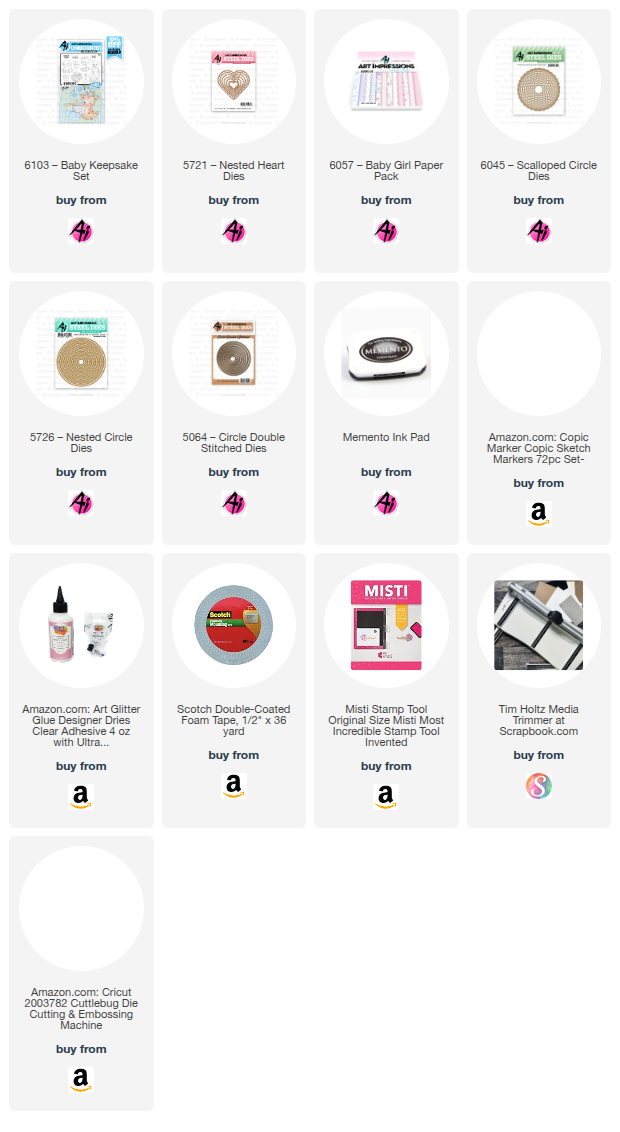
I've got another card today that works for the current Round & Round Challenge that is going on right now. Here's a link so you can enter your project if you haven't already. Just click HERE.  I started out by using the adorable bear from #6103 Baby Keepsake Set. I stamped it onto a Copic friendly paper with Memento Tuxedo Black Ink and then colored it with the markers listed below. Then I just grabbed some circle die sets. So I used #5064 Double Stitched Circle Dies, #5726 Nested Circle Dies, and also #6045 Scalloped Circle Dies. That pretty patterned paper is from #6057 Baby Girl PP. To embellish the card a bit, I used some hearts from #5721 Nested Heart Dies, stamping the sentiment onto the larger white one. I also added a set of those adorable booties from the set as well. 


So that is it for me today! I sure hope you're joining in on the challenge for a chance to win a free stamp set! Thank you so much for stopping by for a visit today and until next time - stay crafty! 


Copic markers used:

E51, 53, and 55

R81 and 83

V12 and 15

RV91, 93, and 95


Thursday, April 2, 2026

Ride the Waves Pup Card by Dori Mendiola

 Happy Thursday AI Friends!

Today I have two cards for you that both fit the Round and Round Challenge.  The first one is an interactive rocking card and the second is more to show you how many ways you can use your dies and stamps, just add some imagination.  

Let's start with the rocking pup:

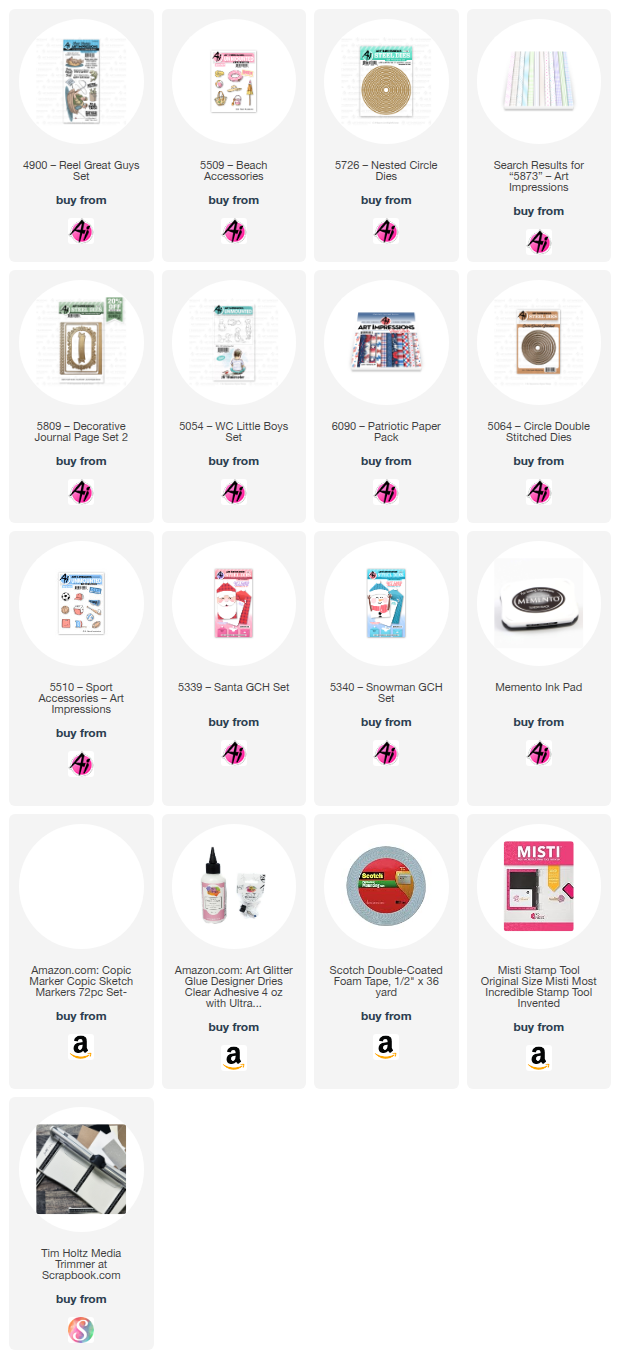
I used the Pup floating in the inner tube from the #4900 - Reel Great Guys stamp set along with the beach toys from the #5509 - Beach Accessories stamp set.


I stamped the images onto copic friendly paper with Memento black ink and colored them with my copic markers listed below.  I die cut the beach toys with the corresponding dies and fussy cut the pup in the inner tube.  I cut off the water beneath the tube since I was making my own water. 

I cut a 5 1/2" circle out of heavy weight cardstock and scored in half to make the base.  I then cut waves with dies I had in my stash.  I positioned the blue waves together and taped the back side.  I die cut these layers with the same round die, lining up the halfway mark of the circle die to the top wave.  I also placed a smaller circle over the waves for the middle circle panel.  I die cut a sand layer using the bottom edge of the circle die.  I glued the outer layers together onto the circle base card. 

To create the middle circle and the mechanism for the pup to rock, I cut a white base panel with the circle die that is just larger than the one used to cut the middle of the waves.  I cut the cloud panel from the smaller circle die used to cut the inner waves.  I punched a dime size hole in the darkest wave and cut two larger circles (approx. 1") from scrap white cardstock, making sure they will be hidden under the pup.  Adhere one of these scrap circles to one side of a pop dot and feed the dot into the hole from the back side of the wave.  Adhere the other scrap circle to the top of the pop dot and then glue the pup onto that disc, hiding it under the pup.  Place foam tape onto the back side of the darker wave, making sure that you don't hinder the disc from moving.  Adhere this layer to the white/cloud panel, matching up the waves to the circle base.  Test it out and see if your pup rocks.  Place foam tape to the next layer, again making sure that it doesn't hinder the pup.  Adhere to the white/cloud panel, matching up to the outer waves.  The lighter blue waves are adhered directly onto the middle blue layer.  Adhere your wave bubbles to the base card and then adhere the white scene panel to the base.  Add your beach accessories, sun and sentiment.  Your card should rock and so should your pup.  See the video below.


Baseball card

This next card was made for my grandson's birthday.  He loves baseball.  
I used the #5054 - WC Little Boys stamp set and flipped him by stamping a mirror image.  I wanted him to be right handed.  πŸ˜‚  To create a mirror image, I stamped him onto a silicone embossing mat that came with my die cutting machine and then placed my white copic friendly paper over the top and pressed.  The image is just as clear as the original stamp.  
  I used the #5510 - Sports Accessories for the cap, bat and ball.  For the ball in his hand, I used a hole punch and a marker to draw the stitches.  
Okay, now for the crazy part, can you guess which die sets I used for the stitches on the larger baseball? 
I should have made this a contest to see if anyone could guess OR maybe I'm not as creative as I think I am.  πŸ˜‚πŸ˜ƒ  Probably the latter, but I wanted to show you that you can use your dies in soooo many different ways.

First of all, I used the 5064 - Double Stitch circle die for the baseball.  Then for the half circles, I used two of the #5726 - Nested Circle dies together to create the thin circle frame.  Lastly, I used the eyes/brows from the #5339 - Santa and the #5340 - Snowman GCH for the red stitches on the ball.

Now, would it have been easier to draw the ball, probably, but I can't draw.  πŸ˜‚

Well, there you have it!  Thanks for joining me today.  I hope you create something fun for the Round and Round challenge and enter for a chance to win a free stamp set.  We love to see your creations!

Have a great day and keep creating!

Copics used:  Pup - N0, N1,  B0000
                                                 E21, E23, E50, E51, E53  
                                                             B21, B24,   YG21, YG23, YG25  

                                                      Baseball - E00, E01, E11, E51, E53, E55
                                                                      T0, T2, T4   R22, R24,    Y23 
                                               B21, B23, B24