Showing posts with label 5873-Mini Birthday PP. Show all posts

Thursday, May 7, 2026

3D Tunnel card by Dori Mendiola

 Happy Thursday AI Friends!

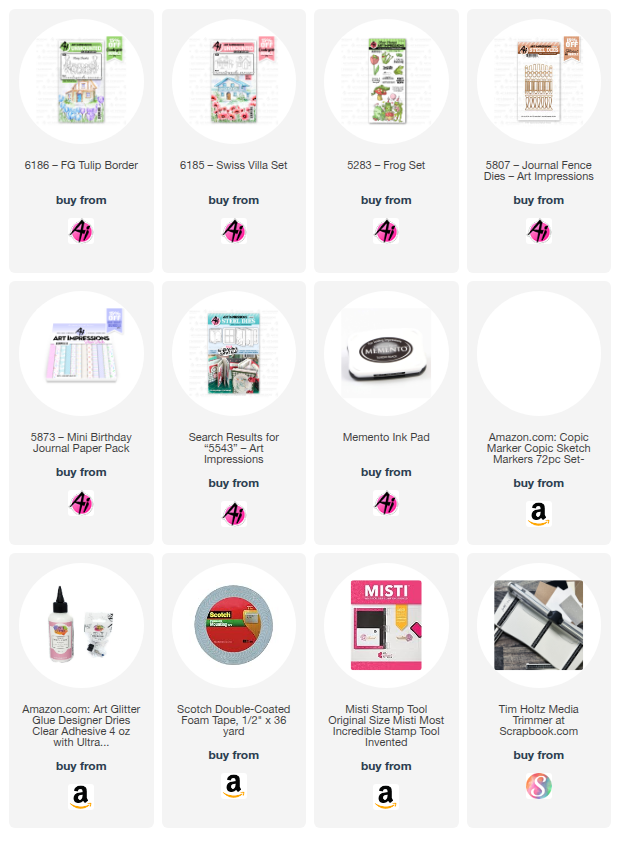
Today I’m sharing a 3D tunnel card featuring two of the newest Countryside series stamp sets: #6186 – FG Tulip Border and #6185 – Swiss Villa.  This beautiful release includes four cottages and three floral borders, all designed to mix and match for creating layered scenic cards.  Each of these images also works wonderfully on its own, making it easy to craft a simple yet striking card with just a single image.  Be sure to check out the sample projects posted on the website under each set.

To create this tunnel card, cut two 2 1/4" x 5" pieces of heavy cardstock.  Score and burnish along short side at 1/2", 1", 1 1/2", and 2".  Fold to create a tube and adhere the 1/4" tab to the inside of the tube. See pic below.  

Cut two 1 1/2" x 8 1/4" pieces of heavy cardstock and score along the long side at 1", 4", 5" and 8".  Fold (all valley) and burnish.  Adhere the 1/4" tab to the inside of the 1" tab.  Glue the two tubes inside one of these tower panels, centering within the 1" sides.  See pic below.  Flatten the card back and forth to adhere the glue in place.  Take the other tower panel and glue the bottom of the two tubes to the inside of this panel.  Make sure to line up so that the card will lay flat, by folding the card back and forth.

Cut pattern paper pieces to fit each of the outer edges and the inside tubes.  Cut arches or ovals using nesting dies to create the tunnel effect.  I also cut a fence using the #5807 - Journal Fence set and layered that between the cottage and the floral border layer.  


I stamped the images onto copic friendly paper with Memento black ink and colored with my copic markers listed below.  I fussy cut both the cottage and the flower border.  I adhered the floral border to the front oval die and the cottage to the back panel made up of the inside oval piece and cloud pattern paper.  I added the sentiment onto a banner die from the #5543 - Journal Template die set.  Lastly, I added some grass die cut pieces, a frog from the #5283 - Frog set, and the sun die from my stash.

This card will fit nicely into an A2 envelope when flat.

I hope you enjoyed my card today and I thank you for joining me.

Have a great day and keep creating!

Copics used:  E51, E53, E55
Y13, Y15, Y17
B21, B24
G20, G21, G24

Thursday, April 2, 2026

Ride the Waves Pup Card by Dori Mendiola

 Happy Thursday AI Friends!

Today I have two cards for you that both fit the Round and Round Challenge.  The first one is an interactive rocking card and the second is more to show you how many ways you can use your dies and stamps, just add some imagination.  

Let's start with the rocking pup:

I used the Pup floating in the inner tube from the #4900 - Reel Great Guys stamp set along with the beach toys from the #5509 - Beach Accessories stamp set.


I stamped the images onto copic friendly paper with Memento black ink and colored them with my copic markers listed below.  I die cut the beach toys with the corresponding dies and fussy cut the pup in the inner tube.  I cut off the water beneath the tube since I was making my own water. 

I cut a 5 1/2" circle out of heavy weight cardstock and scored in half to make the base.  I then cut waves with dies I had in my stash.  I positioned the blue waves together and taped the back side.  I die cut these layers with the same round die, lining up the halfway mark of the circle die to the top wave.  I also placed a smaller circle over the waves for the middle circle panel.  I die cut a sand layer using the bottom edge of the circle die.  I glued the outer layers together onto the circle base card. 

To create the middle circle and the mechanism for the pup to rock, I cut a white base panel with the circle die that is just larger than the one used to cut the middle of the waves.  I cut the cloud panel from the smaller circle die used to cut the inner waves.  I punched a dime size hole in the darkest wave and cut two larger circles (approx. 1") from scrap white cardstock, making sure they will be hidden under the pup.  Adhere one of these scrap circles to one side of a pop dot and feed the dot into the hole from the back side of the wave.  Adhere the other scrap circle to the top of the pop dot and then glue the pup onto that disc, hiding it under the pup.  Place foam tape onto the back side of the darker wave, making sure that you don't hinder the disc from moving.  Adhere this layer to the white/cloud panel, matching up the waves to the circle base.  Test it out and see if your pup rocks.  Place foam tape to the next layer, again making sure that it doesn't hinder the pup.  Adhere to the white/cloud panel, matching up to the outer waves.  The lighter blue waves are adhered directly onto the middle blue layer.  Adhere your wave bubbles to the base card and then adhere the white scene panel to the base.  Add your beach accessories, sun and sentiment.  Your card should rock and so should your pup.  See the video below.


Baseball card

This next card was made for my grandson's birthday.  He loves baseball.  
I used the #5054 - WC Little Boys stamp set and flipped him by stamping a mirror image.  I wanted him to be right handed.  πŸ˜‚  To create a mirror image, I stamped him onto a silicone embossing mat that came with my die cutting machine and then placed my white copic friendly paper over the top and pressed.  The image is just as clear as the original stamp.  
  I used the #5510 - Sports Accessories for the cap, bat and ball.  For the ball in his hand, I used a hole punch and a marker to draw the stitches.  
Okay, now for the crazy part, can you guess which die sets I used for the stitches on the larger baseball? 
I should have made this a contest to see if anyone could guess OR maybe I'm not as creative as I think I am.  πŸ˜‚πŸ˜ƒ  Probably the latter, but I wanted to show you that you can use your dies in soooo many different ways.

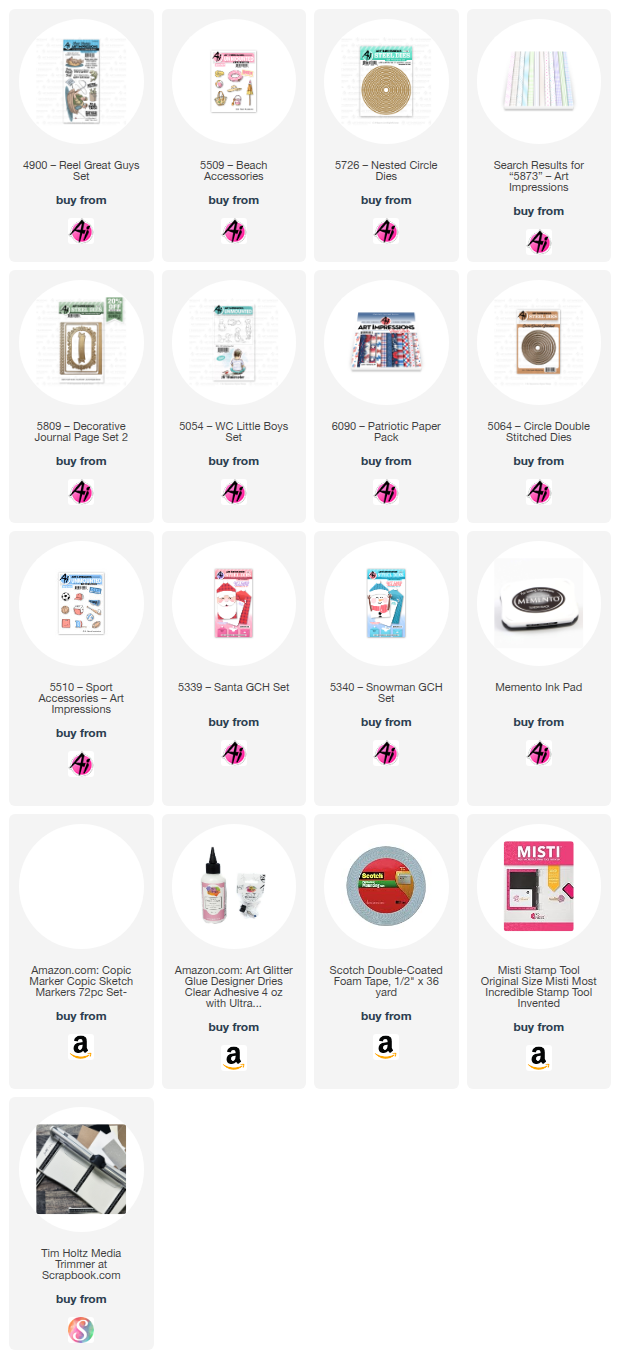
First of all, I used the 5064 - Double Stitch circle die for the baseball.  Then for the half circles, I used two of the #5726 - Nested Circle dies together to create the thin circle frame.  Lastly, I used the eyes/brows from the #5339 - Santa and the #5340 - Snowman GCH for the red stitches on the ball.

Now, would it have been easier to draw the ball, probably, but I can't draw.  πŸ˜‚

Well, there you have it!  Thanks for joining me today.  I hope you create something fun for the Round and Round challenge and enter for a chance to win a free stamp set.  We love to see your creations!

Have a great day and keep creating!

Copics used:  Pup - N0, N1,  B0000
                                                 E21, E23, E50, E51, E53  
                                                             B21, B24,   YG21, YG23, YG25  

                                                      Baseball - E00, E01, E11, E51, E53, E55
                                                                      T0, T2, T4   R22, R24,    Y23 
                                               B21, B23, B24 
Thursday, February 26, 2026

Nurse's Prescription by Dori Mendiola

Happy Thursday AI Friends!

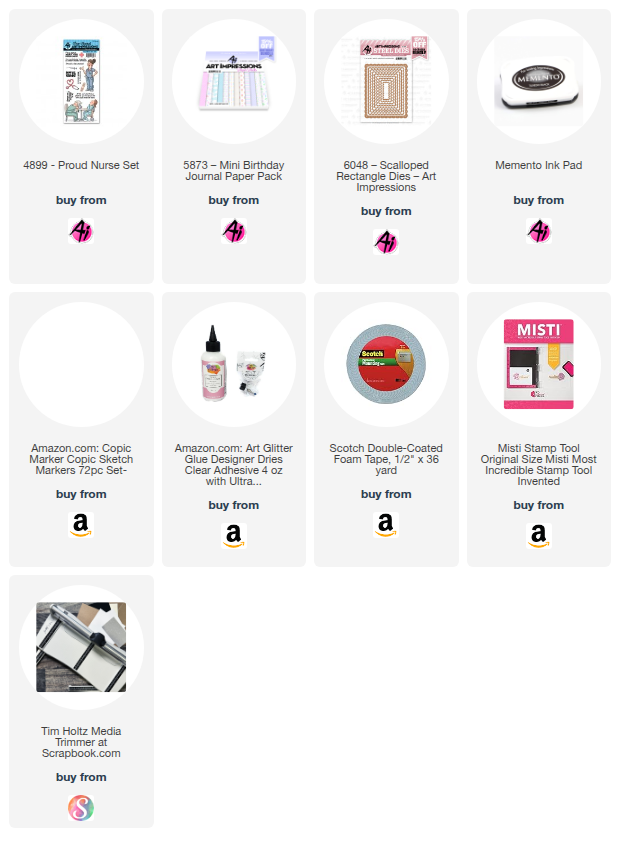
Today I have a fun card using the #4899 - Proud Nurse stamp set.  A friend of mine is a nurse and I knew she would appreciate this birthday card and the funny sentiment included in this stamp set.  She may use that line for some of her patients.  LOL!


I made this a fun fold card using a magnet for the closure.  I hid it under the paper layers so you only hear the snap when it closes.  What is it about that sound that makes it so fun to open and close the card?  πŸ˜‚

To make the card base, I cut a piece of 5 1/2" x 7 1/4 " heavy cardstock.  I scored it along the 7 1/4" side at 3" and 6".  This will make it an A2 card size.  Fold and burnish each score line in opposite directions.  Create your mat panels for each of the sections.   I used the #5873 - Mini Birthday PP for the pattern paper panels.    

For the front panel, I stamped the image onto copic friendly paper with Memento black ink and colored with my copic markers listed below.  I then die cut the panel using the #6048 - Scalloped Rectangle dies as well as the larger pink panel.  The blue panel in the middle is cut to fit between the two scallop rectangles.   I adhered the matted image panel to the folded right side only of the card.  The left side of the card will close under the image panel.


The sentiment on the left side of the card is from my stash.   I figured that went perfectly with the front sentiment, plus I got to include myself in on the wine splurge.  LOL!

Thanks for joining me today!  Have a great day and keep creating!

Copics used:  E000, E00, E01, E11, E21, E23
C00, C1, C3,  Y12
R20, R81, R83, R85
B000, B12, B14

Thursday, January 29, 2026

Hello Sunshine by Dori Mendiola

 Happy Thursday AI Friends!

Have you seen the newest AI release?  This one is fantastic!  I know, I probably say that about every one of them, but let's be real - they ALL are fantastic!  This is definitely a fave of mine!

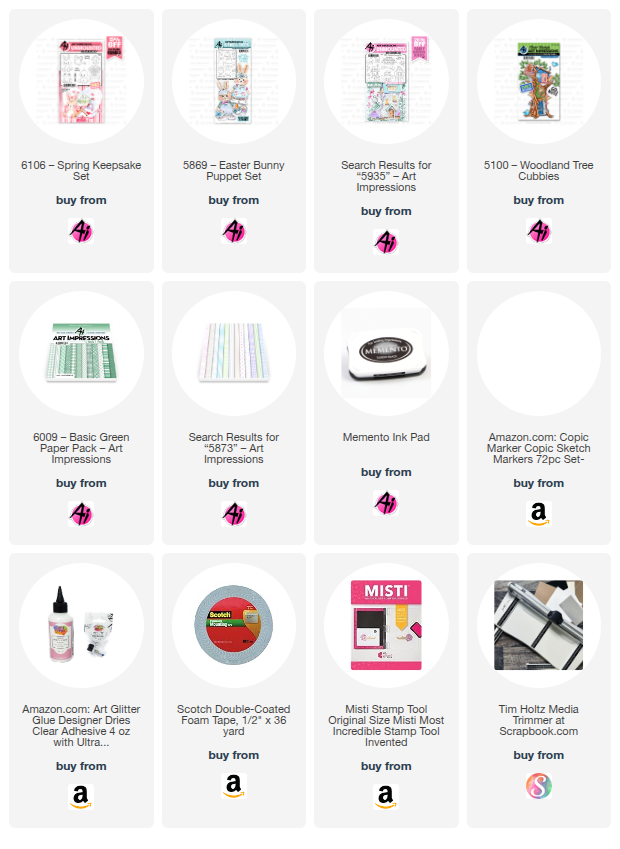
Two new stamp sets were released - #6103 - Baby Keepsake and #6106 - Spring Keepsake, which is the one I used for my pop out card.


I stamped the images onto copic friendly paper with Memento black ink and colored with my copic markers listed below.  I cut each of them out with the corresponding dies that are included in the set.  Love it when dies are included, don't you?  Adds so much dimension!  Check out this cute little frog!  He is definitely my favorite, however, the bunny and duck are just as adorable.  

I created a pop up card so that I could layer each of these cute little images.  I added a few images from other sets, like the flowers in the water can (#5935 Fairytale Houses), the Easter basket (#5869 - Easter Bunny Puppet) and the bird (#5100 - Woodland Tree cubbies).  The sun was from my stash.

I used the #6009 - Basic Green PP for the grass and the #5873 - Mini Birthday PP for the cloud background.

That's it for me today!  Make sure to check out the new release!   It includes some beautiful valentine papers and a new scalloped rectangle die set.  Great bundle!

Hope you have a wonderful day!  Keep creating!

Copics used:  N0, N1, N2, B000
G20, G21, G24      V12, V15
R02, R05, R08, R20
B12, B14           YR12, YR16
Y11, Y13, Y17, Y19, Y32, Y35, Y38

Thursday, January 1, 2026

No. 1 Book and Gnome bookmark by Dori Mendiola

 Happy New Year AI Friends!

I hope you had a wonderful holiday and are ready for the New Year!
 Can't wait to see all the fabulous creations from Bonnie and Kim.  I have no doubt that they will have lots of fun products for us again this year!

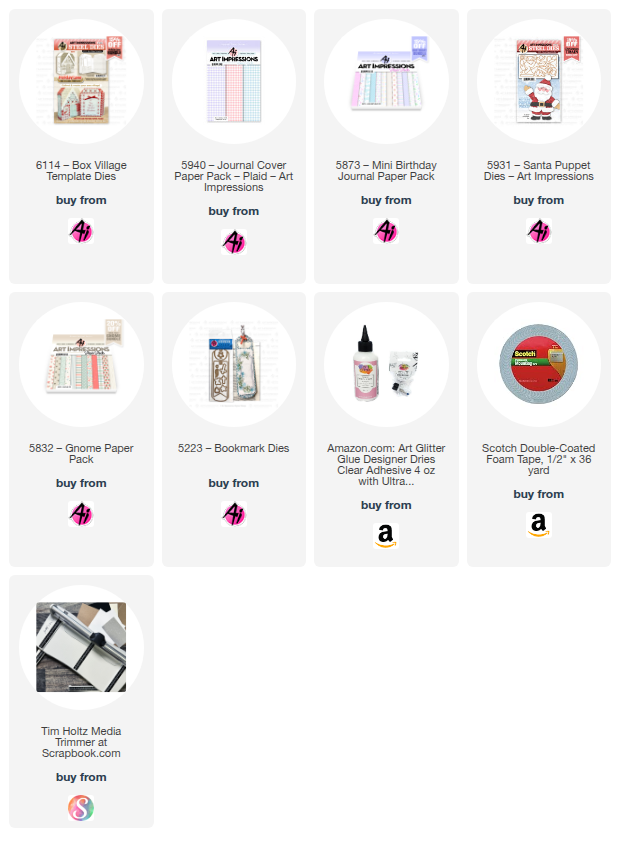
I'm starting off the New Year using #6114 - Box Village Template dies from the Holiday Lane series.  
I slightly changed the book cover to make it look like a number 1 for my granddaughter's first birthday.  Hope it's clear for you to see - made with the #5940 Journal Cover Paper Pack - Purple Plaid paper.  

I used #5873 - Mini Birthday Journal Paper pack for the inside of the book.  The inside contains pictures, pockets, notes and details from her first year and as much as I would love to show her off, my daughter asked that I didn't, so, unfortunately I don't have many pages to show.  However, my main purpose in showing this book was to emphasize how you can make slight changes to extend the die sets to fit your occasion.  Let your mind go!  Mine sometimes goes in odd directions but it's fun to see what can be created.  LOL!   


  Her birthday was S'mores themed so I created a S'mores with a square die from the #5725 Nested square dies set and the #5407 Birthday Cake GCH frosting die.  The graham cracker part was cut in rectangle shape and rounded the corners with a corner punch.  I inked the edges, stamped a cute little face on it and added a bow.  The sentiment tag is from the #6121 Storybook template.

Gnome Bookmark:  Another slight alteration of dies - here's a bookmark I made into a Gnome using the #5931 Santa Puppet die set.  The only real change that I made was that I added an additional beard layer by partial die cutting to make it slightly smaller so that it fit on top of the bottom one.  Then the nose fit nicely in between the top beard layer and the rim of his cap.  I omitted the brows, mustache and eyes.  Since he isn't a Santa, I also omitted the belt and fur parts of his outfit.  I die cut his outfit using the #5832 Gnome PP.  This paper choice made him look like he was wearing PJs so I added a cookie and coffee mug (from my stash) in his hands.  I placed him onto a bookmark made with the #5223 - Bookmark die.  He actually resembled me after Christmas.  I was a complete couch potato with my PJs on and my coffee mug in hand.  Life is good! 


Welcome to 2026 and another fun year with Art Impressions. 

Thanks for joining me today!  
Have a great day and keep creating!


Thursday, August 28, 2025

Loungin' Linda Bday by Dori Mendiola

 Happy Thursday AI Friends!

I know I've said it before, but I'm going to say it again.  These new AI ladies are a HOOT!
I made this card for a friend of mine and, yes, she will always be older than me so I'm going to rub it in when I can.  😁  But, I can say with sadness, she doesn't look older! πŸ˜›

I stamped the images on copic friendly paper with Memento black ink and colored with my copic markers listed below.   I used the 6077 - Loungin' Linda stamp set along with the 5509 - Beach Accessories stamp set (handbag).

I also used the 5873 Mini Birthday PP and the 5132 - Tag Stitched dies.  The sentiment, balloons and scallop stitch edges are from my stash.

Hope you have a wonderful day!  Keep creating!

Copics used:  E000, E00, E01, E11
C0, C1, C3, C5, C7
R20, R22, R24
Y13, Y15, V20, V22, V25
BG10, B0000, B000, B12, B14

Tuesday, July 8, 2025

Hello card with GOLD paint! by ReneΓ© Matarese

 Hello Ai fans!

Today I'm sharing the second card that I made for the
Spritz, Splatter AND PAINT challenge here on the Art Impressions Challenge Blog.


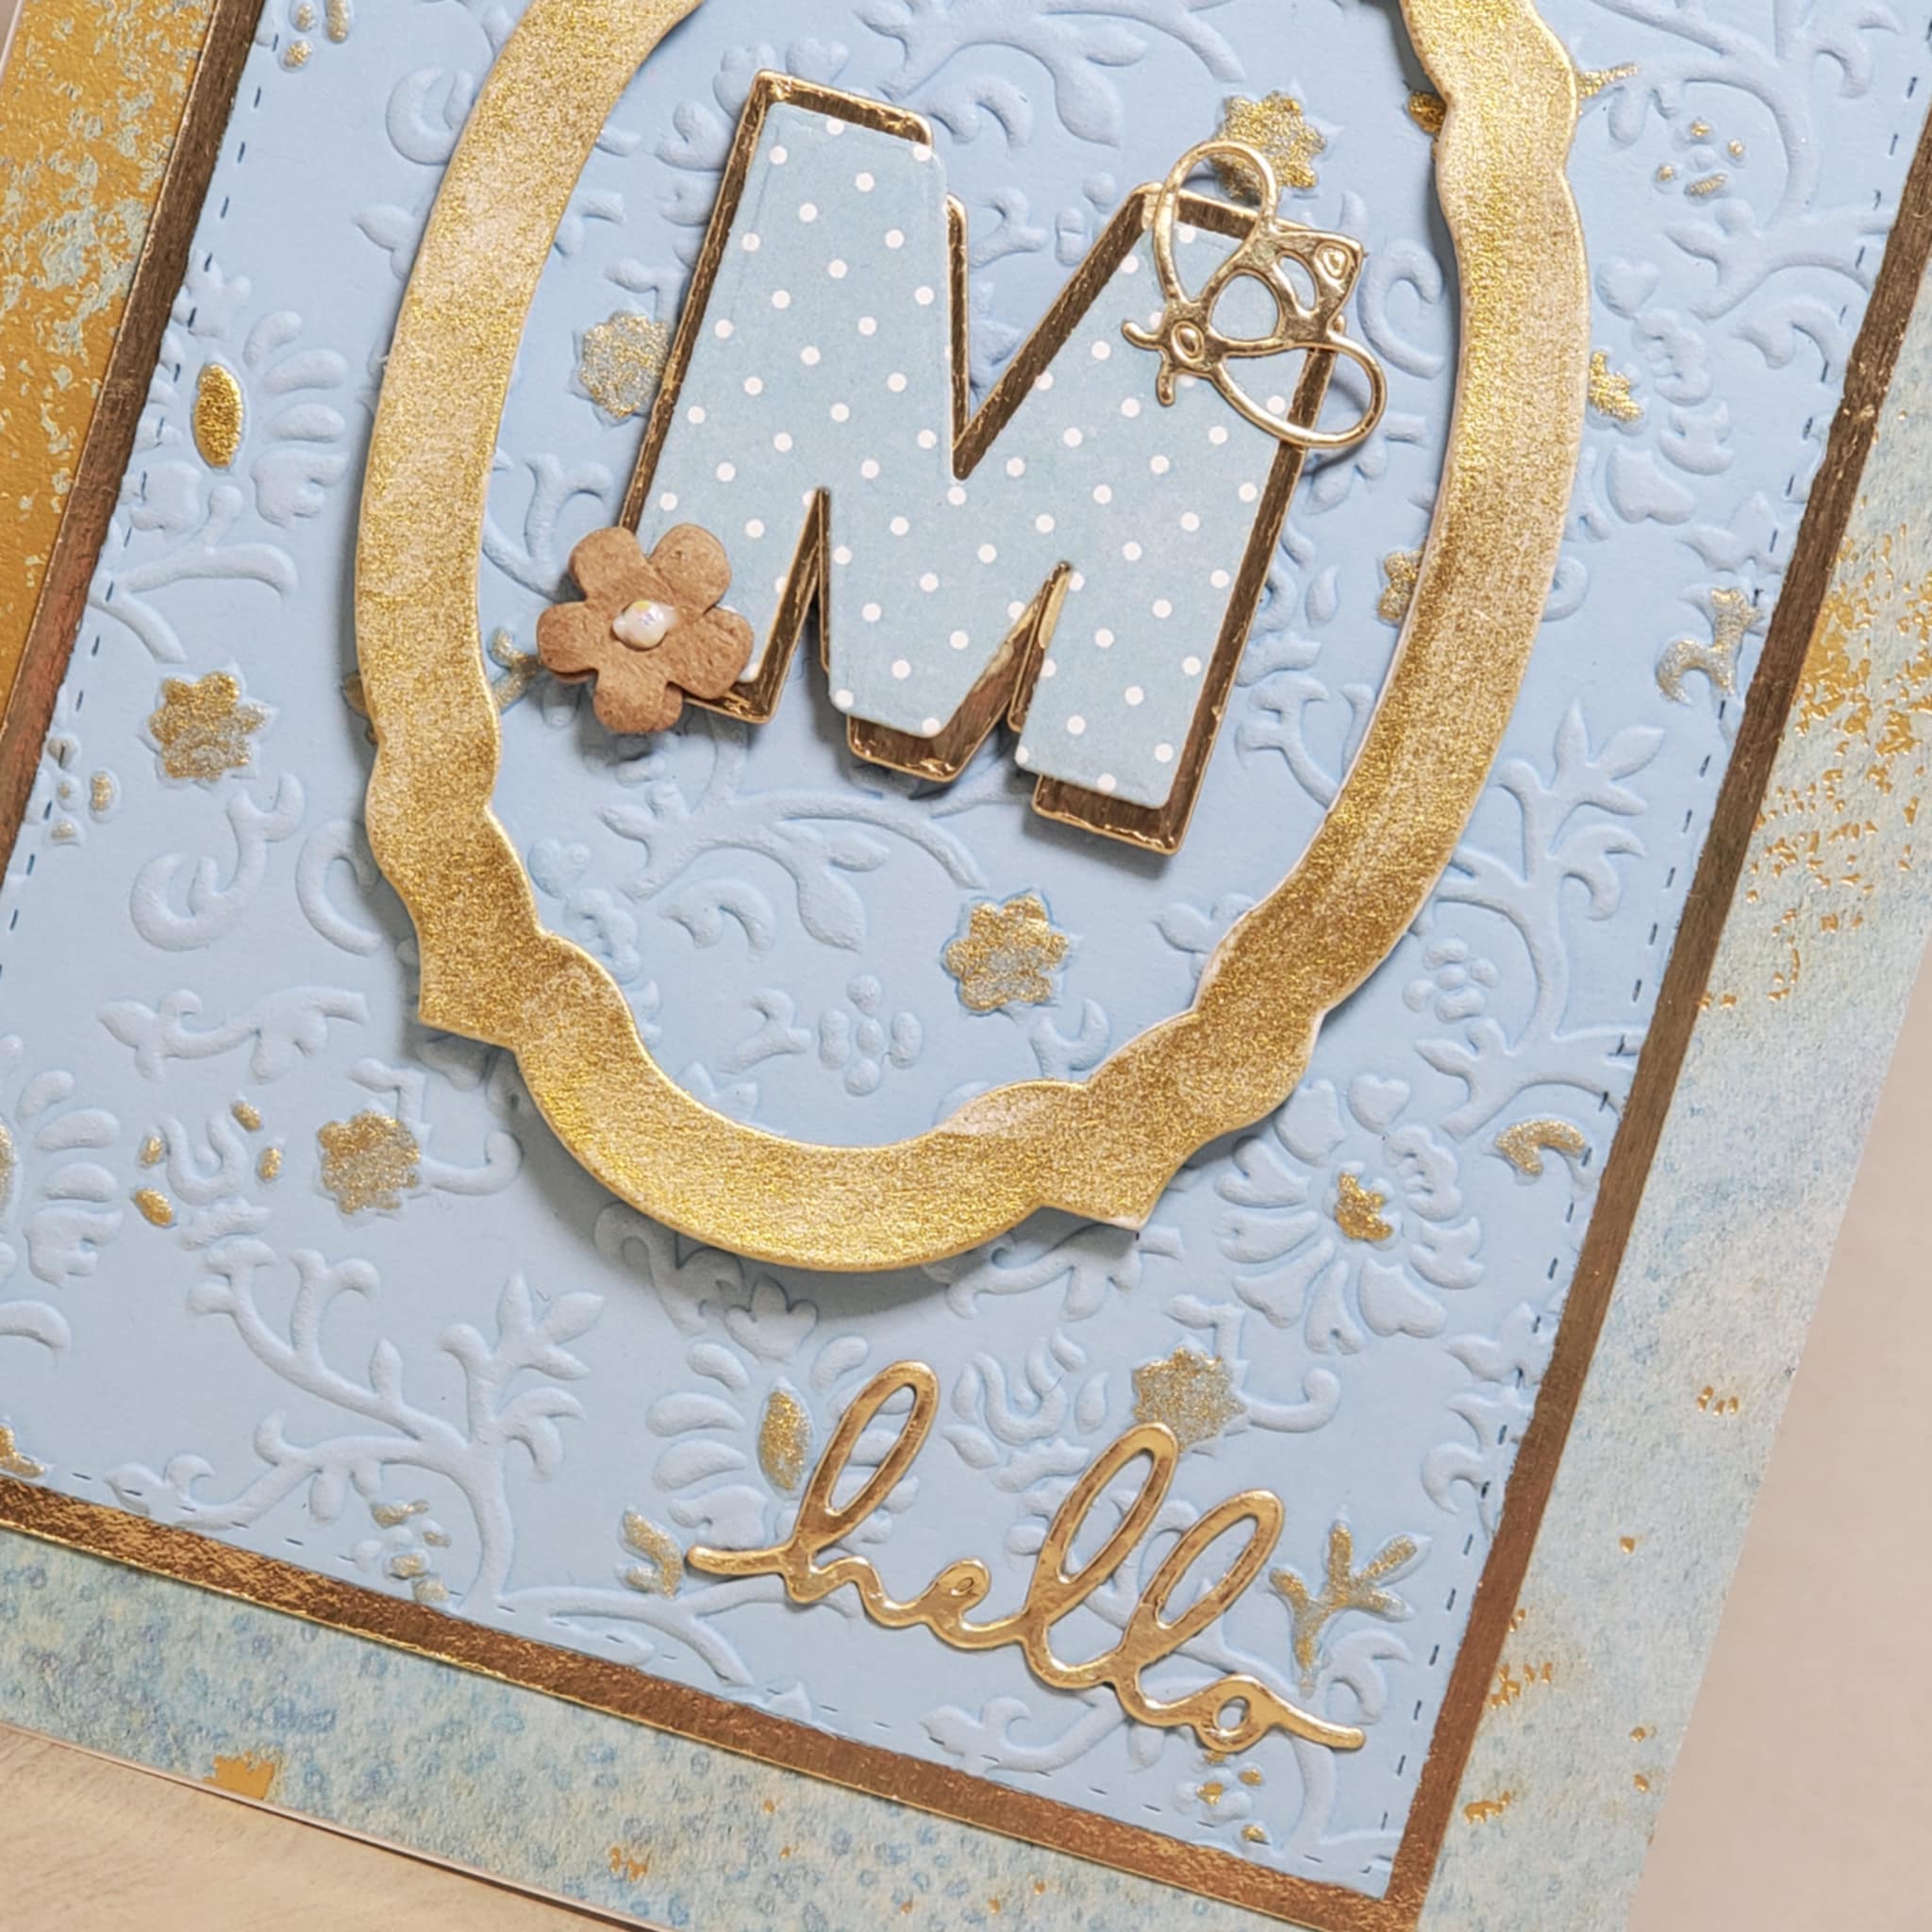
I started by embossing a light blue piece of cardstock and then I chose certain raised parts of it to paint with the new Winsor & Newton Gold paint from Art Impressions.


I also die cut two pieces of Canson watercolor paper. One, I painted gold. The other was glued to the back of it to make it sturdier because I wanted to pop up my frame.


Inside the frame I added the recipients initial, a little flower and (of course) a bee!


A little hello finished it off.


Be sure to enter your creation that uses paint in some form on your project.

Thursday, May 22, 2025

Girlfriends by Dori Mendiola

 Happy Thursday AI Friends!

Today I have a card that I made for one of my best girlfriends.  I don't know about any of you, but the Art Impressions girlfriends stamp sets are my favorites!!!  Bonnie has done such a great job with each of the characters in these images.  I just love the fun and laughter expressed in each and every one of the girlfriends faces.  Sooooo relatable!  

The #4129 Uptown Girls stamp set actually has four girlfriends but I stamped only three.  Sometimes it's fun to adjust a stamp set to give it a different look.

I stamped the image with memento black ink onto copic friendly paper and colored with my copic markers listed below.  I originally colored the middle girlfriend with a solid yellow top but it was just too overpowering so I stamped the image onto pattern paper and fussy cut her top and glued it over the yellow one.  Toned it down and I like it much better.  Don't ever throw away an image because you don't like the way you colored a part of it.  You can always fix it by paper piecing or covering with a sentiment, etc.  Just depends what you don't like.  One time, I even went so far as to stamp, recolor and paper piece the hair.  It worked and I saved the image to use on another card and no one was the wiser (except my friends that saw me do it).  LOL!  

I stamped the sentiment, that is in the stamp set, at the top of the image panel.  Using a die cut from my stash, I matted the image onto a pattern paper frame using the #5873 Mini Birthday paper pack and then again on yellow cardstock.   I then placed that onto a blue checkered piece of pattern paper from the #5940 Journal Cover Paper Pack - Plaid.  To finish the card, I placed little die cut stars around and adhered a bow. 

Remember to review your stamp sets and see how you can change them up to give them a slightly different look.  Adds fun to your card making.  

Thanks for joining me today and I hope you enjoyed my card.  

Have a great day and keep creating!

Copics used:  E000, E00, E01, E11, E21, E23, E25
C00, C1, C3, C5, R20, R22
Y21, Y32, Y35, Y38
YG21, YG23, YG25
B0000, B000, B91, B93, B95

Saturday, May 3, 2025

More Candles Than Cake? We Can Relate! (Giant Birthday Card Fun!) by Janet


 Let's be honest, haven't we all reached that glorious stage where birthday candles threaten to outnumber the cake slices? Even on a whopper of a cake like the one on this card! But hey, I'll take a mountain of candles over the alternative any day. What about you? πŸ˜‰

Today, I'm sharing a fun birthday card created using the fabulous 4382 - Giant Cake Set from Art Impressions. This set is just perfect for celebrating those milestone birthdays!

To bring this party to life, I started with a 6x6 dark orchid cardstock base. Then, I layered both the inside and outside with the adorable patterns from the 5873 - Mini Birthday PP (Paper Pack). For a peek inside the celebration, I used an arch die to cut a window on the front of the card and created a matching frame.

Inside, the "Happy Birthday" patterned paper from the same pack sets the festive scene. And those party ladies? I colored them with my trusty Copic markers and then carefully fussy cut them out, leaving just a sliver of white around the edges for a cool, graphic effect.

I had a leftover strip of that "Happy Birthday" paper, so I added it to the front of the card, framing the arched window and adding a little additional support. To finish it off with a little sparkle, I placed jewel embellishments at each end of the strip and at the top of the arch.

Thanks so much for stopping by today! I hope you enjoyed seeing this big birthday creation. If you're feeling inspired to create your own celebratory cards, be sure to visit the Ai Store this weekend for all your crafty essentials!

Janet YouTube - Blog - Facebook - Instagram - Pinterest 

Saturday, April 19, 2025

Happy B-Day by Janet Axtman


 Hi everyone! I've had a great time this week with the current challenge called ABC, 123. The theme is to use letters or numbers on your card. I had been thinking about making a background using a stamp set and the idea was a perfect backdrop for my big B-Day message.

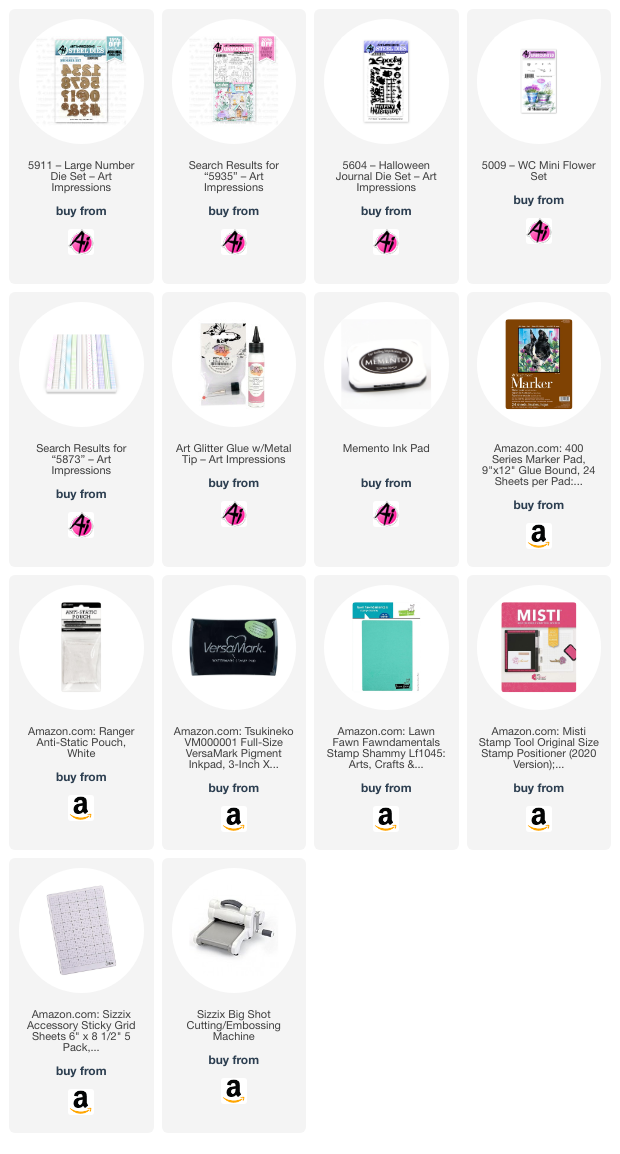
This slimline card started with a background stamped with the 5935 - Fairytale Houses Set. I stamped several butterfly, fence, bee and daisy images on a white background and colored them. I added clusters of dots from a stamp in the 5009 - WC Mini Flower Set. I used a white highlight pen to add some accents to the wings, and leaves. I used the new 5910 -Large Letter Die Set to cut two sets of letters out. One is cut in black and the other out of a striped paper from 5873 - Mini Birthday PP. I wanted to add the word Happy so I used a phrase from 5604 - Halloween Journal Die Set. The die actually says Happy Halloween but I trimmed the word Happy and backed it with gold glitter cardstock. It works beautifully like this for all kinds of non-Halloween sentiments.

To finish the card, I layered a black mat under the stamped panel and attached it to a red mini-slimline card base. Then I glued each black and patterned paper letter together so that a shadow effect results. I applied the letters with foam tape to help them stand out even more. For the final embellishment, I added three glitter enamel dots. The result is a fresh, spring birthday card. 

Thanks for joining me here today. I hope you enjoyed seeing how I created the background using a stamp set and using big letters for the focal point of this card. I hope you'll make a visit to the Ai Store this weekend for all your card making needs.


Janet YouTube - Blog - Facebook - Instagram - Pinterest