Showing posts with label 5809 Decorative Journal Pg 2. Show all posts

Monday, July 13, 2026

Christmas in July tiered wiper card by Sharon Caudle

 Hello AI Fans!

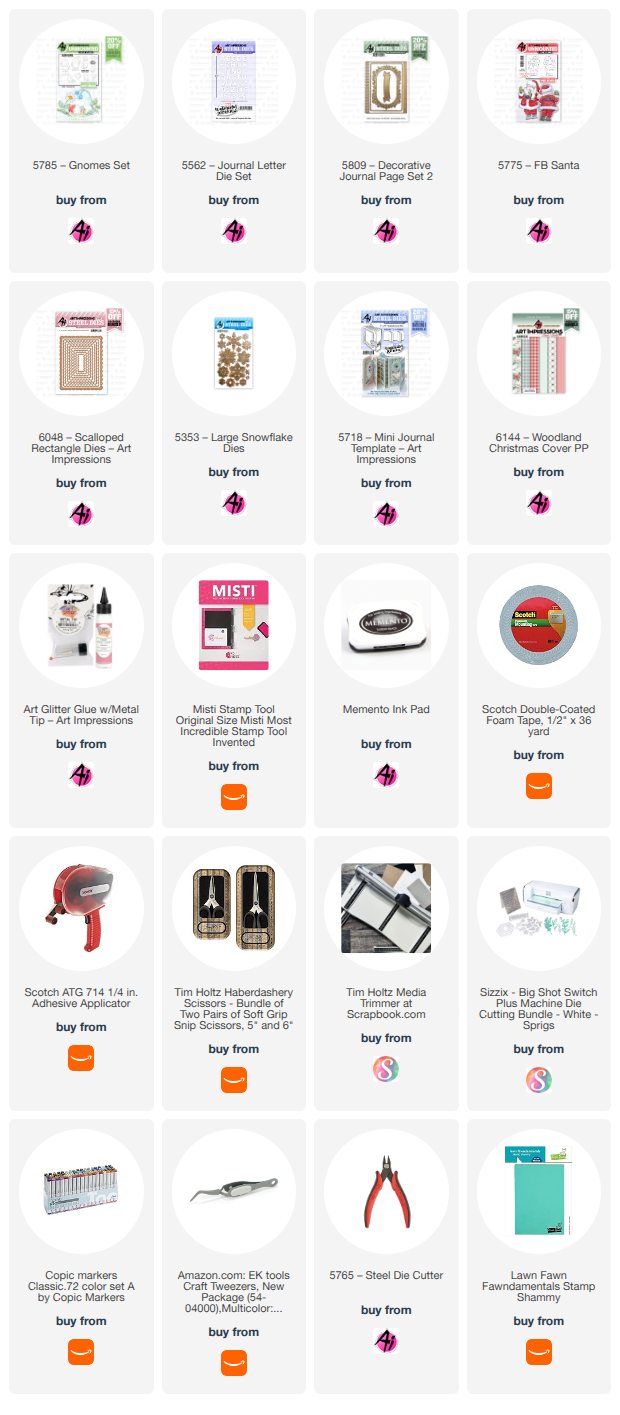
Our current challenge right now is Christmas in July! It's such a great chance to get a jump start on your holiday cards. Whether it's designing it if you make the same card for everyone, or just adding to your stash if you create different cards for everyone, it's a great way to get started! I just recently saw a video by Sam Calcott on how to create a tiered wiper card, and I immediately thought of how cute it would be for a Christmas card! You don't need any specialty dies and once you get the mechanism down, it's rather easy to put it together! I would suggest making one from scrap paper first, just to get the idea of how to put it all together. I took a video of it to try and show it in action, but I'm just having a heck of a time trying to post my videos lately. I'll keep working on that, but in the meantime, I guess pictures will have to suffice. Plus you'll be able to see it in action on Sam's video. :)  I started by stamping off three of the large gnomes from #578/5 Gnomes Set. I didn't want them to be the same so I used different colors and tried to make their beards look different as well. For the front, I used the adorable Santa from #5775 FB Santa, coloring and using only the front facing stamp. After coloring him and die cutting him out, I mounted him on a mat created using #6048 Scalloped rectangle dies. This card comes to life when you pull the top section of the card to the right, so I created a pull tab by grabbing the one from #5718 Mini Journal Template. I have a little stamp set in my stash that has a variation of action words, so I used the stamp "pull" on the tab. For the sentiment, I used the banner from #5809 Decorative Journal Page 2 ( I used this banner a LOT) and grabbed an old sentiment that I've cut apart from #SC0803, an old retired Santa Pop Up set. I just used two of them to create the sentiment on the front of the card. 


When you pull the top card layer to the right, a gnome pops out from behind the top panel to surprise you! I took a word bubble from my stash and die cut three H's and three O's from #5562 Journal Letter Die Set using red cardstock.  After gluing the HO letters onto the word bubble, I used a small piece of acetate to attach the word bubble to the back of each gnome. 


Keep pulling to the right and the next gnome pops out...


And finally the third. I finished the card by die cutting a variety of snowflakes out of glitter paper using #5353 Large Snowflake Dies. 


This was such a fun card to make, and I hope you're joining our challenge for a chance to win a free set of your choice from Art Impressions! Thanks so much for stopping by for a visit today, and until next time - stay crafty!!

Copic markers used:
E000, 00, 11, 33, and 35
R20, 22, 24, and 27
C0, 1, 3, 4, 5, and 6
T1
G82 and 85
Y32, 35, and 38


Monday, June 29, 2026

For a special friend by Sharon Caudle

 Hello AI Fans!

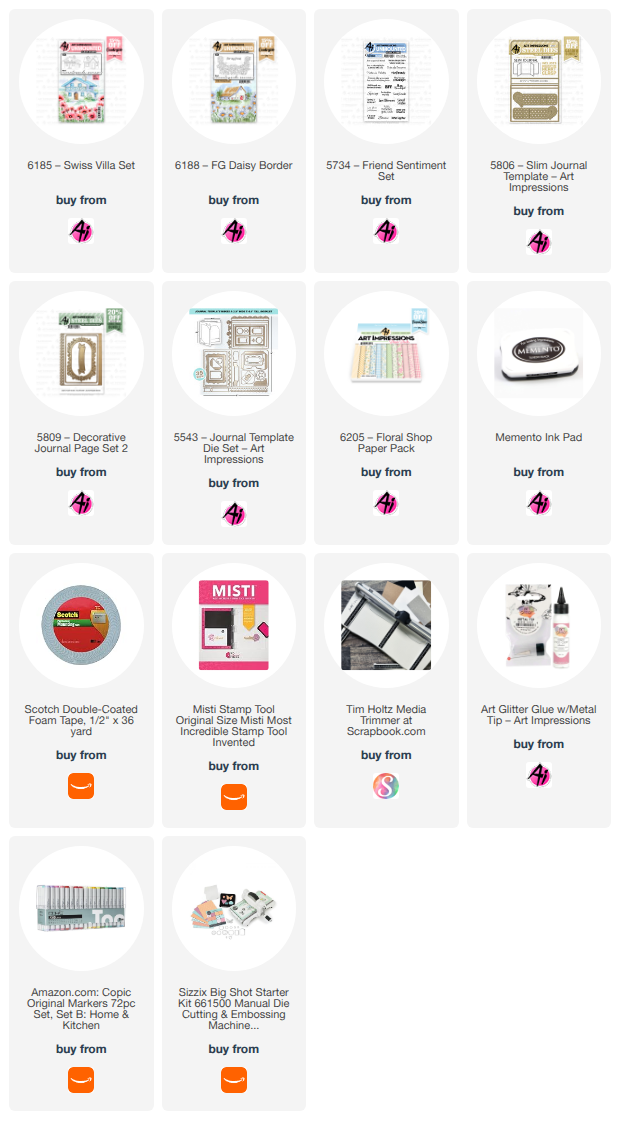
Today I have a card to show you that works perfectly for our current challenge #430 Artful Architecture. I wanted to create a window scene, but I also wanted to be able to sign the inside of the card without seeing it through the window. The solution? #5806 Slim Journal Template Die Set! I just used one inside page and it was exactly what I was looking for! I cut the window out of the front panel of the card using the window die from #5543 Journal Template Die Set. The window curtain was cut using a die from my stash that I got from Amazon, and it was a little too short for the window size. It was a perfect spot to put my sentiment banner! I just love that banner die from #5809 Decorative Journal Page 2. I use it ALL the time! TIP! If you have a curved die you want to use for your sentiment set and you have a Misti or similar stamp platform, here's a tip for you. Tape the actual die to the outside top of your stamp platform, then open up the platform. Take your stamp and stick it to the inside of your stamp platform, curving it to match your die. Voila! You can then stamp and die cut your sentiment and it will match the curve of your die exactly!  Forgot to mention the papers I used are from #6205 Floral Shop PP. They're so gorgeous! I just realized I didn't put a single bow on this card! What is wrong with me??!!  LOL!!! 


 For the center page, I stamped and colored a house from #6185 Swiss Villa Set and the Daisy border came from #6188 FG Daisy Border. I die cut a piece of grass and stamped the sentiment from #5734 Friends Sentiments Set. 


And for the back page, I just matted it with more paper from #6205 Floral Shop PP and added another sentiment. to finish it off. 


So that's it for me today. Thanks so much for stopping by for a visit and until next time - stay crafty!!


Thursday, April 2, 2026

Ride the Waves Pup Card by Dori Mendiola

 Happy Thursday AI Friends!

Today I have two cards for you that both fit the Round and Round Challenge.  The first one is an interactive rocking card and the second is more to show you how many ways you can use your dies and stamps, just add some imagination.  

Let's start with the rocking pup:

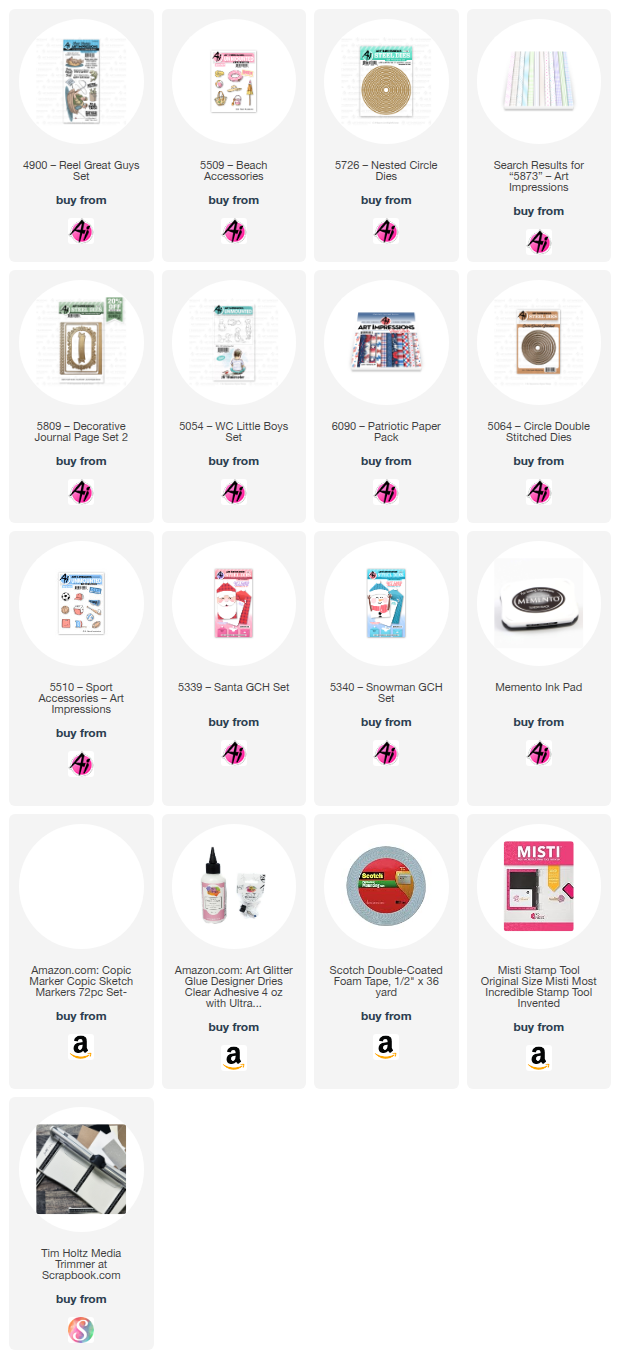
I used the Pup floating in the inner tube from the #4900 - Reel Great Guys stamp set along with the beach toys from the #5509 - Beach Accessories stamp set.


I stamped the images onto copic friendly paper with Memento black ink and colored them with my copic markers listed below.  I die cut the beach toys with the corresponding dies and fussy cut the pup in the inner tube.  I cut off the water beneath the tube since I was making my own water. 

I cut a 5 1/2" circle out of heavy weight cardstock and scored in half to make the base.  I then cut waves with dies I had in my stash.  I positioned the blue waves together and taped the back side.  I die cut these layers with the same round die, lining up the halfway mark of the circle die to the top wave.  I also placed a smaller circle over the waves for the middle circle panel.  I die cut a sand layer using the bottom edge of the circle die.  I glued the outer layers together onto the circle base card. 

To create the middle circle and the mechanism for the pup to rock, I cut a white base panel with the circle die that is just larger than the one used to cut the middle of the waves.  I cut the cloud panel from the smaller circle die used to cut the inner waves.  I punched a dime size hole in the darkest wave and cut two larger circles (approx. 1") from scrap white cardstock, making sure they will be hidden under the pup.  Adhere one of these scrap circles to one side of a pop dot and feed the dot into the hole from the back side of the wave.  Adhere the other scrap circle to the top of the pop dot and then glue the pup onto that disc, hiding it under the pup.  Place foam tape onto the back side of the darker wave, making sure that you don't hinder the disc from moving.  Adhere this layer to the white/cloud panel, matching up the waves to the circle base.  Test it out and see if your pup rocks.  Place foam tape to the next layer, again making sure that it doesn't hinder the pup.  Adhere to the white/cloud panel, matching up to the outer waves.  The lighter blue waves are adhered directly onto the middle blue layer.  Adhere your wave bubbles to the base card and then adhere the white scene panel to the base.  Add your beach accessories, sun and sentiment.  Your card should rock and so should your pup.  See the video below.


Baseball card

This next card was made for my grandson's birthday.  He loves baseball.  
I used the #5054 - WC Little Boys stamp set and flipped him by stamping a mirror image.  I wanted him to be right handed.  πŸ˜‚  To create a mirror image, I stamped him onto a silicone embossing mat that came with my die cutting machine and then placed my white copic friendly paper over the top and pressed.  The image is just as clear as the original stamp.  
  I used the #5510 - Sports Accessories for the cap, bat and ball.  For the ball in his hand, I used a hole punch and a marker to draw the stitches.  
Okay, now for the crazy part, can you guess which die sets I used for the stitches on the larger baseball? 
I should have made this a contest to see if anyone could guess OR maybe I'm not as creative as I think I am.  πŸ˜‚πŸ˜ƒ  Probably the latter, but I wanted to show you that you can use your dies in soooo many different ways.

First of all, I used the 5064 - Double Stitch circle die for the baseball.  Then for the half circles, I used two of the #5726 - Nested Circle dies together to create the thin circle frame.  Lastly, I used the eyes/brows from the #5339 - Santa and the #5340 - Snowman GCH for the red stitches on the ball.

Now, would it have been easier to draw the ball, probably, but I can't draw.  πŸ˜‚

Well, there you have it!  Thanks for joining me today.  I hope you create something fun for the Round and Round challenge and enter for a chance to win a free stamp set.  We love to see your creations!

Have a great day and keep creating!

Copics used:  Pup - N0, N1,  B0000
                                                 E21, E23, E50, E51, E53  
                                                             B21, B24,   YG21, YG23, YG25  

                                                      Baseball - E00, E01, E11, E51, E53, E55
                                                                      T0, T2, T4   R22, R24,    Y23 
                                               B21, B23, B24