Showing posts with label 5904 So Sweet Armful Set. Show all posts

Thursday, April 24, 2025

UN-BEAR-ABLY CUTE! Challenge #402

Hello Ai fans!

Welcome to our newest challenge.

Inspired by the latest release from Art Impressions, 6017 – Baby Panda Set, our challenge is bears.

We want to see your crafty creations using bears. Whether it's a panda, polar, koala, black, brown or teddy bear. Show us all the bears!

Make something UN-BEAR-ABLY CUTE! and share it for our challenge.
You may be the next person to win a free stamp set.

Here are a few key searches to find what you're looking for.

BEAR

Panda

Koala

Polar

Teddy

Before we see the UN-BEAR-ABLY CUTE! card that our Featured Designer Tasha came up with, let's see who won our ABC, 123 challenge.

For our Top Spot, we selected Diana S.


Please contact Leah at Feedback@artimpressions.com
to claim a free stamp set of your choice!!
Be sure to grab our badge to display on your social media too!


Our Lucky Random Winner was #2 Becky R.


Please contact Leah at Feedback@artimpressions.com
to claim a free stamp set of your choice!!

Be sure to grab our badge to display on your social media too!


Okay, now that we've seen our winners, let's move on to Tasha's UN-BEAR-ABLY CUTE birthday card! You're going to LOVE it!!

-----------------------------------------------------------------------------------------------------------------------------

 Hi everyone! Tasha here sharing a bear themed birthday card! Today’s card was made with a mix of masking techniques, cute stamp sets, and a whole lot of birthday cheer.

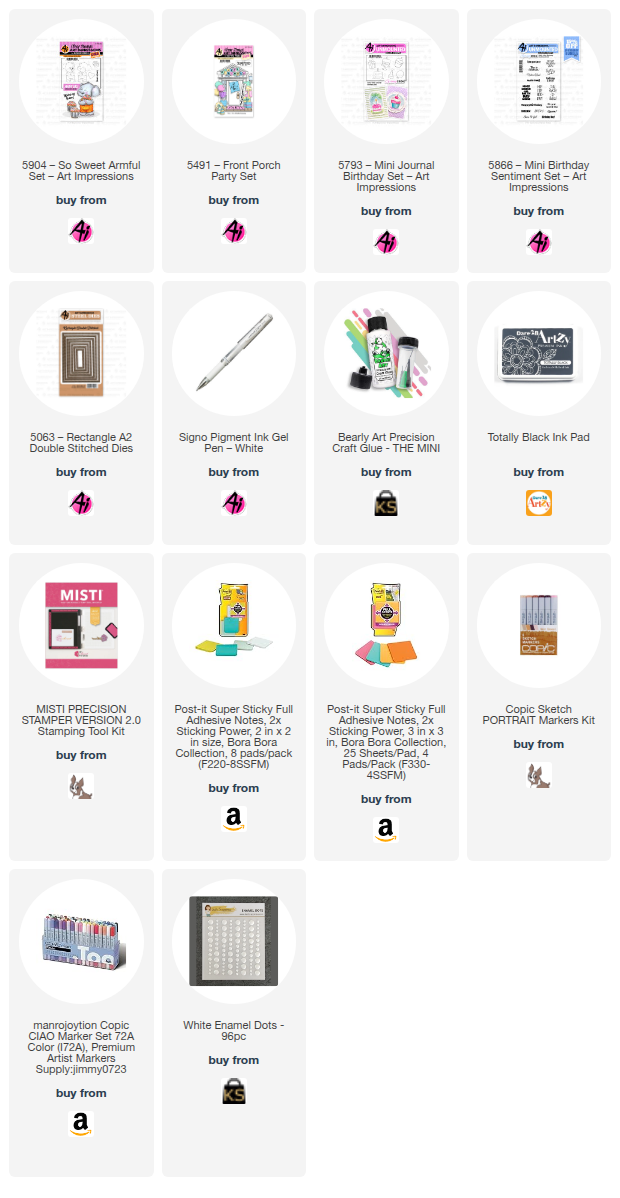
To kick things off, I stamped the party hat from the 5793 – Mini Journal Birthday Set onto white cardstock. When you're masking, planning is everything! Since I wanted the party hat to sit on top of the bear’s head, it had to be the first image stamped.


I created a mask using a small full-adhesive Post-It and trimmed around the stamped hat with precision scissors. Mask in place, I stamped the adorable bear from the 5904 – So Sweet Armful Set. Actually, I stamped him twice—once on a larger Post-It to create a bear mask, and once onto the card itself, placing the hat right at the center of his head. 


No stamping platform needed here, but it can definitely help for lining things up perfectly.


With my bear masked off, it was time to add the party fun! I wanted him to be holding something festive, so I stamped a balloon (again from the Mini Journal Birthday Set) and added the string by hand with a black pen.


Next up: presents! I used a mix from the Mini Journal Birthday Set and the 5491 – Front Porch Party Set to give the scene a fun variety of box sizes and shapes. I just love how they frame the bear!


And of course—what’s a party without cake?  I picked the perfect little cake image, complete with a candle on top (how cute is that?), and added it right to the scene. The cherry on top (or should I say candle on top)?


Once the stamping was complete, it was time for the big revel. I used tweezers to gently peel away each mask, and every time I do this, it feels like magic. Suddenly, all the layers come together into one seamless party scene!


Coloring is my favorite part! I reached for my Copic Markers to bring everything to life, adding shadows, details, and extra touches like a glowing candle flame (using three marker shades!). A black pen helped me sharpen some lines and doodle in a few finishing touches.


To bring it all together, I die-cut the card using the two largest dies from the 5063 – Rectangle A2 Double Stitched Dies set. The stitched edges give it such a polished finish!

The final step was stamping a Happy Birthday sentiment from the 5866 – Mini Birthday Sentiment Set, layering it with gold glitter paper for that essential birthday sparkle. I added patterned paper from Art Impressions, white and gold cardstock layers, and finished off the whole card with four white enamel dots. So simple, but they pull everything together!

I hope you enjoyed today's project and will join in the Un-Bear-Ably Cute Challenge!


✻ Please make a new card or handmade crafty creation. You can make any item you wish; this is not limited to cards! (unless specified)

✻ Limit two submissions per person.
 ✻Please include your first name and last initial on your submission.
✻We love to comment on your entries, but keep in mind if you use a private group or a platform that you need to sign up for, we probably won't be able to.
✻ The Ai Challenge is open to everyone, international submissions are welcome!
✻ Include a link back to the Ai Blog or grab our button on the top right of our sidebar!
✻ Share the Ai love if you can, by clicking and commenting on your fellow crafters.
✻ Make sure to get your link up by the deadline to enter your creations.
✻ Good luck and happy stamping! 

You are invited to the Inlinkz link party!

Click here to enter

Thursday, April 17, 2025

Sweet Baby Card and more Easter Treats by Dori Mendiola

 Happy Thursday AI Friends!

I have a couple of projects for you today.  The first one was inspired by the current blog challenge - ABC, 123 and then a few more Easter treat containers for the holiday.  I got carried away and was having too much fun so I just had to share!

When I think ABC, 123, I think baby and block letters.  So, guess what I created for this challenge?  Yep, a baby card with block letters on the inside.  ;)

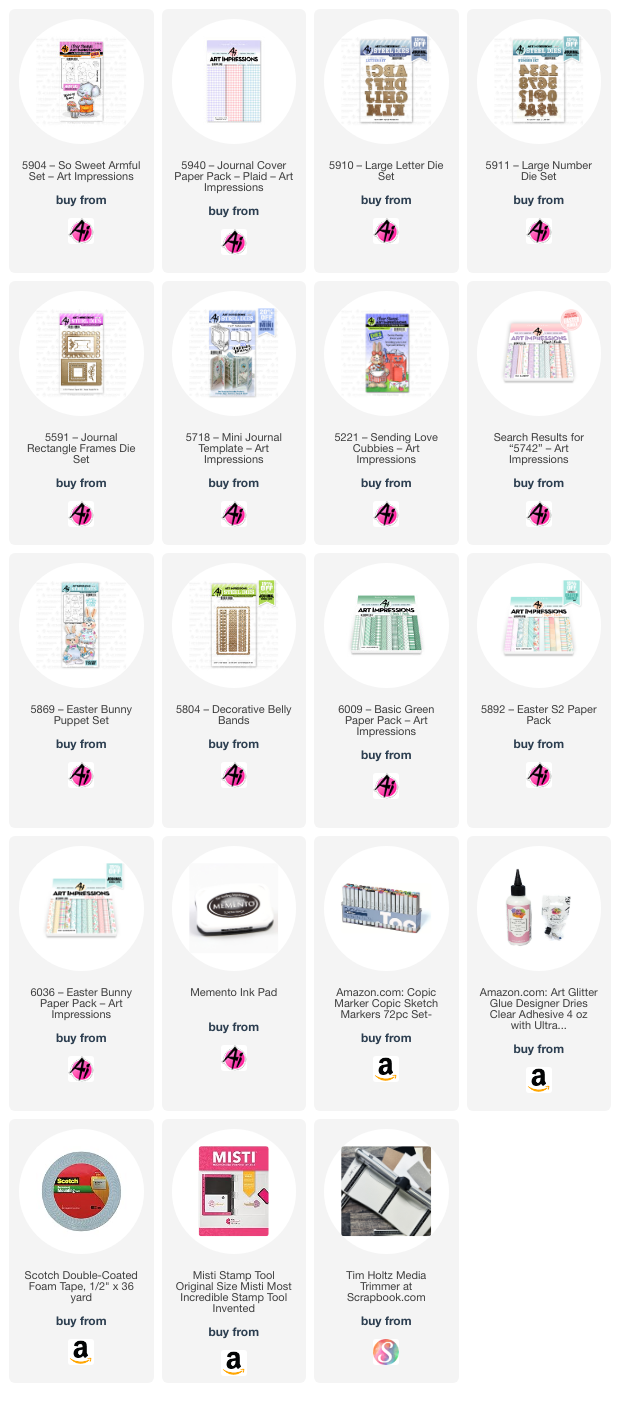
 My card features the #5904 So Sweet Armful Elephant as well as the #5911 Large Numbers and #5912 Large Alphabet dies.  I also used the paper packs - #5742 Easter PP and #5940 Journal Cover Plaid PP.  I started with the inside of the card by cutting an A2 card base, folding in half and placing two 4 1/8" x 5 3/8" pieces of pink cardstock onto each inner side.  Depending on the number of letters, measure an even space between each and allow 3/4" for each letter.  So, for four letters, I marked, on the folded white side, at 1/2", 1 1/4", 1 3/4", 2 1/4", and so on adding 1/2" then 3/4" along the remaining fold.  Cut, away from the fold, 1" on each of the marks.  See diagram below.

Open the card and fold the 3/4" tabs to the inside so that they pop up.  Add the dot pattern paper to the inside right and left sides.  Die cut the letters from heavy cardstock and pattern paper.  Glue together and mount onto the scallop frame and then onto the left and right sides of the 3/4" tabs.  The inside of the card is finished.

For the front of the card, cut a piece of plaid cover paper 5 1/2" x 8 1/2+" (slightly larger to allow for the fold).  Adhere to the outside A2 card base and trim off any excess.  Adhere the corner edges to the plaid paper.  Your card will be thick so to create a nice closure, place a piece of ribbon around the card and adhere under the front frame.  Decorate with the elephant, number and sentiment.

For the Easter Treat envelope and basket:


I used the #5869 Easter Bunny Puppet for both of these Easter projects as well as several of the Easter paper packs.  
The envelope above was created with a piece of 6 x 6 paper.  Fold one corner across to the other creating a triangle.  Take the left point and fold over the front to the middle.  Take the right point and fold to the left point.  Adhere both of these down.  Lastly, take the front piece of the top triangle, leaving the back, and fold down over the front.  Adhere down and glue your bunny over the top.  Fill the pouch with easter goodies.
The basket was also created with a 6 x 6 piece of paper.  This is the same fold as the box from last week's post except you don't bring the sides all the way up creating a basket vs. a box.  Score at 2" and 4", turn and score again at 2" and 4".   On one side, cut the two score lines to the first fold.  On the opposite side, cut the two score lines to that first fold.  You should have three connected squares on the left of the first cut score line and three on the right of the second cut score line.  Fold in the middle pieces and then fold in the sides until the two top points, on each side, come together.  Adhere down.  For strength, I cut three 2" x 2" pieces of heavy cardstock and glued one to the bottom of the basket and one to left and right inside ends.  Using the #5804 Decorative Belly Bands, I die cut a decorative band from pattern paper and also from heavy cardstock.  Layered them together and adhered the ends to the inside of the basket.  I adhered the bunny and filled the basket with treats.


I hope you enjoyed my projects today!  Thanks for joining me!  
Make sure to enter the blog challenge for a chance to win a free stamp set.
Have a wonderful day and a very blessed Easter weekend!

Monday, April 14, 2025

ABC 123 Challenge by Sharon Caudle

 Hello AI Fans!

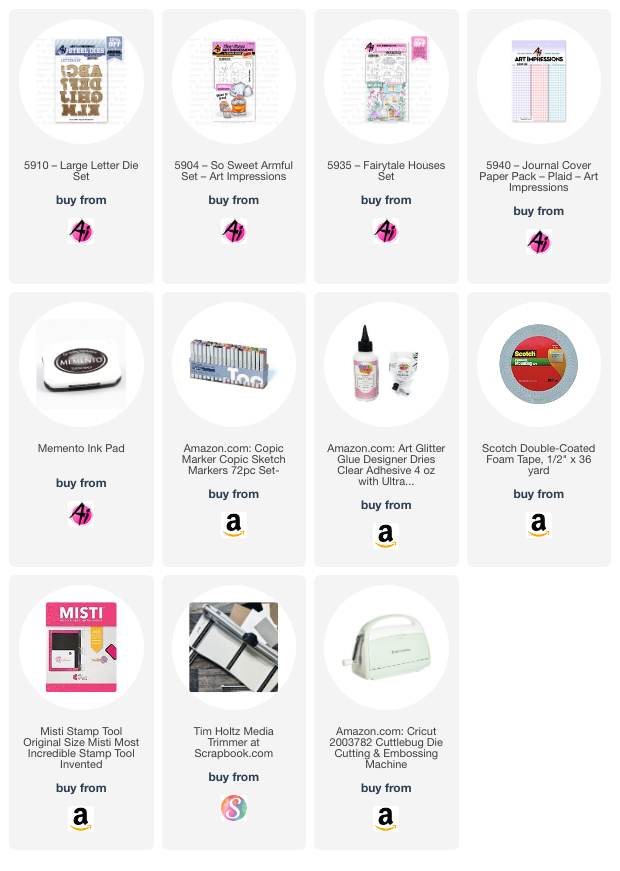
I hope you enjoyed the weekend and had some beautiful spring weather! I just love when the early flowers start popping out of the ground and the buds start coming out on the trees! For my card today, I used the current ABC 123 Challenge that is going on right now for inspiration! Have you seen Renee's absolutely adorable baby card she made using the new dies released by Art Impressions? Oh my goodness, who wouldn't love to have that card to tuck away with their mementos!! For my card, I decided to use the adorable 5904 So Sweet Armfuls set. I just double stamped them and colored with Copic markers. One trick I used on the bear to try and make him look "fuzzy" is to take my Copic blender and just dab all over the bear after coloring him in. It moves the browns and creates the textured look you see. Since I wanted to spell out the word love, I knew this was going to have to be a slimline card, so #5940 Journal Cover Paper Pack Plaid to the rescue!!!  For the letters, I just cut them out using white cardstock and then colored them to match the outfits. I simply cut a white strip of paper to act as the sign post for them to hold. The fun daisies are from 5935 Fairytale Houses Set and the Copic markers I used are listed below. 


So that's it for me today! Thanks so much for stopping by for a visit and until next time - stay crafty!!


Copic markers used:
B91, 93, and 95
E30, 31, 33, 35, 37, 41, and 43
R12, 20, 81, 83, and 85
BV00, 02, and 04
YG02, 03, and 05
C2, 3, and 4


Sunday, March 2, 2025

An Armful & Gardening Girlfriends by Karen Day

 Hello Ai Watercolour fans!


If you're not familiar with the Ai Armfuls, you should check them out!  I am using 5904 - So Sweet Armful Set.  It comes with both a bear and an elephant, with matching dies that cut slots so that their arms can hold either a heart or a cupcake.


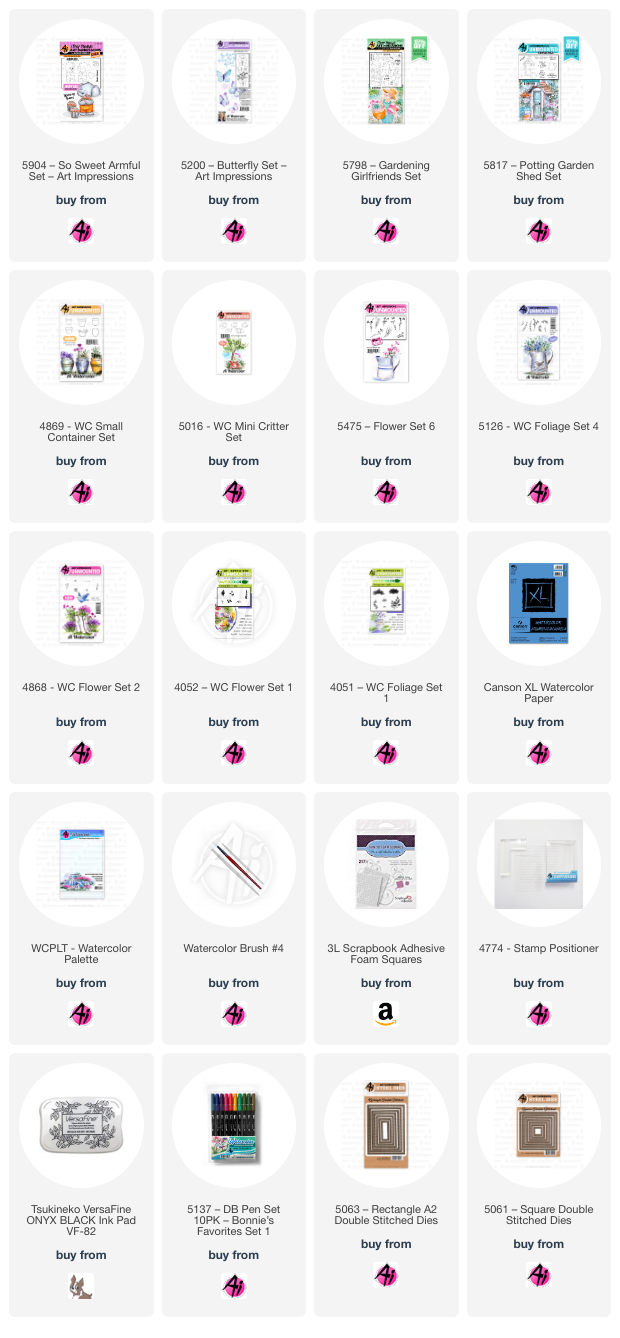
I decided on a CAS style of card, doing some Distress Oxide ink blending with a circular mask (Spun Sugar, Scattered Straw and Mowed Lawn).   The panel was cut with a 5063 - Rectangle A2 Stitched die, and mounted to the card base with 3D foam adhesive.  The bear was stamped in N55, and his fir was painted in tones of #977, keeping it darker where the shadows would be.  His trousers are a mix of #565/526, and a little #725 was painted in his ears and on his cheeks.  He was cut out with the coordinating die in the set.  I painted #725 onto some scrap watercolour paper, and used the heart die that comes in the set to cut the heart that he's holding.


To fill up a little of the white space in the upper right corner, I stamped two of the butterflies from 5200 - Butterfly Set in #N55, and painted them in with #126/725/993 to match the ink blending.  The bear and butterflies were adhered with 3D foam adhesive, the sentiment is from the Armful set, and is stamped in Versafine Onyx Black, and I added a few sequins from my stash.


My second card featured 5798 - Gardening Girlfriends Set, stamped in #N55 on some Canson XL Watercolour paper.  I wanted to extend the image a little, so I started out by stamping the puppy from 5016 - WC Mini Critter Set, then masked him and stamped a pot from 4869 - WC Small Container Set and the main image using my Misti platform for placement.


I painted two of the pots in shades of #947, and one with a mix of #249/565, keeping the edges darker to indicate their round shapes.  Then I began building my bouquet in the pot on the left - using two blooms from 5475 - Flower Set 6 in #177/603, then the long carnation stem from the set in #126/725.  The tall bloom from 4052 - WC Flower Set 1 was stamped twice with #993.  To fill in the base of the pot, one of the vines from 5126 - WC Foliage Set 4 was stamped in #177 using just the tip.  The flower bunch from 4868 - WC Flower Set 2 was stamped in #177/565 into the aqua pot, and I used my brown Twintone marker to draw in the branches in the largest spot.  *I could've used the WC Branches set for this, but masking the watering can seemed like more work than was necessary when it only took a minute to draw in the branches myself.


The puppy and her hat were painted in tones of #993/947, adding the warm brown where the shadows would be.  Her top was painted with #725/636, her jeans with #565, and the trowel, shoes and watering can were done with #N55.  #126/245 were painted on her gardening gloves for a bright pop of colour.  The small grass from 4051 - Foliage Set 1 was stamped with #126/177, and the colour pulled out to add shading to the ground.  #850 was used for her skin tone, and #565 was painted in a wash for the sky.


The sentiment is from 5817 - Potting Garden Shed Set, stamped in Versafine Onyx Black.  The whole image was die cut with 5061 - Square Double Stitched Dies, and adhered with 3D foam adhesive over a dark grey mat.  The background paper is from the 5892 - Easter S2 Paper pack.