Showing posts with label 6017 – Baby Panda Set. Show all posts

Thursday, January 22, 2026

Pocket Full of Sunshine Challenge 419 Week#2

Hello Ai fans and welcome to week #2 of the Pocket Full of Sunshine challenge here on the
Art Impressions Challenge Blog!

This challenge is pretty flexible.
We want to see SUNSHINE, YELLOW and/or POCKETS.
Show us your interpretation of what a Pocket Full of Sunshine means to you.
Maybe it's a bouquet of yellow flowers?
Maybe it's your favorite yellow Designer Paper?
Perhaps you love making cards or journals with pockets on them.

I was the featured artist last week and I chose to create a yellow house with a sunshine to brighten it. Inside of the house is a mini journal that contains pockets. (You and see the more photos of the house and the journal inside of it here)


Now let's see what our other DT members have created!
So many cute and beautiful creations.

Check out Sharon's snowman sunning himself HERE.


Tasha has an "outside the box" baby card. Love those colors.


Be SURE to visit Dori's post from this morning to
see up close photos of her card and gift set!


Lynn's lovely heart wreath has a full YouTube tutorial HERE.


What a cheery, sunshiny yellow card Janet created!
And, there's more...Full Portfolio Reveal on Saturday!

She used:


Thank you to all of our amazing designers!
We're sure that you've seen something here that will inspire you.
We can't wait to see what you create and share for our challenge.
Good luck to you! Maybe you'll be one of our next winners.

 ✻ Please make a new card or handmade crafty creation. You can make any item you wish; this is not limited to cards! (unless specified)

✻ Limit two submissions per person.
 ✻Please include your first name and last initial on your submission. You may include your entire last name, but it's not necessary.
✻We love to comment on your entries, but keep in mind if you use a private group or a platform that you need to sign up for, we probably won't be able to.
✻ The Ai Challenge is open to everyone, international submissions are welcome!
✻ Include a link back to the Ai Blog or grab our button on the top right of our sidebar!
✻ Share the Ai love if you can, by clicking and commenting on your fellow crafters.
✻ Make sure to get your link up by the deadline to enter your creations.
✻ Good luck and happy stamping! 

You are invited to the Inlinkz link party!

Click here to enter

Friday, January 16, 2026

Welcome Little One! card by Tasha

Happy Friday Art Impressions friends! 

Today I’m excited to share this sweet baby card inspired by the current Art Impressions Pocket Full of Sunshine challenge. I wanted the design to feel cheerful and welcoming, with lots of bright color and happy details.

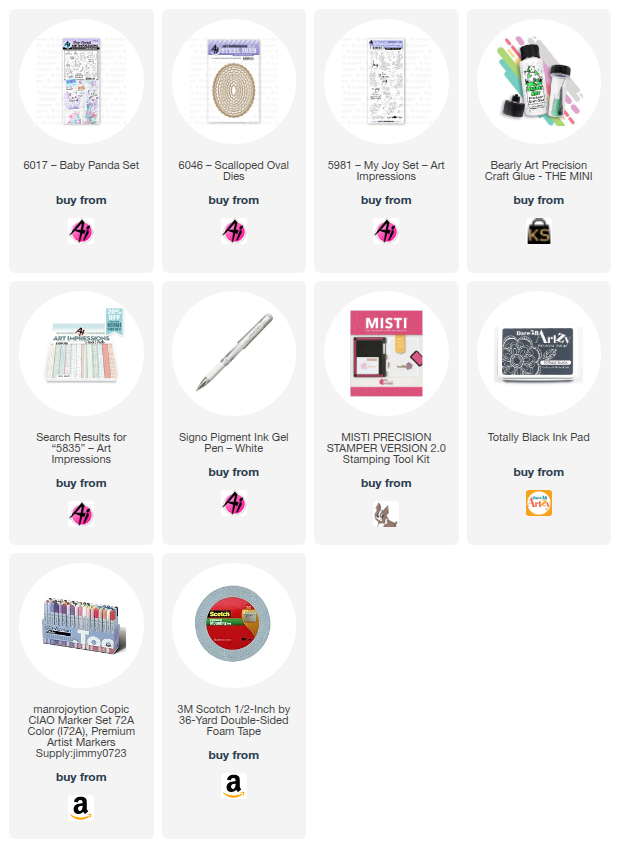
The adorable little bear comes from the 6017-Baby Panda Set, and it fits perfectly in the playful scene. The floral frame was created using stamps from the 5981-My Joy Set, which adds such a fun and sunny touch around frame. 

For the background, I used patterned paper from the 5835-Mini Journal Paper Pack, and added layers of White, Pink, and Yellow paper to coordinate with the colors used on the flowers. I love the pink & yellow color combination!


This card was a joy to create and is perfect for welcoming a new little one. Thanks so much for stopping by, and I hope this brings a little sunshine to your day!


Thursday, January 8, 2026

Button Baby Panda card by Dori Mendiola

 Happy Thursday AI Friends!

Today I have a cute little baby card for the "Button Up" challenge.  Check out the "Bi-weekly Challenge" tab above for the simple requirements to qualify for a chance to win a free stamp set of your choice.  

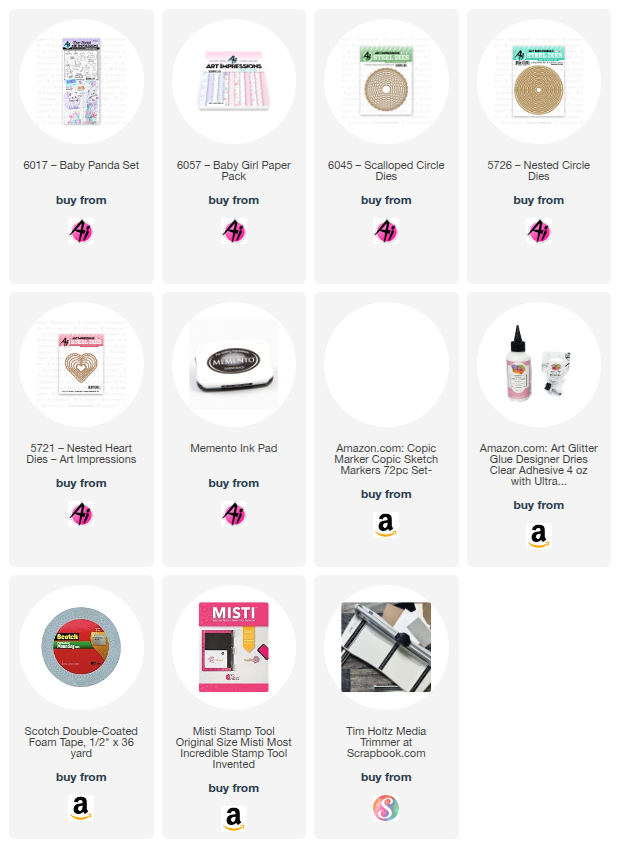
I created this fun shaped card using the 6017 - Baby Panda set with the 6057 - Baby Girl PP.

I stamped the image onto copic friendly paper with Memento black ink and colored with my copic markers listed below.  I die cut the image using the coordinating die that is included with the stamp set.  As per my usual, I die cut a second image out of basic white cardstock and adhered it to the back of the colored image to give it more strength.  I like to do this because it adds a little extra "pop up" as well.

To create the card front, I die cut a scalloped circle using the largest die from the 6045 - Scalloped Circle die set.  I then die cut two circles (one pink cardstock and one patterned paper) that fit nicely over the other giving it a slight border.   I then die cut the heart scallop from the 5721 - Nested Heart dies and a 1" piece of white cardstock with a slightly smaller strip of patterned paper to fit over the white cardstock.  I layered these all onto the white scalloped circle as shown above.

For the card base, I folded a piece of cardstock in half (approx. 4 x 4 inches) and die cut the second largest circle from the 5726 - Nested Circle die set placing the die over the fold so that approx. 1/2" of the top does not cut.  This will create the fold for the opening of the card.  Glue one side to the back of the scalloped circle card front.  Pop up the image with foam tape.  Add two small black buttons for the wheels (I threaded white string through the button holes for added detail).  Tie a three loop string and adhere to the button bow with glue dots or liquid glue and then adhere just below the sentiment.

After I put this together and took my pictures, I realized that I didn't add shading to the buggy base or canopy.  Oops!  LOL!  Simple coloring works just as well, yet we always think we need to add more.  Maybe we don't!  šŸ˜€ 

Thanks for joining me today!  Make sure to check out the current challenge and play along.  We love to see what you create!  

Have a great day and keep creating!

Copics used:  N0, N1, N3
R20, R81, R83, R85

Thursday, January 1, 2026

Button Up Challenge #418 week #1

Hello Ai fans and HAPPY NEW YEAR!!

We hope you all had a relaxing holiday season and are ready to jump back into
making some crafts and joining our challenges!

For our first challenge of the year we have Button Up.


We want to see your projects using buttons.

These can be real buttons, button embossing folders or dies or even characters with buttons on their clothing. If it's a button, it counts.

Our first Featured Designer of 2026 is Lynn and you're going to love her darling card and her video tutorial.

Happy New Year Ai Fans!!!

Watch video tutorial here!

I'm really excited to be the featured artist for the next wonderful Ai Blog Challenge. This new "Button Up" Challenge is asking us to use real buttons, or images with buttons, patterned papers with buttons, or even a button die, which we will be using today!

We will be creating some cute little shaker windows for our baby pandas and a wonderful cake! This card can be used for Valentine's Day, Birthday, or a Friendship card!

To begin, we will stamp, die cut, and color the images. For the coloring we will be using the Zig Clean Color Real Brush Pens in the following colors: Blender, Lt Pink, Wine Red, Oatmeal, Dk Oatmeal, Lt Gray, Dk Gray.

Now we can create the cute sweater background using a wonderful cozy sweater stencil and some pretty ink in Kitsch Flamingo. Once the panel is stenciled, we can add a darker pink color around the edges using Prom Queen. That will frame this panel nicely. For some added interest we will spatter this panel with the Tim Holtz Distress Spritz in Kitsch Flamingo and that same Prom Queen ink.

Next, let's stamp three dotted circles from the Ai Frameworks Set 2 (6026) and then using the Ai Nested Circle Dies (5726) we can die cut a circle in the center of each of the dotted circles. These circles will allow us to create three little circle shakers on the front of the card!

I'll show you exactly how to create the shaker portions of this card in today's video. We will add some pretty confetti to each of the shaker pockets using Prom Dress, Diamond, Christmas Red.   I'll also show you a little trick for easily lining up the shaker element to your card!

We can attach the shaker panel to a square card base. Let's also add a sentiment that says, "You're the BEARY BEST!" which will be stamped onto some black cardstock and embossed with white embossing powder and die cut as a banner using the Ai Journal Template Die Set (5543). We can also stamp another small "Sending Love!" sentiment onto the card front.

Now we will create a pretty twine bow using Dusty Rose Hemp Twine. To this bow we will add a cute little button. This button will be die cut from the Ai Sew Mini Dies (5326) and inked with that same Prom Queen ink so that everything will match perfectly! I layered several buttons dies together for a thicker, more realistic button. We can add a few white polka dots to this button using a white gel pen.

Let's attach the button to our pretty bow and then add this to the banner sentiment. We can pop-up the sentiment banner with some small 3D foam squares for added dimension.

For a finishing touch, lets add some glaze to the heart on the cake and a bit of glitter, and also a few sprinkles using our black gel pen.

By adding just that one simple button we have really added some fun, sweet dimension and interest! Don't forget to join us in this fun challenge...we would love to see what you create!

If you love this Baby Panda Set, you may want to check out this video that I had previously posted using this same set...and I will link that here for you:

Thank you so much for joining me today!  Have a fun and crafty day!

Ai Baby Panda Set (6017)

Ai Frameworks Set 2 (6026)

Ai WC Bear Set (6064)

Ai Sew Mini Dies (5326)

Ai Nested Circle Dies (5726)

Ai Journal Template Die Set (5543)

Thank you Lynn for your wonderful inspiration.

✻ Please make a new card or handmade crafty creation. You can make any item you wish; this is not limited to cards! (unless specified)

✻ Limit two submissions per person.
 ✻Please include your first name and last initial on your submission. You may include your entire last name, but it's not necessary.
✻We love to comment on your entries, but keep in mind if you use a private group or a platform that you need to sign up for, we probably won't be able to.
✻ The Ai Challenge is open to everyone, international submissions are welcome!
✻ Include a link back to the Ai Blog or grab our button on the top right of our sidebar!
✻ Share the Ai love if you can, by clicking and commenting on your fellow crafters.
✻ Make sure to get your link up by the deadline to enter your creations.
✻ Good luck and happy stamping! 


You are invited to the Inlinkz link party!

Click here to enter

Saturday, June 21, 2025

Hi Little Bear! by Janet

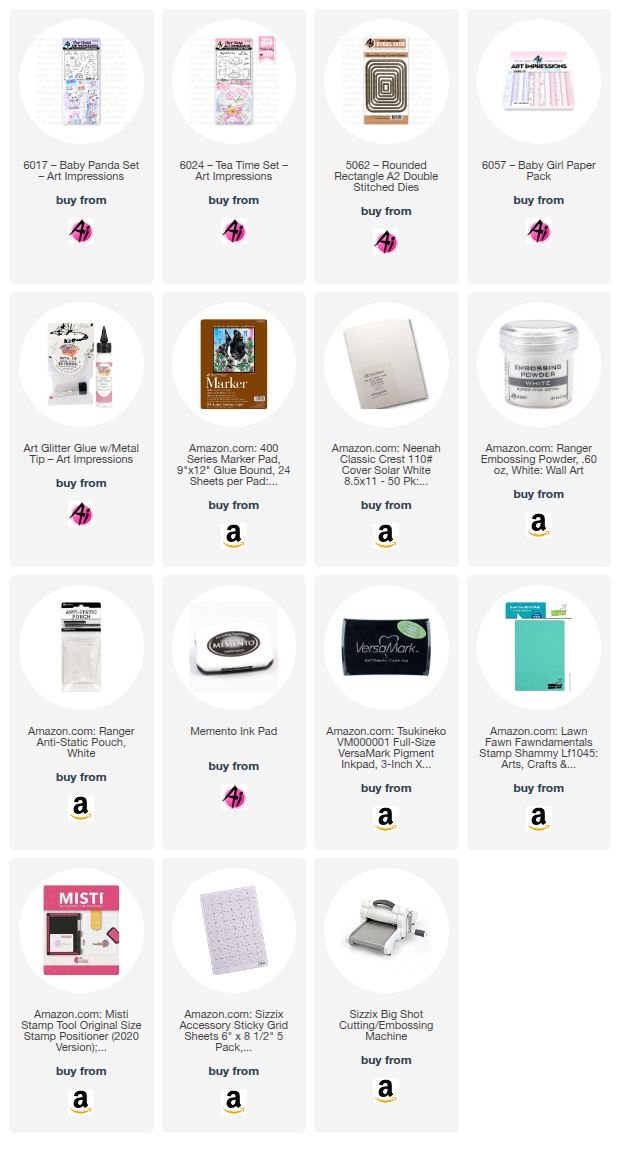
Hi everyone! I hope you're enjoying your weekend. Today, I'm thrilled to share a card featuring the super cute 6017 - Baby Panda Set! I'm so happy Art Impressions released this charming baby-themed set; it's just too precious.

For the star of the show – our little bear peeking out of a teacup – I got a bit creative! First, I stamped the tiny bear from the Baby Panda Set. Then, I masked him before stamping the teacup image from the 6024 - Tea Time Set. This makes it look like he's playfully peeking right over the rim! I just love how versatile this "peeking bear" can be. I also borrowed the balloons from another image in the set, carefully cut them out, and attached them behind the bear for a festive touch. Finally, I stamped and colored the block and rattle image and used the included dies for a perfect cut.

Next, it was time to build the card base to showcase these adorable elements. I chose two sweet, gender-neutral patterns from the 6057 - Baby Girl Paper Pack – they were perfect for a soft, welcoming feel. For the sentiment, I cut a small stitched rounded rectangle from the 5062 - Rounded Rectangle A2 Double Stitched Dies set. I then heat embossed the sentiment with lavender embossing powder.

With the base ready, I arranged my focal images. I placed the teacup and block images on foam tape, positioning them in the corners of the flowered paper for dimension. The sentiment was then added, accented with a sweet yellow and white polka dot ribbon bow.

Thanks so much for stopping by today! I hope you enjoyed seeing this sweet baby card. If you're looking for your new favorite stamps, dies, and accessories, be sure to visit the Ai Store!

Until next time, happy creating!

Janet - YouTube - Blog - Facebook - Instagram - Pinterest     

Thursday, June 19, 2025

Baby Boy Panda by Dori Mendiola

 Happy Thursday AI Friends!

Today I have a cute little baby boy card for you using the #6017 - Baby Panda set.  This is the absolute cutest little set and makes the cutest baby cards!  


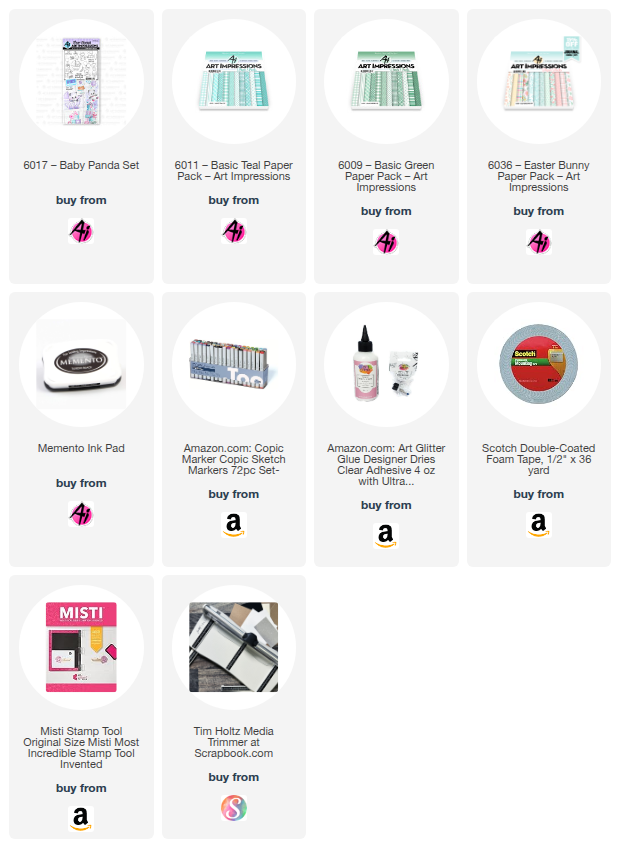
I started out stamping the images on copic friendly paper with Memento black ink and colored with my copic markers listed below.  I cut each out with the corresponding dies that come with the stamp set.  To create the background, I using my cloud stencil and Distress Oxide Broken China ink.  The papers for the frame and the grass are from the #6011 - Basic Teal PP and the #6009 - Basic Green PP.  I paper pieced one of the balloons and the carriage sun cover using the #6036 - Easter Bunny PP.

The upper panda moves as if floating in air (see video).  This is a simple interactive mechanism. 
To provide more stability to the swinging panda, I suggest die cutting a second panda w/balloons out of heavy cardstock and adhere to the backside of the colored image.  Punch a circle in the cloud background, small enough to hide behind the balloon.  Place a foam dot in the center, adhering the bottom side to the card base, and the top side of the foam dot to the back of the top balloon.  The panda will swing back and forth as if he is floating in air.   

I hope you are having a wonderful start to your summer!  Have a great weekend and thanks for joining me today!

Copics used:  C00, C0, C3, C5, C7
B00, B12, B14
Y11, Y13, Y15, Y17
YR12, YR14, YR16
G40, G43
R20, R22

Thursday, June 12, 2025

Father's Day Cubs by Dori Mendiola

 Happy Thursday AI Friends!

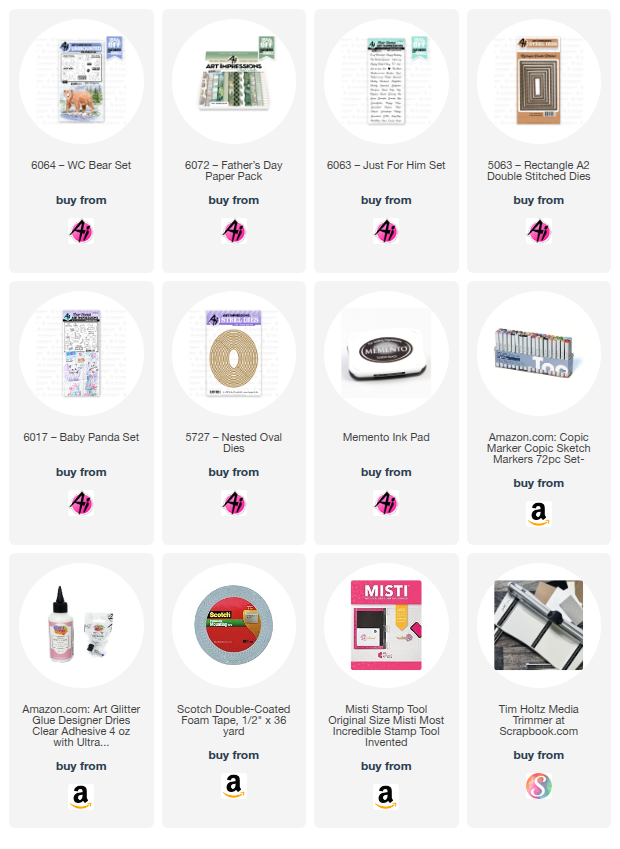
Thanks for joining me today!  I thought I'd share a couple of Father's Day cards I made for a few of the men in my life.  I used the #6064 - WC Bear set and the #6072 - Father's Day PP for both cards but changed the layouts.   


I started by stamping the images on copic friendly paper with Memento black ink and colored with my copic markers, listed below.  I then fussy cut each of the bears and cubs.  For the little girl cubs, I stamped the little girl panda from the #6017 - Baby Panda set and fussy cut the bow from her hair. 
 
For the top card, I die cut the pattern paper panels using the #5063 - Rectangle A2 Double Stitch die set.  I also cut a couple of trees from dies in my stash.  I popped up the Papa bear and the littlest cub with foam tape and placed onto the background pattern paper.  I stamped the sentiment from the #6063 - Just for Him set onto an oval die cut using the #5727 - Nested Oval dies.  I finished this card off with a couple of red hearts to add color and love. 

For this card, I used a postage background die for the base and placed pattern papers within each square.   Everything else is basically the same as the top card, but just wanted to show how different they can look by using different backgrounds.

I hope you enjoyed my cards today and they inspire you to create a few for the men in your lives.

Have a great day and keep creating!

Copics used:  R20, R22
E50, E51, E53, E55, E57

Friday, May 2, 2025

Welcome Baby! Card by Tasha

Hi Art Impressions fans!
Tasha here, and I’m bear-y excited to share my latest card creation inspired by the current "Un-Bear-ably Cute" Challenge! Today, I’m playing with the absolutely adorable new 6017–Baby Panda Set, and love these little panda stamps!

As a huge fan of panda bears, I couldn’t wait to get started. I began by stamping the sweet baby panda and the stack of gifts using black hybrid ink. After that, I brought them to life with my Copic Markers and white gel pens. Using the coordinating dies (included in the set—yay!), I cut out the images so I could pop them up with foam tape for a little extra dimension.

For the background, I wanted to create a cozy little room scene; something that feels like a warm home. I designed plaid-patterned walls and a wooden floor, imagining the baby panda sitting comfortably indoors, patiently waiting to open all those presents!

Once my cozy background was ready, I layered the panda and gifts onto the card using foam tape to give them that fun, popped-up look. For the base, I used silver glitter paper cut with the 5063–Rectangle A2 Double Stitched Dies to add a little sparkle. To bring it all together, I layered white and metallic purple cardstock, plus a panel of purple polka-dot Ai pattern paper that matched perfectly with the panda’s accessories.

To finish off the design, I added one of the sweet sentiments from the set—"We can Bear-ly wait to meet you" stamped in black on crisp white cardstock. I matted the sentiment with metallic purple paper for a polished look that ties everything together.

Thanks so much for stopping by and I hope you will join in the challenge! 


Thursday, May 1, 2025

Little Pink Panda by Dori Mendiola

 Happy Thursday AI Friends!

Wow, if you haven't done this yet, check out the newest release at Art Impressions.  Bonnie created the most adorable little panda baby set.   I couldn't wait to play with this set and the timing is perfect for the current challenge here on the blog called "Un-Bear-Ably-Cute".  Your project just needs to include a bear.  

I used the #6017 Baby Panda set and the #5360 WC Rocking Chair stamp/die set to create my scene.  The pattern papers are from the #5741 Valentines PP.  

I began by stamping all of the images onto copic friendly paper with Memento black ink and colored with my copic markers, listed below.  I die cut a rocking chair from brown cardstock and inked the edges.  I then stamped the back of the chair onto pattern paper and paper pieced it onto the brown cardstock chair above the arm.  I die cut the seat of the chair from a coordinating piece of pattern paper and pieced it onto the seat of the chair to look like a cushion.  I positioned the panda onto the cushion and the presents hugging tight to the chair to hide any piecing imperfections.  šŸ˜  I popped all of the images up with foam tape.  The heart frame die cut panel is from my stash and the flooring is a piece of peel and stick wallpaper from the dollar tree.  The sentiment was stamped onto a scalloped die cut from the #5344  Envelope GCH.  

                                     I hope you enjoyed my card for today.  Thank for you joining me.  
                                                            Have a great day and keep creating!
Copics used:  C00, C0, C3, C5, C7
Y11, Y13, Y15, Y17
YR12, YR14, YR16
B00, B12, B14
G40, G43, R20, R22, R24

Monday, April 28, 2025

Welcome Little One by Sharon Caudle

 Hello AI Fans!


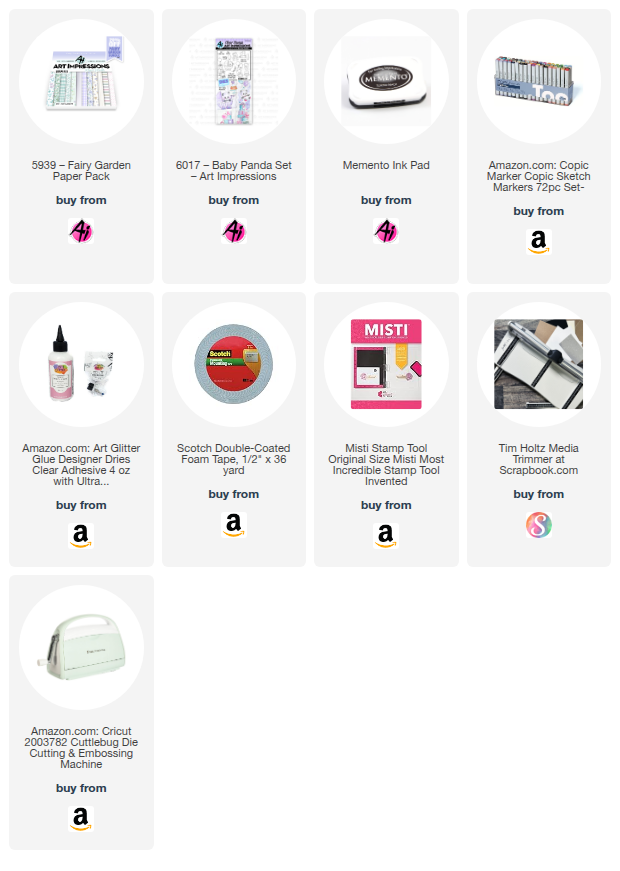
Art Impressions released the absolute cutest Baby Panda set I think I've ever seen! And who doesn't love Pandas?? And it was perfect timing for the new challenge that started last Thursday, Un-Bearably Cute!! So you can enter to win a free stamp set of your choice, just use any bear at all on your card or project! I chose to use 6017 Baby Panda Set. Since I don't have the beautiful new baby papers that were released along with this adorable set, I chose to use 5939 Fairy Garden PP. I stamped all the images onto Copic friendly paper and then colored them up using the markers which I've listed for you below. 


So that's it for me today! Thanks so much for stopping by for a visit and until next time - stay crafty!!

Copic markers used:
B91, 93, and 95
C1, 2, 3, and 4
R20, 81, 83, and 85
G40, 43, and 46
E33
BV00, 01, and 02


Friday, April 25, 2025

Welcome Little One! Card by Tasha

Happy Friday Art Impressions Friends!

Tasha here, and today I'm sharing a sweet little card for our current Un-Bear-ably Cute! challenge. I used the adorable new 6017 – Baby Panda Set—this little bear is just too cute with her balloons!

I began by stamping the baby panda and cutting her out with the coordinating die. For the background, I added a piece of Art Impressions’ cloud pattern paper. I used foam tape to lift the panda off the card slightly, giving her the look of floating through the sky with her pretty pink balloons.

For the sentiment, I stamped “Welcome Baby” and layered it with pink and gray patterned paper to match the panda’s colors. I also added a pink gingham background and finished it off with a silver glitter frame for a bit of sparkle.

I hope you enjoyed today’s project and feel inspired to join in on the Un-Bear-ably Cute! challenge.

Have a creative weekend and happy crafting!


Thursday, April 24, 2025

UN-BEAR-ABLY CUTE! Challenge #402

Hello Ai fans!

Welcome to our newest challenge.

Inspired by the latest release from Art Impressions, 6017 – Baby Panda Set, our challenge is bears.

We want to see your crafty creations using bears. Whether it's a panda, polar, koala, black, brown or teddy bear. Show us all the bears!

Make something UN-BEAR-ABLY CUTE! and share it for our challenge.
You may be the next person to win a free stamp set.

Here are a few key searches to find what you're looking for.

BEAR

Panda

Koala

Polar

Teddy

Before we see the UN-BEAR-ABLY CUTE! card that our Featured Designer Tasha came up with, let's see who won our ABC, 123 challenge.

For our Top Spot, we selected Diana S.


Please contact Leah at Feedback@artimpressions.com
to claim a free stamp set of your choice!!
Be sure to grab our badge to display on your social media too!


Our Lucky Random Winner was #2 Becky R.


Please contact Leah at Feedback@artimpressions.com
to claim a free stamp set of your choice!!

Be sure to grab our badge to display on your social media too!


Okay, now that we've seen our winners, let's move on to Tasha's UN-BEAR-ABLY CUTE birthday card! You're going to LOVE it!!

-----------------------------------------------------------------------------------------------------------------------------

 Hi everyone! Tasha here sharing a bear themed birthday card! Today’s card was made with a mix of masking techniques, cute stamp sets, and a whole lot of birthday cheer.

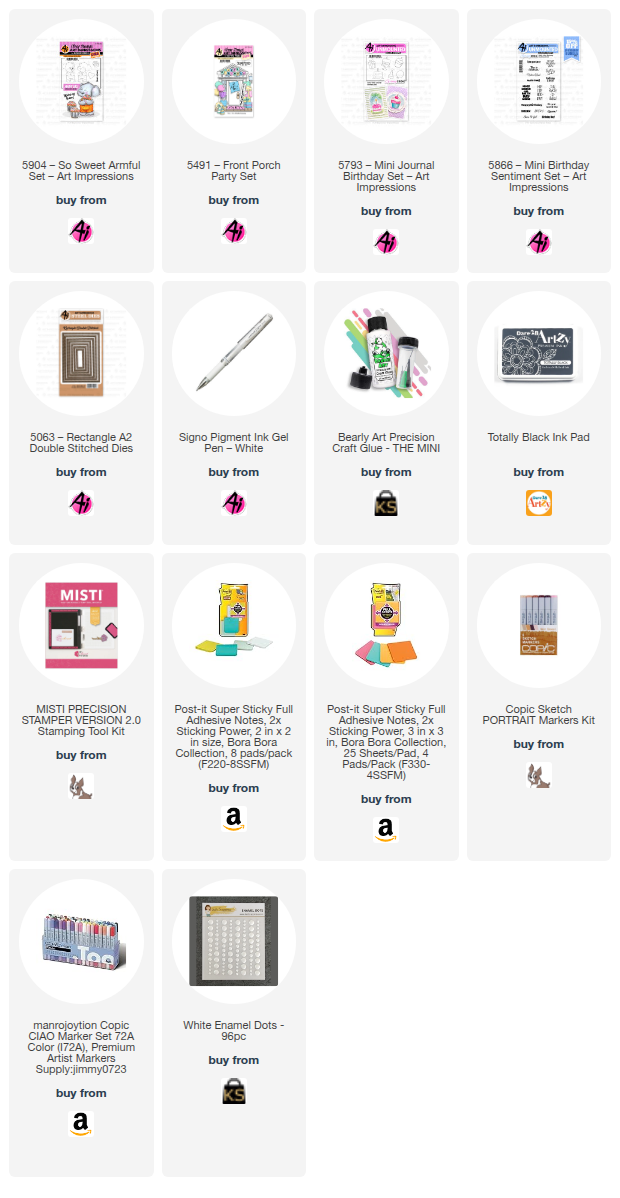
To kick things off, I stamped the party hat from the 5793 – Mini Journal Birthday Set onto white cardstock. When you're masking, planning is everything! Since I wanted the party hat to sit on top of the bear’s head, it had to be the first image stamped.


I created a mask using a small full-adhesive Post-It and trimmed around the stamped hat with precision scissors. Mask in place, I stamped the adorable bear from the 5904 – So Sweet Armful Set. Actually, I stamped him twice—once on a larger Post-It to create a bear mask, and once onto the card itself, placing the hat right at the center of his head. 


No stamping platform needed here, but it can definitely help for lining things up perfectly.


With my bear masked off, it was time to add the party fun! I wanted him to be holding something festive, so I stamped a balloon (again from the Mini Journal Birthday Set) and added the string by hand with a black pen.


Next up: presents! I used a mix from the Mini Journal Birthday Set and the 5491 – Front Porch Party Set to give the scene a fun variety of box sizes and shapes. I just love how they frame the bear!


And of course—what’s a party without cake?  I picked the perfect little cake image, complete with a candle on top (how cute is that?), and added it right to the scene. The cherry on top (or should I say candle on top)?


Once the stamping was complete, it was time for the big revel. I used tweezers to gently peel away each mask, and every time I do this, it feels like magic. Suddenly, all the layers come together into one seamless party scene!


Coloring is my favorite part! I reached for my Copic Markers to bring everything to life, adding shadows, details, and extra touches like a glowing candle flame (using three marker shades!). A black pen helped me sharpen some lines and doodle in a few finishing touches.


To bring it all together, I die-cut the card using the two largest dies from the 5063 – Rectangle A2 Double Stitched Dies set. The stitched edges give it such a polished finish!

The final step was stamping a Happy Birthday sentiment from the 5866 – Mini Birthday Sentiment Set, layering it with gold glitter paper for that essential birthday sparkle. I added patterned paper from Art Impressions, white and gold cardstock layers, and finished off the whole card with four white enamel dots. So simple, but they pull everything together!

I hope you enjoyed today's project and will join in the Un-Bear-Ably Cute Challenge!


✻ Please make a new card or handmade crafty creation. You can make any item you wish; this is not limited to cards! (unless specified)

✻ Limit two submissions per person.
 ✻Please include your first name and last initial on your submission.
✻We love to comment on your entries, but keep in mind if you use a private group or a platform that you need to sign up for, we probably won't be able to.
✻ The Ai Challenge is open to everyone, international submissions are welcome!
✻ Include a link back to the Ai Blog or grab our button on the top right of our sidebar!
✻ Share the Ai love if you can, by clicking and commenting on your fellow crafters.
✻ Make sure to get your link up by the deadline to enter your creations.
✻ Good luck and happy stamping! 

You are invited to the Inlinkz link party!

Click here to enter