Showing posts with label Birthday Sentiment Set 5735. Show all posts

Sunday, August 2, 2026

Single Flower to Story Tile by Simone Carr


Hello Fellow Crafters!

For today’s card, I wanted to create something soft and elegant with a touch of vintage charm. I love how a simple floral image can be transformed with a little watercolor, texture, and a few special details.

Using Canson Watercolor Paper, I stamped the image using N95. I colored the stems and leaves first with 177. Then I colored the flower, starting with 985. I used 055 to add highlights to the bloom and 933 in the center of the flower. I used 526 around the flower to add a soft touch of color to the background.

Once the coloring was dry, I splattered some Winsor & Newton Gold paint over the flower for a little extra shimmer. I then used the Antique Frame Die (from a different company) to cut out my panel.

Using Memento Toffee Crunch, I distressed the edges of the panel to enhance the vintage look. Next, I stamped my sentiment using Versafine Clair Nocturne.

I then selected a frame that would fit around the sentiment from the Frameworks Set 4 and stamped it using Memento Toffee Crunch. Using a small brush, I painted over the stamped frame with Winsor & Newton Gold paint to add a subtle metallic accent.

I felt the card still needed a little something extra, so I used a textured stamp with Distress Ink Antique Linen and stamped it randomly over the card panel. This added just the right amount of texture and finished off the vintage feel of the card.

Materials Used

Stamps & Dies
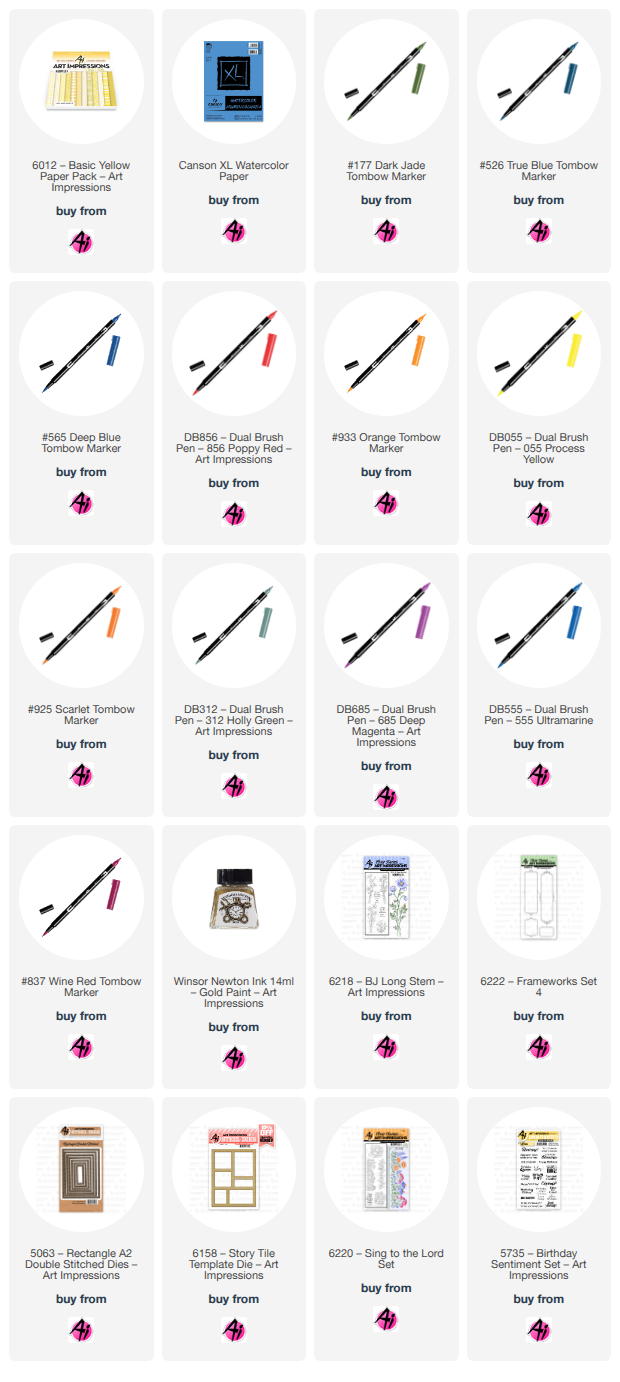
• 6218 – BJ Long Stem Set
• 6222 – Frameworks Set 4
• 5063 – Double Stitched Rectangle Die (Largest)

Paper
• Canson Watercolor Paper

Inks & Mediums
• Distress Ink – Antique Linen
• Memento Toffee Crunch
• Versafine Clair Nocturne
• Winsor & Newton Gold Paint

Tombow Markers
• N95 – Stamped Image
• 985 – Flower
• 055 – Flower Highlights
• 933 – Flower Center
• 177 – Stems & Leaves
• 526 – Background


For my second card, I used the Story Tile Die to cut a piece of Canson Watercolor Paper. I then arranged my flowers onto each section and stamped the images using Distress Ink Antique Linen.

Once the images were stamped, I colored each section using the Tombow markers listed below. I then cut another frame from patterned paper and adhered it to the watercolor frame. After attaching the layered frame to my card base, I glued each watercolor tile back into place to complete the card.


Materials Used

Stamps & Dies
• 6158 – Story Tile Die
• 6220 – Sing to the Lord
• 6218 – BJ Long Stem
• 5735 – Birthday Sentiments Set

Paper
• 6012 – Basic Yellow Patterned Paper
• Canson Watercolor Paper

Inks & Mediums
• TwinTone Marker – Purple
• Pitt Artist Pen – Black
• Versafine Clair Nocturne
• Distress Ink – Antique Linen

Tombow Markers
• 177, 985, 025, 925, 526 – Tulips
• 606, 177, 526 – Petunia
• 856, 177, N15, 526 – Poppy Flower
• 312, 685, 837, 985, 856, 555, 565, 177, 526 – Wildflowers

Thanks for stopping by, and happy crafting!


Friday, June 26, 2026

Royal Birthday Greetings! Card by Tasha

 Happy Friday Art Impressions friends! 

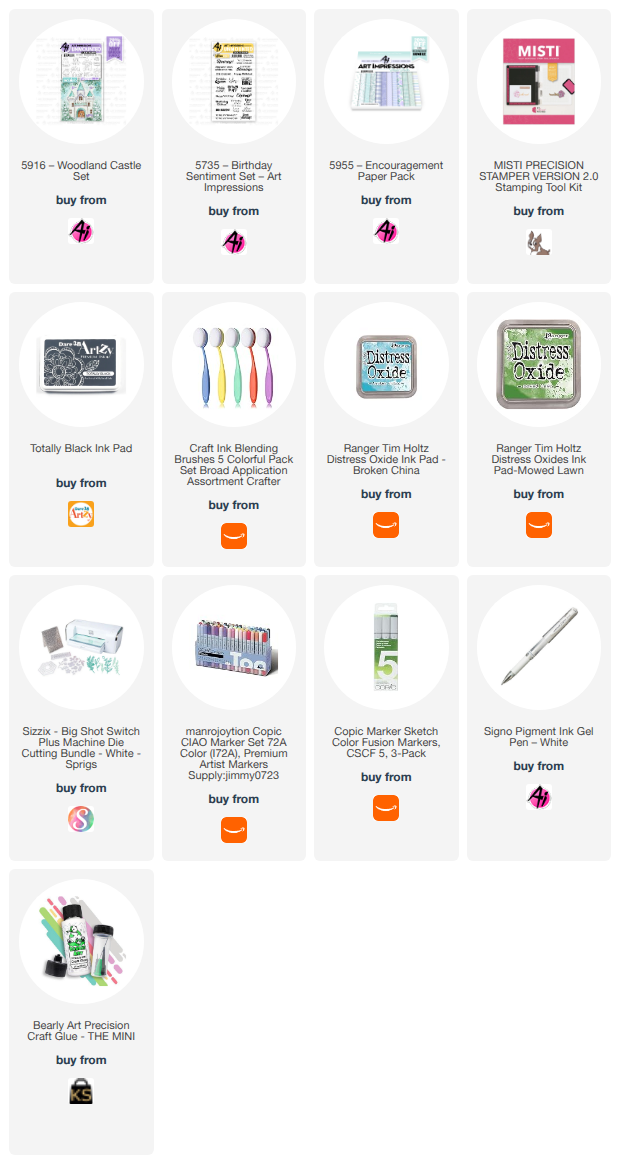
Tasha here sharing a birthday card featuring the 5916 -Woodland Castle Set. I love medieval and fairytale-themed stamps, and this card is perfect for celebrating a little princess or queen on her birthday.

The birthday greeting is from the 5735 -Birthday Sentiment Set, and it was the perfect fit for this design. I kept the center panel simple so the castle could take center stage. A little grass and soft ink blending were all it needed to create a sweet little scene.

To finish the card, I layered silver glitter paper with pink and purple cardstock and added a piece of beautiful Art Impressions floral patterned paper. The purple, white, and pink color combination complements the castle perfectly and adds a fun, whimsical feel.

Thanks so much for stopping by today. I hope you have a wonderful weekend!


Friday, June 12, 2026

To the Birthday Girl! Card by Tasha

Happy Friday, Art Impressions friends!

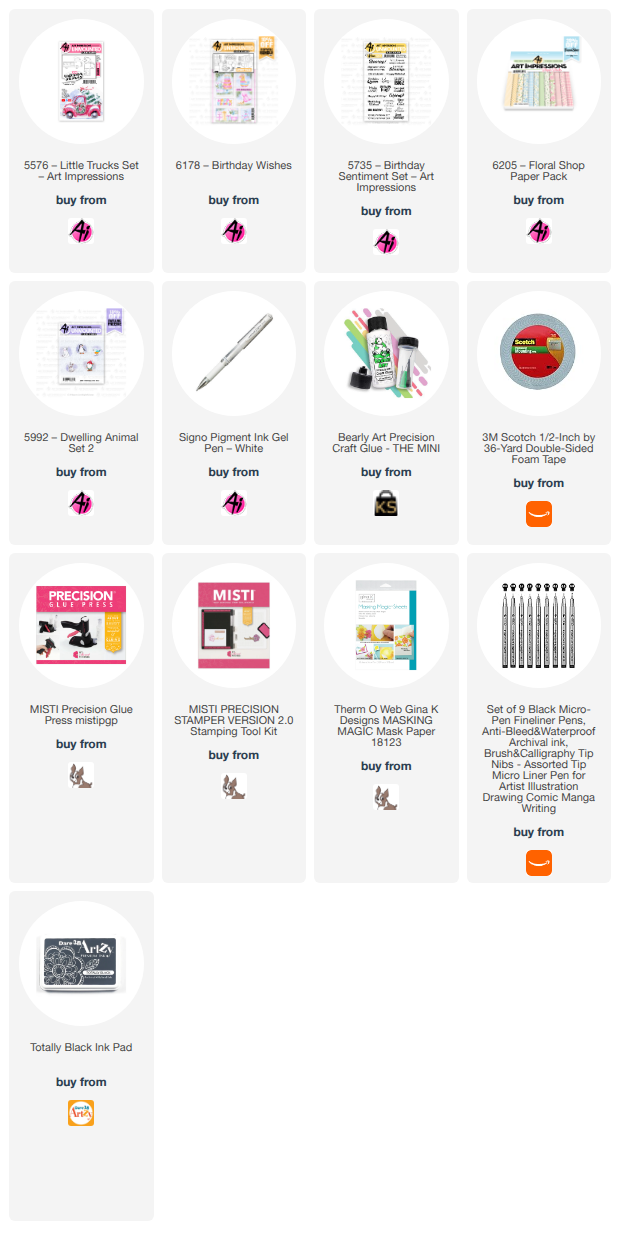
Tasha here, and today I’m sharing a birthday card inspired by the current Enjoy the Ride Challenge. Art Impressions has so many fun vehicle-themed stamps, but I’ve always been drawn to this vintage truck design. One of my favorite details is the open window, which makes the perfect spot to add a little character. I chose a gnome for this card because I can never resist a cute gnome!

To give the truck a birthday theme, I stamped a sweet little dog and a bunch of balloons in the truck bed. The balloon images fit perfectly and add a fun, festive touch to the scene.

For the sentiment, I used “To the Birthday Girl” from the 5735-Birthday Sentiment Set. I layered it onto gold glitter paper for a bit of sparkle, which really helps the greeting stand out.

To finish the card, I added layers of pink, cream, and yellow cardstock along with a floral patterned paper. I also used Copic markers to create a simple country road background that ties everything together and completes the design.

Thanks for stopping by, and I hope this card inspires you to join the challenge!


Thursday, March 26, 2026

Round & Round Challenge #424 Week #1

Hello Ai fans!
Welcome to our latest challenge.
This time we're thinking circles.

Round & Round
We want to see your circle cards, cards with circle dies or stamps, circular gems and embellishments,  dotted embossing folders...anything round!

Our Featured Designer this week is Lynn and she created a gorgeous floral wreath card.

Simple and Easy Watercolor Floral Wreath!
After you admire her card be sure to watch her tutorial and then,
check out who won our last challenge.


Watch video tutorial here!

I'm excited to be the featured artist for the new Ai "Round and Round" Blog Challenge! For today's card, we will be using the double roses stamp from the Ai His Love Stamp Set (6150). This pretty duo of roses has a natural curve to it so it will be really easy to add these roses to a circular shaped wreath.

We will stamp 8 sets of the roses using the stamp positioner because once we have colored these roses, we will be stamping them again...just to darken them up a bit more!

For the water coloring, we will be using the Tim Holtz Distress Mini Ink Pads in Spun Sugar, Picked Raspberry and Candied Apple. This watercolor technique is so easy and simple to do. We will apply of the inks directly onto the glass mat, add a spritz of water and place the stamped images directly into the ink. This will pick up a variety of the pinks and reds onto the roses. I'll show you exactly how to do this in today's video!

Now we can heat set the images and with the Candied Apple Ink we will apply a little bit onto each of the flowers using a #0 paintbrush. No need to be fussy.... just add a bit of this color onto the centers of the flowers for a bit of shadowing.

Let's heat set these again and now we can place each of the flower duos into the stamp positioner and re-stamp them. They will line up perfectly because we have left them in the stamp positioner while we were coloring the images. By stamping the images again, we will get a nice dark black and crisp image! Now let's fussy cut the roses with our detail scissors. We can also add some highlights using a white gel pen!

We will add a watercolor panel to the card by just spattering each of those same inks onto a white panel and them adding a bit of ink around the edges and add a black layer behind this panel. This will frame everything nicely!

Let's die cut the Ai Scalloped Circle (6045) onto some pink cardstock and add a black circle behind it.

We can assemble the layers on the card but first let's stamp the sentiment using the Ai Birthday Sentiments Set (5735). We will also go back to the Ai His Love Set and add the pretty heart and swirl border just below the "Birthday Blessings" sentiment.

We can pop-up the roses and add them to the scalloped circle. Let's add a cute little black and white ribbon using some baker's twine.

For a finishing touch, let's add a few clear "iridescent" gems for a bit of sparkle!

If you love this Ai His Love Stamp Set then you may enjoy this video using that same set:

Thank you so much for joining me today!  Have a fun and crafty day!

Ai His Love Set (6150)

Ai Birthday Sentiments Set (5735)

Ai Scalloped Circle Dies (6045)


What a beautiful card Lynn!

Now, let's see who won our 3D challenge.

For our Top Spot we selected:

Cathlyn A.


Please contact Leah at Feedback@artimpressions.com
to claim a free stamp set of your choice!!

Be sure to grab your winner's badge to display on your social media.


Our Lucky Random Winner was:

#11 Kathy A.


Please contact Leah at Feedback@artimpressions.com
to claim a free stamp set of your choice!!

Be sure to grab your winner's badge to display on your social media.

Congratulations to both of our winners!


Now for our new challenge!

 ✻ Please make a new card or handmade crafty creation using either stamps, dies and or designer paper from Art Impressions. You can make any item you wish; this is not limited to cards! (unless specified)

✻ Limit two submissions per person.
✻Top Spot Winner and Lucky Random Winner each receive a free stamp set from Art Impressions
 ✻Please include your first name and last initial on your submission. You may include your entire last name, but it's not necessary.
✻We love to comment on your entries, but keep in mind if you use a private group or a platform that you need to sign up for, we probably won't be able to.
✻ The Ai Challenge is open to everyone, international submissions are welcome!
✻ Include a link back to the Ai Blog or grab our button on the top right of our sidebar!
✻ Share the Ai love if you can, by clicking and commenting on your fellow crafters.
✻ Make sure to get your link up by the deadline to enter your creations.
✻ Good luck and happy stamping! 

You are invited to the Inlinkz link party!

Click here to enter

Tuesday, March 4, 2025

CASE That Card Winter Birthday by Reneé Matarese

Hello Ai fans!
Today I'm sharing my card for the CASE That Card challenge here on the Art Impressions Challenge Blog. I've chosen to imitate a card from Penny Black.


I fell in love with this card the second I saw it and I knew that I wanted to try something like it. Art Impressions to the rescue! I will link all of the Ai products I used at the bottom of the page.


This was my Mother-in-law's late January birthday card. She used to live in the north like me but hasn't been able to get back here for several years. Last time she was here she loved watching the birds at our feeders. I know she doesn't miss the cold but she misses seeing the pretty snow.


In addition to the Tombow markers listed below I also used the following colors from Marvy.
1 Black
12 Grey
32 Laurel Green
38 Oyster Grey


Thursday, January 2, 2025

Craft Time is Golden! Challenge #394

 Welcome to 2025 Art Impressions fans!

We hope you all had a wonderful, relaxing Christmas and New Year's Eve with your friends and family. Our Design Teams had the holidays off, but are back in full force with amazing inspiration for you!

Our very first challenge of 2025 is called Craft Time is Golden!
Wouldn't you all agree?


Our Featured Artist is Lynn, and you know what that means...a GORGEOUS project AND a fabulous video tutorial to go along with it.

This time we're challenging you to use gold.

Gold paper, gel pens, paint, glitter, beads, pearls, ribbon, paper clips...
you name it!

You're going to love what Lynn created, and we can't wait to see what you make!

As always, we will select one Top Spot, and one Lucky Random Winner, and BOTH will receive a free stamp set from Art Impressions. See details at the bottom of this post.

And now, without further adieu, here is Lynn with our first challenge post of 2025. 


Hello Ai Fans!!!

Watch video tutorial here!!!

I had so much fun as the featured artist for the current Art Impressions "Craft Time is Golden" Blog Challenge! This challenge is to create a card or project that incorporates something gold. It can be sequins, gems, papers, ribbons, glitters, or anything else you might like!

To get started we will begin by stamping a fun container for our flowers using the Ai Glass Containers Set (5921). Then we will add a beautiful floral bouquet from the Ai Floral Long Stem Bouquet Set (5918). In order to stamp the flowers inside the container we will need to mask off the top of the vase.

Next, let's color all of our images using the Zig Clean Color Real Brush Pens in the following colors: Blender, Lilac, Violet, Yellow, Bright Yellow, Orange, Ever Green, Lt Green, Dk Green, Turquoise Green, Sea Green, Blue Gray. Once the coloring is done, we can grab our detail scissors and cut out the design.

Using the Ai Rectangle A2 Double Stitched Dies (5063) we can die cut a large white panel for the front of the card, a smaller rectangle in some gold metallic paper for our frame, and a smaller white panel for the design. To this smaller panel we will add some interest and shimmer using the brand-new Tim Holtz Spritz in a coordinating color for each of our cards.

The other layer we will need is a beautiful diagonal border using a Diagonal Stripes Border Die Set. This will give us the perfect spot to ground our floral arrangement and add a bit more gold.

If you want to stamp a sentiment of the front of the card, this would be a good time to do that. I used the Ai Birthday Sentiments Set (5735) for my sentiments on the inside and the outside of each of the cards.

Now for the assembly, let's add some gold embroidery thread around the top of the container and die cut a metallic gold heart using the Ai Bookmarks Die Set (5223) and attach it to the center of the vase. Then we can assemble all of our layers and pop up the gold metallic frame using some 3D Foam Strips.

As a finishing touch, let's add some sparkly gold dust gems to the centers of each of the flowers and to the center of the little heart.

I hope you got inspired to add a "touch of gold" to your projects and we invite you to join us in this fun new challenge...we would love to see what you create!

Thank you so much for joining me today! Have a fun and crafty day!!!

Ai Floral Long Stem Bouquet Set (5918)

Ai Glass Containers Set (5921)

Ai Birthday Sentiments Set (5735)

Ai Rectangle A2 Double Stitched Dies (5063)

Ai Bookmark Dies (5223)

✻ Please make a new card or handmade crafty creation. You can make any item you wish; this is not limited to cards! (unless specified)

✻ Limit two submissions per person. You will receive extra votes if you use Art Impressions stamps!
 ✻Please include your first name and last initial on your submission.
✻We love to comment on your entries, but keep in mind if you use a private group or a platform that you need to sign up for, we probably won't be able to.
✻ The Ai Challenge is open to everyone, international submissions are welcome!
✻ Include a link back to the Ai Blog or grab our button on the top right of our sidebar!
✻ Share the Ai love if you can, by clicking and commenting on your fellow crafters.
✻ Make sure to get your link up by the deadline to enter your creations.
✻ Good luck and happy stamping! 

You are invited to the Inlinkz link party!

Click here to enter

Tuesday, July 2, 2024

Graduation Music Matchbook with Easel Pocket by Reneé

 Hello Ai fans!

Before I get into my post for today I have an announcement.
Be sure to check back later today for a special giveaway for my upcoming 
Art Impressions 13th Anniversary!

Today I'm sharing a special request I had for a graduation card.
I often sell my cards to friends and this was a card that one of them
wanted for a student who was graduating last month.

They requested that it have this specific picture of The Who on it and that
it be music themed.


I had just received the new 5905 – Music Shop MB and 5901 – Mini Rectangle Frame Dies
and knew they would be perfect for his request. I embossed the blue paper with stars before
cutting it with the 5317 – MB Template Dies5317 – MB Template Dies.


I then embossed the same paper with music notes before cutting that out with the
frame dies. I glued the bottom shut so her could put the MB, a little note and a gift
card inside. The sentiment is from 5735 – Birthday Sentiment Set.


The frame has an easel so that it can stand up for display.


I used the 5562 – Journal Letter Die Set to add her name to the back of the MB.


Tuesday, June 25, 2024

They say it's your birthday!

 Hello Ai fans!

I absolutely LOVE the new little frame die sets from 
Art Impressions.

All Art Impressions products are linked below.

This is the first project I made using them.

I didn't use them as they are intended but I really love that 
you have options in how you use them!


My friend's niece, Sophia, just turned 12 and she told me that she has 
really gotten into music. Some of her favorites are the Monkees, Beach Boys
and the Beatles so I incorporated them into my design.


I knew she would be giving some sort of gift like a check or gift card so I wanted
a sort of "pocket" and not just the normal MB Envelope. The new frame dies jumped
out at me.


I turned the frame upside down and glued the straight seam together.
The scallop was now at the top and made the perfect little pocket that stands
up and hold her little music room.


The Monkee and Beatle art was just printed from my laptop.


Tuesday, May 28, 2024

From Sweet to Sassy! by Reneé Matarese

 Hello Ai fans!

Today I'm sharing two very glittery cards with you.

I made them for the current All That Glitters challenge.

Be sure to enter your creation.  You just may win a free stamp set.


I used the image and two verses from 5517 – Sassy Laugh Lines.


My die cuts are from:


For my second card I went with the 5869 – Easter Bunny Puppet Set.
Since my first card was for a more..."mature" woman I wanted to do 
something appropriate for a little girl.


This fun fold is called a Diagonal Double Flap Fold.


On the inside of this one I used 5589 – Journal Pocket Die Set to create 
a gift card pocket. Maybe she will pick up some donuts for her birthday!
I also used a sentiment from 5735 – Birthday Sentiment Set.