Showing posts with label Any Occasion. Show all posts

Wednesday, April 22, 2020

Antiques Window by Niccole

Hello, Ai fans!!

I am stopping by today to share a card I made using the Antiques Window stamp set from Art Impressions.  
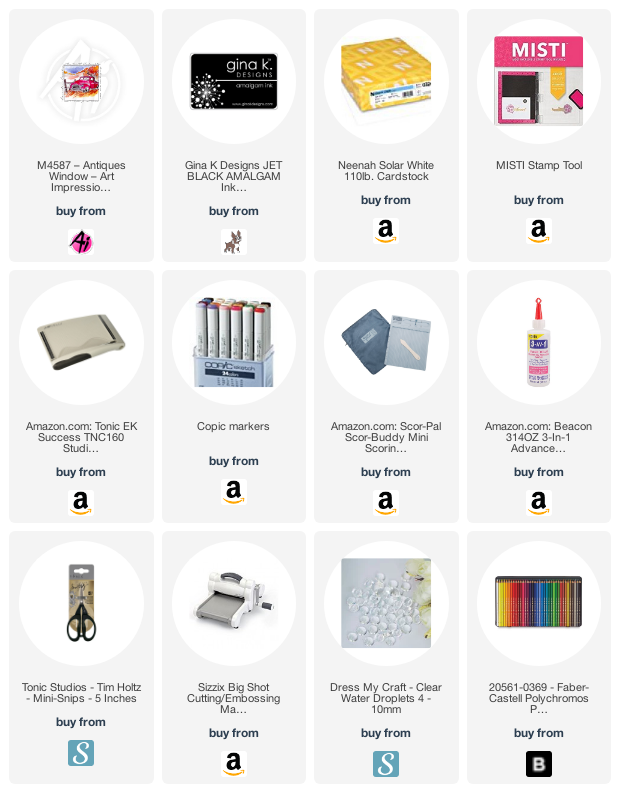
I started by adding my green striped paper to my white card base.  I added the white piece that I stamped with my Antiques Window and colored with my Faber-Castell Polychromos.  
This card came together rather quickly but I love the outcome.  I love how the truck is definitely the focal point.  Just changing the color of the truck could change the whole feel of the card.
I finished it off with some clear droplets.  I wanted the stamp to be the main focus of this card.  As the stamp says  The most valuable antiques are our oldest & dearest friends…Priceless.” How can you say much more?
Here is one more look at the finished card.  I love how it is so masculine and simple but yet says so much!  

Thank you so much for stopping by and spending a little time with me.  Make sure you come back soon to the Ai blog and see what the team has been up to.  

Colored Pencils used:
Blue - 140, 145, 146
Brown - 178, 179
Gray - 181, 199, 230, 231, 232
Green - 158, 159, 161, 162, 163, 165, 170, 173, 264, 276,
Reds - 117, 121, 192, 219, 223


Until next time ... Hugs & inky fingers!


Thursday, February 13, 2020

Twisters Release + Movers and Shakers Challenge #276

Hello, Ai Fans!

New Release Time!!! The newest addition to the Art Impressions Family will get your creative ideas moving and shaking!!!


This new interactive set features an image in an open frame that pivots to show a front and back image that is to "die" for!!!
Each set includes the stamps and dies needed for that specific image.
The Twist Frame Die is sold separately and works for all sets to create the open frame.
Variations in this series include :

Easter Twist Set
Dog Twist Set
Cake Twist Set
Floral Twist Set
Heart Twist Set
Llama Twist Set
Cat Twist Set
and
Bird Twist Set

You can shop these new sets at artimpressions.com

Now, let's see what Jil has cooked up from this new release!!

It's time for a new challenge at the Art Impressions blog!!!
Be sure the enter the Movers and Shakers Challenge (below) for your chance to win some great prizes.
There are eight new Twisters sets being released today that come with the back and front images as well as the dies to cut out both sides.  
Be sure to pick up the Twist Frame Die to cut out the opening.
It coordinates with all eight sets!!!
I am using the Floral Twist set for this tutorial.


I started by stamping the images onto Strathmore Bristol Smooth Paper with Versafine Clair Nocturne Ink.  When I stamped the images I was sure to leave room on the top and bottom of my paper for the dies.  Then I cut the images out using the matching dies.


Next, I colored them with my Zig Clean Color Real Brush markers.  I spread the color out using very little water and my #4 brush. The colors used are listed at the end of this post. I then glued the images together back to back.  They line up exactly because of the die cuts.


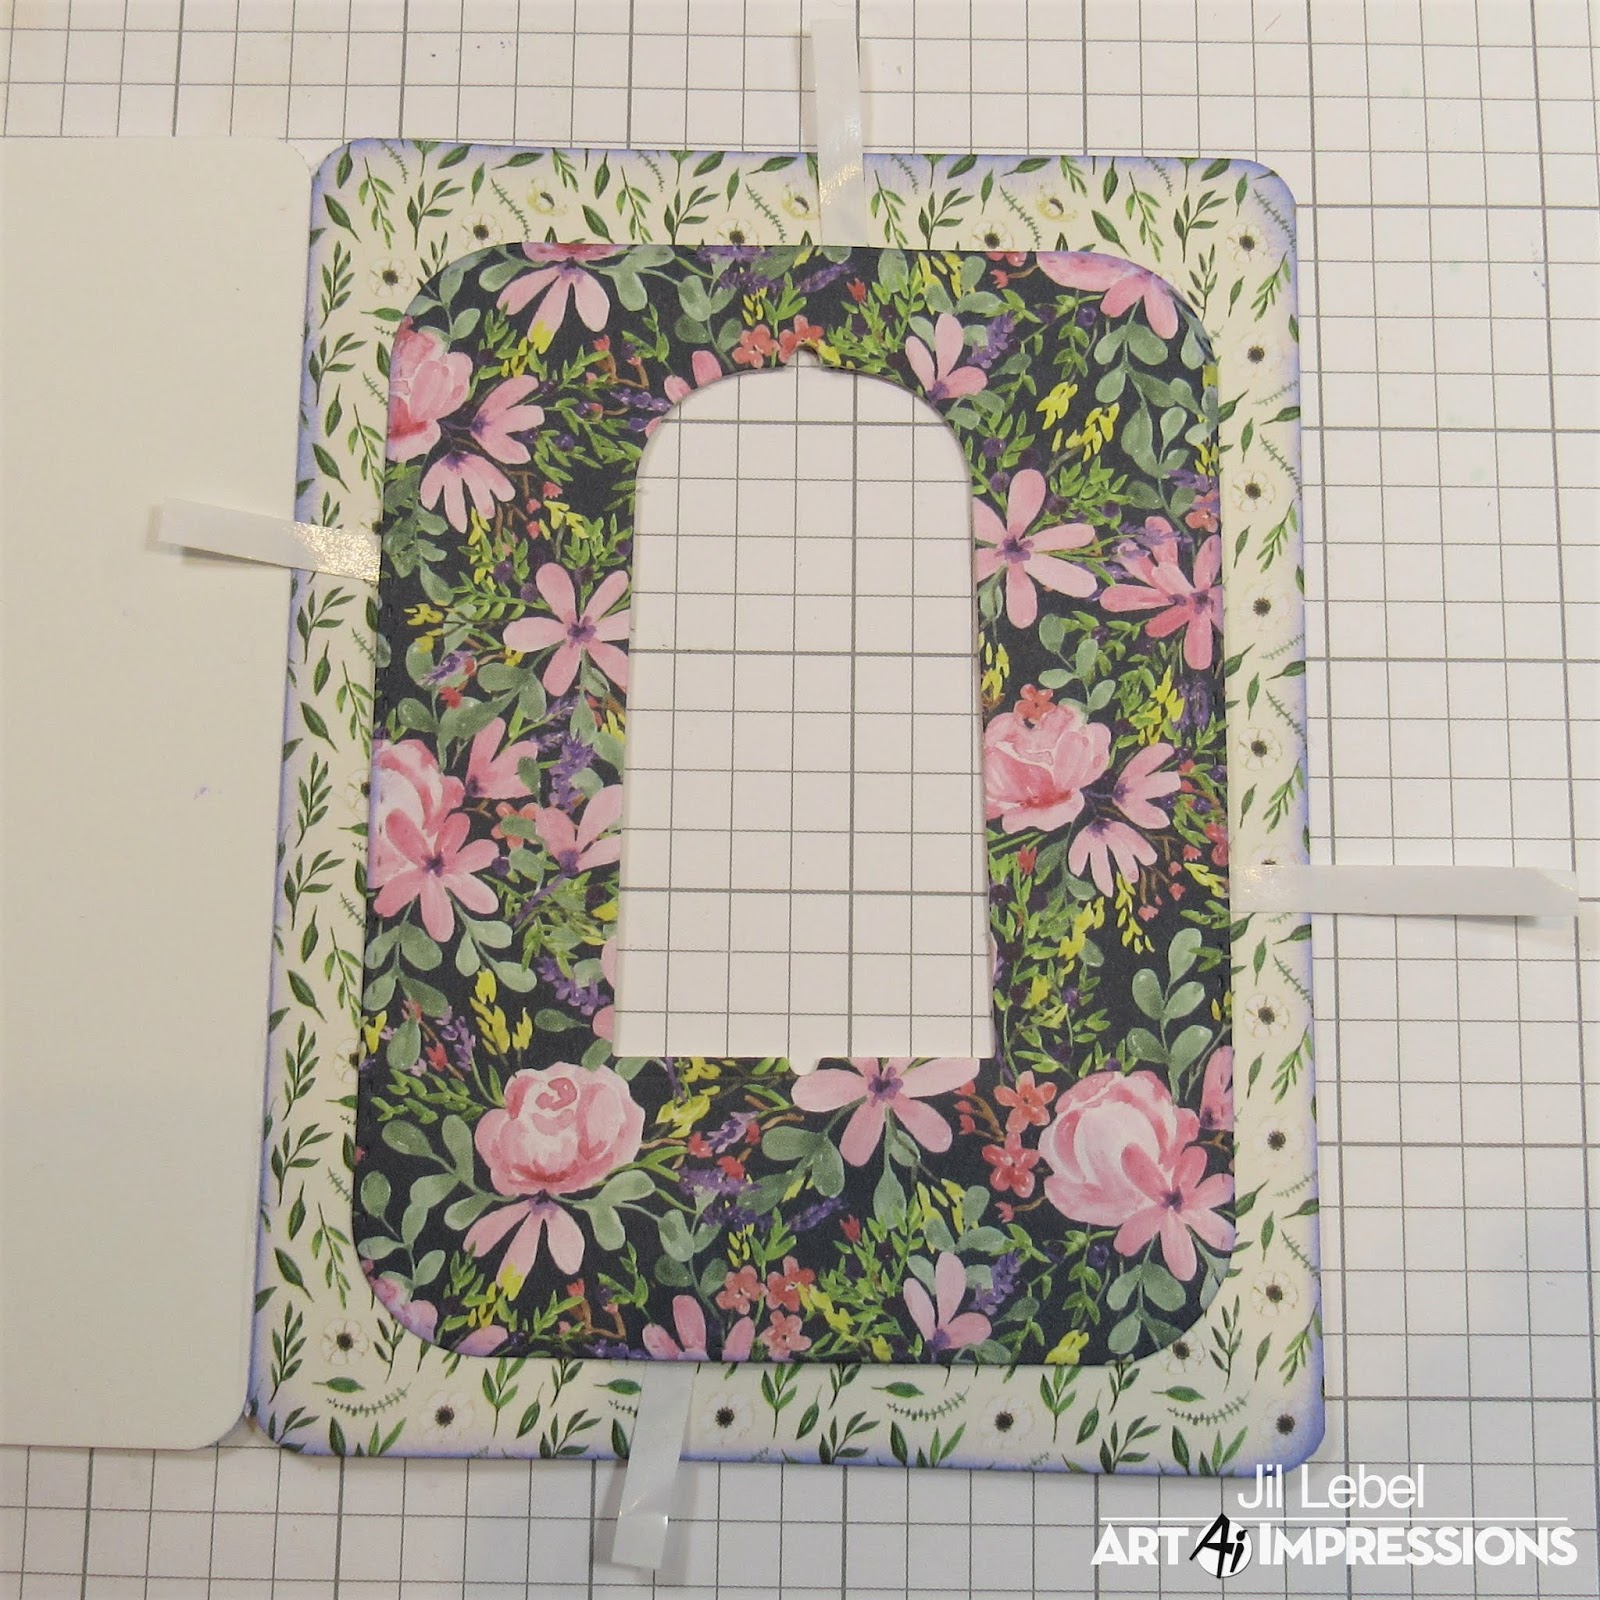
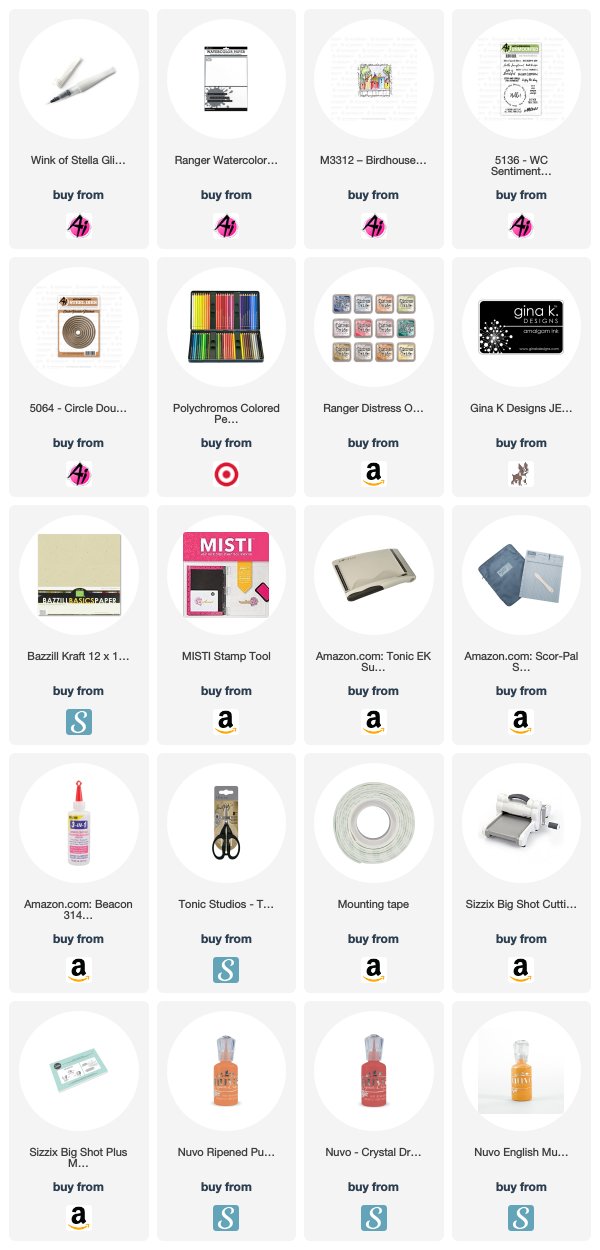
I cut a piece of patterned paper from the Carta Bella Botanical Garden 6" x 6" collection with the Rounded Rectangle A2 Double Stitched Dies.  I then cut the Twisters Die from the center of the rounded rectangle. 


I attached another piece of patterned paper from the same paper collection to an A2 card and rounded the corners with a corner chomper. I used Shaded Lilac Distress Ink on the edges of the card and the rounded rectangle.  I placed the rounded rectangle in the center of the card and placed the Twisters die back into the opening and used a pencil to gently trace the opening.  I then placed the die onto the card and cut out the opening.


I then attached the rounded rectangle piece to my card front.  I used liquid adhesive around the center and dry line adhesive around the outside.  I like to pull up part of the dry adhesive and place my layers before I commit to pulling off all of the adhesive.  That way I can still move it if it isn't in the right spot.  Once it's in the right spot, I can pull off the backing paper and attach my layers.


I wanted a small border around the opening of the twister frame.  I cut another opening with the Twisters Die onto a lighter piece of the patterned paper and left my die in place.  Then I very lightly traced the outside of the die with a pencil. I fussy cut on the pencil line and erased the pencil marks.  I used liquid adhesive to attach this around the opening.


I stamped the included greeting and cut it with the smallest Rectangle A2 Double Stitched Die. It's attached with foam tape right below the die cut opening.  I just inserted the flower images into the card opening and it moves back and forth to reveal both sides!


Zig Clean Color Real Brush Markers Used:
Flowers - 200 Sugared Almond Pink, 026 Light Pink, 080 Violet
Rose- 025 Pink
Leaves - 044 Deep Green
Vase - 083 Lilac

Thanks for stopping by and Have a Great Day!


Before we officially kickoff our next challenge, let's announce the winner from last week's 
Give It Away Challenge!!!

Top Spot goes to Irene Rhodes  who used our Coffee Gift Card Holder
to create this coffee & chocolate goodies set. 
Congrats Irene!


Contact Claire at feedback@artimpressions.com with your mailing address, and choice of 3 stamps. Well done!


New challenge ahead! What better way to celebrate our newest group of interactive sets than to see what "moves" you! This is your chance to create an interactive card that moves, shakes, dances, wiggles, or pivots! If you're looking for some inspiration, please feel free to peruse our Flutters, Mini-Shakers, Shakers, Wheelies or Wiggle Wobbles boards on our Pinterest Page.


We want to see how you create cards that move and shake! Though you can use any stamps you have, we'd love to see any Art Impressions products in your collection! Hurry, challenge closes February 26th at 5PM PT!


Here are the Challenge Rules...
✻ Please make a new card or creation. You can make any crafty item you wish; this is not limited to cards!
✻ Limit two submissions per person. You will receive extra votes if you use Art Impressions stamps!
✻ The Ai Challenge is open to everyone, international submissions are welcome!
✻ Include a link back to the Ai Blog or grab our button on the top right of our sidebar!
✻ Share the Ai love by clicking and commenting your fellow crafters.
✻ Make sure to get your link up by the deadline to enter your creations.
✻ Good luck and happy stamping!
You are invited to the Inlinkz link party!
Click here to enter


Happy Stamping!

Wednesday, November 6, 2019

Blessed & Grateful by Niccole

Hello Ai fans!!

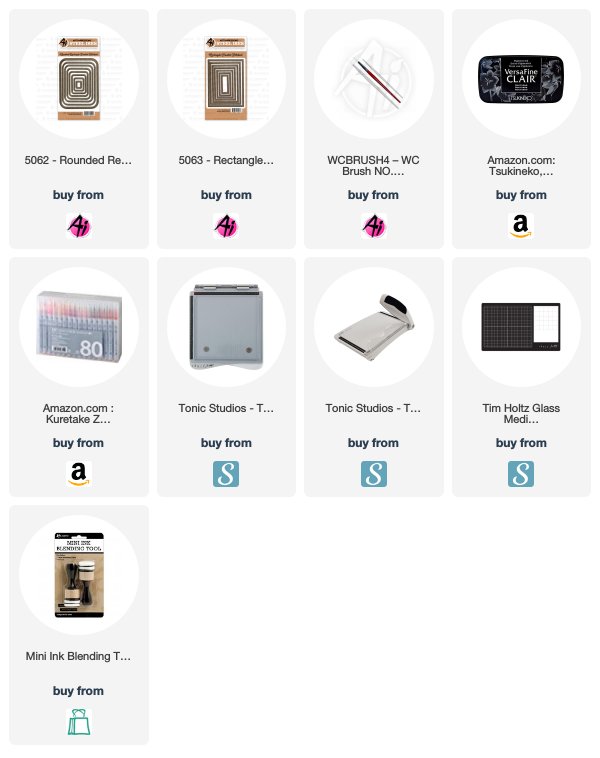
I am stopping by today to share a card I made using the Birdhouse Neighborhood, the WC Sentiment Set 2, and the Circle Double Stitch Dies
I started by stamping my Birdhouse Neighborhood stamp set on the middle of my kraft card base. I colored my image with my Polychromos colored pencils. I moved on to my watercolor piece. I started by blending my ink onto the watercolor paper.  I only used two colors and blended them to make the middle color. I cut a circle with my Circle Double Stitched Dies and glued it so it was centered onto my card base with my Birdhouse Neighborhood image showing.    
 I added Wink of Stella to the whole colored area.  I wanted to make the image pop and I figured what better way than to add Wink of Stella to it ... I mean who doesn't love a little sparkle?
As you can see in the picture above I stamped my Blessed & Grateful sentiment to my one inch banner strip I made using the WC Sentiment Set 2 . I glued down the left side of my sentiment strip and I raised the banner side up with one layer of foam tape.  I absolutely love when I can do this to an image or sentiment.  It give so much dept to the card and to my sentiment strip with hardly any effort. What do you think?  Like it? 
I finished my card off with some Crystal Nuvo Drops.  This has been my go-to embellishment lately.   I added the same three colors as my card front, I just varied the color so red wasnt on red and so forth.
Here is one more look at the full card.  I love this card can be almost anything from a miss you card, a thank you card, a friendship card, or even a new home card. 

Thank you so much for spending part of your Wednesday with me.  Please come back again soon and see what we are up to here at Art Impressions.

Faber Castell Polychromos used:

All of these are the 9201 series
Red - 121, 217
Orange - 109, 111, 115
Yellow - 107, 184
Green - 165, 168, 171, 
Blue - 140
Gray - 233, 274
Brown - 176, 177, 180, 283

Until next time ... Hugs & inky fingers!