Showing posts with label colored pencils. Show all posts

Friday, May 8, 2020

Bus-t Out All the Stops | By Jessica Shier


Hello Ai Fans!

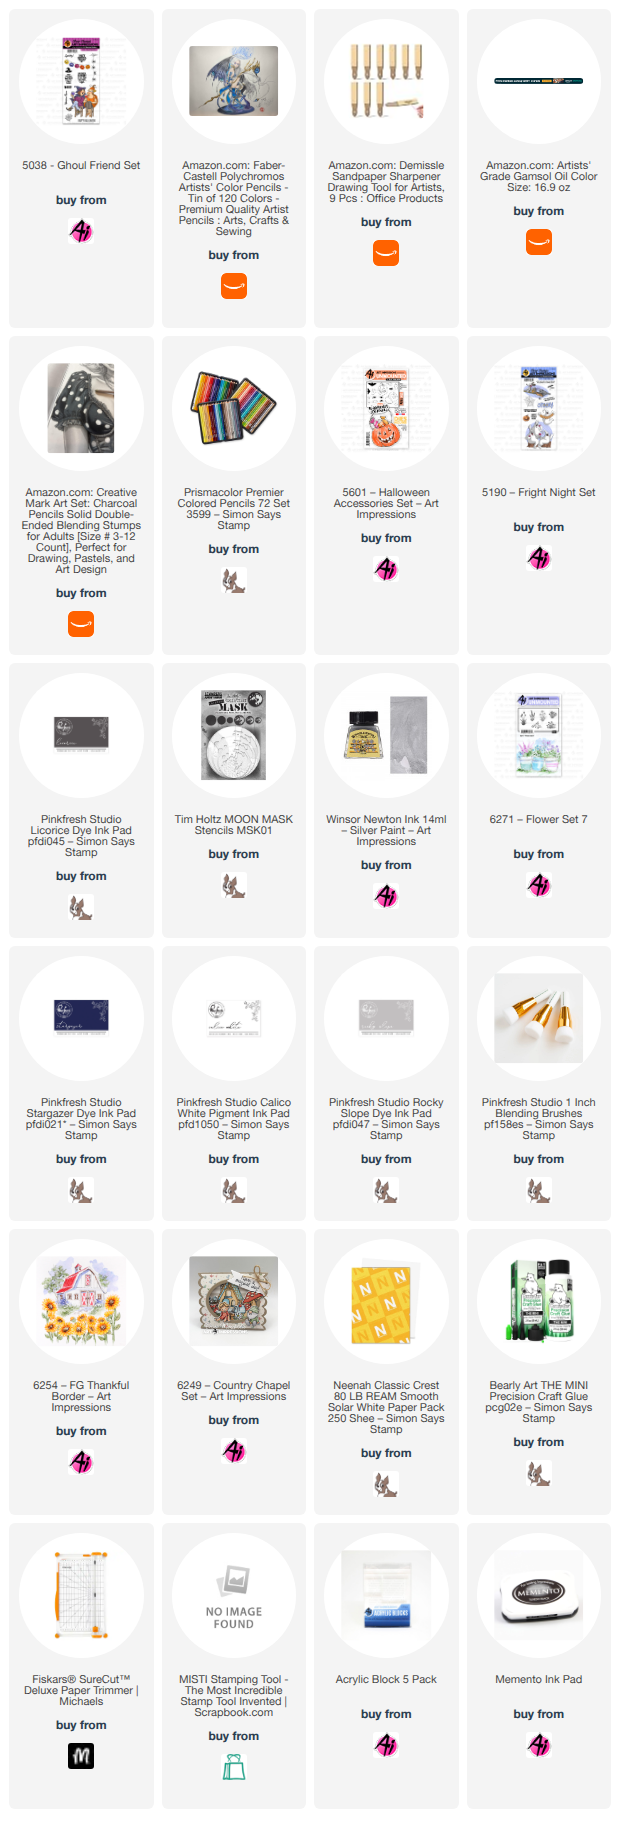
It's Jessica today. I love the whimsical fun style of this Bus Cubbie set. I also made this super easy by coloring over top of colored paper with pencils. I picked out a bunch of different colors that closely matched each animals main color. Then shaded the card stock with the colored pencils. This really made the coloring quick and it was fun working off of different colors of card stock. I did the same for the bus except the wheels. Those were easily made too. I stamped the wheel stamp on to black card stock and heat embossed with white embossing powder. After die cutting all the animals, balloons and bus I die cut the bus image again from black craft foam. This will add a even amount of dimension.


I thought the bus would be fun floating in the sky. So, I used a cloud stencil and distress ink to make a background. Black and white bakers twine is knotted around the top of the bus, these will be the balloon strings. I used dimensional circle foam to hold down the string then sticking on each stamped balloon. The sentiment I used from the Bus Cubbie set, is stamped on to a flag die cut. 


Prismacolor Pencils Used:


Thank you so much for joining me today! Happy stamping. 


Wednesday, April 22, 2020

Antiques Window by Niccole

Hello, Ai fans!!

I am stopping by today to share a card I made using the Antiques Window stamp set from Art Impressions.  
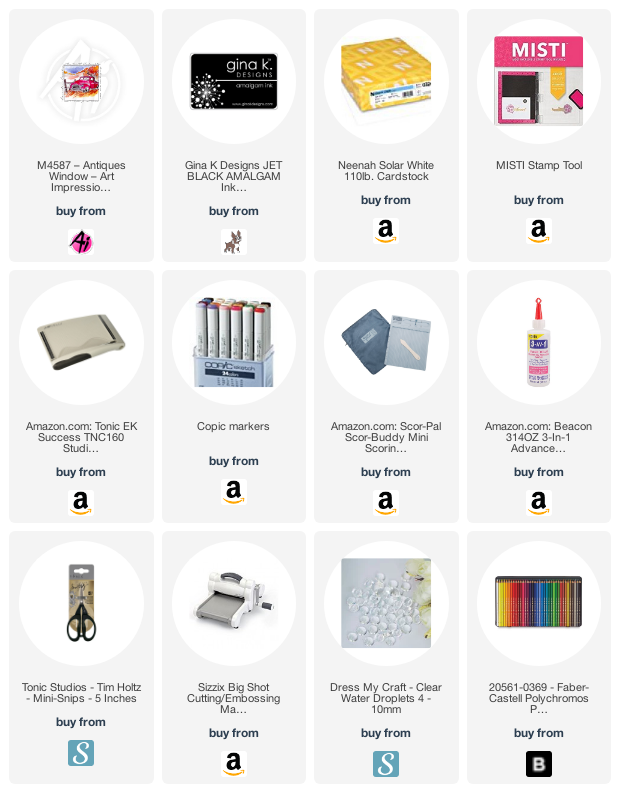
I started by adding my green striped paper to my white card base.  I added the white piece that I stamped with my Antiques Window and colored with my Faber-Castell Polychromos.  
This card came together rather quickly but I love the outcome.  I love how the truck is definitely the focal point.  Just changing the color of the truck could change the whole feel of the card.
I finished it off with some clear droplets.  I wanted the stamp to be the main focus of this card.  As the stamp says  The most valuable antiques are our oldest & dearest friends…Priceless.” How can you say much more?
Here is one more look at the finished card.  I love how it is so masculine and simple but yet says so much!  

Thank you so much for stopping by and spending a little time with me.  Make sure you come back soon to the Ai blog and see what the team has been up to.  

Colored Pencils used:
Blue - 140, 145, 146
Brown - 178, 179
Gray - 181, 199, 230, 231, 232
Green - 158, 159, 161, 162, 163, 165, 170, 173, 264, 276,
Reds - 117, 121, 192, 219, 223


Until next time ... Hugs & inky fingers!


Friday, April 10, 2020

Oopsie Daisy Birthday Card with Colored Pencils | By Jessica Shier

Hello Ai Fans!

It's Jessica here on the blog today and I'm back with another floral card. These Scrapbook.com exclusives have been really fun to work with. This time I have a card using the Daisy set. I just love Daisy's. I've said for a long time now that they are probably the most happy flower out there. They always make me smile. This punny sentiment is just to cute paired with this gorgeous bunch.


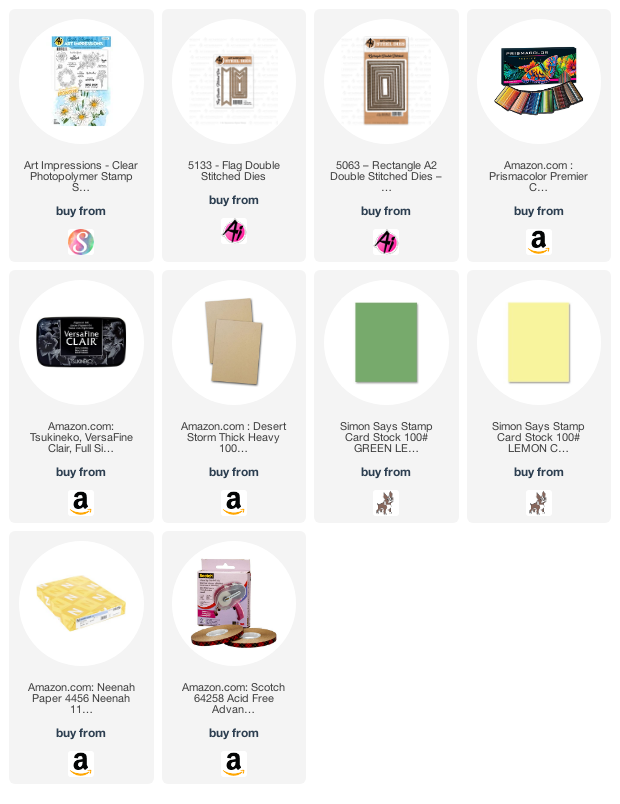
I'm using Prismacolor pencils on Kraft card stock for this card. I started by stamping the daisy bunch onto the center then stamped the two littler daisys on either side. I used Versafine Claire Nocturne ink for this. I'm coloring all the daisys with the white colored pencil, then adding in a hint of a French Gary and Warm Gray for contrast and shading.


I used one of the Art Impressions Rectangle Double Stitch dies to trim out my coloring. This is backed with a bright green card stock that matches the stems. The sentiment is also stamped with the same ink as the daisies but onto a piece of light yellow card stock. Then die cut using the double ended flag from the Flag die set.


before adding the sentiment I used several more colored pencils, the list is below, to create a cloudy back scene. The inside is kept simple of course with a tiny bit of coloring of two more daisies. One of which has a fabulous sentiment. 


Prismacolor Pencils used

PC938 White
PC1070 10% French Gray
PC1054 50% Warm Gray
PC915 Lemon Yellow
PC916 Canary Yellow
PC989 Chartreuse
PC913 Spring Green
PC1096 Kelly Green
PC1086 Sky Blue Light
Pc1088 Muted Turquoise

Thanks for stopping by today. Happy Stamping!


Wednesday, November 6, 2019

Blessed & Grateful by Niccole

Hello Ai fans!!

I am stopping by today to share a card I made using the Birdhouse Neighborhood, the WC Sentiment Set 2, and the Circle Double Stitch Dies
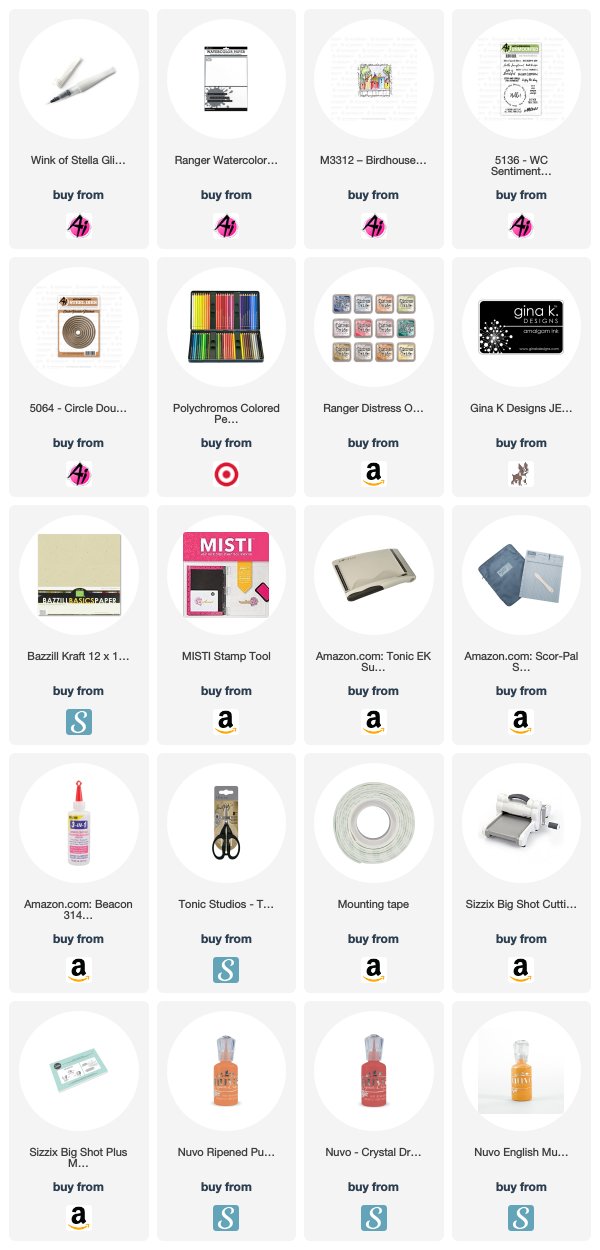
I started by stamping my Birdhouse Neighborhood stamp set on the middle of my kraft card base. I colored my image with my Polychromos colored pencils. I moved on to my watercolor piece. I started by blending my ink onto the watercolor paper.  I only used two colors and blended them to make the middle color. I cut a circle with my Circle Double Stitched Dies and glued it so it was centered onto my card base with my Birdhouse Neighborhood image showing.    
 I added Wink of Stella to the whole colored area.  I wanted to make the image pop and I figured what better way than to add Wink of Stella to it ... I mean who doesn't love a little sparkle?
As you can see in the picture above I stamped my Blessed & Grateful sentiment to my one inch banner strip I made using the WC Sentiment Set 2 . I glued down the left side of my sentiment strip and I raised the banner side up with one layer of foam tape.  I absolutely love when I can do this to an image or sentiment.  It give so much dept to the card and to my sentiment strip with hardly any effort. What do you think?  Like it? 
I finished my card off with some Crystal Nuvo Drops.  This has been my go-to embellishment lately.   I added the same three colors as my card front, I just varied the color so red wasnt on red and so forth.
Here is one more look at the full card.  I love this card can be almost anything from a miss you card, a thank you card, a friendship card, or even a new home card. 

Thank you so much for spending part of your Wednesday with me.  Please come back again soon and see what we are up to here at Art Impressions.

Faber Castell Polychromos used:

All of these are the 9201 series
Red - 121, 217
Orange - 109, 111, 115
Yellow - 107, 184
Green - 165, 168, 171, 
Blue - 140
Gray - 233, 274
Brown - 176, 177, 180, 283

Until next time ... Hugs & inky fingers!

Friday, March 8, 2019

Sending Smiles By Jessica Shier

Hello Ai Fans!

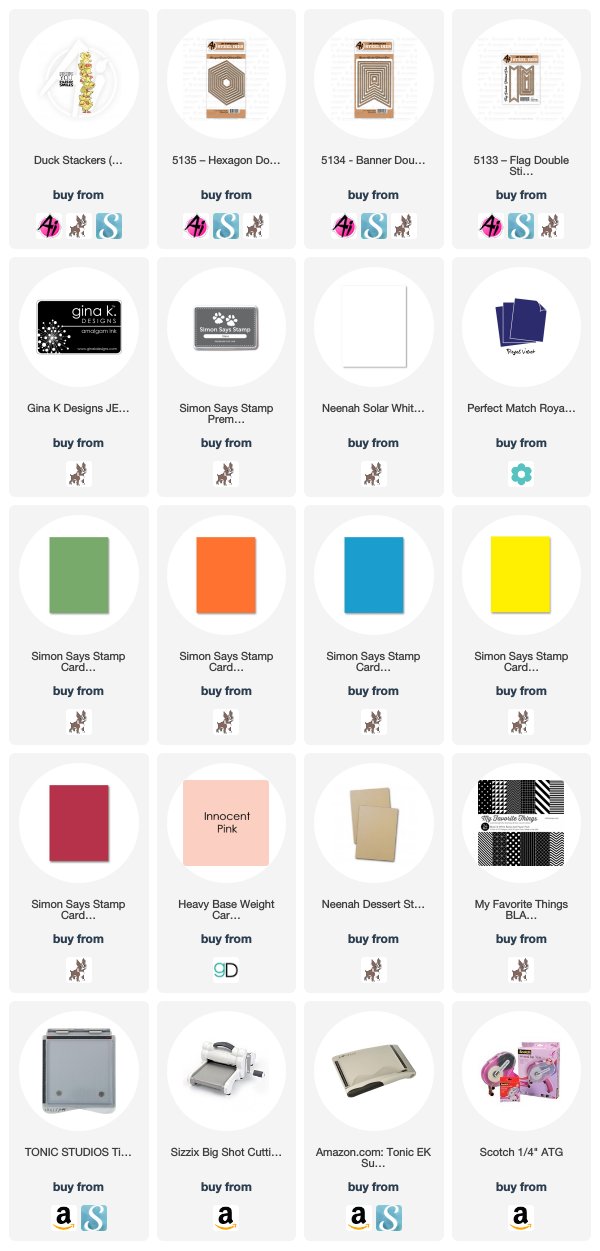
Today I'm sharing a no line colored pencil card. I used the very cute Duck Stackers set along with several of the fantastic Art Impressions dies. I hope the rainbow colored ducks bring a smile to your face today!


I stamped the ducks from the Duck Stacker set with a light gray ink, then started coloring. I decided to make this a rainbow card so I picked out some Colored Pencils that would match the cardstock I wanted to use for the rainbow banners. I have a list of the pencils I used below. I colored these on Kraft cardstock which really makes these colors stand out. 


After the coloring, I did A LOT of die cutting. Using the largest Hexagon from the versatile Double Hexagon Stitched Die set, I used it to add the stitching on the top on bottom of the colored duck strip. Then for the black and white stripe pattern paper and one large white hexagon as the backing.


After the hexagon die cuts I used one of the Flag Double Stitched dies to cut the cardstock that I had already selected to match the ducks. I stacked these so that the middle was on top and that the points of the banner met up with the large white hexagon die cut. I add all those items to a Kraft cardstock card base. 
For the sentiment I simply used the 3rd to smallest die from the Banner Double Stitched using white cardstock and stamping the sentiment from the Ducks Stackers set. 


Prismacolor Pencils Used:
PC1077 Colorless Blender
PC938 White
PC925 Crimson Lake, PC923 Scarlet Lake, PC122 Permanent Red
PC1033 Mineral Orange, PC1032 Pumpkin Orange
PC917 Sunburst Yellow, PC915 Lemon Yellow
PC1096 Kelly Green, PC913 Spring Green, PC989 Chartreuse
PC1100 China Blue. PC903 True Blue
PC931 Dark Purple. PC956 Lilac
PC994 Process Red, PC993 Hot Pink, PC928 Blue Pink
PC1054 50% Warm Gray, PC1050 10% Warm Gray
Prismacolor Fine liner 0.03 (for facial details)

Thank you so much for stopping by today! Happy Stamping!


Tuesday, January 30, 2018

Fuzzy Valentine Bear by Jil Lebel

Hello Ai fans!

As soon as I saw the adorable Valentine Bear stamp set 5005 I knew that I wanted to try to make a bear fuzzy.  I decided I would need to do this with my Prismacolor colored pencils. They would allow me to get the tiny details I needed for fur. It took some patience, but my vision was realized.


I stamped the standing bear onto white paper with Onyx Black Versafine ink. I started coloring the bears head first.  I applied my pencil in tiny flicks working dark to light colors and working my way to the inside of the sections I was working on.  Once I was finished with my first layer, I added a second layer in the same fashion.  I also added fur to the paws and legs.  I added color to the muzzle and tummy in a different way.  I used very light circular strokes starting with the darkest colors and working my way to the inside of the sections I was working on. I also colored the hearts and the shirt using light circular strokes to apply my pencils. Some of the details on the face were lost so I trace them with the black pencil.  I also went over the eyes and nose with the Sakura black glaze pen. Pencil colors will be listed below.


Prismacolor pencils used:
Bear - Black,Dark Umber, Sienna Brown, Brown Ochre, Yellow Ochre, Jasmine, Creme
Shadow - French Grey 70%, 50%, 20% , Warm Grey 100%
Hearts - Nector, Henna
Shirt - Parrot Green

Thanks for stopping by and Have a Great Day!


Wednesday, August 26, 2015

Twick or Tweet! By Dana Warren

Hello AI fans!!

Dana here, sharing a Halloween card for you! Fall is right around the corner and so is Halloween!! 


I started by die cutting a fancy rectangle from white card stock. Then i stamped the Tweeter stamp set. I just love the guy or gal dressed up in the bird costume! The sentiment is cute too!! I used my Spectrum Noir Colored Pencils to color the image. 


Then i cut a smaller fancy rectangle and stamped the sentiment on it. I set that and the colored image to the side to work on my background.


I used long thin triangle die to cut out some Halloween pattern paper. I used three different pattern papers and placed them on an orange card base. Once i was happy with the placement i used liquid glue to adhere the triangles down. Then i trimmed off the over hang.


Next i added the stamped image and sentiment to the card with foam tape and last added a few orange buttons.

Thanks for stopping by!! Happy Stamping!!


Wednesday, September 3, 2014

Birthday Birdie by Sherry Eckblad

Hello Ai Fans, Sherry here today sharing a fun card using one of my favorite animals. 

Meet Birthday Birdie (sku1863)! For those that don't know me I love chickens and roosters and have several kinds in my kitchen and others randomly placed around the house. (these are not real chickens/roosters in case you were wondering)


For this card I pulled out my color pencils and did a quick coloring of the image. Then I created a mask of the image and placed it over the image so I could quickly add some butter bar ink to the stencil. Once that was complete I added some alpha stickers from my stash to create the sentiment and then I placed it on the card using foam dots. I added a touch of glossy accents to the balloon for a little dimension.

That's it for me today. Make sure you check back here tomorrow as we are introducing some new images to you.