Hello Ai fans!
Welcome to our November Monthly Challenge.
This month we have the amazing Sara Furr as our Guest Designer.

Happy November dearest AI fans! I want to start out by thanking Bonnie and Renée for giving me this opportunity to guest design for Art Impressions this past year. It has been so much fun creating for all of you. I also want to thank all of you fans and fellow crafters that have supported me, thank you from the bottom of my heart!


I have created 2 totally different themed creations for you this month.... a Faith inspired card, and a fall card.

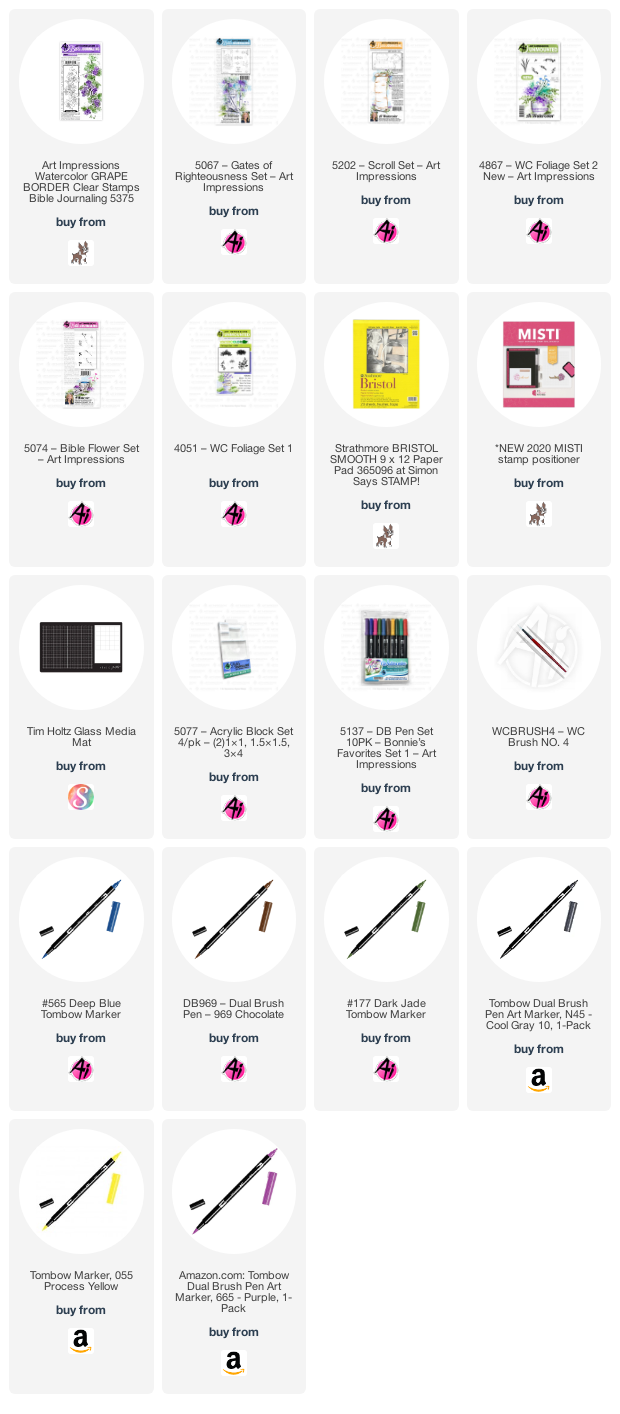
I am going to start off with the Faith inspired creation that uses the following products:
[ ] 5420- Frameworks set 1
[ ] 5419- Bible Icons
[ ] 5417- Frameworks Sentiments
[ ] 6082- Bible Journaling S1 paper pack
[ ] 5008-Flower set 3
[ ] 5418-Bible Foliage set 2
[ ] 4876- Wooden Chair Mini set
[ ] 6047-Scallop Square die set
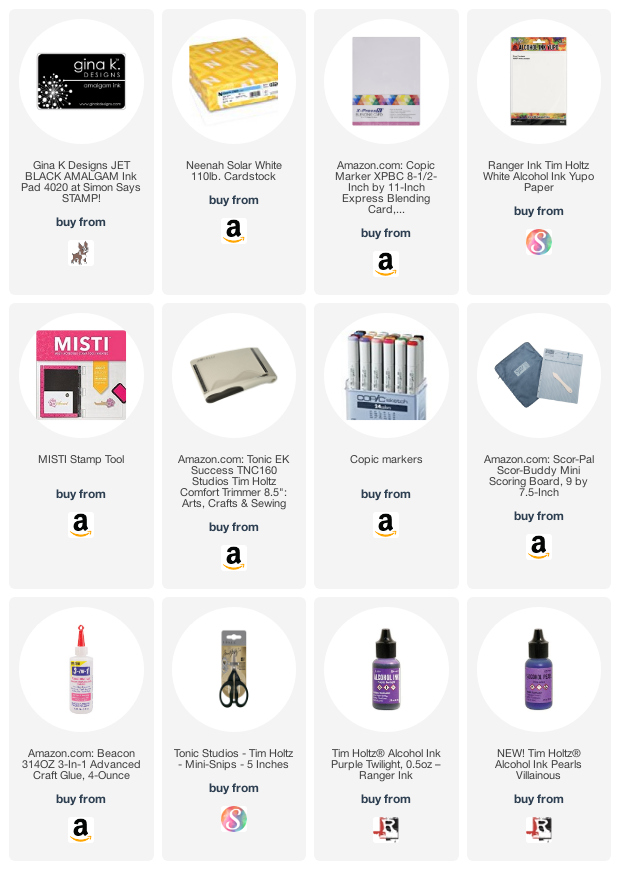
[ ] Memento Tuxedo Black ink pad
[ ] Versafine Onyx Black ink pad
[ ] Ohuhu markers:
Black120, BG042, BG038, WG170, WG180, WG150, E288, E340, E357, E191
[ ] Stampin' Blends markers: L & D Soft Seafoam
[ ] Stampin' Write markers: Island Indigo, Orchid Oasis, Pear Pizzazz, Old Olive, Mossy Meadow
[ ] Wink of Stella glitter pen
[ ] Wide White Cotton Lace trim
[ ] Clear and Opal bubble gems

So, to start, I stamped the grapevine wreath from the "Frameworks set 1" stamp set with Memento Tuxedo Black ink and colored it in with E288, E340, E357 and then added the bird on the branch from "Bible Icons" set. I colored the Chickadee with Black120, WG180, WG170, and WG150Then I stamped a leafy branch from the "Bible Foliage "set randomly around the wreath with Pear Pizzazz dye ink marker, as well as the "lavender heads" from the "Wooden Chair" mini set in Mossy Meadow, stamping up to 4 generations and extending to make my wreath nice and full. I stamped the flowers from "Flower set 2" in Island Indigo, and the flower heads from "Wooden Chair" set in Orchid Oasis, the stems are inked in Old Olive. I then went around all the foliage with the Soft Seafoam alcohol markers to blend my greens and give a sort of "faux watercolor" look to it. When that was all dry, I stamped the sentiment with Versafine Black and then as a final touch, I added some Wink of Stella glitter pen to the wings of the bird. I then die cut the whole image with the largest Scallop square die turned so it will look like a diamond shape in the center of my square card base, and then I added fun foam to the back for dimension.

To assemble my card I created a 5 1/2" square panel from the light blue polka dot pattern paper from the "Bible Journaling S1 Paper pack, and matted it with a 5 3/4" coordinating purplish blue cardstock. I distressed the edges or both panels with the edges of a scissors to give them a shabby chic distressed look, and then adhered them together, and then to my white card base that is 6x6. I adhered 2 pieces of white lace back to back to the center of my panel and then added my focal piece popped up on top in a diamond shape. I added some bubble gems to each corner for added interest, and draw your eye around the card face.

I created the inside following the same technique, but I only used the bird on the branch and just created a "swag" of sorts.
This project was a ton of stamping, but I had so much fun playing around designing my wreath and swag.
*** Here is a little tip.... if you want to create your own wreath, but aren't sure how the flowers, foliage, or colors of ink will look together....stamp your wreath on your cardstock inside your stamping tool (MISTI) and then place a piece of clear acetate over the image and start "practice stamping" your design in the colors you want and see how it looks. If you like it, then just remove the clear acetate and re-stamp the images onto the actual cardstock to create your image. That is how I built up each layer of stamping so that I was sure it would look the way I wanted it to.

Now, on to my second creation, which is a fall card using the following products:
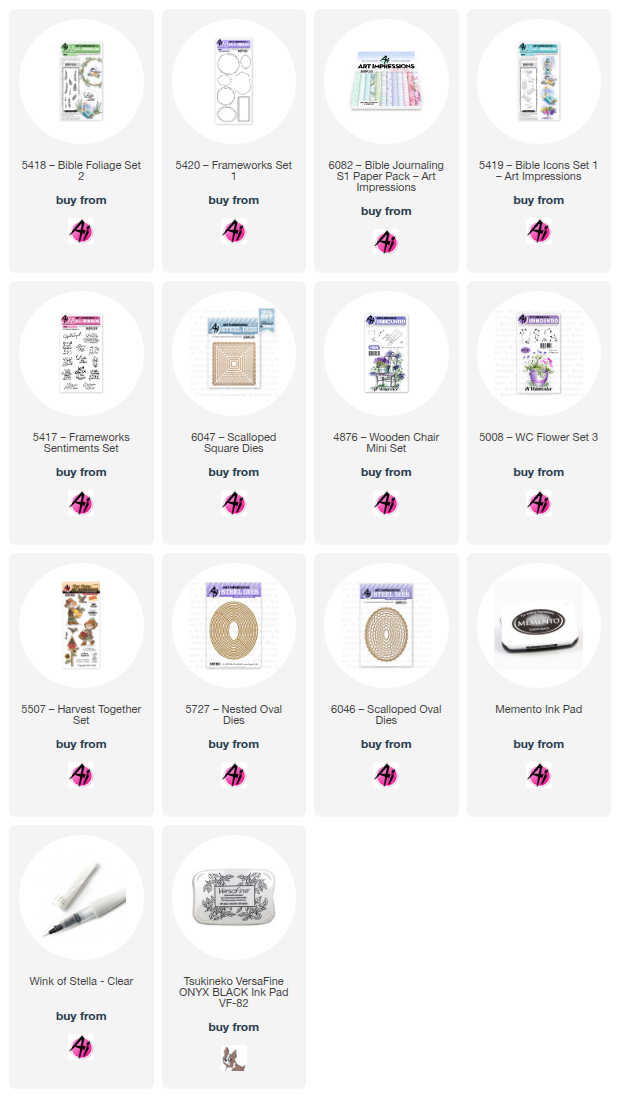
[ ] 5507- Harvest Together stamp set
[ ] 6046- Scallop Ovals
[ ] 6047-Scallop Squares
[ ] Oval dies
[ ] Memento Tuxedo Black ink pad
[ ] Versafine Onyx Black ink pad
[ ] Ohuhu Markers:
R193, R865, R872, R586, R588, YR792, Y696, E679, E357, E280, E288, E191, E340, WG180, WG150, MG109, MG069, MG170, G554, G483
[ ] COPIC markers- B0000, N1
[ ] Distress inks: Vintage Photo, Gathered Twigs, Ground Espresso
[ ] Wink of Stella
[ ] Wide Cream Colored Lace trim
[ ] Burgundy colored self-adhesive pearls

I began by stamping the sweet little Scarecrow boy holding the pumpkin on white cardstock with Memento Tuxedo Black ink, and then I stamped the crow sitting atop his hat. I colored the image with the alcohol markers listed and then stamped the sentiment with Versafine Black ink. I added some Wink of Stella glitter pen to the wings of the crow. I cut out my focal piece with a large Oval die and then ink blended Vintage Photo and Gathered Twigs Distress Inks around the outside edge. I adhered that to the largest Scallop Oval die. I then created my dark brown 6x6 card base and blended some Ground Espresso Distress ink around the outside edge. Then I created to panels.... a burgundy mat and an orangey fall dsp panel and I blended Gathered Twigs Distress ink around the edges of both panels and then distressed the edges with the edge of a scissors.
**This is one of my favorite ways to not only add softness, but also some wonderful texture. You should try it!

I layered both mats together and added my pretty cream colored cotton lace trim to the bottom half of the panel, wrapping the tails around the edges and adhering to the back, and then I added fun foam to the back of that whole panel and adhered it to my card base. I added some strips of foam tape above and just below the lace where I wanted to place my focal piece so that it would all lay the same and my Oval wouldn't lay all wonky with the middle pushed up where the lace is. This makes everything the same dimension. I added burgundy self-adhesive pearls in the corners to drawn eye around the card.

To create the inside, I die cut the largest Scallop Square die out of white cardstock and while the cardstock was still inside the die I blended some Vintage Photo Distress ink around the inside of the die edge and then removed the cardstock from the die and then stamped the flying crow with Memento ink, and colored with alcohol markers, and again added some Wink of Stella to the wings. I stamped the sentiment below him with Versafine Onyx black ink. I layered that focal piece onto another piece of the fall pattern paper I used on the front. I did more inking around the edges of that and then adhered everything to the inside of the card base.
I love to make sure that the insides of my cards coordinate, and look almost as pretty as the outsides. 
And that wraps up my tutorial for today my friends! I hope that you liked my creations and hopefully they inspire you to create something if you have these stamp sets. If you did find my creations inspiring and you create something, please tag me on social media :
IG- @sarae.furr_thecraftyfarmchick
Facebook- Sara Furr- The Crafty Farm Chick
because I would LOVE to see what you create! Nothing makes me happier than knowing that I inspired someone.
Thank you all so very much and I hope you all have a blessed Thanksgiving and Christmas, and a very happy New Year! Blessings to you all .....
.....
.....Love, Sara
We have our winners from our October Challenge.
The first number to come up was 2, and then 8.
Diana S. wins a free stamp set from Art Impressions.

Diana, please contact Leah at Feedback@artimpressions.com to
claim your stamp set.
Barb E. is the winner of a freebie from me.

Please email me at Renee@artimpressions.com with your full name and address and I'll send you a photo of the freebies I have available for you to choose from.