Showing posts with label Frameworks Set 1. Show all posts

Saturday, November 1, 2025

November 2025 Monthly Challenge with Sara Furr

 Hello Ai fans!

Welcome to our November Monthly Challenge.

This month we have the amazing Sara Furr as our Guest Designer.


Happy November dearest AI fans! I want to start out by thanking Bonnie and Renรฉe for giving me this opportunity to guest design for Art Impressions this past year. It has been so much fun creating for all of you. I also want to thank all of you fans and fellow crafters that have supported me, thank you from the bottom of my heart!

I have created 2 totally different themed creations for you this month.... a Faith inspired card, and a fall card. 


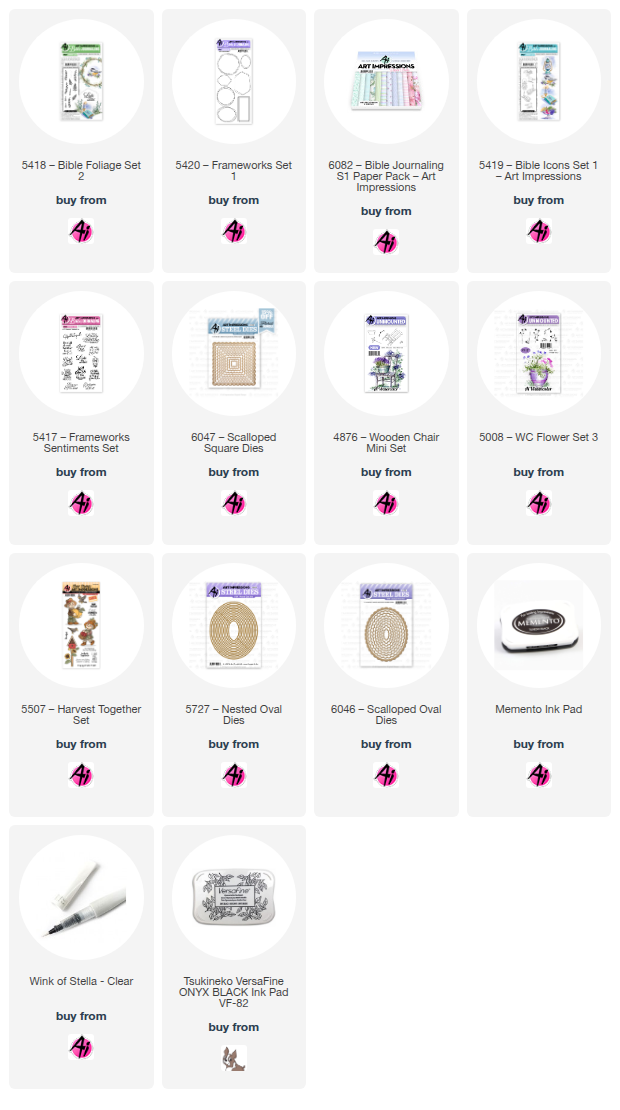
I am going to start off with the Faith inspired creation that uses the following products:
[ ] 5420- Frameworks set 1
[ ] 5419- Bible Icons
[ ] 5417- Frameworks Sentiments 
[ ] 6082- Bible Journaling S1 paper pack
[ ] 5008-Flower set 3
[ ] 5418-Bible Foliage set 2
[ ] 4876- Wooden Chair Mini set
[ ] 6047-Scallop Square die set
[ ] Memento Tuxedo Black ink pad 
[ ] Versafine Onyx Black ink pad 
[ ] Ohuhu markers:
Black120, BG042, BG038, WG170, WG180, WG150, E288, E340, E357, E191
[ ] Stampin' Blends markers: L & D Soft Seafoam 
[ ] Stampin' Write markers: Island Indigo, Orchid Oasis, Pear Pizzazz, Old Olive, Mossy Meadow
[ ] Wink of Stella glitter pen
[ ] Wide White Cotton Lace trim
[ ] Clear and Opal bubble gems


So, to start, I stamped the grapevine wreath from the "Frameworks set 1" stamp set with Memento Tuxedo Black ink and colored it in with E288, E340, E357 and then added the bird on the branch from "Bible Icons" set. I colored the Chickadee with Black120, WG180, WG170, and WG150Then I stamped a leafy branch from the "Bible Foliage "set randomly around the wreath with Pear Pizzazz dye ink marker, as well as the "lavender heads" from the "Wooden Chair" mini set in Mossy Meadow, stamping up to 4 generations and extending to make my wreath nice and full. I stamped the flowers from "Flower set 2" in Island Indigo, and the flower heads from "Wooden Chair" set in Orchid Oasis, the stems are inked in Old Olive. I then went around all the foliage with the Soft Seafoam alcohol markers to blend my greens and give a sort of "faux watercolor" look to it. When that was all dry, I stamped the sentiment with Versafine Black and then as a final touch, I added some Wink of Stella glitter pen to the wings of the bird. I then die cut the whole image with the largest Scallop square die turned so it will look like a diamond shape in the center of my square card base, and then I added fun foam to the back for dimension.


 To assemble my card I created a 5 1/2" square panel from the light blue polka dot pattern paper from the "Bible Journaling S1 Paper pack, and matted it with a 5 3/4" coordinating purplish blue cardstock. I distressed the edges or both panels with the edges of a scissors to give them a shabby chic distressed look, and then adhered them together, and then to my white card base that is 6x6. I adhered 2 pieces of white lace back to back to the center of my panel and then added my focal piece popped up on top in a diamond shape. I added some bubble gems to each corner for added interest, and draw your eye around the card face.


 I created the inside following the same technique, but I only used the bird on the branch and just created a "swag" of sorts.

 This project was a ton of stamping, but I had so much fun playing around designing my wreath and swag.

*** Here is a little tip.... if you want to create your own wreath, but aren't sure how the flowers, foliage, or colors of ink will look together....stamp your wreath on your cardstock inside your stamping tool (MISTI) and then place a piece of clear acetate over the image and start "practice stamping" your design in the colors you want and see how it looks. If you like it, then just remove the clear acetate and re-stamp the images onto the actual cardstock to create your image. That is how I built up each layer of stamping so that I was sure it would look the way I wanted it to.


Now, on to my second creation, which is a fall card using the following products:
[ ] 5507- Harvest Together stamp set
[ ] 6046- Scallop Ovals
[ ] 6047-Scallop Squares
[ ] Oval dies
[ ] Memento Tuxedo Black ink pad 
[ ] Versafine Onyx Black ink pad
[ ] Ohuhu Markers:
R193, R865, R872, R586, R588, YR792, Y696, E679, E357, E280, E288, E191, E340, WG180, WG150, MG109, MG069, MG170, G554, G483
[ ] COPIC markers- B0000, N1
[ ] Distress inks: Vintage Photo, Gathered Twigs, Ground Espresso
[ ] Wink of Stella
[ ] Wide Cream Colored Lace trim
[ ] Burgundy colored self-adhesive pearls


I began by stamping the sweet little Scarecrow boy holding the pumpkin on white cardstock with Memento Tuxedo Black ink, and then I stamped the crow sitting atop his hat. I colored the image with the alcohol markers listed and then stamped the sentiment with Versafine Black ink. I added some Wink of Stella glitter pen to the wings of the crow. I cut out my focal piece with a large Oval die and then ink blended Vintage Photo and Gathered Twigs Distress Inks around the outside edge. I adhered that to the largest Scallop Oval die. I then created my dark brown 6x6 card base and blended some Ground Espresso Distress ink around the outside edge. Then I created to panels.... a burgundy mat and an orangey fall dsp panel and I blended Gathered Twigs Distress ink around the edges of both panels and then distressed the edges with the edge of a scissors. 

**This is one of my favorite ways to not only add softness, but also some wonderful texture. You should try it! 


I layered both mats together and added my pretty cream colored cotton lace trim to the bottom half of the panel, wrapping the tails around the edges and adhering to the back, and then I added fun foam to the back of that whole panel and adhered it to my card base. I added some strips of foam tape above and just below the lace where I wanted to place my focal piece so that it would all lay the same and my Oval wouldn't lay all wonky with the middle pushed up where the lace is. This makes everything the same dimension. I added burgundy self-adhesive pearls in the corners to drawn eye around the card. 


To create the inside, I die cut the largest Scallop Square die out of white cardstock and while the cardstock was still inside the die I blended some Vintage Photo Distress ink around the inside of the die edge and then removed the cardstock from the die and then stamped the flying crow with Memento ink, and colored with alcohol markers, and again added some Wink of Stella to the wings. I stamped the sentiment below him with Versafine Onyx black ink. I layered that focal piece onto another piece of the fall pattern paper I used on the front. I did more inking around the edges of that and then adhered everything to the inside of the card base.

I love to make sure that the insides of my cards coordinate, and look almost as pretty as the outsides. ๐Ÿ™‚

And that wraps up my tutorial for today my friends! I hope that you liked my creations and hopefully they inspire you to create something if you have these stamp sets. If you did find my creations inspiring and you create something, please tag me on social media : 
IG- @sarae.furr_thecraftyfarmchick
Facebook- Sara Furr- The Crafty Farm Chick

 because I would LOVE to see what you create! Nothing makes me happier than knowing that I inspired someone. 

Thank you all so very much and I hope you all have a blessed Thanksgiving and Christmas, and a very happy New Year! Blessings to you all๐Ÿ˜˜๐Ÿ˜˜๐Ÿ˜˜.....
Love, Sara


We have our winners from our October Challenge.

The first number to come up was 2, and then 8.

Diana S. wins a free stamp set from Art Impressions.


 Diana, please contact Leah at Feedback@artimpressions.com to 
claim your stamp set.


Barb E. is the winner of a freebie from me.


Please email me at Renee@artimpressions.com with your full name and address and I'll send you a photo of the freebies I have available for you to choose from.


You are invited to the Inlinkz link party!

Click here to enter

Friday, December 10, 2021

Owl Be Yours For Christmas Cards by Tasha!

Happy Friday Ai Fans!
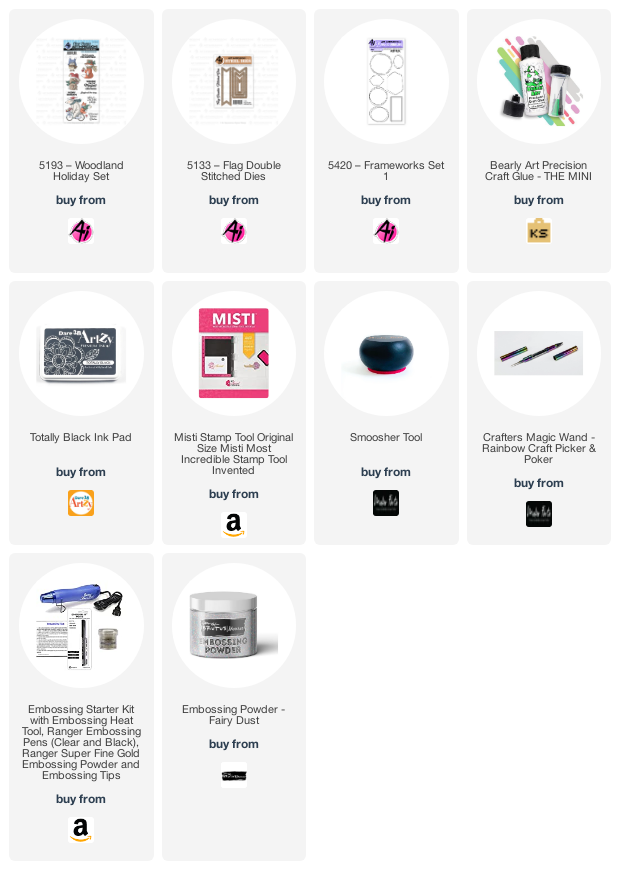
Tasha here sharing two holiday cards created with the super cute 5193 -Woodland Holiday Set!


The first card is super sparkly and uses different shades of green. I stamped the little owl on to white card stock and colored it with Copic Markers. I used Distress Oxide Ink to bring in the green color around the image and added little snowflakes with a white gel pen. I love these light green colors!

The background was created by ink blending a stencil design and embossing with clear glitter powder. The glitter is so pretty and I think this design looks really cool!


The second card uses the same owl image, but I colored it with traditional red & green holiday colors and used a stamp from the 5420-Frameworks Set 1 to spotlight the owl. I also used a gel pen to add falling snow to the background, I think it looks so nice against the blue sky!

The sentiment "Owl be yours for Christmas" was stamped on to a banner from the 5133- Flag Double Stitched Dies. To continue with the winter theme, I added a piece of snowflake pattern paper and used silver glitter paper to add extra shimmer. 


Lastly, I added little silver sequins to the card before attaching it to a white A2 sized card base.

I hope you enjoyed today's projects and are inspired to create with the 5193 -Woodland Holiday Set!


Friday, September 24, 2021

Magic is in the Air Card by Tasha!

 Happy Friday Ai Fans!

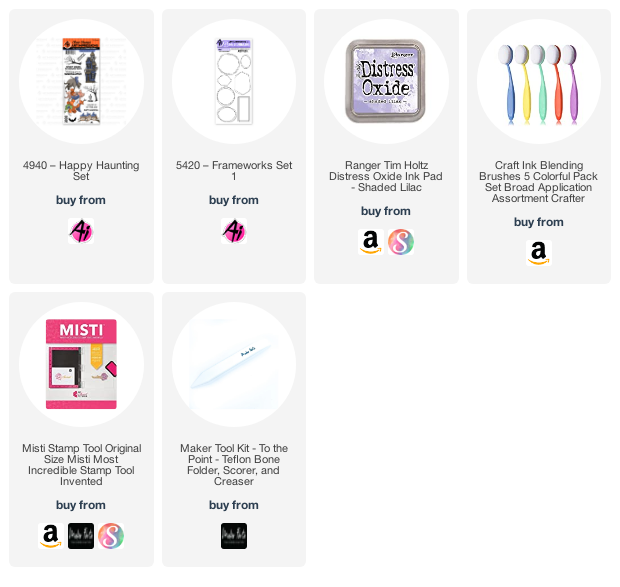
Tasha here sharing a Fall card created with the fun Happy Hauntings Stamp Set!


This set has a variety of images and sentiments, but nothing says Fall like owls! These witchy owls are too cute with their little hats and the bright colors pop against the dark sky background!


The circle frame is from the Bible Journaling Frameworks Set 1 and the frame design works perfectly with the owl images!


The sentiment "Magic is in the Air" was stamped with black ink and I used purple Distress Oxide Ink around the edges. To complete the card, I added glitter card stock and a Halloween pattern paper to the panels; I love all the sparkle!


Thank you for checking out today's project and I hope you are inspired to create a Fall/Halloween card!


Saturday, August 7, 2021

Watercolor Weekend Roundup! 8-7-2021

 Hello Ai fans!

It's another Watercolor Weekend Roundup!
We have 3 amazing and very different creations from our WC Design Team.
Don't you love how different their styles and creations are?


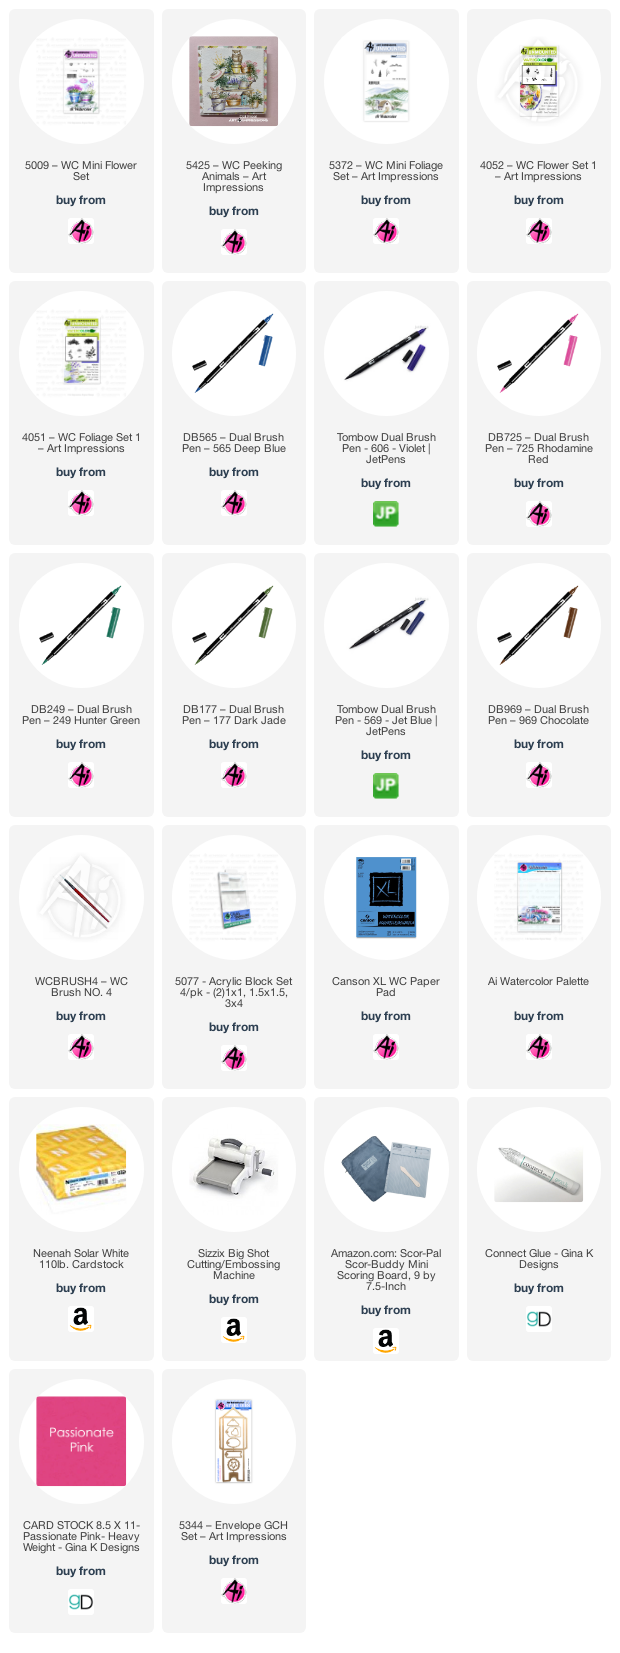
Welcome Back! Thanks for spending some creative time with us I used the Peeking Animals set and a few other stamps to create these cute gift card tops. I wrote in the sentiments, so again they can be used for any occasion. The Paintings I started off by masking the 2x2 square on my watercolor paper. I actually used 1 piece of 4.5 x 6 for both paintings (I cut them apart after I painted them). Using the Owl from the Peeking Animals set, I inked him up with 969, stamped it off and then stamped him in the bottom right corner. I wiped the bottom of the stamp off so I could tuck the leaves from the tree around him. I added water and pulled the color out of the lines. For a darker Owl, I also added some color from my palette making sure that I kept the highlights. I masked him off and stamped in a couple of branches, I am not sure which I used but any that you have will work, they will be covered with leaves so it's really not a big deal. For the leaves, I used the vine from the Original Flower set inked with 177. I stamped it al around the owl up to the right and bottom to create a border for when you pull off the tape. Before I added the water, I pulled the mask off of the Owl and added some additional leaves around the bottom of him. I softened the lines with water, making sure to dab at the leaves, leaving some untouched. To finish up, I added some 565 to the white areas, keeping the left and top next to the tape really dark. Sign and date! For the squirrel, I stamped the squirrel, masked him off and then stamped the stump, both inked with 969 and pulled the color out of the lines. Make sure you darken in the eye (same with owl LOL) using your twintone. Next, I added some additional color to the squirrel and stump using my palette. I used a small piece of post-it tape to cover the stump and stamped in a branch and added some leaves. The leaves are from the new Mini Foliage set. I also covered the squirrel and added some leaves above him along the tape. After I removed the mask from the squirrel, I inked the mini flower bunch from the mini flowers set inked with 177 and 925 next to the squirrel. Using water, I softened everything and again added some color to the sky. Again, sign & date. Tag us on Instagram and use the #AIWatercolor tag so we can see all of your creative ideas. Thank you so much for spending your precious time with us and keep creating! SUPPLIES:   
                    DOT                        
Hello,

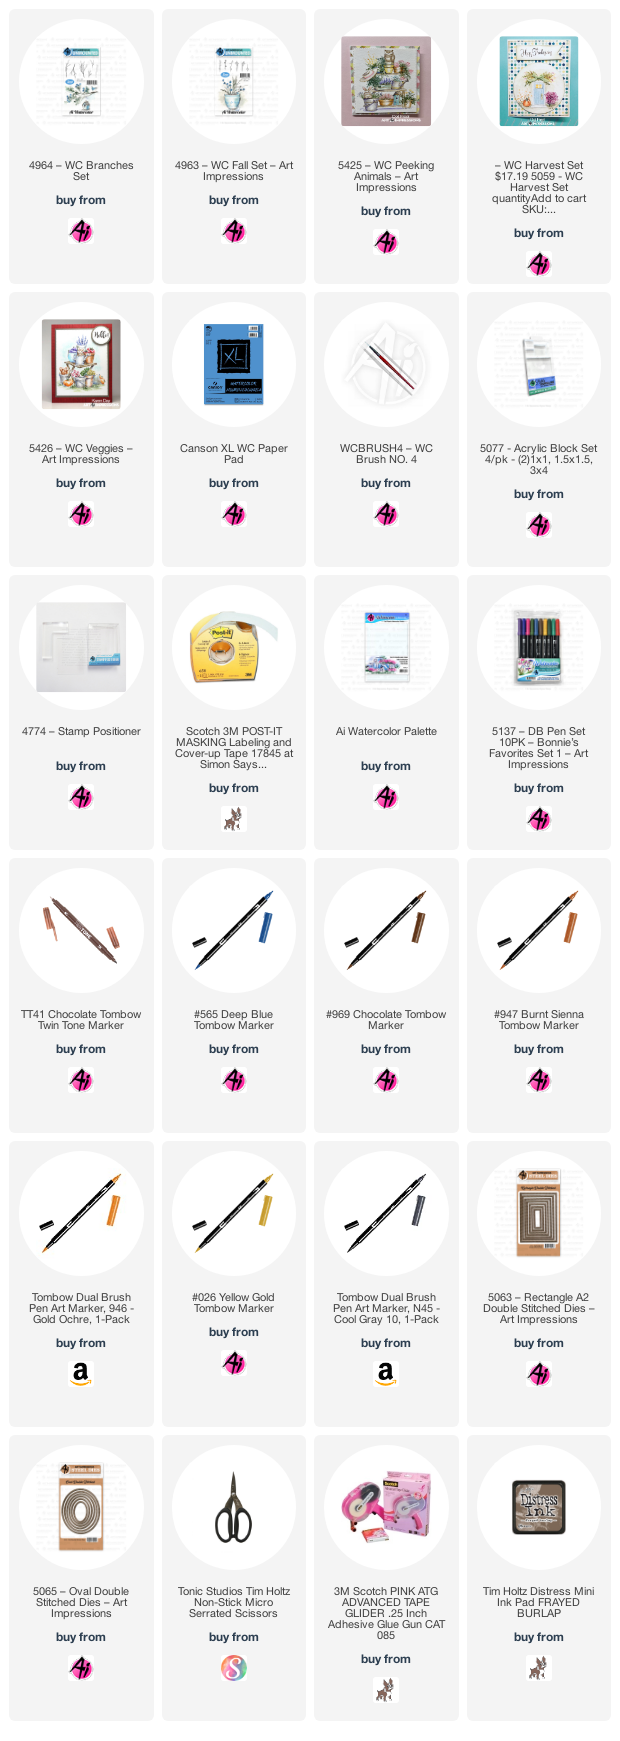
I saw something similar to this on Pinterest so I used my Ai stamps to recreate it. I LOVE owls and pumpkins so I'm pretty happy with it. If you would like to try this, stamp the pumpkin in the center from the 5426 Veggies set inked in Tombow 969 then make a mask and cover it. Next stamp the other pumpkin from that same stamp set on one side, and the pumpkin from the 5059 Harvest Set on the other side. Before removing the mask, using a stamp positioner stamp the barrel from the same set above the middle pumpkin inked in both 565 and 969. Stamp the owl from the 5425 Peeking Animals Set using 969 and a stamp positioner. Use a circle mask to cover where the moon is, then use a brush and a brown ink, fill in the background. I used a little N45 for the moon's shadows. Drip some water on the background, dry it with a paper towel and it will look like a few stars are out. Pull the color out of the lines and then watercolor the owl with N45, 969 and then color the eyes and beak with 026 - the coolest yellow ever! Definitely my favorite. When you add water to it - it's amazing! I used that same yellow on the grass from the 5059 Harvest set. I used that same yellow and the 969 for the flowers from the 4963 Fall Set and the branch is inked in 969 from the 4964 Branches set. I used the Tombow Twin Tone in brown on the stems of the pumpkins and the pumpkins were colored with 946 and 947. I used 969 and N45 on the barrel. I also used the N45 for the shadows under the pumpkins.  The little boo brad I had but I've no idea where I got it. I used the 5063 and 5065 Dies to cut out my papers. I always hope you try it and tag me. I love inspiring others as so many have inspired me. 

Ai_Dot_DT.png
Supplies used:
a439c217-65a8-4f9b-b2a8-cfbf29ffc34f.jpg

 Hello Ai Watercolour fans!
I am using three of the new Bible Journaling stamp sets in today's card!
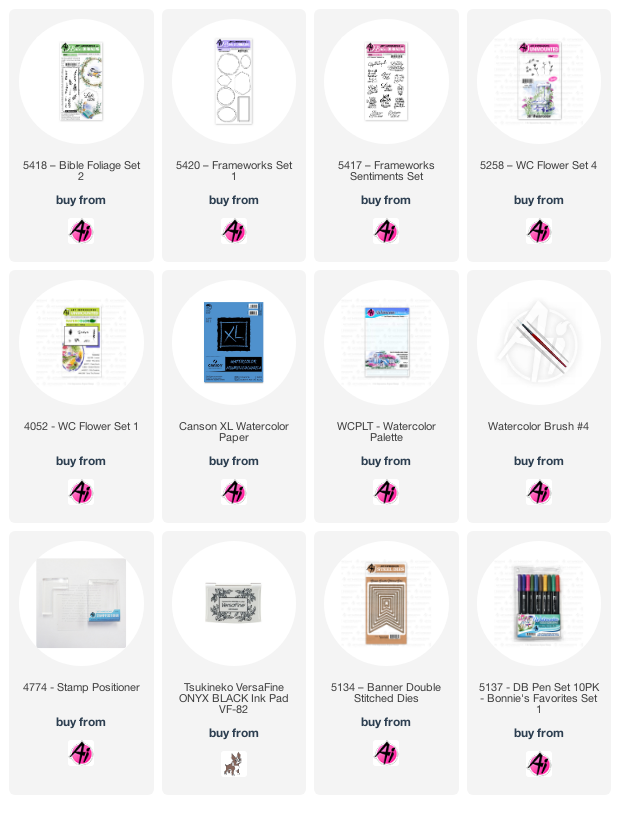
I began by planning out my image.  The clear stamps make it so easy to place the stamp sets overtop of each other, and I could easily choose which sentiment would fit inside the different frames.  I stamped everything out on scrap paper to make sure that I had my foliage placed correctly, and that my colours worked well together.  I added a light wash of #346 to the upper right and lower left areas of the image, and then coloured the larger oval from 5420 - Frameworks Set 1 in #N55 Cool Grey 7, leaving the bottom area uncoloured where my foliage would be, and stamped it on a slight angle.  With Versafine Onyx Black Ink, I stamped my sentiment from 5417 - Frameworks Sentiments Set.  With four stamps from 5418 - Bible Foliage Set 2, I stamped them in #126 Light Olive, #249 Hunter Green and #346 Sea Green, leaving an open area for the flowers.  Using Flower Set - 4052, I stamped the Leaves image in #533 Peacock Blue several times, and then used the Mini Foxglove in #565 Deep Blue to create the trailing flowers at the bottom.  To finish off, I used the trio of roses from 5258 - WC Flower Set 4 in #676 Royal Purple.
I touched everything with a damp brush, but was careful not to lose any of the definition of the images.  I used the 5134 - Banner Double Stitched Dies to cut out my shape, and glued it down to my base.  With my sewing machine, I added a wide row of zigzag stitching across the top in the same colour of thread as the roses.  A few enamel dots finished off my card.


From Tricia's fun gift card holders that she matched the sentiments to her paintings perfectly, to Dot's elegant Autumn owl card and Karen's lovely Bible Journaling card...They're all amazing!
Thank for for the inspiration.

Saturday, July 3, 2021

Watercolor Weekend Roundup 7-3-2021 New Bible Journaling Release!

Hello Ai fans!


It's the first Saturday of the month and that means it's time for a Watercolor Weekend Roundup!

Did you see earlier this week that there was a new release at Art Impressions?


This past Wednesday Ai released 4 new Bible Journaling stamp sets and Bonnie did several projects to help you see how you can use them.


Maybe you don't Bible Journal?
You don't have to.  These stamps can also be used to create cards and other projects.


Our Watercolor Design Team shared some sneak previews with you yesterday and now you get to see even more
inspiration from them.


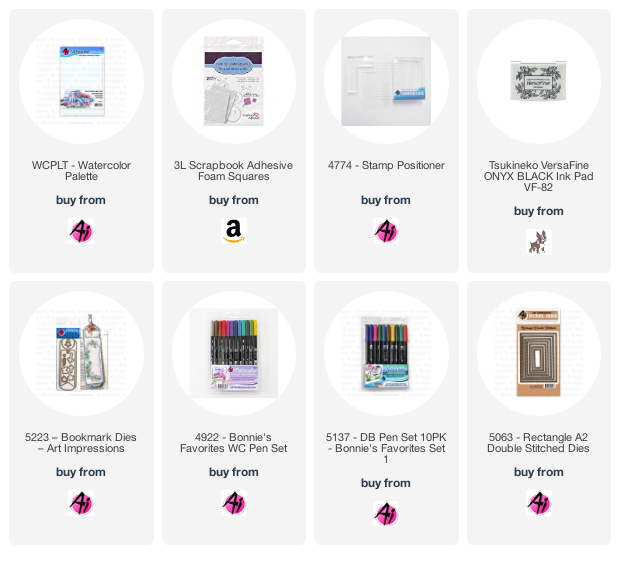
Hi Watercolor Fans! We are celebrating another fabulous new release. I chose to use all of the new Bible Journaling stamps to create this adorable Framed Sparrow project. Here is how I did it. The Painting I inked the wood frame from the Frameworks Set 1 with 969, stamped it off and stamped it into the middle of my watercolor paper. I inked the sparrow from the Bible Icons Set 1 with 969, stamped it off and then stamped it in the middle of the frame. I pulled the color out of the frame and bird. I mixed some 969 and 569 on my palette and added it to the head and wings making sure to avoid the eye. I added some 947 and 993 to my palette and added it to the bottom of the bird and some 969 to his feet and the branch. I also added some 565 from my palette to the sky. I used my black twin tone marker to darken the eye and beak. Next, I inked up the foliage from the Bible Foliage set 2 and added it along the frame and the branch with 177 and 249. I used one of the foliage leaves inked in 636 and added it along the frame as well. I added water to everything. I signed and dated my work. The Card I cut the entire card out with my rectangle stitched die and put it into my MISTI to stamp the sentiment from the Frameworks Sentiments Set with Gina K Amalgam ink. I added this to a mat cut from Gina K Plum Punch cardstock and attached it to a white note card with Connect glue. These stamps make it so easy to create simply beautiful cards. 


 We can’t wait to see what you make. Tag us on Instagram and use the #AIWatercolor. Hope to see you next time! SUPPLIES:  


Dot Freel - Instagram - Blog - Pinterest- YouTube

 Hello,

Have you seen the new Ai Bible Journaling stamps? There are some wonderful new ones! I made this card by first cutting a slimline card out of Canson Watercolor Paper. I used the new 5417 Frameworks Sentiments Set and picked out four of the 13 sentiments then stamped them in Green ink. I framed them with the brand new 5420 Frameworks Set 1 inked in red ink. I then inked up the four images in the new 5419 Bible Icons Set 1 with the Tombow N45 pen. I went back to the frames and used some foliage from the 4867 Foliage Set 2 inked in 158. I used the little berry branch from the 4963 Fall Set inked in 158 and 565. I used the foliage from the 5126 Foliage Set 4 inked in 025 but you could use any foliage or flowers you have for the frames. I then watercolored each of the images starting with the bible which I left white and I used 565 to add the shadows. I colored the bookmark in 856 and the pages, cross and flame in the 025. The candle holder is 969. Next the bird is colored in with 025 for his belly, beak and feet and N45 for his head and feathers. Don't forget to darken his eye with a Tombow TwinTone fine point pen, I used both the brown then the blue. The foliage is the same as the frames but the flowers are 856. The branch is 969. The fruit bowl was the funnest to color and I see myself using that alot in the future! The banana is 025 and some 969. The pear is 158 and 025. The apple and cherries are 856 leaving a white spot on the cherries. The other highlights are done with a Signo White Gel pen. The grapes are 565. The leaves are 158. I painted a line under it with the 969 but then I used the 565 for the lines on the bowl and to deepen the shadows. The light is painted in 025 and 969. 


Supplies used:


Karen Day - Blog - Facebook - Pinterest - Instagram

Hello Ai Watercolor fans!

I made a trio of cards today using the 5417 - Frameworks Sentiments Set, 5419 - Bible Icons Set 1 and 5420 - Frameworks Set 1.  They started out as bookmarks, but I decided they would each look great on a card:


I started by cutting out my tags from Bristol Smooth Cardstock - the lantern card is using the Ai 5223 - Bookmark Die, the others are from my stash.  I stamped the icons first, using a no-line watercolor method for the fruit, and typical Ai style for the other two.  These are small images, so after stamping, I used my #1 paintbrush to carefully paint in all of the colours, adding layers and shades.  I masked each of the images, then stamped the frames using Tombows for the twig wreath, die ink for the rectangle, and Versamark for the oval - which I then embossed with gold powder.  I used Distress inks and blending brushes to add some soft background colour to each tag (my favourite is the rainbow!).  Usine my Misti to help with positioning, I stamped each sentiment using Versafine Onyx Black Ink.  I cut out a second tag of each style to put behind each one - allowing them to pop a bit more, added some Baker's Twine and mounted them to the cards with 3D foam adhesive.


Here's a closeup to see the embossed gold frame:


I'm sure we're all in agreement here. This Design Team is AMAZING!!


Have a great holiday weekend and Happy Stamping!

Check in tomorrow for a little surprise from 
Reneรฉ for her 10 year Ai anniversary!!