Showing posts with label 5507 Harvest Together Set. Show all posts

Friday, November 14, 2025

Thanksgiving Harvest Wishes!

 Happy Friday Art Impressions friends. 

Tasha here sharing a Fall themed card inspired by the current Gobble-Gobble! Challenge.

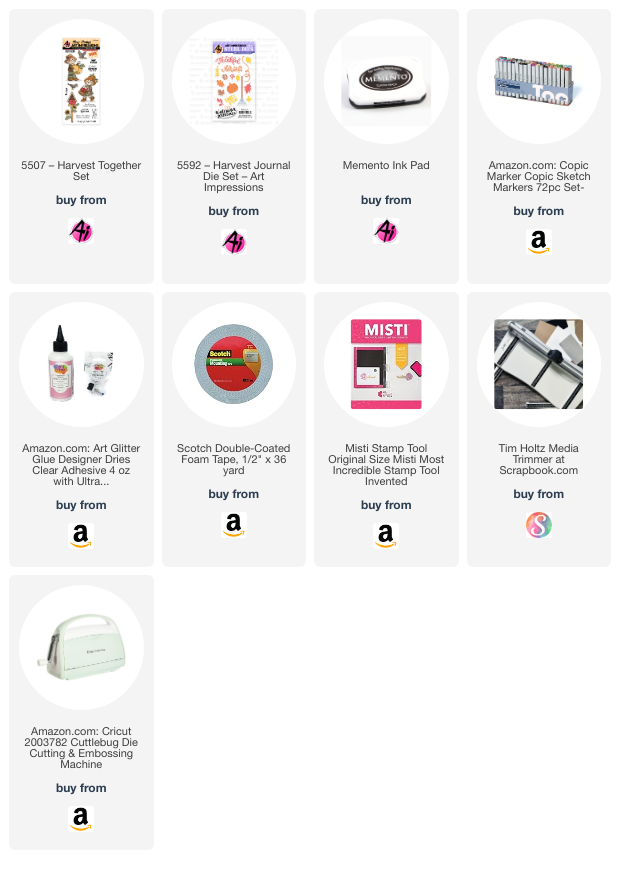
Thanksgiving is next week and Art Impressions has so many great Fall sets to create fun cards and projects. Today I used the 5507–Harvest Together Set to make a golden Fall design. I stamped the girl scarecrow and cut her out with the included dies; I just love her basket of apples! After die-cutting, I colored her with Copic Markers and used foam tape to pop her up in the center of the card.

For the background, I blended a warm golden sky and added a wooden ground for a rustic look. I also used three dies from the 6046–Scalloped Oval Dies to create a pretty layered frame in rich Fall colors. To finish the card, I added layers of white, copper, and black card stock along with a piece of Ai plaid paper for an extra cozy touch.


Saturday, November 1, 2025

November 2025 Monthly Challenge with Sara Furr

 Hello Ai fans!

Welcome to our November Monthly Challenge.

This month we have the amazing Sara Furr as our Guest Designer.


Happy November dearest AI fans! I want to start out by thanking Bonnie and RenΓ©e for giving me this opportunity to guest design for Art Impressions this past year. It has been so much fun creating for all of you. I also want to thank all of you fans and fellow crafters that have supported me, thank you from the bottom of my heart!

I have created 2 totally different themed creations for you this month.... a Faith inspired card, and a fall card. 


I am going to start off with the Faith inspired creation that uses the following products:
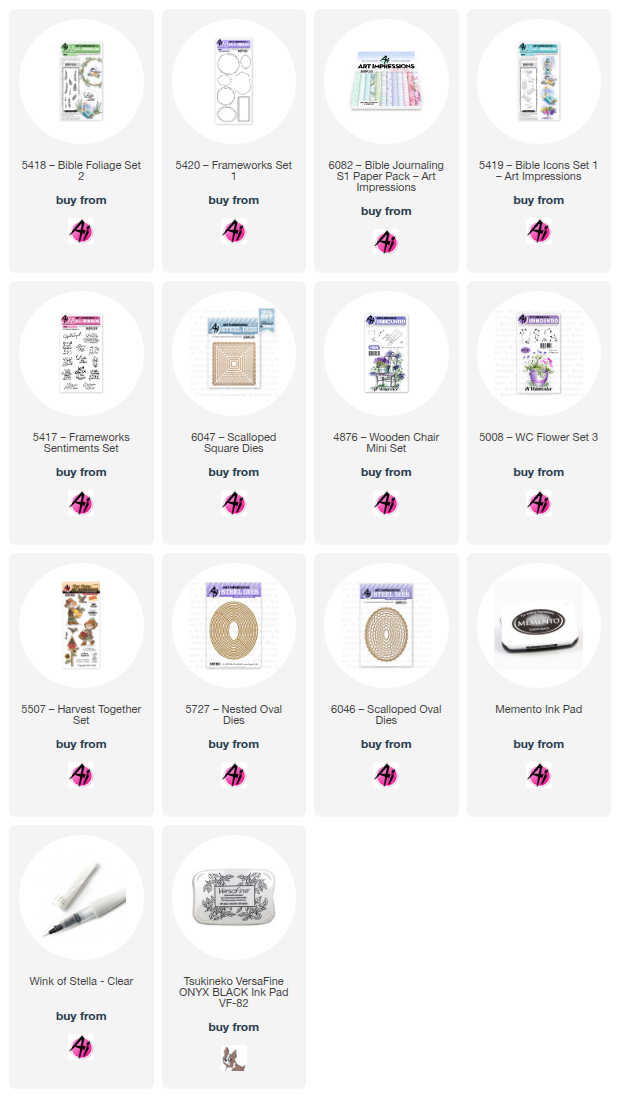
[ ] 5420- Frameworks set 1
[ ] 5419- Bible Icons
[ ] 5417- Frameworks Sentiments 
[ ] 6082- Bible Journaling S1 paper pack
[ ] 5008-Flower set 3
[ ] 5418-Bible Foliage set 2
[ ] 4876- Wooden Chair Mini set
[ ] 6047-Scallop Square die set
[ ] Memento Tuxedo Black ink pad 
[ ] Versafine Onyx Black ink pad 
[ ] Ohuhu markers:
Black120, BG042, BG038, WG170, WG180, WG150, E288, E340, E357, E191
[ ] Stampin' Blends markers: L & D Soft Seafoam 
[ ] Stampin' Write markers: Island Indigo, Orchid Oasis, Pear Pizzazz, Old Olive, Mossy Meadow
[ ] Wink of Stella glitter pen
[ ] Wide White Cotton Lace trim
[ ] Clear and Opal bubble gems


So, to start, I stamped the grapevine wreath from the "Frameworks set 1" stamp set with Memento Tuxedo Black ink and colored it in with E288, E340, E357 and then added the bird on the branch from "Bible Icons" set. I colored the Chickadee with Black120, WG180, WG170, and WG150Then I stamped a leafy branch from the "Bible Foliage "set randomly around the wreath with Pear Pizzazz dye ink marker, as well as the "lavender heads" from the "Wooden Chair" mini set in Mossy Meadow, stamping up to 4 generations and extending to make my wreath nice and full. I stamped the flowers from "Flower set 2" in Island Indigo, and the flower heads from "Wooden Chair" set in Orchid Oasis, the stems are inked in Old Olive. I then went around all the foliage with the Soft Seafoam alcohol markers to blend my greens and give a sort of "faux watercolor" look to it. When that was all dry, I stamped the sentiment with Versafine Black and then as a final touch, I added some Wink of Stella glitter pen to the wings of the bird. I then die cut the whole image with the largest Scallop square die turned so it will look like a diamond shape in the center of my square card base, and then I added fun foam to the back for dimension.


 To assemble my card I created a 5 1/2" square panel from the light blue polka dot pattern paper from the "Bible Journaling S1 Paper pack, and matted it with a 5 3/4" coordinating purplish blue cardstock. I distressed the edges or both panels with the edges of a scissors to give them a shabby chic distressed look, and then adhered them together, and then to my white card base that is 6x6. I adhered 2 pieces of white lace back to back to the center of my panel and then added my focal piece popped up on top in a diamond shape. I added some bubble gems to each corner for added interest, and draw your eye around the card face.


 I created the inside following the same technique, but I only used the bird on the branch and just created a "swag" of sorts.

 This project was a ton of stamping, but I had so much fun playing around designing my wreath and swag.

*** Here is a little tip.... if you want to create your own wreath, but aren't sure how the flowers, foliage, or colors of ink will look together....stamp your wreath on your cardstock inside your stamping tool (MISTI) and then place a piece of clear acetate over the image and start "practice stamping" your design in the colors you want and see how it looks. If you like it, then just remove the clear acetate and re-stamp the images onto the actual cardstock to create your image. That is how I built up each layer of stamping so that I was sure it would look the way I wanted it to.


Now, on to my second creation, which is a fall card using the following products:
[ ] 5507- Harvest Together stamp set
[ ] 6046- Scallop Ovals
[ ] 6047-Scallop Squares
[ ] Oval dies
[ ] Memento Tuxedo Black ink pad 
[ ] Versafine Onyx Black ink pad
[ ] Ohuhu Markers:
R193, R865, R872, R586, R588, YR792, Y696, E679, E357, E280, E288, E191, E340, WG180, WG150, MG109, MG069, MG170, G554, G483
[ ] COPIC markers- B0000, N1
[ ] Distress inks: Vintage Photo, Gathered Twigs, Ground Espresso
[ ] Wink of Stella
[ ] Wide Cream Colored Lace trim
[ ] Burgundy colored self-adhesive pearls


I began by stamping the sweet little Scarecrow boy holding the pumpkin on white cardstock with Memento Tuxedo Black ink, and then I stamped the crow sitting atop his hat. I colored the image with the alcohol markers listed and then stamped the sentiment with Versafine Black ink. I added some Wink of Stella glitter pen to the wings of the crow. I cut out my focal piece with a large Oval die and then ink blended Vintage Photo and Gathered Twigs Distress Inks around the outside edge. I adhered that to the largest Scallop Oval die. I then created my dark brown 6x6 card base and blended some Ground Espresso Distress ink around the outside edge. Then I created to panels.... a burgundy mat and an orangey fall dsp panel and I blended Gathered Twigs Distress ink around the edges of both panels and then distressed the edges with the edge of a scissors. 

**This is one of my favorite ways to not only add softness, but also some wonderful texture. You should try it! 


I layered both mats together and added my pretty cream colored cotton lace trim to the bottom half of the panel, wrapping the tails around the edges and adhering to the back, and then I added fun foam to the back of that whole panel and adhered it to my card base. I added some strips of foam tape above and just below the lace where I wanted to place my focal piece so that it would all lay the same and my Oval wouldn't lay all wonky with the middle pushed up where the lace is. This makes everything the same dimension. I added burgundy self-adhesive pearls in the corners to drawn eye around the card. 


To create the inside, I die cut the largest Scallop Square die out of white cardstock and while the cardstock was still inside the die I blended some Vintage Photo Distress ink around the inside of the die edge and then removed the cardstock from the die and then stamped the flying crow with Memento ink, and colored with alcohol markers, and again added some Wink of Stella to the wings. I stamped the sentiment below him with Versafine Onyx black ink. I layered that focal piece onto another piece of the fall pattern paper I used on the front. I did more inking around the edges of that and then adhered everything to the inside of the card base.

I love to make sure that the insides of my cards coordinate, and look almost as pretty as the outsides. πŸ™‚

And that wraps up my tutorial for today my friends! I hope that you liked my creations and hopefully they inspire you to create something if you have these stamp sets. If you did find my creations inspiring and you create something, please tag me on social media : 
IG- @sarae.furr_thecraftyfarmchick
Facebook- Sara Furr- The Crafty Farm Chick

 because I would LOVE to see what you create! Nothing makes me happier than knowing that I inspired someone. 

Thank you all so very much and I hope you all have a blessed Thanksgiving and Christmas, and a very happy New Year! Blessings to you all😘😘😘.....
Love, Sara


We have our winners from our October Challenge.

The first number to come up was 2, and then 8.

Diana S. wins a free stamp set from Art Impressions.


 Diana, please contact Leah at Feedback@artimpressions.com to 
claim your stamp set.


Barb E. is the winner of a freebie from me.


Please email me at Renee@artimpressions.com with your full name and address and I'll send you a photo of the freebies I have available for you to choose from.


You are invited to the Inlinkz link party!

Click here to enter

Sunday, September 21, 2025

"Sow Kindness, Harvest Friendship" and "Game Day!" Cards by Diane Mason

  Hello, and welcome back for Watercolor Weekend!

Tomorrow marks the first day of fall here in the U.S. After a long, hot summer, many of us are eager for the cool, crisp air, vibrant autumn leaves, football games, and harvest celebrations that this season brings. To celebrate, I have two cards for you today that capture the essence of this colorful season.

"Sow Kindness, Harvest Friendship" Card:


I love decorating my home for fall with all the rich autumn colors and cozy seasonal dΓ©cor. When I think of this time of year, I picture vibrant leaves, pumpkins, and harvest-inspired touches—and that’s exactly what inspired my first card today! The 5507 – Harvest Together Set is perfect for capturing that feeling, with two adorable scarecrows (boy and girl), cheerful crows, a sunflower birdhouse, and plenty of fall sentiments to choose from.


I just adore the happy little girl scarecrow from the 5507 set! For this card, I wanted to build a scene with the scarecrow girl, the birdhouse, and the perching crow. I like to imagine the crow isn’t afraid of her at all—instead, he’s more like a little friend. She looks absolutely delighted to see him!

Whenever I create a scene, I always start with a quick “blueprint” to plan out how I’d like everything arranged.


Once I finalized the layout of the scene, I stamped the images onto Canson XL watercolor paper. I began by inking the scarecrow girl with 947. Using my placement blueprint, I inked the crow’s body with 565/969 and its beak and legs with 026. Following the same blueprint, I inked the birdhouse with 947. Before stamping it, I applied Post-it tape masks over the scarecrow and crow where the birdhouse would overlap. After removing the masks, the birdhouse appeared behind the scarecrow, with the crow perched on the roof. Finally, I used a damp brush to pull color from the stamped images, adding contours and shadows.


Here is a list of colors I used for this card:

  • Crow: N25 (body), 025, 026 (feet and beak)
  • Scarecrow Girl: 850, 910, 912 (face and hands)
  • Cheeks, Nose, Eyebrows, Neck String: 905, 925
  • Hair: 025, 026
  • Shirt: 947 (plaid)
  • Pants: 177
  • Apron: 990, 992 (apron), 925 (patch pocket)
  • Sunflowers: 022, 026 (petals),177, 133 (leaves and stems), and 969 (flower centers)
  • Hat: 905, (hat), 925 (patch)
  • Basket: 977, 969
  • Apples: 856 (red), 025, 026 (yellow),133, 177 (green), 969 (stems)
  • Boots: 947
  • Birdhouse: 856, 565, 969, (house), 977 (roof), 990, 992 (trim, stand and post), 969 (woodgrain)
  • Foliage and grass: 177
  • Sky: 526

To ground the images, I added grass from the 4051 – WC Foliage Set 1 and foliage from the 5476 – Foliage Set 5, both inked in 177, to complete the scene.

Next, I used the largest stitched oval from the 5065 – Oval Double Stitched Dies to cut a window from an A2-sized piece of patterned paper. I centered the painting behind the opening and adhered both onto a brown cardstock base.

For the sentiment, I stamped “Sow Kindness, Harvest Friendship” from the 5507 set with VersaFine Vintage Sepia ink onto yellow cardstock, then die-cut it with a banner die from the 5952 – Portfolio Template Die Set. I trimmed the right side of the banner and popped it up with foam tape for dimension.


For the inside of the card, I stamped the sentiment in Vintage Sepia ink onto a stitched white cardstock rectangle and added a strip of patterned paper along the bottom edge. The fall leaves were die-cut from colorful paper scraps using the 5783 – Fall Leaf Frame Die Set.

I love how this sweet fall card came together! With its cheerful friendship theme, it’s the perfect card to pop in the mail to a friend and send a little Happy Autumn cheer! πŸ‚✨

“Game Day!” Card:


Obviously, fall means football! For years after graduating college, my husband and I would load up the car and head back to our Midwestern alma mater to cheer on the Missouri Tigers. Those trips hold so many great memories. So, when I spotted the striped overlay stamp for the giant drink tumbler in the 5928 – Stay Hydrated set, I immediately thought it would be perfect for dressing up this sassy gal in black and gold—ready to head off to the game and cheer on the Tigers!


Here is a list of colors I used for this card:

  • Hair: 025, 977
  • Cheeks: watery mix of 856
  • Lips: 837
  • Face, Hands, and Ankles: 910, 920
  • Shirt: 025, 026
  • Top: 025, N25 (stripes)
  • Sunglasses, Purse, Pants, Shoes: N25
  • Drink Tumbler: 025, 026 (cup), N52, 565 (lid & straw)
  • Football: 947
  • Megaphone: 025, 026 (megaphone), Winsor & Newton Ink – Silver (handle and mouthpiece.
  • Shine marks on sunglasses: Dr. Ph. Martin’s Bleed Proof White

To create the football field background, I die-cut a piece of green cardstock using the largest die from 5062 – Rounded Rectangle A2 Double Stitched Dies. I added three 1/8-inch strips of white cardstock for the field lines and die-cut the line numbers from white cardstock with the 5562 – Journal Letter Die Set.

Since I planned to adhere the field to a black card base, I wanted to add a pop of visual interest and tie in the team colors of black and gold. To do this, I traced around the outside edge of the largest rounded rectangle die onto yellow cardstock to create a mat, then hand-cut it with scissors.

The megaphone and football, both from 5510 – Sport Accessories, made perfect embellishments for this sporty card. For the sentiment, I typed “Game Day!” on my computer, printed it onto white cardstock, and die-cut it with a banner die from 5952 – Portfolio Template Die Set. I also matted the banner with yellow cardstock for an extra touch of team spirit.

To finish, I popped up the sassy girl with her tumbler, the megaphone, football, and sentiment with foam tape for dimension.


I always like to finish the inside of the card. For this one, I stamped a sentiment from the same set (5928) in VersaFine Onyx Black ink. To carry the football field theme inside, I added a strip of green cardstock for a pop of color. Go Tigers! 🐯 πŸˆπŸ–€πŸ’›

That’s all for now—thanks so much for stopping by for Watercolor Weekend! I hope you enjoyed today’s fall card projects. If you feel inspired to create your own version of this card and show off your team spirit in your team colors, be sure to tag us on social media—we’d love to see it! Until next time, Happy Painting!


Monday, November 18, 2024

Hello Fall by Sharon Caudle

 Hello AI fans!!

Hope you're having a wonderful start to your week! I've got one more fall card to show you today before you start seeing all Christmas cards from me. LOL! I used the absolutely adorable set #5507 Harvest Together Set. These are the cutest scarecrows I've ever seen! I started by stamping the image onto a Copic friendly paper and then coloring her with the markers listed below. I really like the color she turned out cause she looks like she's made from a potato sack!  I made the card super simple by using a die in my stash to create the scalloped card. All you have to do is score and fold your cardstock in half for your card base. Place your die with the top cutting edge just above the fold of your paper. Cut it out and you have your card base. Then use a complete die cut on top of the card base so you have the decoration on the top of the card as well! So simple to do and I feel it really adds a lot to the card. The Hello Fall die cut is from #5592 Harvest Journal Die Set. 


That's it for me today. Thank you so much for stopping by for a visit and until next time - stay crafty!!


Copic markers used:

Y15, 17, 35, and 38

E33, 35, 37, 40, 41, 42, 55, 81, 84, 93, 95, and 97

YG93 and 95

R02, 32, 35, and 37


Monday, November 4, 2024

Happy Fall, Y'all!! by Sharon Caudle

Hello AI Fans!


I don't know about you, but it was definitely a fall weekend in Reno! It was quite chilly and we had a fire going in the fireplace every day!  So there was definitely some frost on the pumpkins in the patch! But it didn't stop this adorable guy from going out and gathering them up! I just these super cute scarecrows from 5507 Harvest Together Set!! Next week I'll have a card using the sweet girl scarecrow.  Along with that set, I used 5598 Harvest Set for the basket of gourds, 5596 Harvest Farm Truck Set, and 5952 Portfolio Template Die Set for the banner. The images were stamped onto a Copic friendly paper with Memento Tuxedo Black ink and then colored with Copics which are listed below. This card fits into the All the Fall Challenge going on right now! I've seen some beautiful fall cards out there, so I sure hope you're entering for a chance to win a free stamp set of your choice!! 


Well, that's it for me today. Thanks so much for stopping by for a visit, and until next time - stay crafty!!


Copic markers used:
YR12, 14, and 16
E02, 04, 13, 15, 18, 33, 35, 37, 50, 51, and 53
Y35 and 38
YG91, 93, and 95
R32, 35, and 37

for the truck:
E15, 17, and 19
N1, 3, 5, 6, and 7
B000

for the basket:
YG93, 95, 97, and 99
R32, 35, 37, and 39
YR12, 14, and 16
Y32 and 35
E21, 23, 33, 51, 53, and 55


Sunday, October 13, 2024

Harvest Scenes and Harvest Together by Gennette Houghton


Hello! Welcome to Watercolor Weekend! I am so happy you are here! I absolutely love fall, even the sun takes on a more golden hue that just lights up the beautiful colors that we are graced with during this time of year here in Michigan.  This is the first time I have used either of these sets and they are so perfect for fall cards!  For my first card I used 5593 Harvest Scenes and inked it with 565 and 969 and stamped off once before stamping my final image and then pulled the color out. 

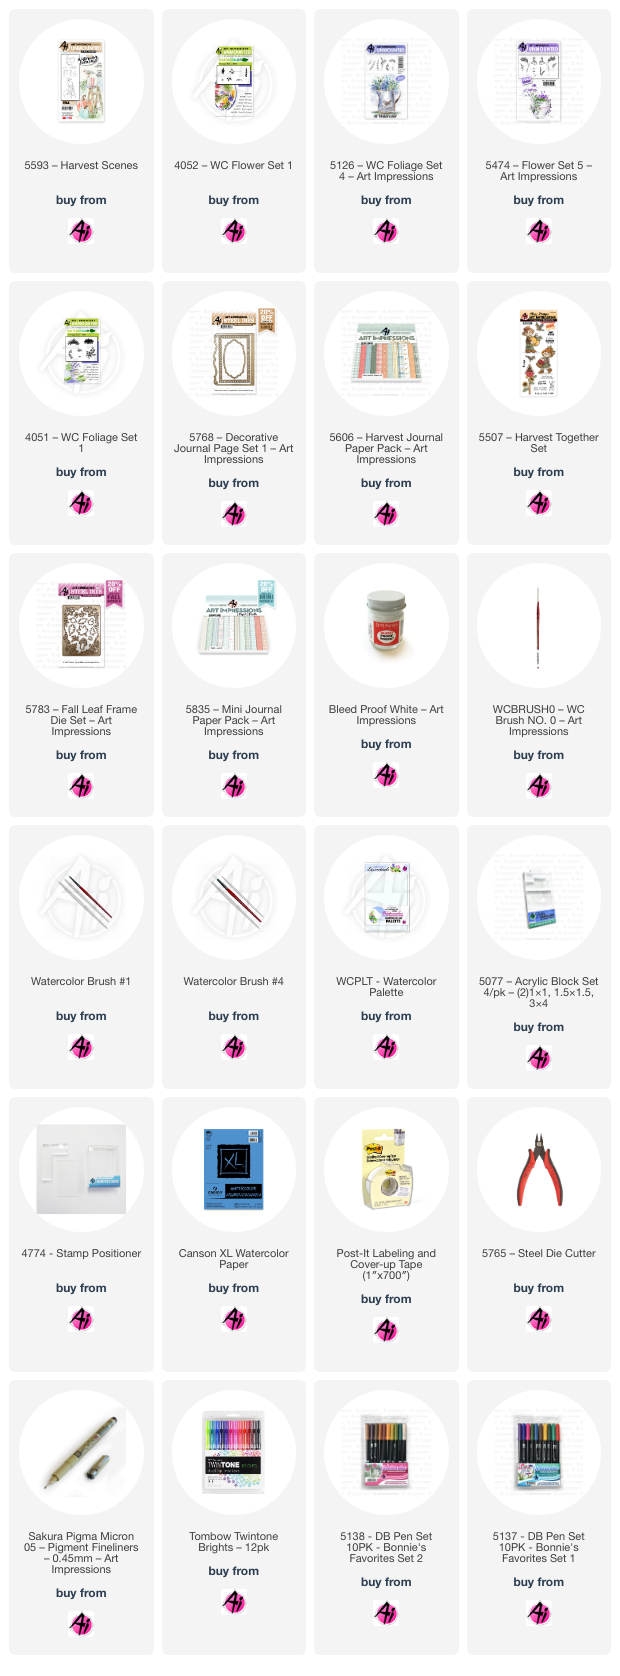
For the chair I used a combo of 969 and a touch of 947 to brighten a few areas.  The pumpkins I used 993 as a base color, 933 to deepen the shape and contours, 946 in the more shaded areas and a touch of 947 to deepen some of the more shaded areas.  On the stems I used 177 and 969.  The watering can and the milk can I used N52, also using 947 on the handle of the milk can. For the wood basket I used 969 and 947. I was going for the likeness of a Purple Finch with the birds, next time I think I will try a color that has more of a pink hue to it. I started with 969 as the base color and used 676 over the top of the 969, finishing with some Bleed Proof White to add back in some of the lighter colors. For the flowers in the wood basket I used the daisy bunch from 4052 Flower set 1 in 925 and then softened it with water, with just part of the stamp in 885, which is a wonderful orange toned red, to add a bit more texture in. 5126 Foliage Set 4 small vine and inking just the tip of the stamp in 177 to add in a touch of foliage. The tiniest of dots in Bleed Proof White was also added.  I then used 526 for the sky, I wanted this in first so I didn’t have to try to work around the flowers I added into the milk can. Masking the milk can with post-it tape I used the 5474 Flower Set 5, I colored the stamp in 3 colors, going over the whole flower with 623 first then used 676 and drew a line up the center of the flower and added 177 to the stem. 

Now because of how everything is so close together I decided to use my stamp positioner for this. I wanted the flowers in the background to be light so I stamped off once first, I did this twice, then I again colored the stamp with the same colors and centered the stamp and stamped with full color and then lightly touched just the flower with a damp brush.  4051 Foliage Set 1, with the teeny tiny grass in 177, I like to touch a 969 marker to just the base of the stamp in 2 spots, just a little bit, barely there. To me it adds just a little more depth to the base of the grass area. Pulling the color out and adding just a touch more 177 over the ground. 565 was used for all the shadows in the scene.  I also added a little bit of Bleed Proof White in the grass to add little white flowers.  I cut the image out with 5768 Decorative Journal Page 1 and matted the card with paper from 5606 Harvest Journal PP.

For my 2nd card I used 5507 Harvest Together Set.  This set is just so adorable I just don’t understand why I haven’t used it until now.  I decided to use the birdhouse from this set, those sunflowers! I’m telling you! I just used 969 to color this stamp, I stamped my image after stamping off once first, and then pulled a little bit of the color out.  On the roof and pole I used 947. On the front trim and the base of the birdhouse I used 925. 969 was used on the detailed wood piece and the opening, 158 on the remainder of the front. For the sunflowers I used 025 over all the petals and then used 933 to give more contour to the petals starting at the center and only going up part way and darkening any shaded areas.  The centers of the flowers I started with 947 all over the center and then added a touch of 025 over that to create contrast. 969 was added along the edge of the center with a couple dots in the center. I added just a little bit of Bleed Proof White for some highlights.  The leaves and stems I started with 126 and used 177 for the shaded areas, darkening even more below each flower.  I then took some Bleed Proof White and created a few flowers on the front of the birdhouse and using the same color 158 for the centers.  The only thing left was using the brown twintone marker for a little bit more definition. I used the 5783 Fall Leaf Frame Set, first cutting it out of a solid card stock and then used it on my image. I combined the two together into one solid piece. The card was matted with paper from 5835 Mini PP. Thank you for joining me today, and I hope you enjoyed my cards! Until next time. Create….Share….Inspire!


Saturday, October 5, 2024

Gather Together by Janet

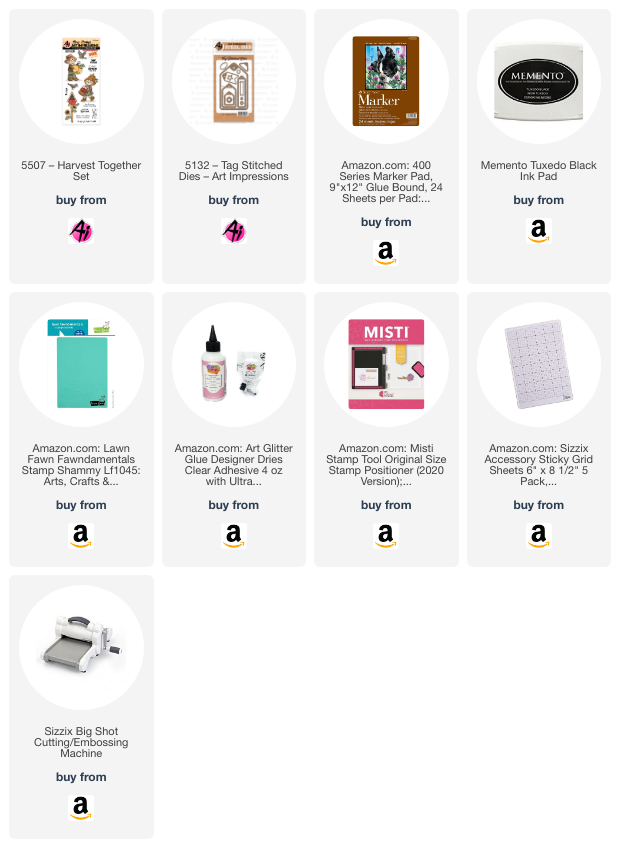
Hello and welcome to the weekend! Today my project is a set of large tags. I envision these being used to decorate a gifted wine bottle, on treat bags and boxes, or on packages for a fall birthday. These cute images come from 5507-Harvest Together Set. After coloring them with some deep fall colors, I cut them out with the included dies. Then I went to work on the tags themselves.

I cut the tags out of Kraft cardstock using 5132-Tag Stitched Dies. Using the set, I also cut gold glitter reinforcement circles for the holes at the top. I used Corduroy Distress Oxide ink on the tag edges. I stamped the sentiments on the tags next and then placed the scarecrows and crows on the tags. To add further decoration, I added a paper button and orange and gold glitter dots with Stickles to each. Once the Stickles had dried, I strung three different ribbons in each tag hole. These are super cute and make substantially sized tags that are perfect for gift giving.

  I made these tags to go with the current Ai challenge called, Farm Fresh. Enter your projects that have any farm related imagery HERE.

Thanks so much for joining me to see what I created for you today. Please visit the Ai store for the sets I used and all the things you need for your card, journal, and tag making projects. Have a great weekend!

Janet YouTube - Blog - Facebook - Instagram - Pinterest