Showing posts with label fall. Show all posts

Sunday, August 25, 2024

Halloween Potting Garden Shed and Slimline Cards by Jami Steiger

Halloween Potting Garden Shed and Slimline Cards by Jami Steiger


Happy Watercolor Weekend!  

My goodness, how time flies these days!  I know we are MONTHS away from Halloween but I was so inspired by Kim painting the Potting Garden Shed in a fall design that I wanted to paint one in soft fall colors and then I wanted to paint a Halloween Potting Garden Shed. 

Well, I painted three!  I couldn't decide what color scheme I wanted to go with so I kept experimenting with colors and by the time I had all three completed I liked them all!  I had my family vote on the one they liked the best and the first card was voted number one.  I used the following stamp sets and dies to create all of the "Hello Fall" cards except the original fall card which is posted at the bottom of the Halloween cards.  5817 - Potting Garden Shed, 5487 - Front Porch Halloween (tree), 5601 - Halloween Accessories (ghosts and spiders), 5059 - WC Harvest (pumpkin and wheat grass), 5009 - WC Mini Foliage, 4051 - Foliage, 5592 - Harvest Journal Dies (Hello Fall)

The following are the markers used on all of the cards:  565, 969, 947, 177, 933, 856, 126, 679, 985, 837, 526, 026, 312, N52, N65, N55, and N45

I stamped all of these cards using the technique of coloring the stamped image with 565 and 969, then stamped off twice.  I drew in the spider webs in the tree and on the door.  I added some white accents with Dr. PH Martin's Bleed proof white.  For the final touches I stamped and die cut the ghosts and spiders and popped them up with foam squares for dimension.  The twine is from May Arts and I started on the front of the card by holding a long end and wrapping the twine around 4 times ending in the front and tying a bow.  You need to do this before you mount your finished front to the card base.


Card 1:  Background paper, 5849 - Halloween S2 PP


Card 2: Background paper 5838 - Fall PP


Card 3: Background paper, 5605 - Halloween Journal PP.  For the red color on the shed I mixed markers 856 and 177 to get a more rustic red.


When Kim painted the Garden Shed image during Watercolor Wednesday I knew I wanted to paint one like she had demonstrated.  Kim's card was so pretty and I think my card goes perfectly with the plaid paper from the 5838 - Fall PP.  


Slimline Halloween card

For this card I stamped and painted all of my images onto watercolor paper and then die cut them using the coordinating dies.  
Then I cut a card base 4 1/4 x 8 1/2 inches.  Scored at 3 1/2".  This leaves an edge of 3/4" to attach the full card base to after you die cut the front of the card.  I then cut a piece of decorator paper 3 1/2 x 8 1/2 for the front of the card and glued the paper to the front of the card base.  Next I decided where I would place my biggest die cut of stacked animals and pumpkins.  Using some washi tape to hold the die in place I then ran it through my Big Shot laying flat.  At this point I cut another piece of cardstock 3 1/2 x 8 1/2 and glued it to the short side of the card base on the inside which be on the right side of the base.   Now that I have an opening in the front of the card I could place my painted stack exactly through the opening into the card base and glue it in place.  Now it was time to glue down all of my other painted decorations. I cut a final piece of decorator paper 1 1/4 x 8 1/2 for the very back of the card.  I used a paper punch to punch a decorative edge and then glued it down on the back of the card to cover the small edge.  

I took pictures to show you the front, inside and back of the card but if you have any questions, please ask!  Thank you so much!  


Thursday, September 14, 2023

Fall into Fall Challenge #360

Hello everyone!  We have a new challenge beginning today.  I had to Google it to see if I was rushing things...lol.  Turns out the official start of Fall is during this challenge so, it's all good!
Fall begins on...
Sat, Sep 23, 2023, 2:49 AM
Eastern Time

I won't be awake to experience it, but I will enjoy seeing all of your Fall themed handmade projects!
Our new challenge is called Fall into Fall.  We want to see any Fall themed crafty project.  Halloween, Thanksgiving, Fall leaves or whatever says Fall to you!


Before we check out Mercy's gorgeous card and picture tutorial she made as our featured artist for this challenge, let's see who won our Feeling Blue challenge.

For our Top Spot, we selected Cat L.
She made two cards.  One features the retired Gossip Club and on the other she used 5346 – Birdhouse Cubbies Set.


Please contact Leah at Feedback@artimpressions.com
to claim a free stamp set of your choice!
Also, be sure to grab our badge to display on your blog, Facebook or Instagram!

Now for our Lucky Random Winner.
#22 Debbie Hedges
She used the new 5794 – Whimsical Flowers set.


Please contact Leah at Feedback@artimpressions.com
to claim a free stamp set of your choice!
Also, be sure to grab our badge to display on your blog, Facebook or Instagram!


Now for the MAIN FEAUTURE!

Mercy has a dies only card with the exception of her sentiment.
Art Impressions has added some fabulous die sets over the last two years!


Here we are starting a new challenge, all about fall!   My favorite season! I love the feel, smell and colors of autumn.   But if I had to chose, the two things that stand out the most for me are the harvest festivals and fall leaves.   Both so fun.    In today's card I am using a newly released die set, the Fall Leaf Frame Die Set.  I decided to use this staple set as the "main" character, not combined with any other set and I loved the results.  Let's take a look,


For this project, I used a technique I don't often apply but equally enjoy, paper piecing.    As shown below I did not cut apart the frame set.  I die cut the first piece in yellow cardstock and removed the center and outer pieces from the frame.

Following this step I repeated the process using red cardstock except I only removed the centerpiece part of the die.  Then I adhered the two pieces together as shown below.


I proceeded to stamp the sentiment.   In addition, I die cut the frame using different color cardstock.


Following the previous step, I overlaid the center cut out as a guide to adhere the "floating die pieces".


I avoided the area where the sentiment was stamped and added a few extra layers to some of the leaves and the mushroom.   Finally I used Glossy Accent on selected elements.

I love this card, it's fun and pretty easy to create.   Hope you have a lovely day and will see you next time!


✻ Please make a new card or handmade crafty creation. You can make any item you wish; this is not limited to cards!
✻ Limit two submissions per person. You will receive extra votes if you use Art Impressions stamps!
 ✻Please include your first name and last initial on your submission.
✻We love to comment on your entries, but keep in mind if you use a private group or a platform that you need to sign up for, we probably won't be able to.
✻ The Ai Challenge is open to everyone, international submissions are welcome!
✻ Include a link back to the Ai Blog or grab our button on the top right of our sidebar!
✻ Share the Ai love if you can, by clicking and commenting on your fellow crafters.
✻ Make sure to get your link up by the deadline to enter your creations.
✻ Good luck and happy stamping!


Join our challenge by linking up below.

You are invited to the Inlinkz link party!

Click here to enter

Thursday, September 22, 2022

It's Fall Y'all! Challenge week #2

Hello Ai fans!

It's week two of our It's Fall Y'all challenge which means we get to see what the rest of the Design Team made to inspire you!


Last week, Janet was our featured artist and she did NOT disappoint, with this absolutely adorable Halloween card using the  5038 – Ghoul Friend Set.


Now we're able to show you all of the other fun creations from the rest of our Design Team!

Everyone has such a different take on what Fall looks like to them.
What do you envision when you think Autumn thoughts?
What will YOUR creation look like?

Mercy created two cards for our challenge.
Her first card features a newly discontinued Thanksgiving set that was called Full of Thanks.


Her next card features 5346 – Birdhouse Cubbies Set.


Tasha used 5038 – Ghoul Friend Set and the brand new 5506 – Peek-a-Boo Set.

Sharon used the new 5507 – Harvest Together Set.


Now it's your turn!  Show us what Fall means to you.
This is your chance to win free stamps!
We can't wait to see what you make.

 --------------------------------------------------------------------------------------------------------------------

✻ Please make a new card or creation. You can make any crafty item you wish; this is not limited to cards!
✻ Limit two submissions per person. You will receive extra votes if you use Art Impressions stamps!
 ✻Please include your first name and last initial on your submission.
✻We love to comment on your entries, but keep in mind if you use a private group or a platform that you need to sign up for, we probably won't be able to.
✻ The Ai Challenge is open to everyone, international submissions are welcome!
✻ Include a link back to the Ai Blog or grab our button on the top right of our sidebar!
✻ Share the Ai love if you can, by clicking and commenting on your fellow crafters.
✻ Make sure to get your link up by the deadline to enter your creations.
✻ Good luck and happy stamping!


You are invited to the Inlinkz link party!

Click here to enter

Friday, September 24, 2021

Magic is in the Air Card by Tasha!

 Happy Friday Ai Fans!

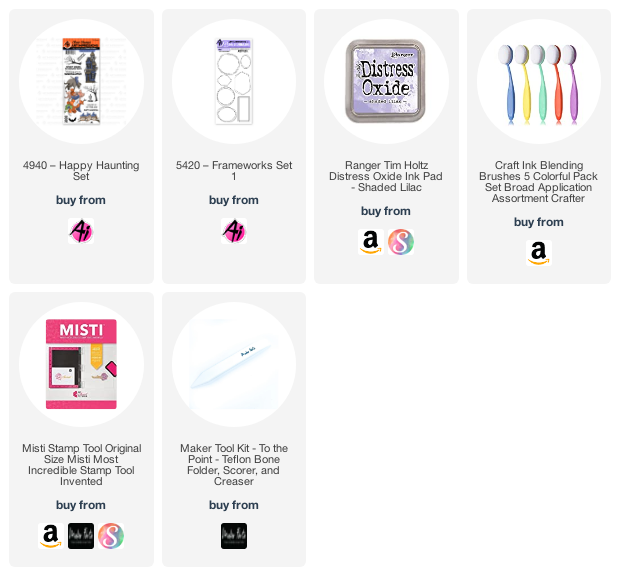
Tasha here sharing a Fall card created with the fun Happy Hauntings Stamp Set!


This set has a variety of images and sentiments, but nothing says Fall like owls! These witchy owls are too cute with their little hats and the bright colors pop against the dark sky background!


The circle frame is from the Bible Journaling Frameworks Set 1 and the frame design works perfectly with the owl images!


The sentiment "Magic is in the Air" was stamped with black ink and I used purple Distress Oxide Ink around the edges. To complete the card, I added glitter card stock and a Halloween pattern paper to the panels; I love all the sparkle!


Thank you for checking out today's project and I hope you are inspired to create a Fall/Halloween card!


Saturday, September 18, 2021

Watercolor Weekend Roundup 9-18-2021

Hello watercolor fans! 
It's time for Watercolor Weekend Roundup!
This weekend our Watercolor Design Team is all about the fall scenes!
Tricia has a fall table full of pumpkins and apples,  Dot has another wonderful "farmhouse chic" creation...this time in a fall theme and Karen has a stunning scene using the new Vintage Car.  You can see the leaves in her trees beginning to change.


 Hi Watercolor Fans, Happy Almost Fall! It is one of my favorite seasons here in New England. I thought I would welcome all the things that make me feel fallish and put them on a card.


 I added the Blessed & Grateful sentiment at the bottom which I find is pretty perfect for those Thanksgiving cards. The Painting To start, I inked the WC Foundations Wood Table stamp with 969. I stamped it in the middle of my watercolor paper and pulled the color out of the lines. Using my palette, I added some additional color to the pots. To add some interest, I painted in a flower on one of the pots and decorated the other pots using the fine point of my 606. To mask the pots, I used small post it tape strips and using the stamp positioner, placed the pumpkins and apples into the pots. I added layers of yellow and orange to the pumpkins and green to the stems. I added red in layers to the apples. For the watering can flowers, I inked up the single stem from WC Flower Set 4 with 606 and 177. I stamped it multiple times before reinking it. I added water to the leaves and buds. For the grass, I inked the small grass with green and stamped it in several places below and beside the pots. I inked the small dots with red and stamped a few above the grasses to create some wildflowers. I masked off the pumpkins and apples and stamped the small wheat with yellow and brown behind the pots underneath the table. I inked the ferns up with green and stamped them around the outside of the scene. For a last final touch, I inked a branch with brown and stamped it around the outside. I used some blue to create a simple cloudy sky. I finished it off with my initials and date. It is so amazing to go back and look at your previous years’ work. It truly shows you how much you have grown as an artist. So that’s my Blessed & Grateful card for this weekend. I hope you all have a wonderful creative weekend and thank you for stopping by and spending some time with us. Make sure you put your pictures on Instagram and tag us so we can see what you come up with! #AIWatercolor See you next time! SUPPLIES:


Hello!
Are you ready for the bi-monthly Art Impressions Watercolor Weekend? I created another "Shabby Chic" scene as Renee from Art Impressions called it, but this one has a fall theme. It's pretty fast and would be good for a fall birthday or Thanksgiving card, don't you think?


 You could use whatever containers, foliage or flower stamps you already have but you need some pumpkin stamps from the 5426 Veggies Set or the 5059 Harvest Set and the apples and basket stamps from the 5059 Harvest Set. Stamp the watering can first from the 5123 Decorative Jar Set inked in the 969 then 565 Tombow pens and stamp it off before stamping it onto your watercolor paper. Cover it with post-it tape to stamp the pumpkin next to it inked in 969. Then you cover that pumpkin with a mask and stamp the other pumpkin. Mask that pumpkin then stamp a pot over the pumpkins as it is behind them. Ink the basket in 969 then stamp it next to the watering can. Cover it with post-it tape and stamp the apples inked in 969 into the basket. Pull the color out of the lines on everything. Color the basket with 947 and 026. Color the apples with, 158, 847 and 993, leaving a white highlight. Stamp the flowers from the 5008 Flower Set 3 inked in 026 onto the watering can. Stamp the foliage from the 5126 Foliage Set 4 on the can inked in 925. The yellow, red and brown foliage is from the 4963 Fall Set. The curly branches are from the 4964 Branches Set inked in 947. The orange pumpkin is colored in with 925 and a little 847. The green pumpkin is colored with 026. Use the brown Tombow TwinTone pen for the stems and curly cues. The pot is colored in with 969 and the flowers are from the Flower Set 4052 inked in 847 and the foliage is from 5126 inked in 249. The shiplap wall is made when you are done using a pencil, t-ruler and then a little Tombow 565 for the shadows. Hope you give this a try and tag me in it!

Ai_Dot_DT.png


 Hello Ai Watercolor fans!
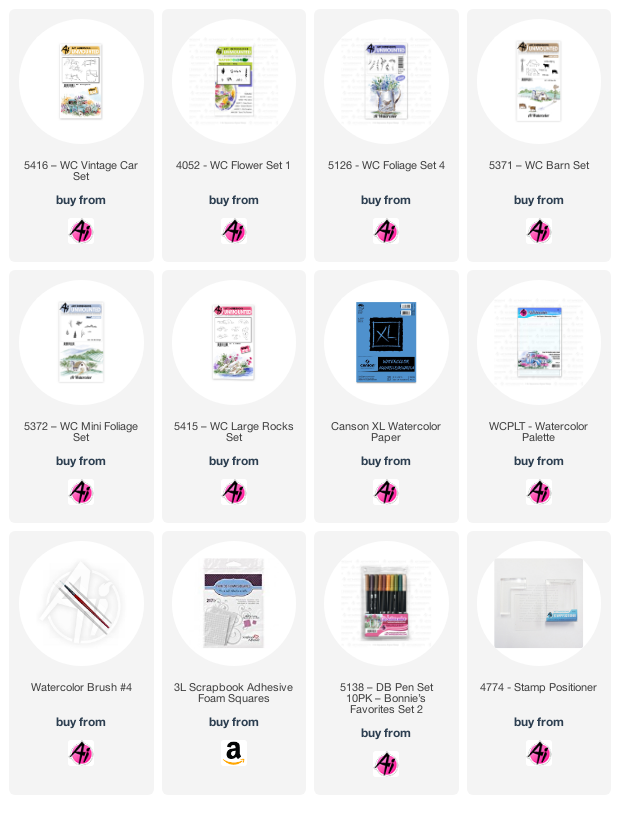
I have really been loving all the purple that I've seen recently in a lot of fall cards, and decided to incorporate it into my scene using 5416 - WC Vintage Card Set:

I coloured the car with Tombow markers #969 Chocolate/565 Deep Blue, and then did the same with the barn from 5371 - WC Barn Set, using my Stamp Positioner to get the placement right.  I also used it for my fence, as I wanted it to appear along side the car - and I only coloured a portion of it.  I sketched in the hillsides, the path to the barn and the roadway, then after masking the barn, I stamped the trees from 5372 - WC Mini Foliage around it, and used the foliage stamp in the set to add the leaves using #933 Orange, #177 Dark Jade and #126 Light Olive.  I painted a wash of #177 on the hillsides, then masked them off and stamped the pine tree from the set in various heights to create a line of trees in the distance.

I used my damp brush to pull the colour out from the lines on the car, and then picked up #493 Reflex Blue from my palette and painted several layers on it to look worn and a bit faded.  I followed the packaging from the stamp set for most of my design as it works so well!  Using the daisy bunch with #933 Orange and #856 Chinese Red, I stamped flower clusters around the car, and then did the same with the vine from 5126 - WC Foliage Set 4 using #177 Dark Jade and #636 Imperial Purple.  After dabbing everything with my brush, I added some rocks from 5415 - WC Rocks Set in the foreground, shading them with greys & blues.  Using the grasses from Foliage Set 4, I filled in around the base of the car and fence.  I added shades of #969 Chocolate and #565 Deep Blue to the fence to darken the wood.  The barn was painted with #856 Chinese Red with a little brown mixed in to dull the colour, and the grey tones were added to the roof.  Some #493 was painted in as the sky.


These designers work hard on each card they make for your inspiration!
If you like what you see be sure to let them know!  You can leave comments here or on their
social media.  All 3 of these ladies are on Instagram and you can follow them there.
Dot