Hello, Ai Fans! Our winter break from
Watercolor Wednesdays is
almost over, and our Watercolor Guest Design Team is excited to show you some wonderful winter-y and love-y watercolor projects! From friendship cards to love notes, and even masculine tags, we got you covered this week!
Hello Watercolor Friends,
I'm happy to share this card I made for the Art Impressions Watercolor Weekend roundup. I have puppies on the brain since my granddaughters both got puppies for Christmas. I plan to make similar cards for them for Valentine's day. I used the 4959 - WC Dogs Set, the 4873 - WC Cats set and 4965 - WC Bench set. I used the basket from the Exclusive for 2017 Garden Set. You can only get the exclusive sets by attending the classes at the shows. I wonder what the exclusive set for 2018 will be? Two of the flowers were from 4052 - WC Flower Set 1 and two more flowers were from 4868 - WC Flower Set 2. The grass and leaves are from the 4051 - WC Foliage Set 1 and the set 4763 - Southwest. I used a Wink of Stella pen to add glitter to the flowers. The sentiment is from the In The Air Set - 4753.
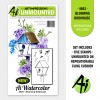
My project for today’s Art Impressions Watercolor Weekend, “Love Bird”, will help you get a jump on your Valentine’s cards.
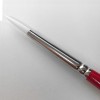
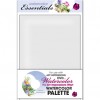
Begin by stamping the bird onto a mirror stamp or even acetate. Position the stamped image, press down and transfer the stamped image onto the watercolor paper. Then stamp the bird using your Stamp Positioner next to mirror stamped bird. Next, stamp the daisy bunch from 4052 WC Flower Set 1 in 2 Red and 66 Dusty Pink in a heart shape and fill in with the leafy branch from 4867 WC Foliage Set 2 in 15 Olive Green. Pull the color from the lines on the foliage and flowers using your Watercolor Brush No. 4 and water. Onto the birds, use the Watercolor Brush No. 1 to pull the color. Darken any lines with the fine tip of 45 Sepia. Scribble a little 2 Red onto your Watercolor Paletteand brush onto the chest of the birds. Finish with a little bling for that extra sparkle!
Other Supplies: Swarovski size 10ss jewels, Crystal Katana, Stamps of Life Mirror Stamp, Glossy Accents
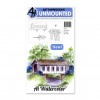
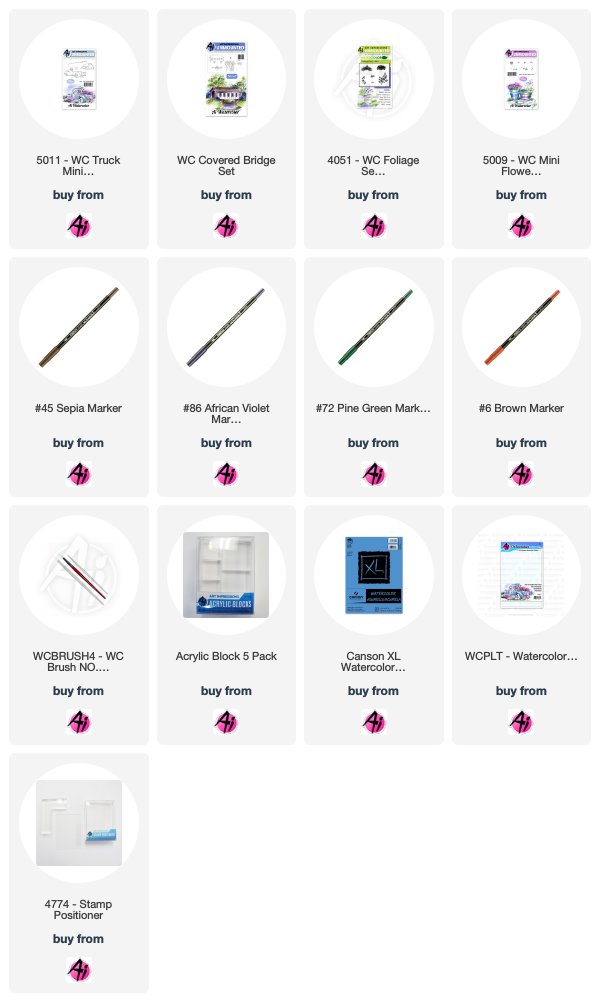
Once the stamping was complete, I removed the mask and using my paintbrush and water I pulled color from between the trees into the background and sky. I let some of the paint in the sky dry and then came back in with additional water for some hard edges.
I pulled color from the edges of the roof (that were inked with African Violet) to create the illusion of a snowy roof. Then, I pulled the Sepia from the cottage and added some additional Sepia and a mixture of Sepia and African Violet (creates a nice gray) from my palette and added it in lines to create a worn wood look.
Using my palette, I added some African Violet to create some snow underneath the trees and next to the cottage. I added some Prussian Blue to create a stream. You will notice I wasn't too worried about the right had side of the piece as I am going to die cut this out and that will be cut off.
Check out my YouTube channel and Blog for more information on how to create these Watercolor Tag Money Holders.
Other Supplies: Post-it notes, Scissors, Tim Holtz Tag Die, Big Shot Machine, Altenew Garden Hydrangea Stamp Set, Scor-Buddy, Silver Brush, Black Velvet , Round, Size 8, Scor-Tape
Thanks, team! These are fantastic ideas! Have these ideas inspired you? Comment below! If you are craving more sweet inspiration from our team, be sure to check out their social media links!
Tricia O'Bin - Blog - Instagram - YouTube - Pinterest - Facebook
If we've inspired you, why not enter this week's
"Feel The Love" Challenge while you are at it? Simply create a love-themed card and link it to our inLinkz at
THIS post, and you'll be entered for a chance to WIN! You have until the end of January to enter!
Happy Stamping!


