Showing posts with label Crystal Gems. Show all posts

Wednesday, June 24, 2020

The Possumbilities Are Endless by Niccole

Hello Ai fans!!

I am stopping by today to share a card I made using the new Possum stamp set from Art Impressions.  


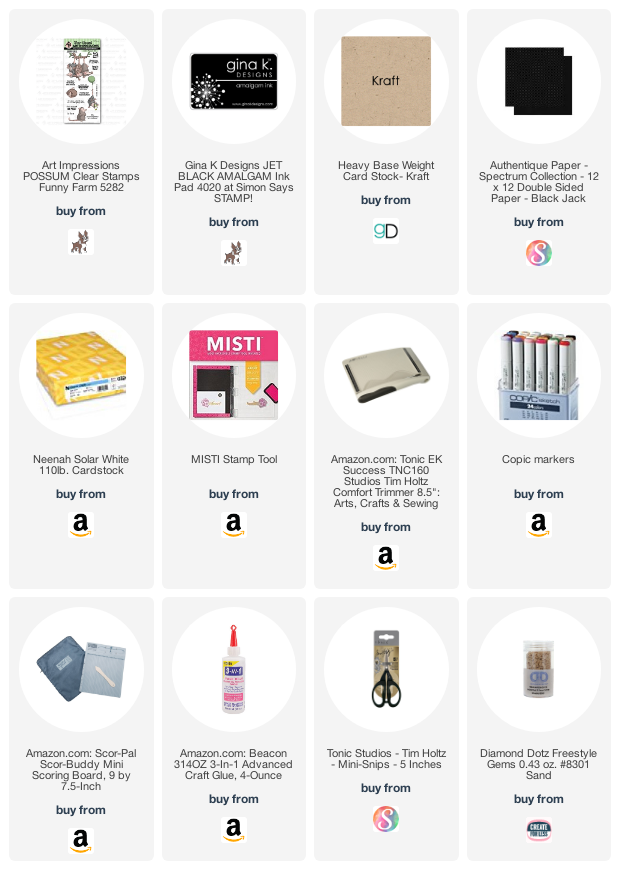
I started with some kraft card stock for my card base.  I trimmed my white panel with a frame of black around it to make the kraft and white paper pop.  
I stamped my Possum on the bottom right corner of the white panel.  I Copic colored him.  I added a shadow with my Copics to give him a little dimension. 
I finished my card off with some crystal gems.  I arranged them in a swirl.  I thought it was fitting with my sentiment ... "The Possumbilities are Endless."
Here is one more look at the finished card. 
Thank you so much for stopping by and spending a little time with me.  Make sure you come back soon to the Ai blog and see what the team has been up to.  

Copics used:
E31, E33, E41, E43
E70, E71, E74
R11, R22
W1, W3, W5


Until next time ... Hugs & inky fingers!

Wednesday, November 20, 2019

Penguin Wave by Niccole

Hello Ai fans!!


Like I said last week ... we have an exclusive stamp set only available at Simon Says Stamp called SSS Exclusive Holiday Flip Card - 5207.  I LOVE this set.  It is so fun! And what a bonus ... it's a Flip Card! Although this week I am not showing you another flip card.
I am showing you a spinner card.  Yes, a spinner card!  When you have a front and back identical stamped images, it is a MUST in my opinion to make a spinner card! 
No you are not seeing things LOL and no it is not a mistake.  I am showing you the image rolled over so you are seeing the back side.  See how they fit perfectly together?  
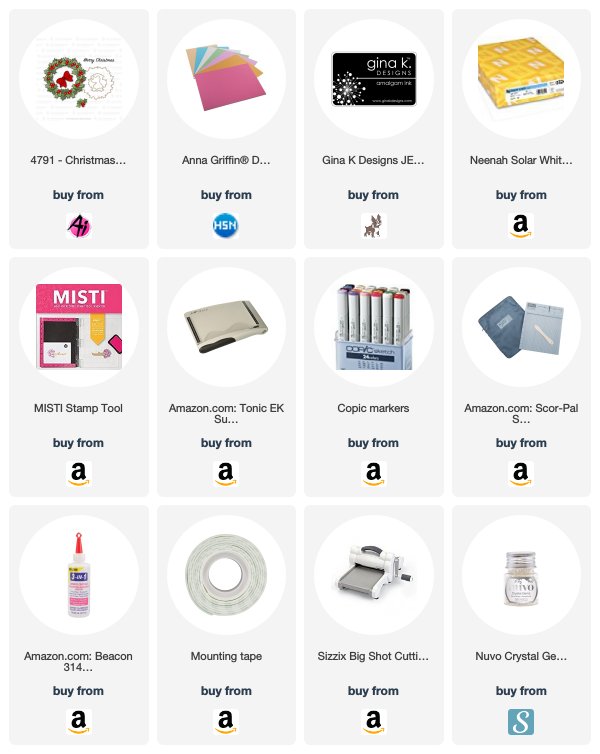
I cut two rectangles using the Rounded Rectangle A2 Double Stitched Dies.  I cut the smaller one from the red and black paper.  I used one bigger along with the smaller one to make a frame with the turquoise paper.  
I sandwiched the thread between the two images and the frame so everything is hidden.  You can twirl it to make it spin when it opens or you can leave it and when it opens it waves at you.  Both are adorable! I finished it off with a few crystal gems since I did not add a sentiment.
Here is a close up of the adorable colored penguins.  Aren't they the cutest little penguins you have every seen?  You could color these in so many combinations.
Here is a video of the spinner in action.  What do you guys think?  It is really not hard at all.  People will think it took forever to make, when in reality the hardest part is getting your frame and card base to line up LOL
Here is one more picture of the card.  I absolutely LOVE how this card turned out.  I love that it is not your traditional Christmas/winter colors. I love that this set is so versatile.  I have shown you a flip card and a spinner card, but yet you still could make a standard card as well ... oh the possibilities!

Thank you for stopping by today!  Please head on over to Simon Says Stamp to pick up this adorable SSS Exclusive Holiday Flip Card before it is sold out.  It will not return once it is sold out.

Copics used:
BG11, BG45, BG49
C1, C3, C5, C7, C9
G07, G09
N0, N3, N5, N7
R21, R22, R24, R29
W00, W1, W3
Y13, Y18

Until next time ... Hugs & inky fingers!
Wednesday, October 2, 2019

Christmas Wreath by Niccole

Hello Ai fans!!

Thank you so much for stopping by today.  I am sharing a card I made using the Christmas Wreath set. I need to get started on my Christmas cards.  This is the first one I have made for the season. I better get crackin'!
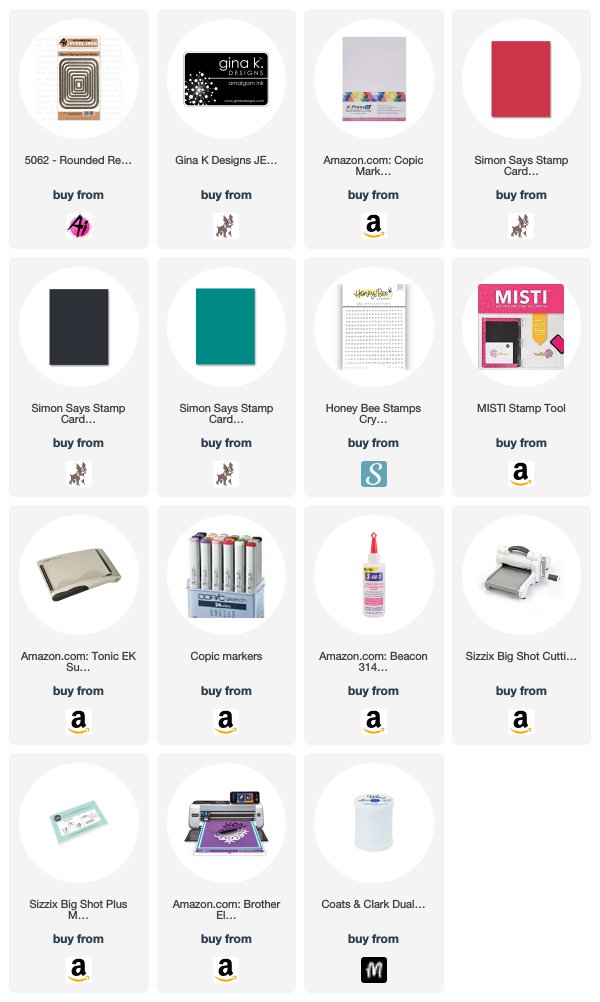
I started by using a A2 card base.  I added some green foil paper that was cut down a 1/4".  I added a white card piece 1/4" smaller than the green foil piece. I stamped my "Merry Christmas" sentiment to the middle bottom of the top white piece. 
I absolutely love that this set; Christmas Wreath, comes with the clear stamp set but also the dies to cut the wreath and the bow.  It also comes with the holly berries and a couple leaves too, but I did not use that stamps.  
I stamped my wreath and cut it out with the die.  I did the same with the bow.  I Copic colored them and added Wink of Stella to the berries and the bow.  I glued the bow to the top center of my wreath.  I popped up the wreath on my card with foam tape.  
I finished it off with some clean gems to glisten like snow. Voila ... that's it.  I love how simple but elegant the card looks. 
Here is one more look at the full card.  Thank you so much for stopping by and spending a little time with me.  Please come back again soon to see what we are all sharing.

Copics used:
G21, G24, G28
R27, R29
Y13, Y15, Y17


Until next time ... Hugs & inky fingers!