Showing posts with label Flip Card. Show all posts

Monday, June 26, 2023

Seas the Day by Sharon Caudle

 Hello AI Fans!

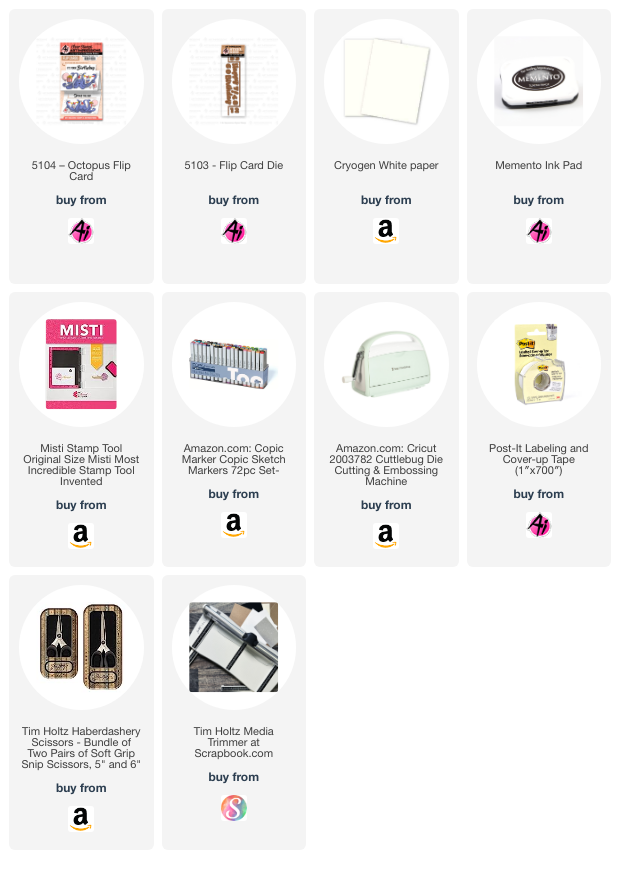
Today my card features both wet and dry embossing for the "Emboss like a boss" challenge here at the Art Impressions Blog.  I don't know why I don't use these techniques more often. Dry embossing adds so much, and I love the look of wet embossing as well. I don't know if my embossing powder wasn't working correctly, or if I'm just rusty at using it, but you can see it's pretty lumpy. It was more like embossing beads than powder.  Maybe that's why it melted that way. Anyway, I love the luscious lime color I used! I used #5104 Octopus Flip Card which is on sale right now!! These flip cards are so cute and fun, don't you think? I stamped it onto cryogen white paper and colored it with Copic markers listed below.  Don't forget you need 5103 Flip Card Die to make the card! 


Thanks so much for stopping by for a visit and until next time - stay crafty! 

Copic markers used:
Y13, Y17
E23
YG01, YG03, YG05, YG07
R22, R24, R27, R29
B00, B91, B93, B95


Thursday, November 4, 2021

Feline Crazy challenge week two

 Hello Ai fans!

Today we're Feline Crazy because we have a fantastic card from DT member Janet!

Normally, we share our design team members feature during week one of our challenge but 
since we participated in the Cat Lovers Hop last week we changed things up a bit.  So, this week
you get to hear about how Janet made her adorable card!

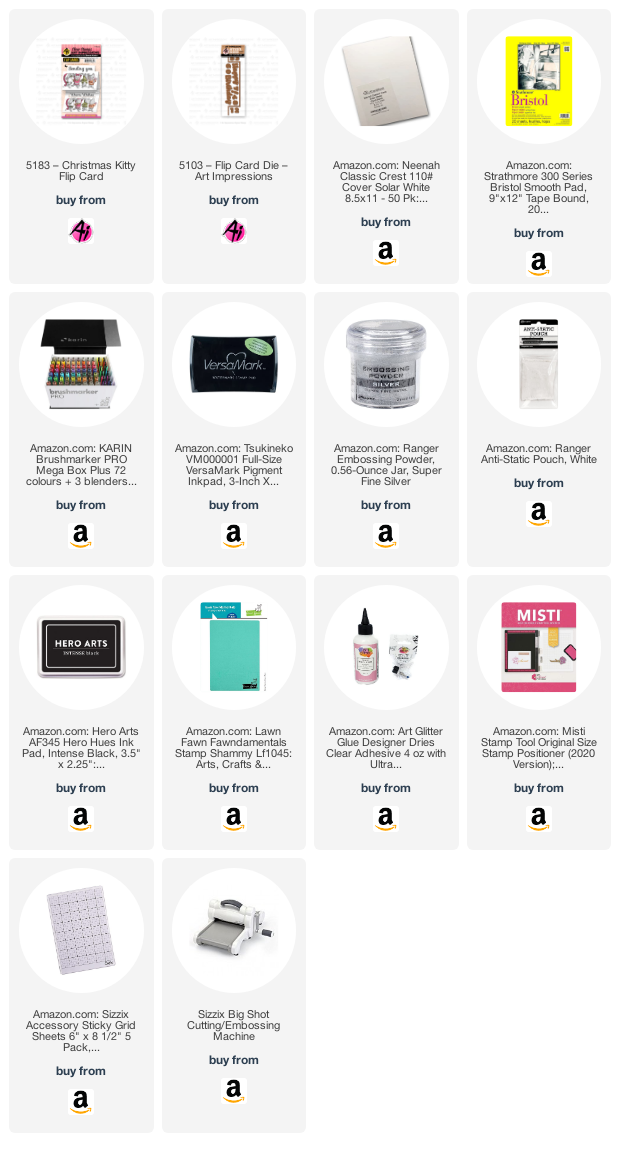
It's Janet here to kick off a brand new challenge. This one is called Feline Crazy. To participate you can post any crafty project with a cat or cat theme. I chose to use #5183 - Christmas Kitty. I think these four little kittens in their Christmas sweaters are precious!

Flip cards are constructed so that when opened, the card flips the sentiment and shows you the back image. To make the flip mechanism, I used #5103 Flip Card Die. This makes the cut and fold lines. It also comes with the die phrase of Happy Birthday and numbers 0-9. It's a good set for many uses.

After stamping the images with a water color friendly ink, I water colored the images using Karin Brushmarker Pro markers. The markers are very easy to use. I like to squiggle some ink out on my glass board and paint with a damp #3 round brush. 

An alcohol ink background paper was used on both sides. It coordinates nicely with the colors used in the sweaters. A pastel pink glitter cardstock was used for mats and for the lacey border on the front. I heat embossed the sentiments using silver embossing powder. Matt pink enamel dots and small pearls were added as accents on the card front. 

The markers I used include several neon colors. I find these come out pastel when watered down and aren't either overpowering or too weak. The markers colors used are: 264-Arctic Blue, 0220-Neon Canary, 6120-Neon Orange, 6172-Neon Violet, 105-Henna, 213-Cocoa, 133-Neutral Grey 1, 131-Nuetral Grey 3, 030-Black.

We look forward to seeing your Feline Crazy projects for our challenge. It's always fun to see what everyone makes. They are all amazing!
Happy Creating!

Janet YouTube - Blog - Facebook - Instagram - Pinterest


You still have another week to join in our Feline Crazy challenge.  This week we want to see 
any crafty, handmade project featuring a cat...both house or big cats count!  There are some amazing entries already.  Now it's up to you to take the challenge and show us your creation!  You have the chance to win 3 free stamp sets of your choice from Art Impressions!


You are invited to the Inlinkz link party!

Click here to enter

Friday, September 11, 2020

Slim Line Flip Card & Mini Dies | By Jessica Shier


Hello Ai fans!
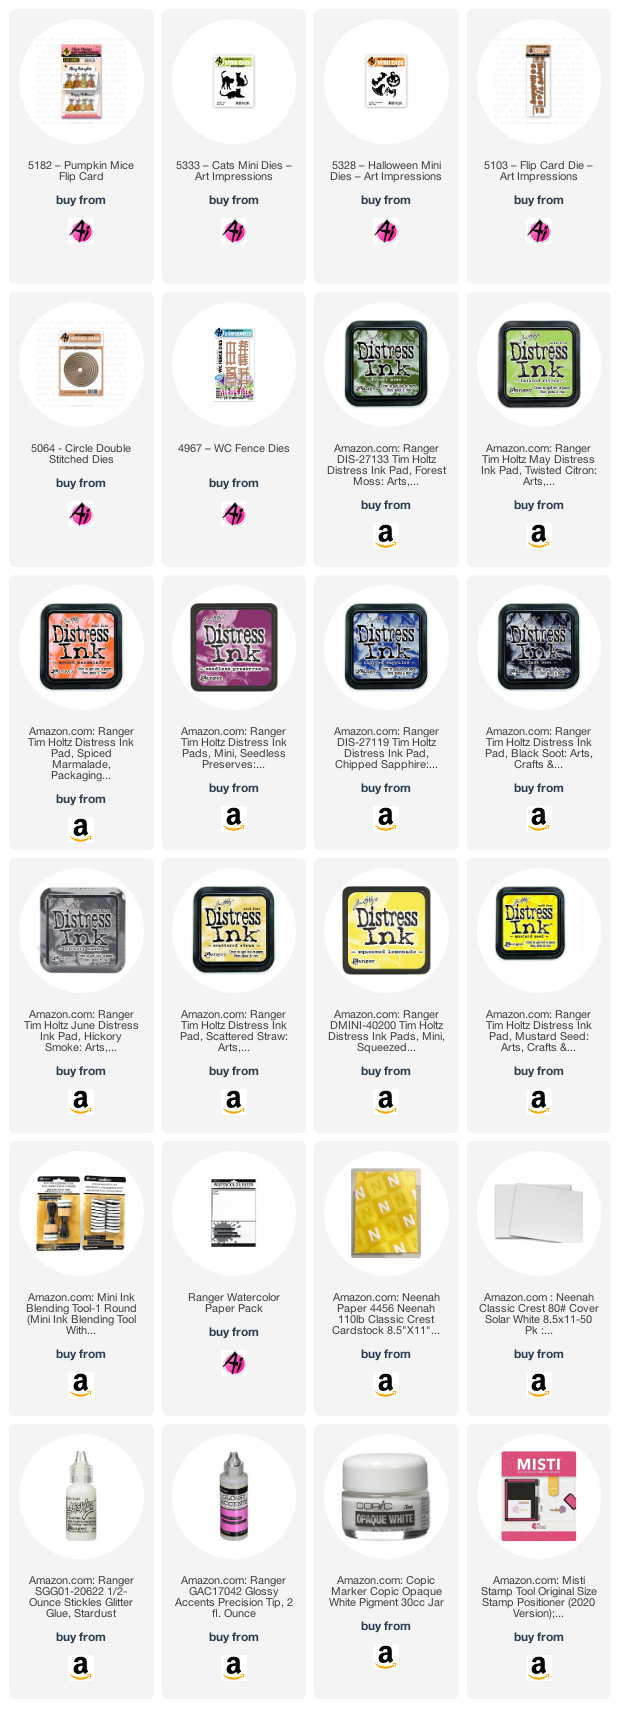
Another Friday has started! I'm sharing a card that is a little different, a slimline flip card! This is also using a couple of the new Mini Dies sets. The cute Cat and Halloween sets, and also the Mice Flip card for all the stamping.


I'll start off with the dimensions.
The card is a slimline card 8.5in by 3.5in

After cutting a piece of Neenah Solar White 110lb card stock down to 8.5in x 5in, I made a pencil mark using a T-square and drew a light line where the 2.5in mark is going down the whole length 8.5in card stock.. This is where I lined up the score edges of the Flip Card die. The fun things is, you can position the Flip Card die on the left side like I have done or on the right side. You could also position it in the middle. The top rectangle part of the die is the flip. This will die cut though the card stock.

One you have erased the pencil marks, line up the score edges and score down to create your fold. Make sure to skip the die cut area and only score to the left or right of the die cut score marks.


I created a border with masking tape on the slim line card base and ink blended a Distress Ink sky and ground. The colors I used are listed below in the product list. The moon is a die cut circle. I used the largest Circle Double Stitch die to die cut a piece of Ranger Water color card stock. The colors of Distress Ink I used on the moon are Hickory Smoke, Mustard Seed, squeezed lemonade and Scattered Straw. 

I stamped the sentiments from Pumpkin Mice Flip stamp set, each on 1 half of the moon and stamped the Mice (both sides) with Gina K. Amalgam Ink. Copic Colors listed below. After coloring I die cut all the extras from the WC fence dies and the Cat and Halloween Mini Die sets.

I adhered the moons in place for the front and inside. Then added the mice, fence, cats and bats to create a scene. I tried to mimic what the back of the mice would look like on the other side of the fence for the inside. Don't mind my mistake on the fence, I was so excited on how it was coming together I didn't notice until it was all adhered together. 

Copic Markers Used:
Orange Pumpkin - R89, R37, R05, Y38, Y18
Teal Pumpkin - BG09, BG78, BG75, BG15, BG13, BG11
Yellow Pumpkin - E35, E34, YR27, Y26, Y23, Y21
Pink Pumpkin - RV89, R37, RV09, RV55, RV52
Mice - E57, W4, W1, C1
Witch Hats - V06, BV11, Y18


Thank you so much for joining me today. Happy Stamping!


Wednesday, November 20, 2019

Penguin Wave by Niccole

Hello Ai fans!!


Like I said last week ... we have an exclusive stamp set only available at Simon Says Stamp called SSS Exclusive Holiday Flip Card - 5207 I LOVE this set.  It is so fun! And what a bonus ... it's a Flip Card! Although this week I am not showing you another flip card.
I am showing you a spinner card.  Yes, a spinner card!  When you have a front and back identical stamped images, it is a MUST in my opinion to make a spinner card! 
No you are not seeing things LOL and no it is not a mistake.  I am showing you the image rolled over so you are seeing the back side.  See how they fit perfectly together?  
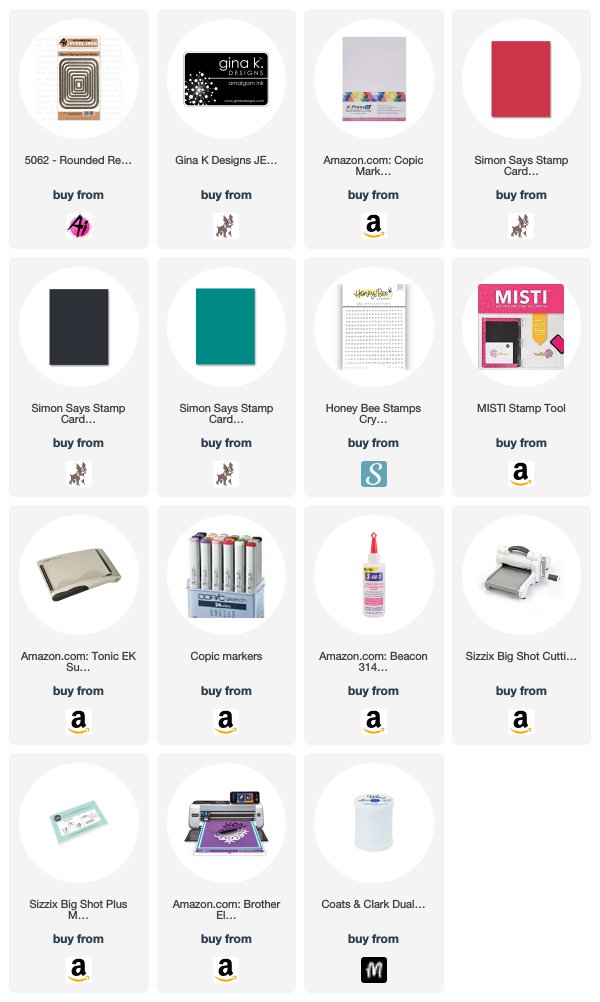
I cut two rectangles using the Rounded Rectangle A2 Double Stitched Dies.  I cut the smaller one from the red and black paper.  I used one bigger along with the smaller one to make a frame with the turquoise paper.  
I sandwiched the thread between the two images and the frame so everything is hidden.  You can twirl it to make it spin when it opens or you can leave it and when it opens it waves at you.  Both are adorable! I finished it off with a few crystal gems since I did not add a sentiment.
Here is a close up of the adorable colored penguins.  Aren't they the cutest little penguins you have every seen?  You could color these in so many combinations.
Here is a video of the spinner in action.  What do you guys think?  It is really not hard at all.  People will think it took forever to make, when in reality the hardest part is getting your frame and card base to line up LOL
Here is one more picture of the card.  I absolutely LOVE how this card turned out.  I love that it is not your traditional Christmas/winter colors. I love that this set is so versatile.  I have shown you a flip card and a spinner card, but yet you still could make a standard card as well ... oh the possibilities!

Thank you for stopping by today!  Please head on over to Simon Says Stamp to pick up this adorable SSS Exclusive Holiday Flip Card before it is sold out.  It will not return once it is sold out.

Copics used:
BG11, BG45, BG49
C1, C3, C5, C7, C9
G07, G09
N0, N3, N5, N7
R21, R22, R24, R29
W00, W1, W3
Y13, Y18

Until next time ... Hugs & inky fingers!

Thursday, November 14, 2019

NEW Holiday Flip Card Stamp Set - EXCLUSIVELY Available at SimonSaysStamp.com!


Hello, Ai Fans! 

New product alert! We are excited to partner with SimonSayStamp.com to present another exclusive stamp set! Our Holiday Flip Card 6"x8" clear set features front and back images of an adorable row of snowmen and penguin pals! There are several sentiments to mix and match, perfect to use with our Flip Card die to reveal a card interior as stunning as the front! 

Our design team has a flurry of creations featuring this limited edition stamp. Hurry, grab yours at SimonSaysStamp.com before they are gone for good!


This stamp set is limited edition and only available at SimonSayStamp.com, so if you love it like we do, grab it before it's gone! We hope you enjoyed these wintery Flip Card projects!

Happy Stamping!

Wednesday, November 13, 2019

Snowman Flip by Niccole

Hello Ai fans!!
Do you spot something new ... SSS Exclusive Holiday Flip Card Set 5207
As you can see we have an exclusive stamp set only available at Simon Says Stamp.  I LOVE this set.  It is so fun! And what a bonus ... it's a Flip Card!
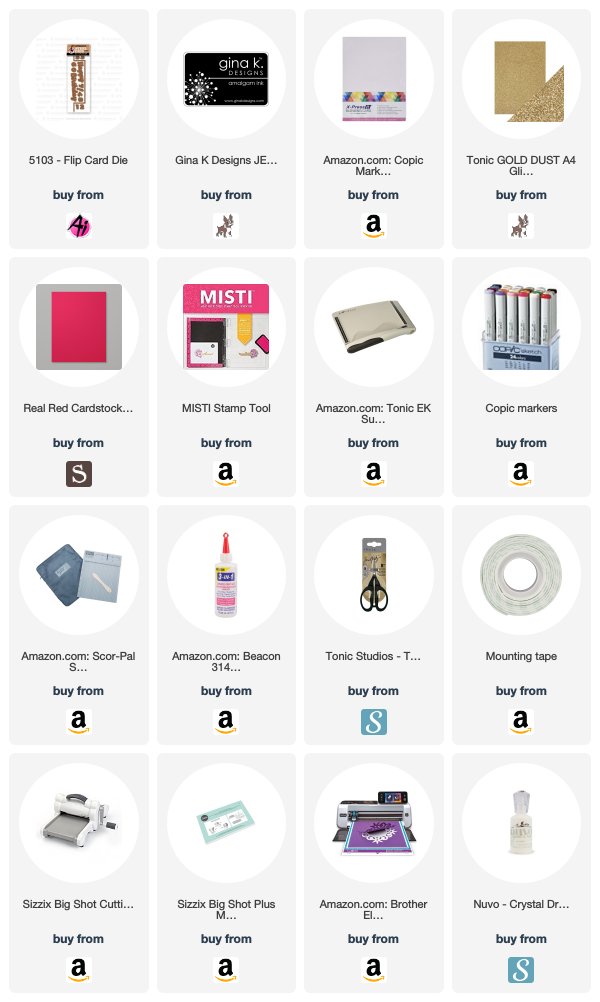
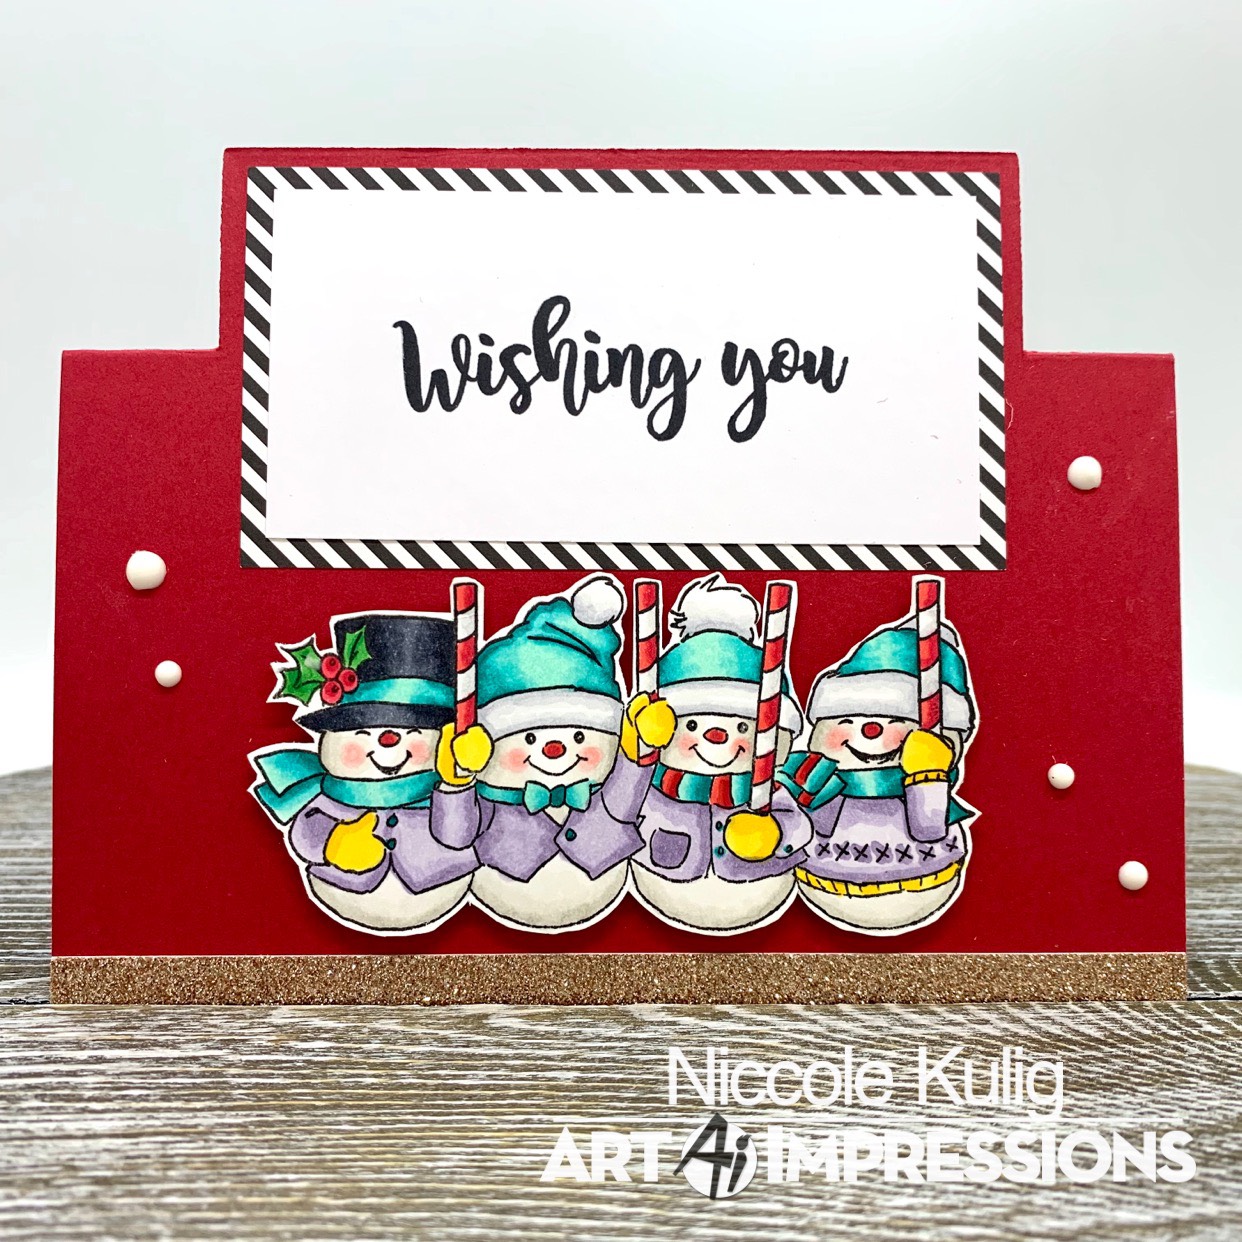
I started by using my flip die to cut my red card base. I trimmed the bottom with rose gold glitter paper.  I added a diagonal stripe paper to my sentiment square to frame it out.  I randomly added white Nuvo Drops to give the impression of snow. I added my forward facing snowmen as if they were holding up the "Wishing You" sign.
I did exactly the same to the inside of the card.  Except for this time the sentiment says "A very Merry Christmas." Isn't it cool how the sentiment flips when you open the card up?
Here is a close up of the front of my card and my colored snowmen.  I used my Copic markers to color these cute fellas! I also popped up my snowmen with foam tape for added dimension. Doesn't the glitter really make it sparkle?
Here is a close up of the inside with the cute lil' snowman butts! I also raised up these guys with foam tape as well. I actually did everything identical to the front of the card except the snowmen.
Here is one more of the front of the card laying flat so you can see where the flip die cuts along with the placement of everything.
And a flat one of the inside as well.  I love how this card looks more complex than it really is.  Using the flip feature is SO easy.  Everyone should have this die in their stash!

Thank you for stopping by today!  Please head on over to Simon Says Stamp to pick up this adorable SSS Exclusive Holiday Flip Card.

Make sure you come back next week.  I just might have another adorable card using this fun SSS Exclusive stamp set

Copics used:
BG11, BG45, BG49
C1, C3, C5, C7, C9
G07, G09
N0, N1, N3
R21, R22
R24, R27, R29, R35, R37
V20, V22, V25
W00, W1, W3

Y13, Y18

Until next time ... Hugs & inky fingers!