Hello Ai fans!
Welcome to our newest challenge.
Don't Fence Me In!
We want to see fences!
They can be dies, images with fences on them,
fence stamps or stencils, or, as in Janet's case...the card!

Can you believe it?? We are on challenge #350!
Is there any other challenge in the craft world that has that many?
How many do you think you've participated in?
Hopefully a lot! If not, why NOT?
Who doesn't love to win free stamps?!
I (Reneé) have created challenge inspiration for 327 of them!
Yes, I've worked for Ai for a very long time!
Art Impressions has SO MANY stamps and dies with fences on them.
Here's a link to some of them. I'm sure there are even more if you look.
This week Janet will be our featured designer, but before we see her very creative card, let's see who won our April Showers challenge.
Our Top Spot went to Gennette Houghton!

Please contact Leah at Feedback@artimpressions.com
to claim a free stamp set of your choice!
Also, be sure to grab our badge to display on your blog, Facebook or Instagram!

Our Lucky Random Winner is
Julie W.
When number 14 came up, I went to the challenge and clicked on the picture.
I was AMAZED to find out that these are Julie's first two cards EVER watercoloring the Ai way!
Can you believe it? Welcome to the club Julie!

Please contact Leah at Feedback@artimpressions.com
to claim a free stamp set of your choice!
Also, be sure to grab our badge to display on your blog, Facebook or Instagram!

Ironically, did you notice? Both of these cards would also qualify for the new "Fence" challenge!
What are the odds?
We always have so many fabulous entries that it's difficult to choose.
Keep entering...You never know when YOU may be selected!
Now...onto Janet's adorable card.
Wait until you see this...she created a fence AS HER CARD!!
This is such a great idea. She has a tutorial on how she made it if this is something you'd like to try.
We'll let Janet take it from here.

Hello crafty friends! I'm pleased to present my card to help announce the new challenge, Don't Fence Me In. This is a fun challenge that only requires something that includes dies, stamps, or images with a fence. In my research for this post, I discovered a surprising number of fences to choose from. In the end, I decided to feature
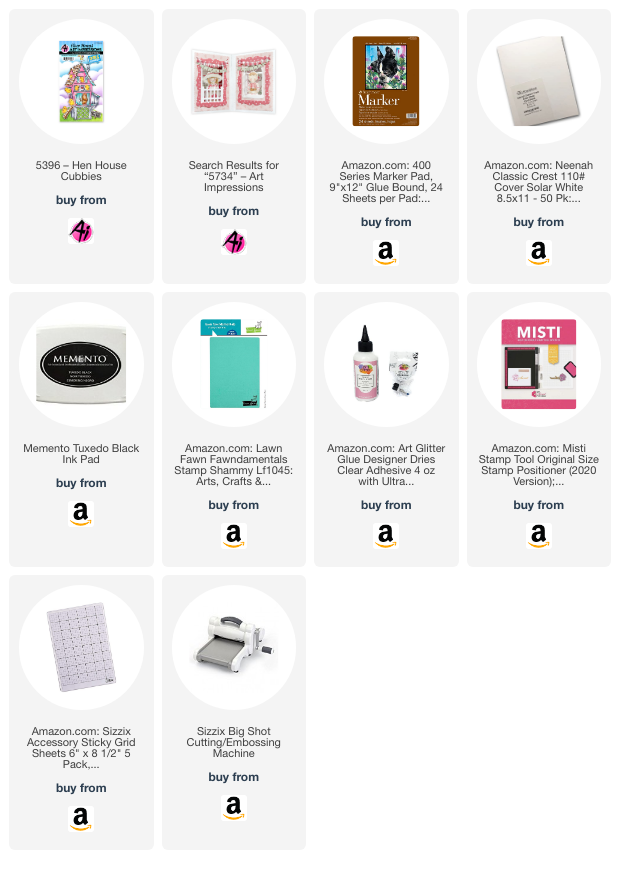
5396 Hen House Cubbies. There is no fence per say in this set. However, I've been thinking about creating a fence shaped card for a while. The challenge gave me the inspiration to see if I could figure out how to make a card that looks like a fence panel to place this cute hen house on. I'm happy to report that I did and I'll share the steps to make one yourself below.
To begin, I chose a heavy cardstock for the card base. It needs to have some heft since the front of the card is pieced together instead of being a solid front. My cardstock is 110# Neenah Classic Natural White. I used the cardstock to make an A2 card by cutting one 8 1/2" x 11" page in half on the 11" side and folding that in half at the 4 1/4" mark. After that, follow the steps shown below.
STEP 1: Starting on the front flap of the card, I cut strips 5/8" wide until just a small portion remained after the fold. You will actually get six strips but you only need 5 to create the fence pickets. To make consistent points in each, I sketched a point on one of the strips and trimmed it. Then I used it as a template to cut the points on the remaining strips. Be sure to erase your sketch marks on your template so you can use it to construct the card.
 |
| STEP 1 |
STEP 2: Cut three more strips that are also 5/8" wide and 5 1/2" long. Add this to the sixth extra strip you had in Step 1 for a total of four straight strips. You should end up nine total strips that look like this.
 |
| STEP 2 |
STEP 3: In order to position the pickets correctly, use washi tape or other positioning tape. Attach two strips approximately as shown with the sticky sides facing you. For stability, I also taped down the card at the top and bottom to limit movement. I also secured the horizontal strips of washi tape to my board. I highly recommend this for success making this card.
 |
| STEP 3 |
STEP 4: Start placing the pickets. I recommend you place the first one at the right edge of the card. Then place third picket in the middle of the open space. Then place the first and fourth picket. Doing it in this order will help you evenly space each picket. If they're not perfect, it's not a big deal. Real fences aren't perfectly spaced either! The washi tape strips will keep the pickets in place and if you want to rearrange them, you can carefully lift them off the tape and reposition them.
 |
| STEP 4 |
STEP 5: Now you can place the two horizontal supports on the front of the card. In this photo I have glued the top support and show you how I placed the glue for the second support.
 |
| STEP 5 |
STEP 6: Open the card and carefully peel away the washi tape strips. The supports glued on the front will hold the pickets in place for this step. Place two more supports on the inside. The photo shows how I applied the glue to prepare for a support. The washi tape was removed before I placed the second support.
 |
| STEP 6 |
STEP 7: This is how the inside will look when done. Use scissors to trim off the excess support strips hanging beyond the last picket.
 |
| STEP 7 |
The card will look nice and neat on the front and the back. It's solid thanks to the cardstock support strips on the front and back. It's now ready to decorate!
I die cut grass strips and applied them to both the front and back of the fence. I also applied a strip inside the card on the back panel to continue the theme. This is completely optional and depends on what you want your card to be like. It worked well for my card and added even more support for the pickets.
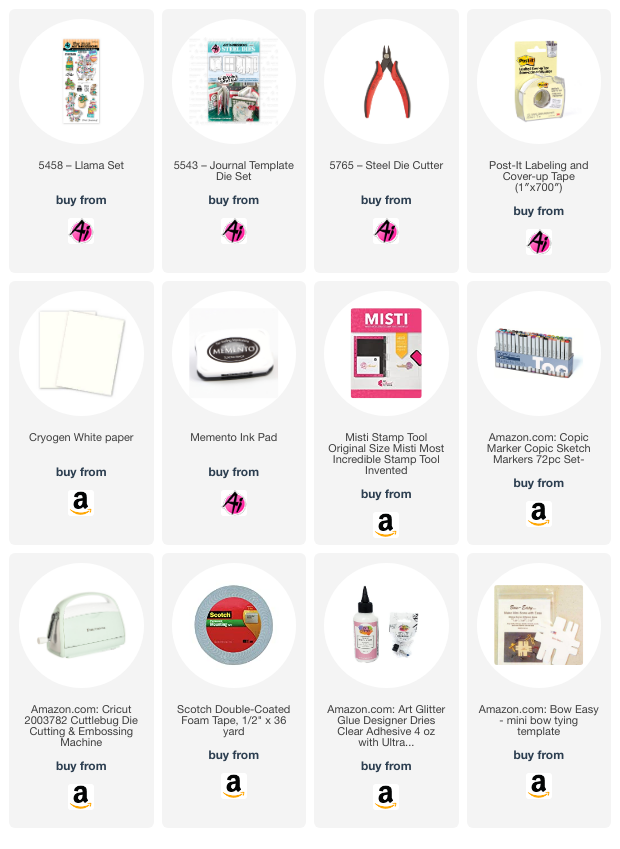
Now for the most fun! I stamped, colored and die cut the images from the
5396 Hen House Cubbie Set. Copic colors used are included at the end of this post. Aren't these chicks and hens adorable? One thing I love about this set is that any of the five sentiments included fit on the sign. Fluffy Butt Hut is my personal favorite!
Finally, I arranged all the finished images on the front of the card. I added black dots with a pen to represent nails. As a final touch, I stamped #bestfriends from
5734 Friend Sentiment Set.
Copic Markers Used:
Hen House: B52, B45, RV23, R81, E13, E11, V04, V12
Chicks: YR09, Y17, Y15
Rooster: E13, E11, YR09, Y17
Weather Vane and Metals: V04, V12, B45
Sign: RV23, R81, E13
Window Openings: W1, W3
I really enjoyed figuring out how to make the fence shaped card. The Hen House Cubbie worked nicely with the theme but there are sooooo many other images that would work very well too. You are only limited by your imagination.
Thanks so much for stopping by today. I hope you'll stop by the
store soon for all your card making needs. While you're there, make sure you check out the entire Cubbie line.
Wishing you a very crafty day!
If you'd like to join in our challenge be sure to link your project below...
✻ Please make a new card or handmade crafty creation. You can make any item you wish; this is not limited to cards!
✻ Limit two submissions per person. You will receive extra votes if you use Art Impressions stamps!
✻Please include your first name and last initial on your submission.
✻We love to comment on your entries, but keep in mind if you use a private group or a platform that you need to sign up for, we probably won't be able to.
✻ The Ai Challenge is open to everyone, international submissions are welcome!
✻ Include a link back to the Ai Blog or grab our button on the top right of our sidebar!
✻ Share the Ai love if you can, by clicking and commenting on your fellow crafters.
✻ Make sure to get your link up by the deadline to enter your creations.
✻ Good luck and happy stamping!





.jpg)


