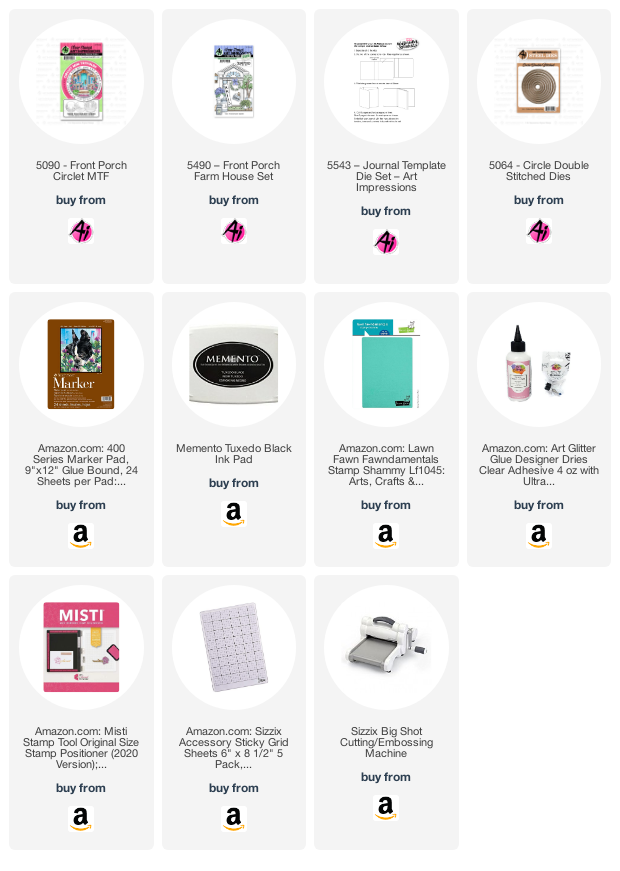
Ever wonder how to do more things with your stamps than make cards? I do too. This gift bag was a result of me scratching my head to make something special to put some baked goods in for a new neighbor. I was looking through my stamps and came across the 5090 Front Porch Circlet Mini Tryfold Set. This is designed so you can create a tri-fold card but I thought I could trim the pieces on each stamp and layer them with foam tape to get a 3D look. After coloring with my markers I used a 5064 Circle Double Stitched die to cut out the main image with the sentiment around it. I used the next two larger circle dies to cut a red and a white mat to make the image a bit larger for the bag.
To make a cheerful welcome tag for the bag, I used the largest tag die from the 5543 Journal Template Die Set and three images from 5490 Front Porch Farm House Set. I love the 3D appearance of the Circlet stamped images. It looks like you can walk right in!
I also decorated the bag by adding strips of various colors and patterns. It's a really easy way to customize a plain gift bag. It's quick and effective and adds to the homemade charm. Finally, I added an embroidery thread bow and accented it with a red and white jewel.
Thanks for stopping by today for a little creative fun. Be sure to visit the Ai Store for lots of additional inspiration.
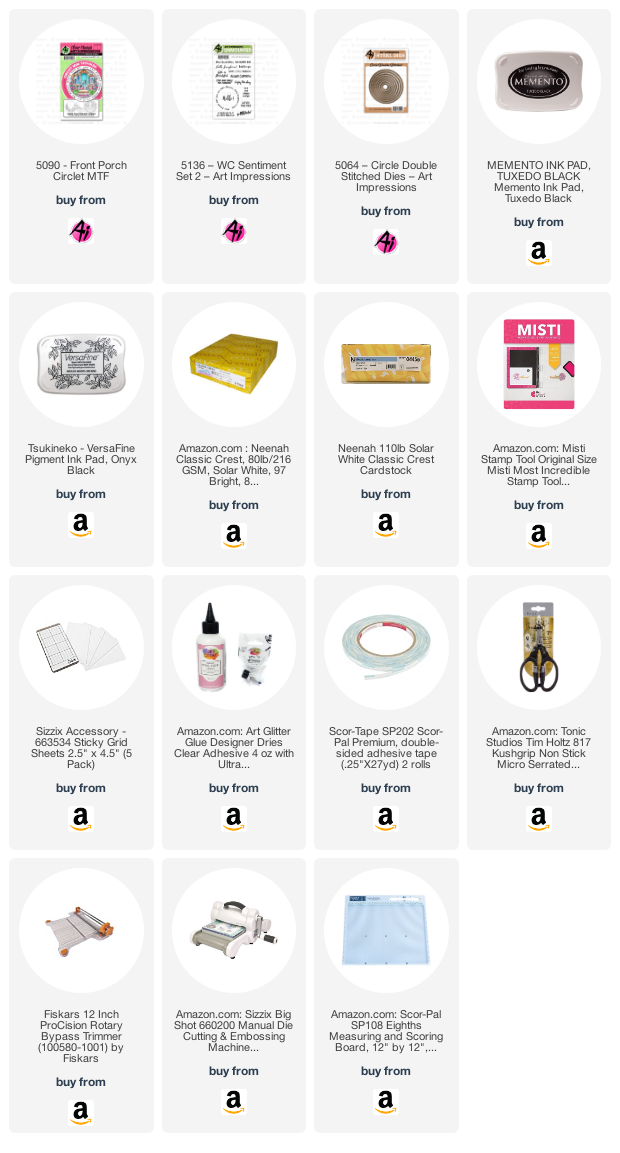
Hello Ai Fans - Bri here! Today, I am sharing a pretty pink card perfect for the Spring season! This floral card features the Front Porch Circlet MTF set. Check out the entire Circlet Mini Tryfold collection here. This card is also featured on my personal blog, check it out here!
This tryfold card has 3 panels that measure 3.75" x 4.25". The card base measures 4.25" x 11.25" and is scored at the 3.75" mark and the 7.5" mark on the 11.25" side. It is really easy to make a tryfold card, just follow the instructions on the back of the stamp packaging!
I colored the front porch circlet image with my Copic markers. I used pink and white striped paper and a white Circle Double Stitched frame die cut to decorate the card. To finish the card I stamped the "Home Sweet Home" sentiment from the WC Sentiment Set 2 stamp set and added coordinating sequins for embellishment.
Check back next week for more Ai inspiration made by me!
This cute kitty on the Front Porch Circlet MTF really spoke to me. As soon as I saw this stamp set, I knew that I wanted to color him to look like my husband's cat Brute. I made this into a shadow box card. You can always follow the directions on the package to make a MTF.
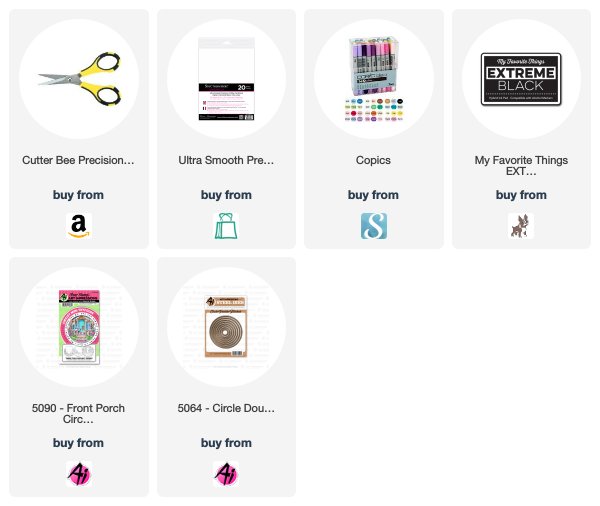
The images were stamped onto Spetrum Noir Ultra Smooth paper with My Favorite Things Extreme Black Ink and colored with Copic markers. The colors used are listed at the end of this post. Details were added with Prismacolor colored pencils in the following colors, dark brown, light umber, pink and mulberry. All three images were cut out using the Double Stitched Circle Dies. The interior portions of the images were cut using the two matching dies.
To make the card you will need one 8 1/2" x 11" piece of 65 lb. piece of cardstock. You don't want to use heavy cardstock for this project. Cut it in half vertically. Cut one piece to 8" and score it at 4 1/4 ". Cut another piece at 8 1/2" and score it at 1/2", 4 1/4" and 4 3/4".
The first piece you cut is your card base. The shorter side is the back of the card. Cut your pink patterned paper to 4"x4" and the flower paper to 3 3/4" x 3 3/4". Fussy cut the flower border and attach it to the card front. Attach the colored MTF circle where you want it and place the matching die cut inside it. Use washi tape to hold the die in place and run everything through your die cut machine.
Next, you need to place your second image directly behind the first image. You will need the second piece of cardstock. cut a small sliver off of the 1/2" side. Attach your patterned paper to the piece next to it. Fold the 3 3/4" score line behind the cardstock and put it into the card. Attach the second colored MTF circle behind the first one and place the matching die cut inside it. Use washi tape to hold the die in place and run everything through your die cut machine.
You can now attach the shadowbox piece to the card by adding adhesive to the 1/2" piece and closing the card front over it. You'' want to do the same thing to the back piece. Be sure not to attach adhesive to the 1/2" that will be exposed. The last thing that you will want to do is attach your third image to the inside of your card so that it shows through when the card is closed.
If you are looking for our 2019 Scrapbook Expo Ticket giveaway, click here!
Hello, Ai Fans! We are back with WEEK 2 of our Stripes and Circles challenge! Our team is highlighting our new additions to our Circlet Mini TryFold line!
These cards are gorgeous and detailed, so click the designer's name to visit their blog for more details, pictures, and fun tidbits! These sets are available at artimpressions.com! Carol with Front Porch Circlet MTF
WOW, team! You all really thought outside the CIRCLE for these amazing cards!
There is still one more week to join our challenge! This week is all about Stripes and Circles! You can use one or both elements in your cards to qualify for our challenge! Remember, we pick a "Top Spot" winner for a prize pack and two Honorable Mentions for a stamp of their choice! Playing along gives you a chance to win, and shares your creativity with other Ai fans!
Here are the Challenge Rules:
✻ Please make a new card or creation. You can make any crafty item you wish; this is not limited to cards!
✻ Limit two submissions per person. You will receive extra votes if you use Art Impressions stamps!
✻ The Ai Challenge is open to everyone, international submissions are welcome!
✻ Include a link back to the Ai Blog or grab our button on the top right of our sidebar!
✻ Share the Ai love by clicking and commenting your fellow crafters.
✻ Make sure to get your link up by Wednesday, February 13 at 5:00 p.m. PST to enter your creations.
Spring is on the way, and so are NEW releases! We are excited to announce FOUR gorgeous additions to our Circlet Mini TryFold line! Our Circlets are so popular, and it's easy to see why! Each set contains three circular stamp images designed to layer together, as well as two dies that cut the openings. Send homemade greetings with our Front Porch Circlet, featuring a sleeping kitty at the front door. Our Pasture and Dock Circlets are perfect for masculine or feminine cards, featuring horses in the field and boats on a peaceful lake. Last but not least, our Easter Circlet is perfect for sending blessings this spring. Take a look at our video from Creativation to see a variety of cards you can make with our Circlets! Grab all four sets at artimpressions.com!
Carol has a tutorial you won't want to miss! Let's take a look!
Hello Ai Fans!
For our Stripes and Circles challenge I'm using the beautiful new Front Porch Circlet MTF. I wanted to do something a bit different with this Circlet and decided to make a cute tag!
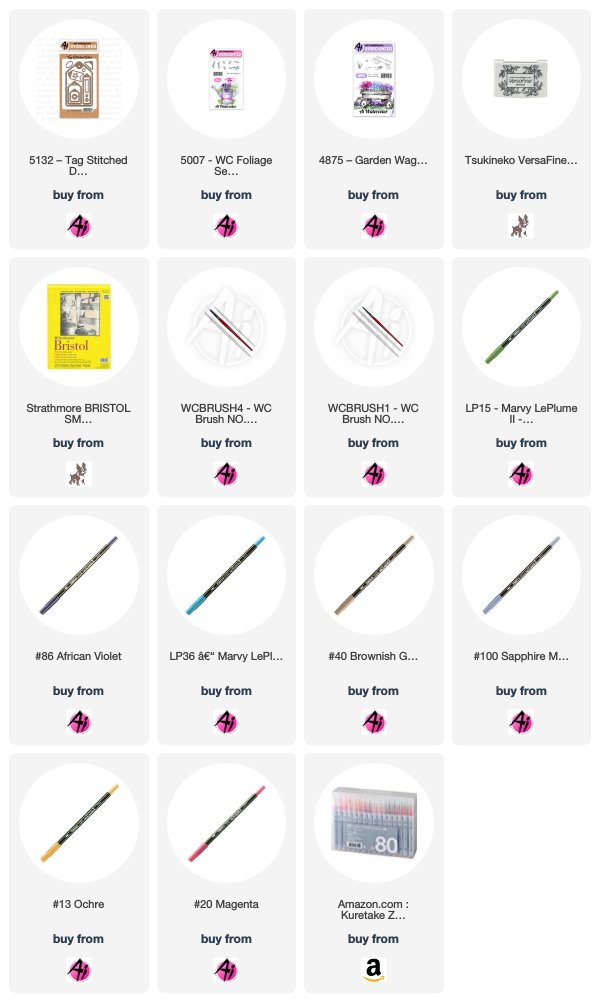
Since I wanted the images to be stamped crisp and clear, I used Strathmore Bristol Smooth card stock. To step it up even a bit more, I pulled out a couple of my long neglected Watercolor Sets and stamped a wreath around the first two circle images. I wasn't totally certain how this would work with the water color stamps, but I have to say it worked great! I stamped each image onto a piece of Bristol Smooth using Versafine Onyx Black in, which is waterproof.
After stamping each image, I stamped the wreath using the techniques that Bonnie teaches in her watercolor videos. To color the images I scribbled each marker color onto my pallet and used a barely damp paint brush to color each one. (The markers I used are listed at the end of this post.)
I then used the awesome new Tag Stitched Dies set to cut each one into a tag shape. The main thing I was careful with was to measure where I placed the tag die so that the images would still line up. Here's a photo showing what I mean.
Measure above and to the right of the die, as shown in first photo. Then for the others, I used those measurements to make pencil lines for the die placement. Everything lined up just right this way! I used the reinforcer die to cut the shape to go around the tag hole where the ribbon is.
Here is a view of the second layer:
And the third layer. (I actually have a yellow front door on our home!)
I love how this came together. It would be perfect to give as a card, or tied onto a package for a pretty gift tag. Of course, you can make this as a mini Tryfold following the directions on the back of the packaging. I hope you've enjoyed seeing my different take on this Circlet. I can't wait to see your creations linked up for the challenge! Happy crafting!
Kuretake Zig Clean Color Real Brush: Fog Gray, Dark Brown, Deep Brown
Wow, Carol, this project is so sweet! Love your watercolor wreath and that yellow door!
It's time for a new challenge! This week is all about Stripes and Circles! You can use one or both elements in your cards to qualify for our challenge! Remember, we pick a "Top Spot" winner for a prize pack and two Honorable Mentions for a stamp of their choice! Playing along gives you a chance to win, and shares your creativity with other Ai fans!
Here are the Challenge Rules:
✻ Please make a new card or creation. You can make any crafty item you wish; this is not limited to cards!
✻ Limit two submissions per person. You will receive extra votes if you use Art Impressions stamps!
✻ The Ai Challenge is open to everyone, international submissions are welcome!
✻ Include a link back to the Ai Blog or grab our button on the top right of our sidebar!
✻ Share the Ai love by clicking and commenting your fellow crafters.
✻ Make sure to get your link up by Wednesday, February 13 at 5:00 p.m. PST to enter your creations.
Congrats, Carina! We think your Puppies Flutter card is too cute with all your little die cut hearts and customized sentiment! Email annelise@artimpressions.com with your address to claim your prize pack!
Congrats, you two! We love the Welcome Little One card perfect to shower a new baby with love! And Debbie, your card with our retired Tina set is super cute with your ink blended sky sprinkled with hearts! Be sure to email annelise@artimpressions.com with your address and select a stamp set of your choice for a prize!
We hope everyone can join us for our new challenge! It's going to be a fun one!
Something BIG is coming! Be sure to check your email on Sunday, February 3, for a big surprise you won't want to miss! This news is coming to our newsletter subscribers first, so be sure you and your stamping friends to sign up for our emails!