Showing posts with label Fun Folds. Show all posts

Monday, August 2, 2021

Pand-tastic Fun Fold Card by Bri Firth

Hello Ai Fans - Bri Firth here! Today, I am sharing a fun-fold card design featuring the Pand-tastic Set. The Pand-tastic Set is part of Ai's Funny Farm collection. This card design is perfect for the current Ai challenge, Feeling Funky, check it out here. This card is featured on my personal blog today, check it out here

This card design has a simple fun-fold mechanism. The cardstock pieces I use to build this card are listed at the end of this blog post. The sentiments are stamped in pigment black ink. I stamped the paw prints on the inside of the card with gray ink. The design on the front of the card is ink blended with Distress Oxide inks (Twisted Citron, Mowed Lawn, and Lucky Clover) and a Bamboo stencil.

I colored the panda with my Copic markers. I used W0's for the fur and RV11's for the paw pads. I finished the card by adding green and gold sequins for embellishment.


Check back next week for more Ai inspiration made by me!
Paper Dimensions
Green Cardstock: 5 1/2" x 8 1/2", Scored at 4 1/4"
Yellow-Green Cardstock: 3 1/4" x 3 1/4"
White Cardstock: 5" x 6", Scored at 2" and 4" on 6" Side,
3 1/8" x 3 1/8"
Ink Blending Cardstock: 3" x 3"

Monday, August 3, 2020

Whimsical HM Garden by Bri Firth

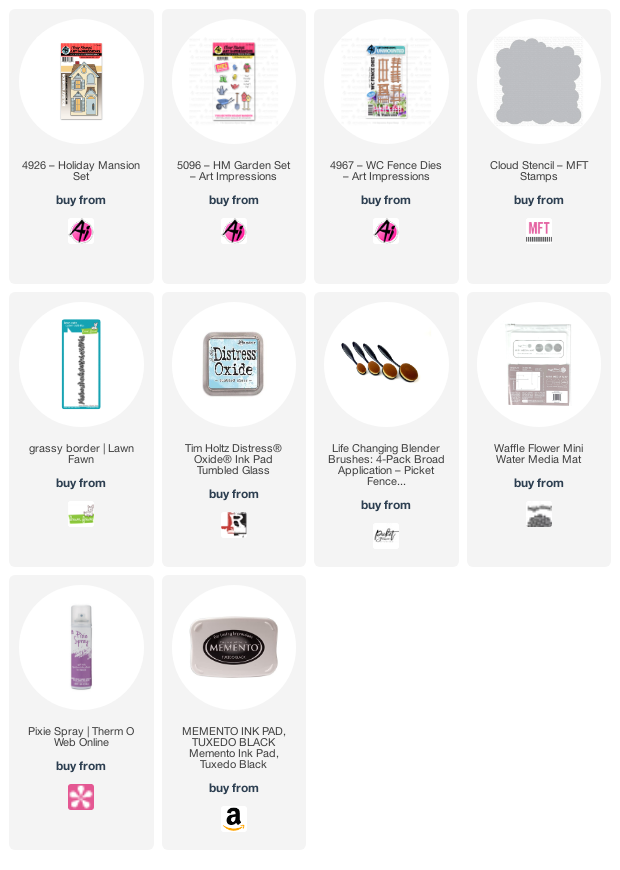
Hi everyone! I'm excited to share my very first creation as a member of the Art Impressions design team. A little while ago Art Impressions shared sneak peaks of some of our challenge creations on Instagram, I wanted to share this card as my first blog post so I can provide some extra details on how I created it. This beautiful card features the Holiday Mansion Set and the HM Garden Set. This card is also featured on the my personal blog today, check it out here!
First, I cut the card base to 5 1/2" x 8 1/2". The side step portion of the card is 2" wide and the center fold of the card is scored at 4 1/4". For more details on how to make a side step card check out this tutorial from All That Scraps Blog here.
To create the sky I ink blended some clouds with the Cloud Stencil and Tumbled Glass Distress Oxide ink. To create the ground I die cut two pieces of grassy borders from solid green cardstock. I also used my Copic Sketch E80's series markers to create the ground and the dirt in the garden. I used the WC Fence dies to create the garden area. 

I stamped the Holiday Mansion and HM Garden images with Memento Tuxedo black ink and colored them with my Copic sketch markers. I used the BG10's series to color the house. I colored the rest of the images in pinks, purples, and yellows to contrast from the teal.
I stamped the "Your friendship makes my heart sing!" sentiment inside the door flap. I adhered the birds and garden decor throughout the house and garden and add extra pops of color. The side step card design worked perfectly for this HM Garden card! The garden layout looks great even when the card is laying flat!
Check back next week for more Ai inspiration made by me!

Thursday, October 10, 2013

Challenge 120 - Fun Folds! Week Two!


Hello Ai Fans! Welcome to week two of our challenge! Last week, we released our five new TryFolds!We're back this week with some amazing inspiration from our design team!


In honor of our big launch, we're hosting a "Fun Folds" challenge! Any card that has a different fold style will work. Whether from the card base (such an an easel, twisted, trifold, shutter, etc.) or on the card (pinwheels, rosettes, pop up pieces, etc.), include a couple fun folds for an awesome new style!

Our design team has created cards with our new sets for you!

 Rhonda
Renee

 Kerry
Crystal


Also, we have a new promotion at artimpressions.com!


Here are the challenge rules ...
 Please make a new card or creation. You can make any crafty item you wish; this is not limited to cards!
✻ Limit two submissions per person. You will receive extra votes if you use Art Impressions stamps!
✻ Include a link back to the Ai Blog or grab our button on the top right of our sidebar!
✻ Share the Ai love by clicking and commenting your fellow crafters.
✻ Make sure to get your link up by Wednesday, October 16 at 5:00 p.m. PST to enter your creations.
✻ Good luck and happy stamping!



Thursday, October 3, 2013

Challenge 120 - Fun Folds!


Hello Ai Fans! Welcome to a new challenge!

First, let's get started with our winners from last week!

Our Top Spot goes to ...
Congratulations Sue! Our team loved your vibrant colors and awesome easel! Contact kate@artimpressions.com to claim your $50 prize pack!

We also have two honorable mentions! Contact kate@artimpressions for a free stamp set of your choice!
Our honorable mentions go to ...


This week, we're releasing our newest additions to our TryFolds line!

In honor of our big launch, we're hosting a "Fun Folds" challenge! Any card that has a different fold style will work. Whether from the card base (such an an easel, twisted, trifold, shutter, etc.) or on the card (pinwheels, rosettes, pop up pieces, etc.), include a couple fun folds for an awesome new style!

Today's featured designer is Karen Day


"It's Karen with you today, sharing two cards that I've made using the newly released "Sleepy Santa TF (sku#4341)".

Caution!  Multiple photos ahead... There are a few (easy) steps involved in making a tri-fold card, so I took photos at every step of the way to give you a clear idea of the process.  The packaging that comes with your stamp set contains all the measurements you'll need to stamp it accurately.  I started with a piece of 11" x 5 1/4" white cardstock, scored in 3 5/8" from each side:
I've stamped the fireplace image in the middle section, about 1/2" down from the top.  The tree and Santa are done on the backside of the paper, 1 3/4" and 2" down from the top - you might see my pencil marks that I used as a stamping guideline.

I've used Copics to colour my cards, here's a close-up of the tree:

After colouring, I cut down the score marks, and around the images, leaving a halo of about 1/16".  I applied adhesive to the center rectangular panel, and glued it down to my base:

Copic markers bleed through cardstock, so I've cut white backings and glued them to the backsides of the tree & Santa, and I stamped my sentiment under the fireplace:


I wrapped two pieces of twine around the card and tied them in a bow to hold my card shut:
The wonderful thing about the Try-Fold stamp sets, are that the images stand on their own - so here is a regular folded card using just the Santa image:


Aren't these cards AMAZING! Thanks for sharing, Karen!


Also, we have a new promotion at artimpressions.com!


Here are the challenge rules ...
 Please make a new card or creation. You can make any crafty item you wish; this is not limited to cards!
✻ Limit two submissions per person. You will receive extra votes if you use Art Impressions stamps!
✻ Include a link back to the Ai Blog or grab our button on the top right of our sidebar!
✻ Share the Ai love by clicking and commenting your fellow crafters.
✻ Make sure to get your link up by Wednesday, October 16 at 5:00 p.m. PST to enter your creations.
✻ Good luck and happy stamping!